small body work problem

Thin bits of metal and bright blue light.

Moderators: User administrators, Moderators

Locked
blue67
Registered user
Posts: 68
Joined: 26 Jan 2009, 17:02
80-90 Mem No: 6646
Location: Clowne, Chesterfield
Contact:

small body work problem

Post by blue67 »

hi guys,

i have just pulled back the inner drivers side panal and floor covering to reveal a small problem which will need some attention from me and my welder!

I will let the photos describe:

Image

Image

Image

Image

the problem i am having is i am not to sure how to tackle this, as there isnt any of the sidepanel/sill seam left! so i am not sure how to weld this mess back together. I figure that someone else on here must have had a similar problem in this corner as it look like a bit of a water trap.

Thanx in advance for your help, I really want to fix this myself, but just kinda dunno where to start!
1967 VW Beetle (nearly finished but on the road)

http://www.blue67.co.uk

Cruz
Registered user
Posts: 3919
Joined: 12 Oct 2005, 10:40
80-90 Mem No: 2092

Re: small body work problem

Post by Cruz »

What does the inner sill look like inside that big gaping hole? Mine was knackered due to moisture getting in through the floor that had fallen away and ate my inner sill. (blue van on this link https://club8090.co.uk/wiki/Ar ... chen_panel" onclick="window.open(this.href);return false;)

Genuine o/s inner sills are still available from germany so don't worry. See these links just in case

https://club8090.co.uk/wiki/Ar ... nner_Sills" onclick="window.open(this.href);return false;

https://club8090.co.uk/forum/viewtopic.php?f=2&t=54982" onclick="window.open(this.href);return false;

You maybe lucky and the inner sill is sound. If so then just make sure you give it a good treating in there when you've cut all the rot away.

Also how does that horizontal seam on the drivers side panel look from the outside? Is it bubbling? Once you start removing the rusted bits you may find you need to replace part of the lower side panel like Covkid did in his excellent wiki article linked below

https://club8090.co.uk/wiki/Ar ... outer_sill" onclick="window.open(this.href);return false;

blue67
Registered user
Posts: 68
Joined: 26 Jan 2009, 17:02
80-90 Mem No: 6646
Location: Clowne, Chesterfield
Contact:

Re: small body work problem

Post by blue67 »

thanks for the pointers,

the side panel is in good nick, aswell as the sill section, all that is missing is the returns from both panels and the section of floor.
i will start to clean it all up a bit more tommorow night, but think that if i can some how remake the side panel return and sill return i will be fine, the floor doesnt really phase me, but it is the (approx) 4 inch slit in the bottom of the side panel where the seam used to be that has!

could i weld the two panals together, then fab an agles bracket to support the floor edge and plug weld that to the side panal and drop a new floor section in? the only problem with that is the outer seam would need to be re made. Would this be an acceptable repair?
1967 VW Beetle (nearly finished but on the road)

http://www.blue67.co.uk

Cruz
Registered user
Posts: 3919
Joined: 12 Oct 2005, 10:40
80-90 Mem No: 2092

Re: small body work problem

Post by Cruz »

If you notice Covkid never bothered with the fabricating the outer seam

blue67
Registered user
Posts: 68
Joined: 26 Jan 2009, 17:02
80-90 Mem No: 6646
Location: Clowne, Chesterfield
Contact:

Re: small body work problem

Post by blue67 »

Cruz wrote:If you notice Covkid never bothered with the fabricating the outer seam


so i could just do away with the whole seam . . . .hmmmm interesting.
1967 VW Beetle (nearly finished but on the road)

http://www.blue67.co.uk

User avatar
CovKid
Trader
Posts: 8411
Joined: 30 Apr 2006, 13:19
80-90 Mem No: 3529
Location: Ralph - Coventry (Retired)
Contact:

Re: small body work problem

Post by CovKid »

Yep, in my view the seam is just a rust trap so dispensed with it and any condensation (which this area can suffer from) runs down, into inner sill (which i thoroughly waterproofed) and out through drainage holes under the vehicle rather than puddling on the floor. The new sill is sufficiently rigid to not require a replacement floor section although you could weld one in if you wanted to. Personally I think a good movement of air is more preferable particularly if this area is normally covered by cupboards/fridge etc.

Chickenkoop and I tackled it in perhaps an unorthodox way but it seems to have put an end to any rot in this area and hopefully any subsequent problems. Not a bad job to do but in my view better to really go for it and do it properly rather than simply patch things up. In our view, there was little point in going to all the trouble of effecting repairs if we didn't address the root cause - which we've now eliminated.

Heres how it looks without that seam and using a complete panel. The section can now breath and any moisure has a pathway out rather than being locked in. Personally I think it looks right now and carries the natural line:

Image

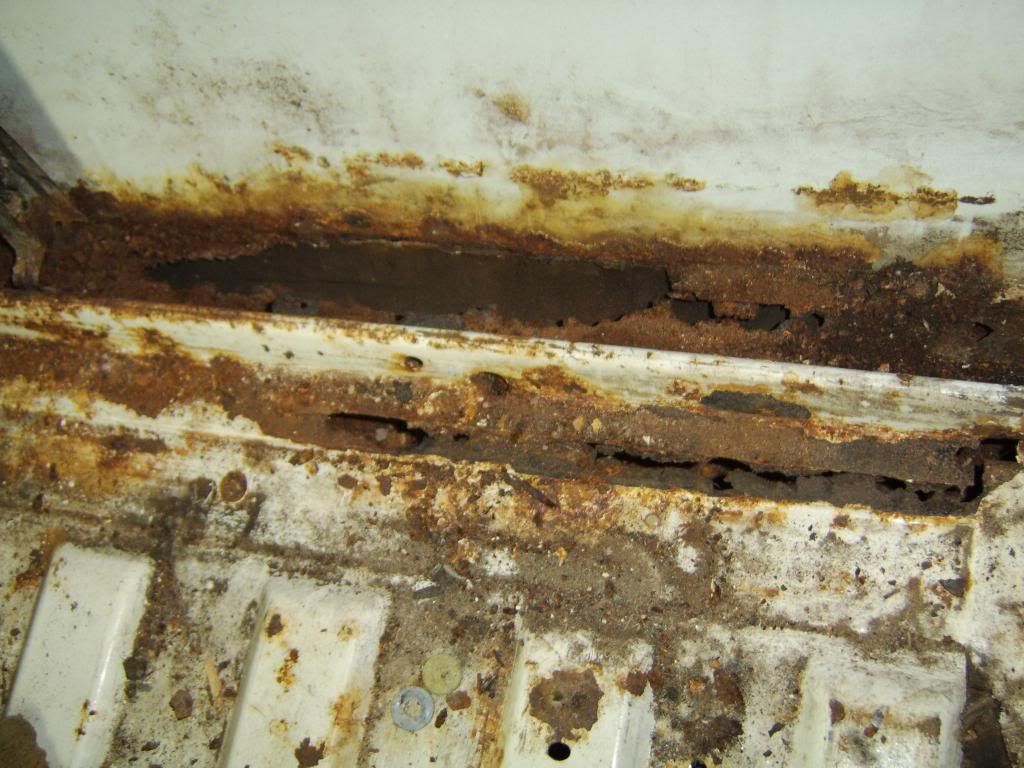
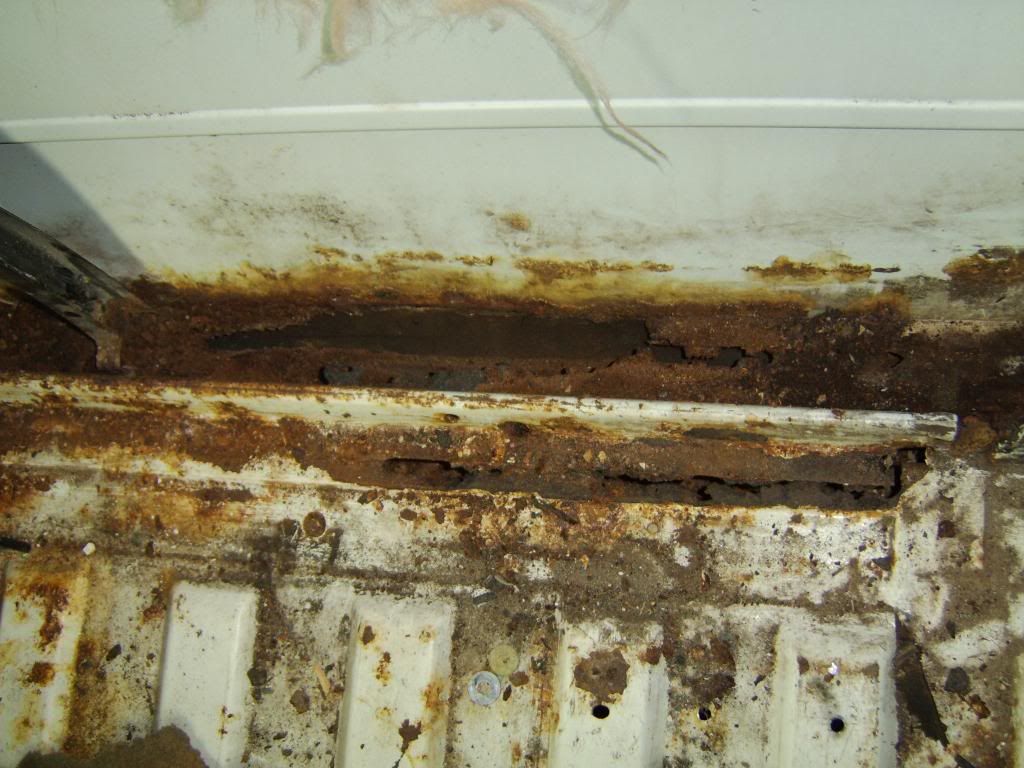
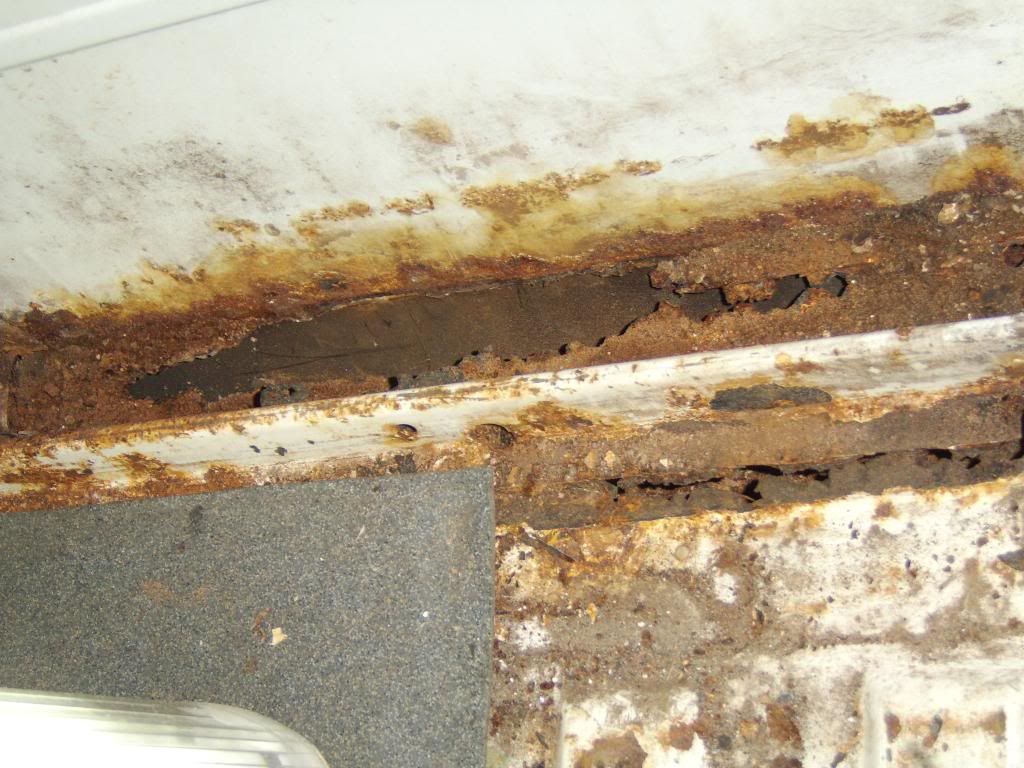
I should add, yours is quite extensive in terms of spreading rust and if you look at what we cut out during the job, you'll see why. It gives you the access needed to get in there and do the job properly. Don't be afraid of it - get in there and beat it. :ok
Roller paint your camper at home: http://roller.epizy.com/55554/" onclick="window.open(this.href);return false; for MP4 download.

Locked