So as requested by Covkid to compliment the 5 speed one in the wiki I have photographed my work and made some notes. Some is the same as the 5 speed but I have included the lot as I may have done things differently.
This shows a late petrol 4 speed 14mm gearstick.
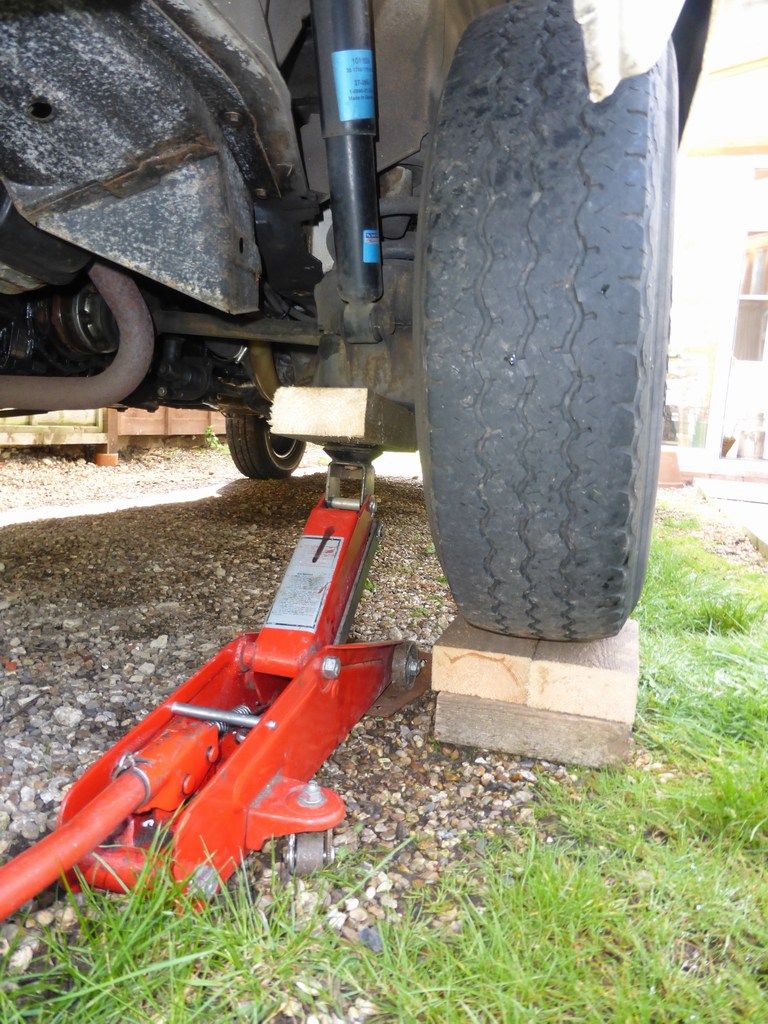
I did this with the van jacked, you could do the lot on the ground but if your van is lowered or you have a pie addiction best get it raised up a little.
I jack from the trailing arms at the rear and track control arms at the front with a hydraulic jack then lower onto something, if you don’t have a ramp you can use blocks of wood, if your jack won’t go high enough then lower onto a piece of wood then add another piece of wood between the jack and the vehicle and go up again, and again. Handbrake on.

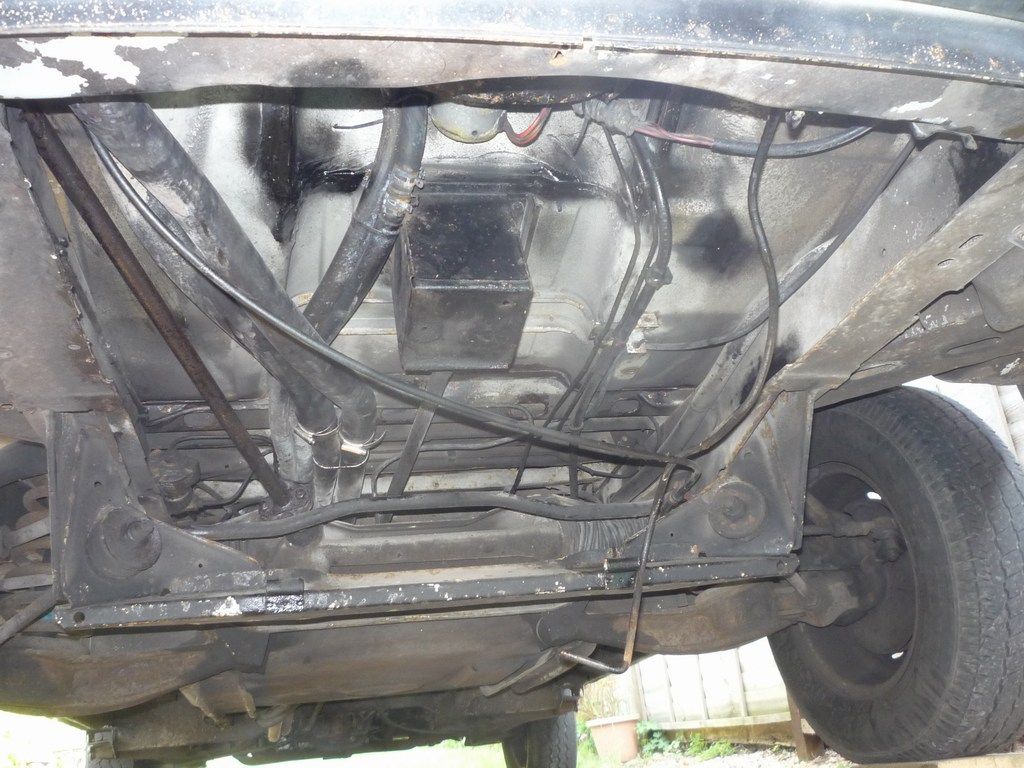
So the gear stick assembly has three areas…
The front end with the stick, bearing assembly and shift linkage housing ( pictured)

The middle section with a bush, the adjustment pinch bolt and a universal joint

The rear section with another bush and the gearbox selector lever

Starting at the front , lower the spare wheel and remove it, then release the four nuts securing the shift linkage housing.


Then release the nut from the pin/bolt that holds the gear lever to the gear linkage, the nut is a different spanner size to the head

You can now remove the whole gear stick assembly with the bearing, strip it down and replace or regrease the bearing and replace or check the two bushes on the end of the stick.
Bearing disassembly and reassembly shown here
https://club8090.co.uk/forum/viewtopic.php?f=37&t=131211" onclick="window.open(this.href);return false;


You can inspect the tips of the front shift rod at this point, the side of the reverse gate ( Left on this pic) will probably be quite worn down as shown, they can be DIY repaired but I’m not aware of replacements. If you want to remove the rod you will need to release the pinch bolt as described later.

So dare I say reassembly is reverse preferably after you have cleaned it all, a little grease on the tips and pin is good. Then check you can get all gears.
Below are pictures of the gear selection gates in the Housing in the different gears. Remember forward with the stick is back below and left with the stick is right below.
Neutral


1st


2nd


3rd


4th


Reverse


So on to the middle / rear section, you have two options, disturb the pinch bolt or leave it alone.
If you want to leave it alone you can’t replace the middle bush.
If you need to replace the rear bush or gaiters and don’t want to disturb the pinch bolt you can remove a pin from the universal joint and remove the rear shift rod that way but first it’s easiest to move to the rear and come back to the middle…..
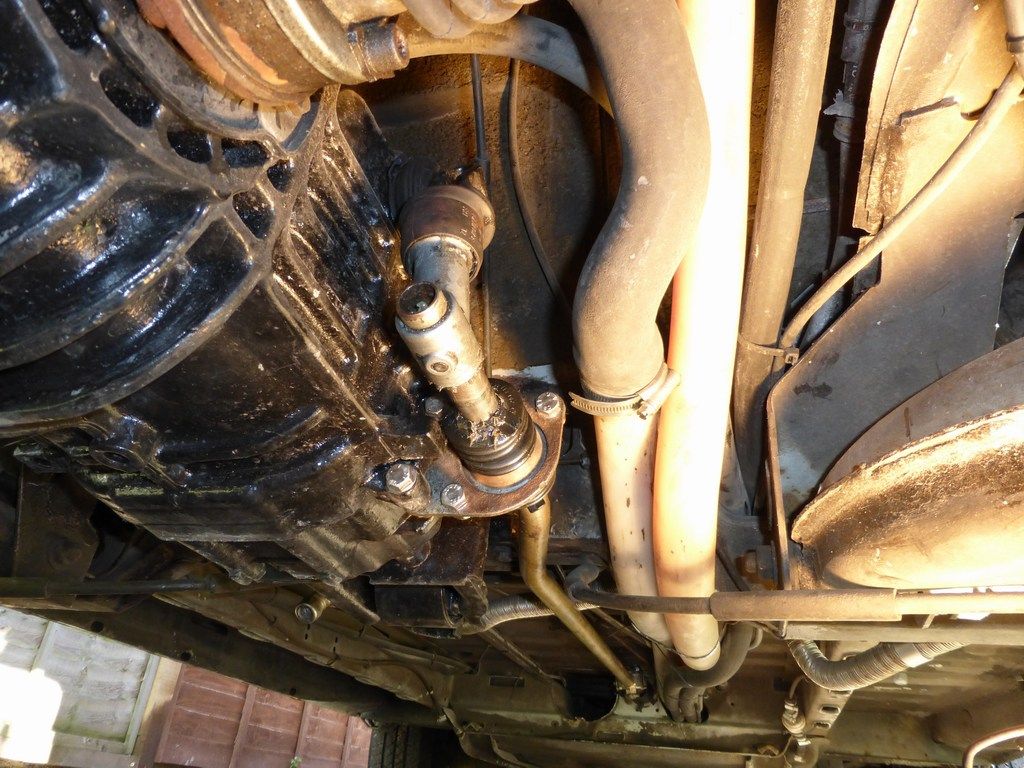
So at the back remove the two bolts holding the support plate to the gearbox, note the plate is fitted to the FRONT of the gearbox casting

Then the gear linkage will come away and can be rested on the ground.


Release the selector lever nut, it will move forward into gear as you do this.

Before removing the lever return it to neutral which is vertical so when you put it back it is vertical on the spline.


You can then replace gaiters or re grease as required.
This gaiter should be pulled over the gearbox casting as shown and then replace the lever.


