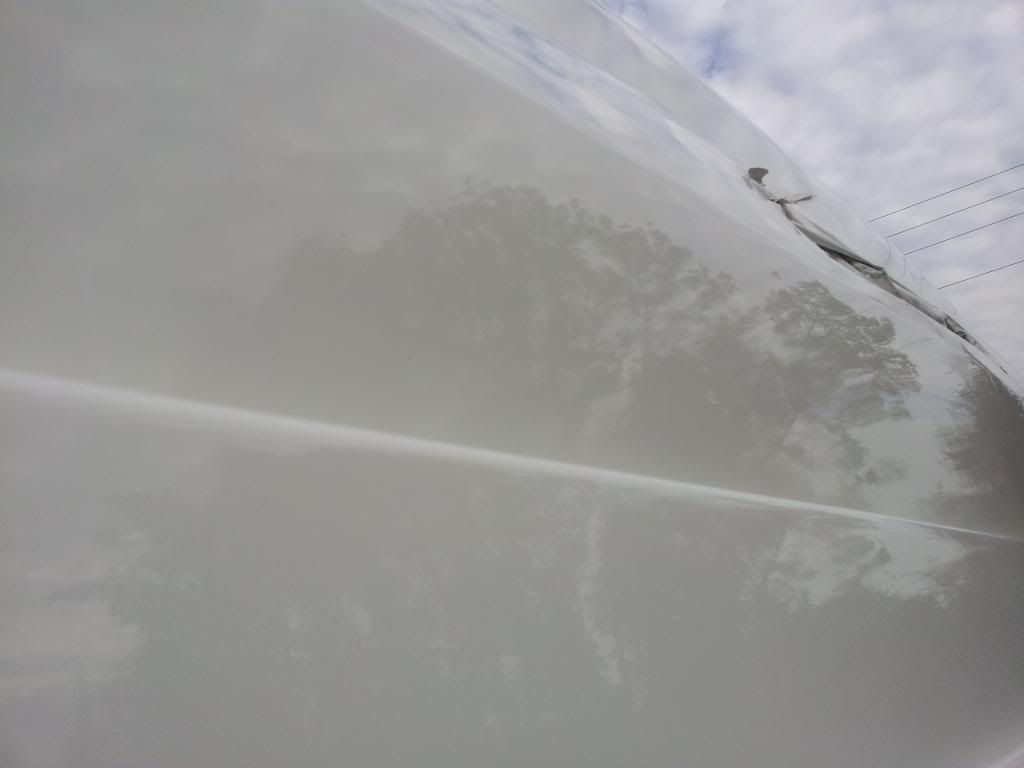
Here's a diary of how I've re-fixed the hi-top roof back onto it. I did a lot of head-scratching before deciding on this route to fix it. I expect others will think its the wrong way, but I didn't fancy taking the roof off and there is very little corrosion on show so I doubt that there are any hidden horrors underneath it anyway.
I finished polishing the roof this week and I'm well pleased with how its turned out. The rest of the van is equally bad, so I shall begin replacing all the usual rusty panels & repaint the exterior & door shuts over the coming weeks [months if gets really cold
If you are thinking of a way of re-fixing your roof, then this might be of use to you. It's worked for me anyway
Here we go then:
The o/s of the van, showing some of the copious amounts of various sealers that have been put on over the years:
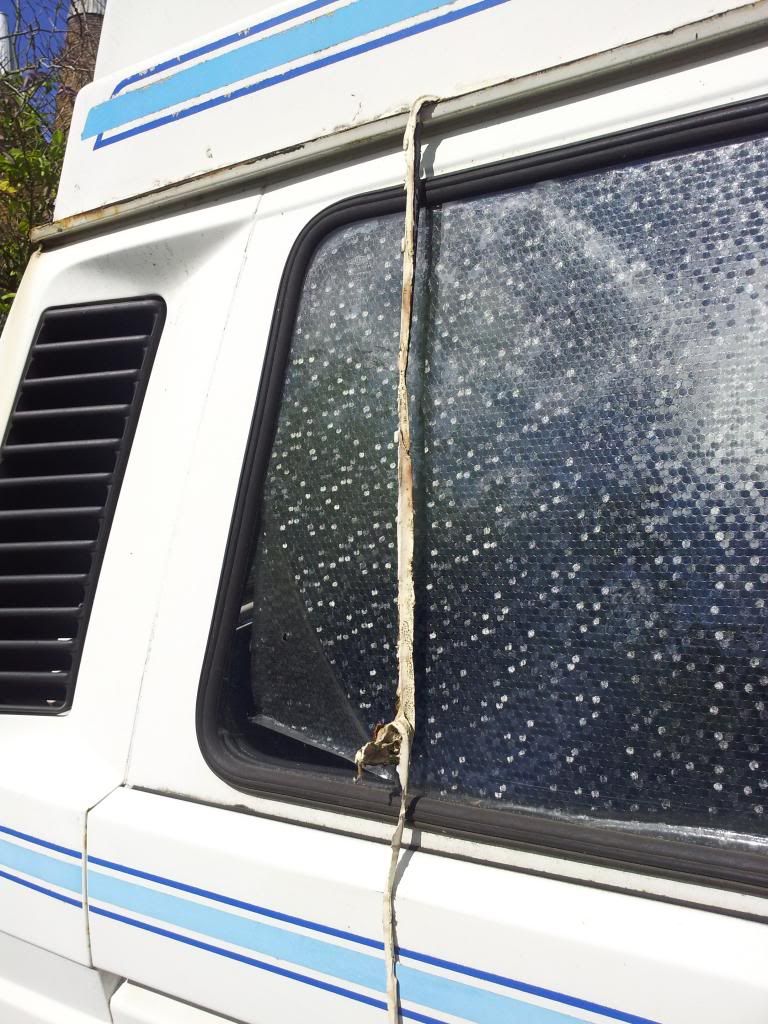
And the n/s/r view. Note the green muck all over the roof:
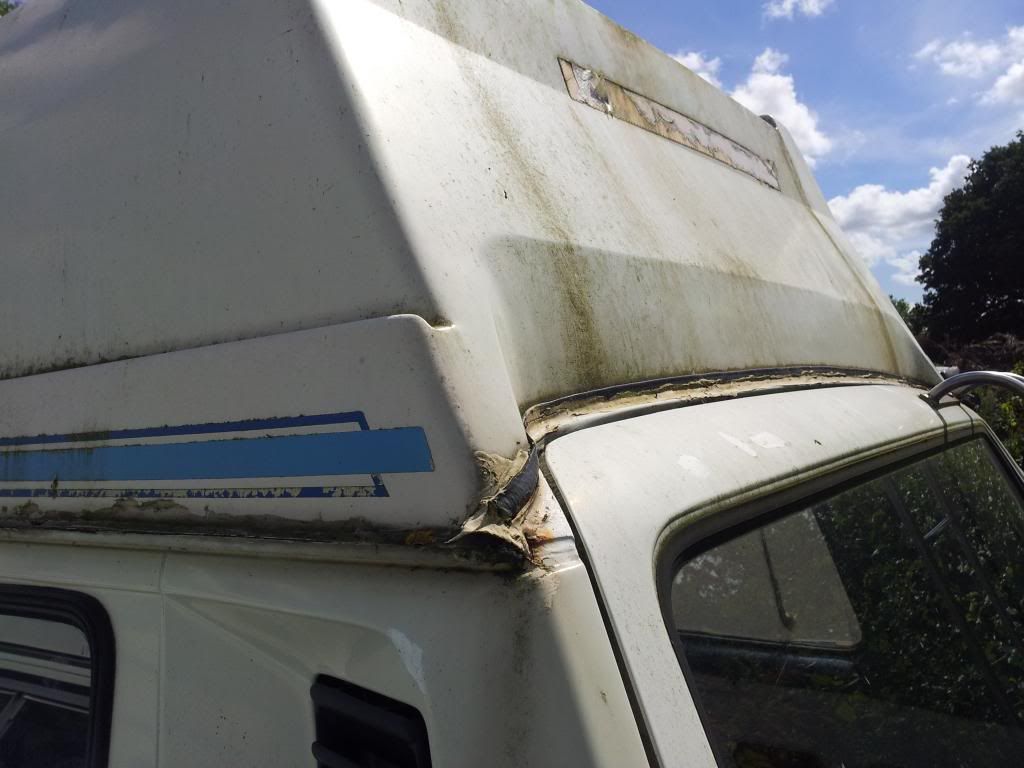
Holes cut in the n/s roof section, where the roof had completely parted company from the van's metal roof underneath. I [very dangerously, dont try this at home] used two p36 grit disks, back to back, to get into the old sealer and cut it out. It was so bad that I burnt the grinder out and had to by a new one
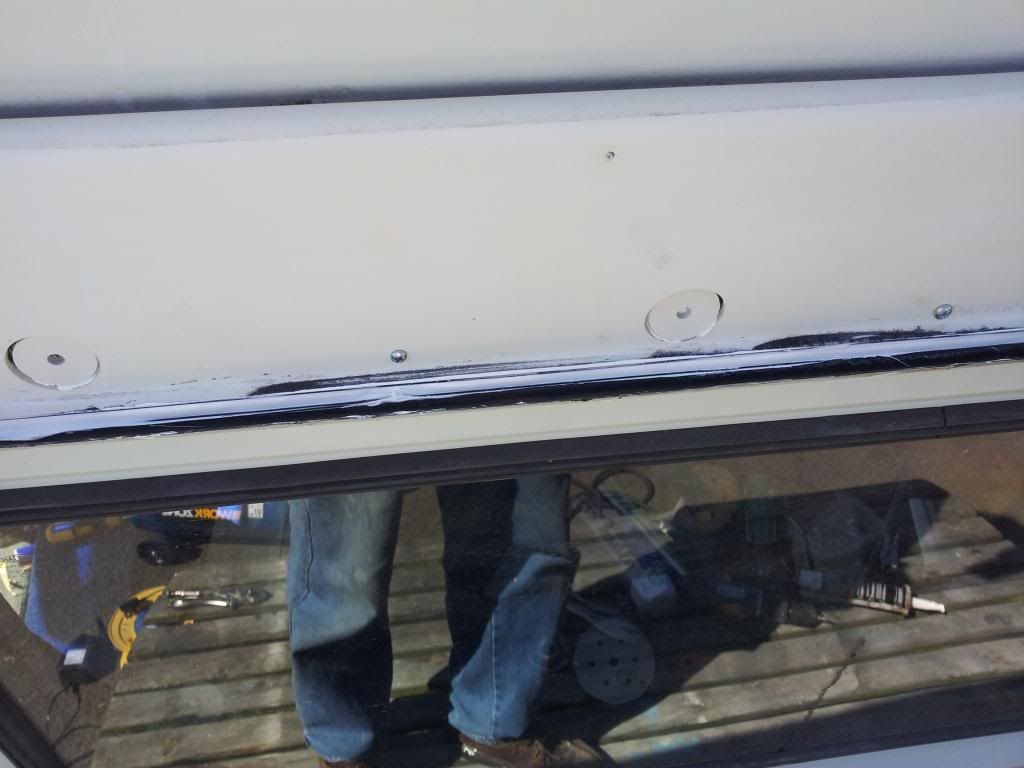
Old Autosleeper factory sealer being cut off.
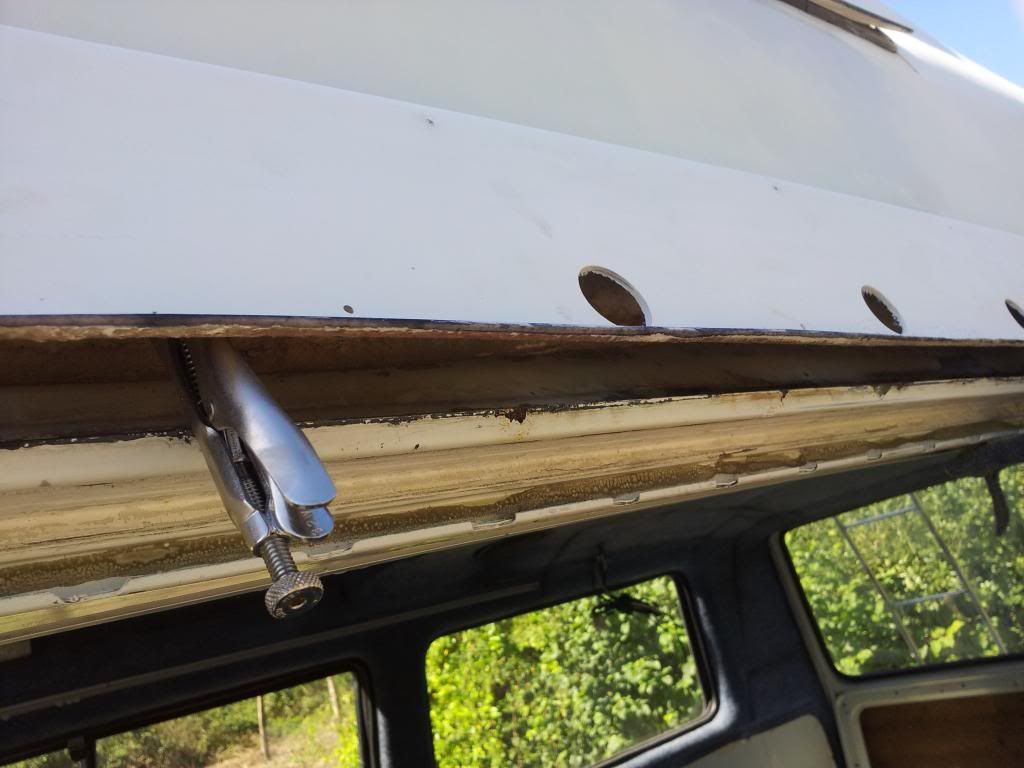
New adhesive sealer applied [Sikaflex 226]
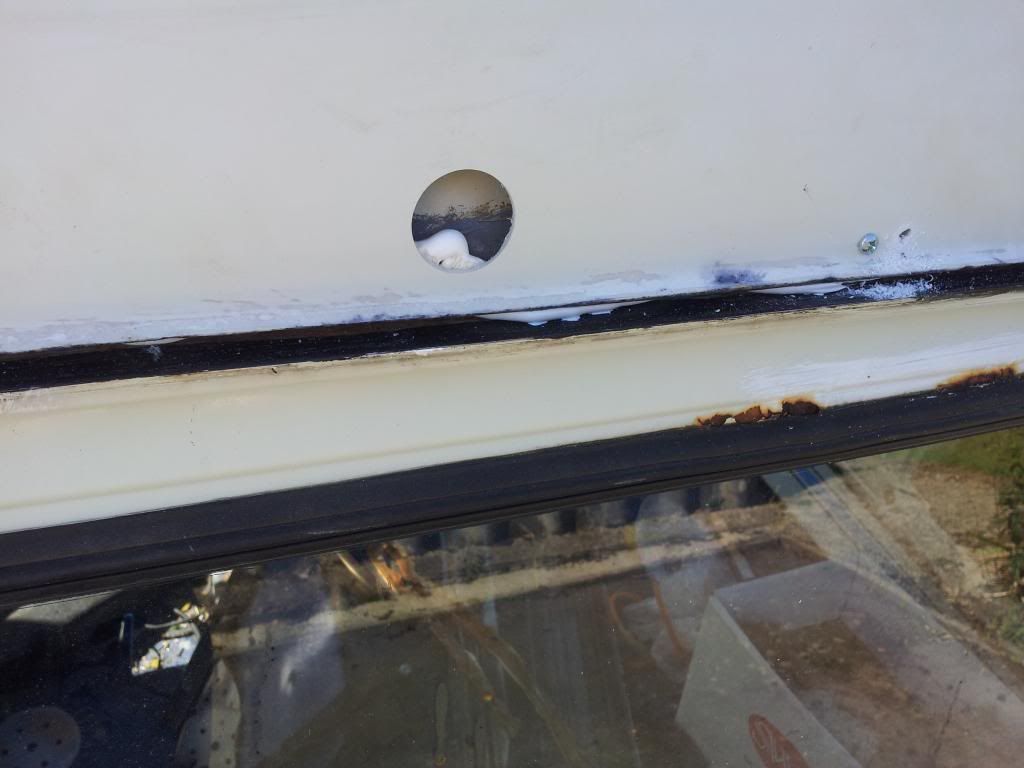
Note how its oozing from the holes and gutter, from being clamped & screwed in.
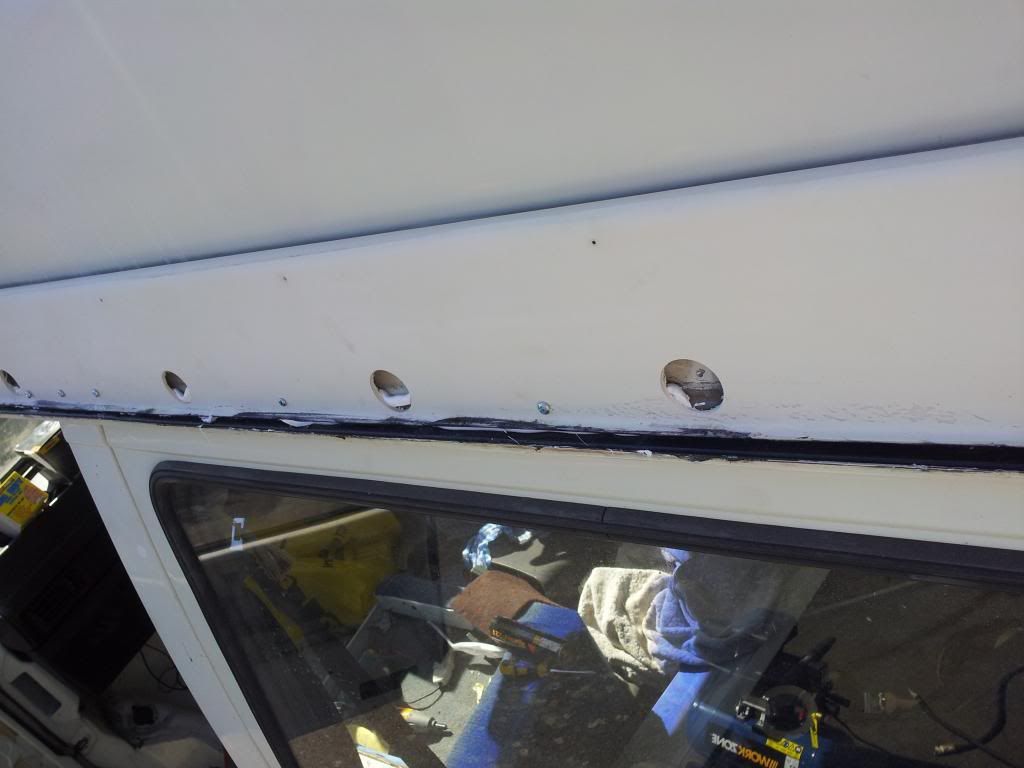
And another view of that:
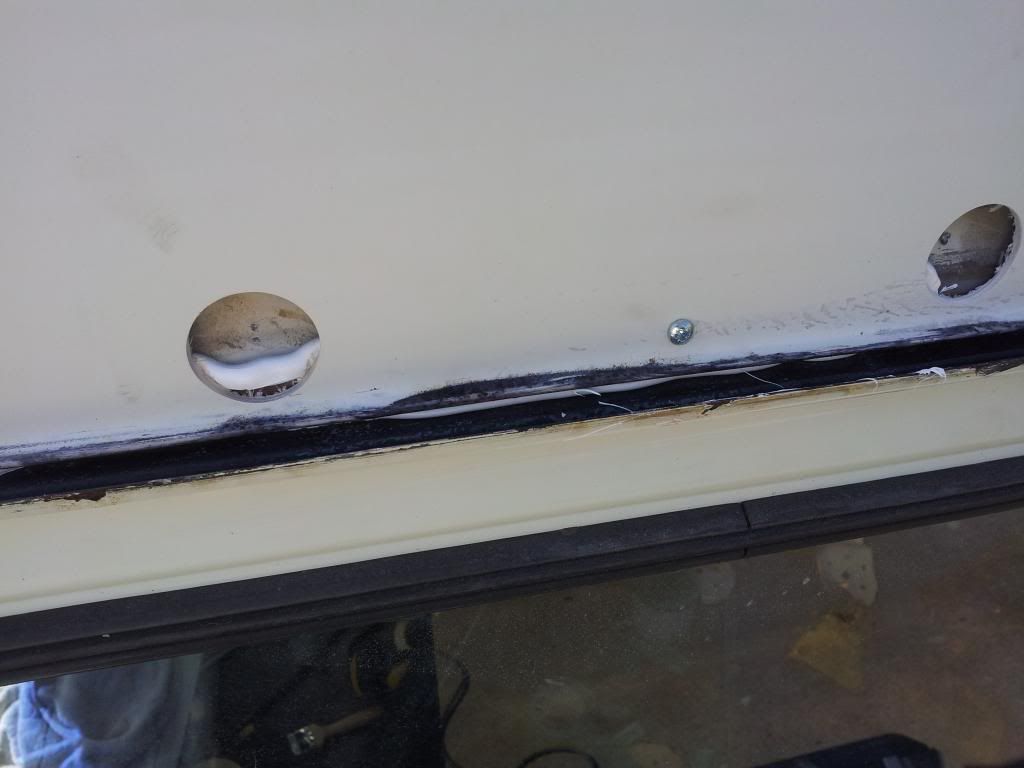
The old cut-outs put back in the homes again. Prior to this, I mixed some fibreglass resin up and put it in a new cheapo oil can and squirted it in the holes, either side so that it help seal everything and give a decent bond to the two parts. The cuts outs were fixed in with Sikaflex:
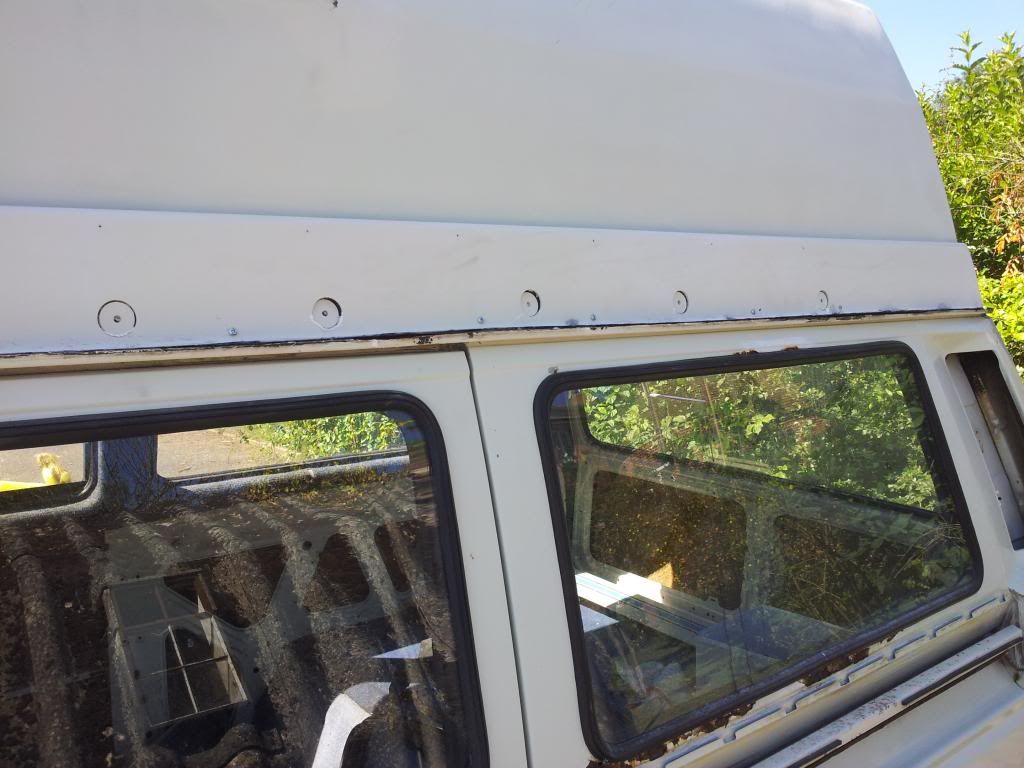
Another view:
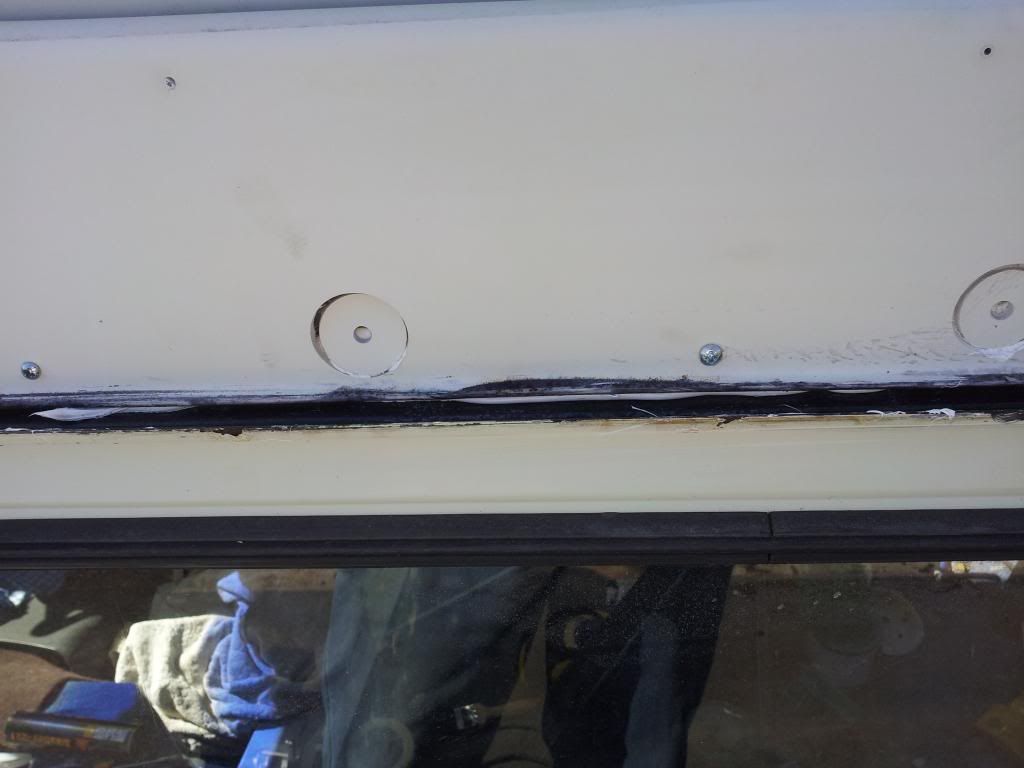
Filled and sanded:
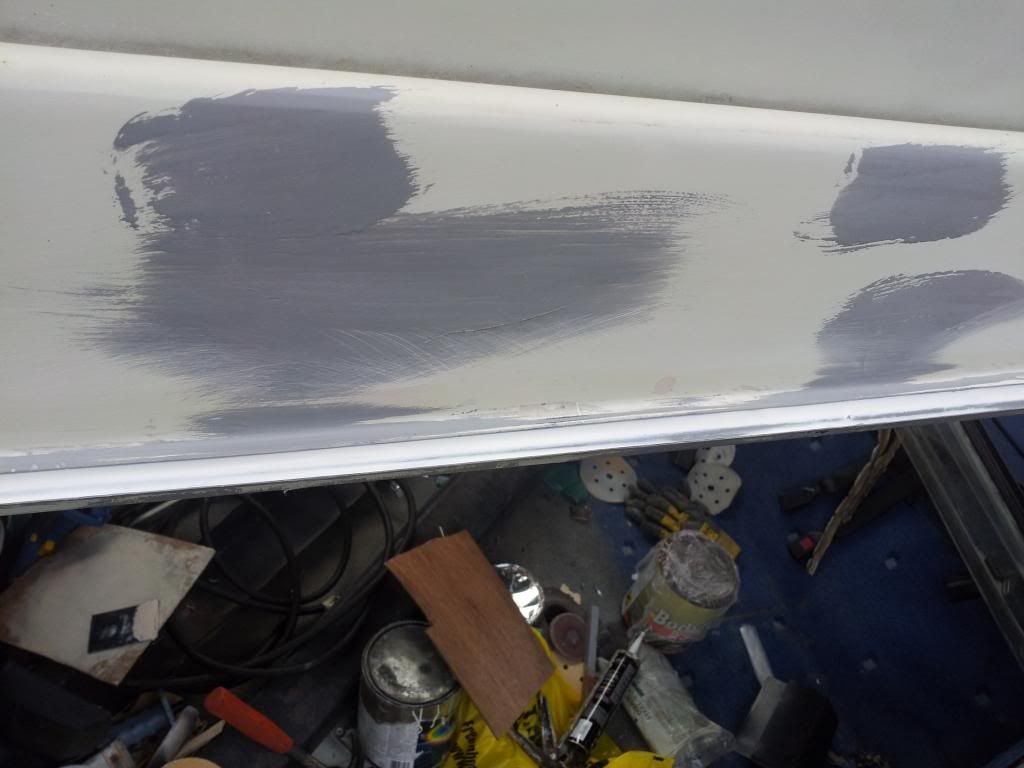
One of the o/s of the van. It was nowhere near as bad, fortunately so had a deep clean, vactan'd and then re-sealed and clamped up to hold it it in place until the adhesive cured:
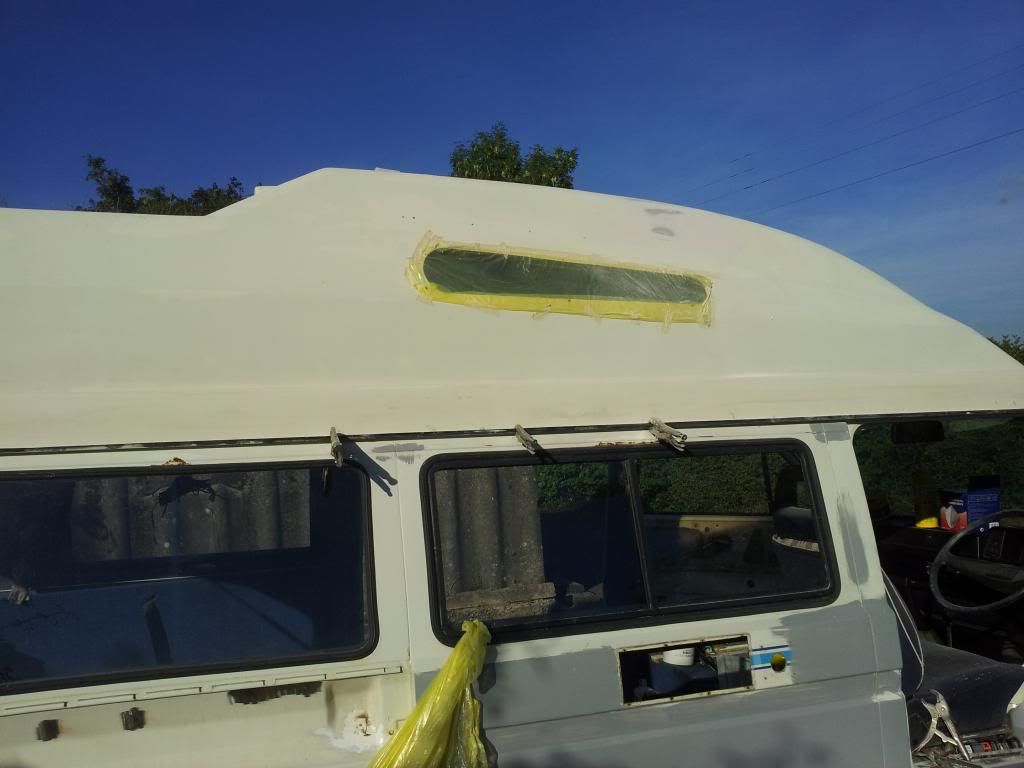
The roof in primer [brush painted, 2 pack primer-filler, just to keep any moisture out at the time]
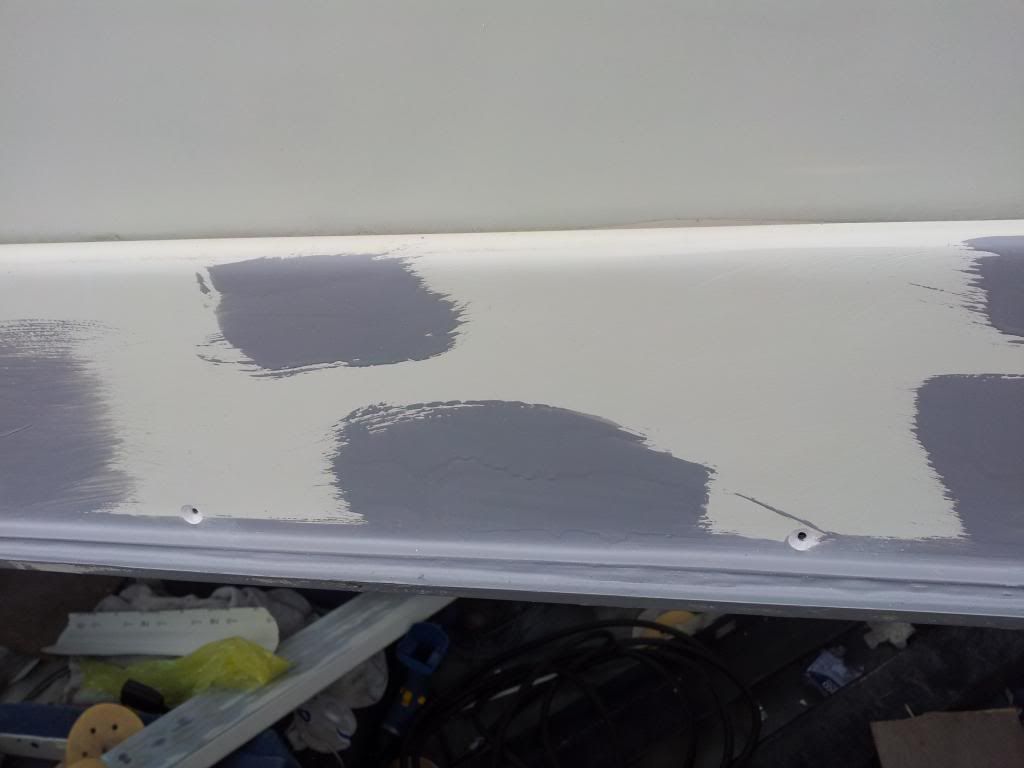
I decided to re-seal it as I didn't like the little air bubbles in the sealer
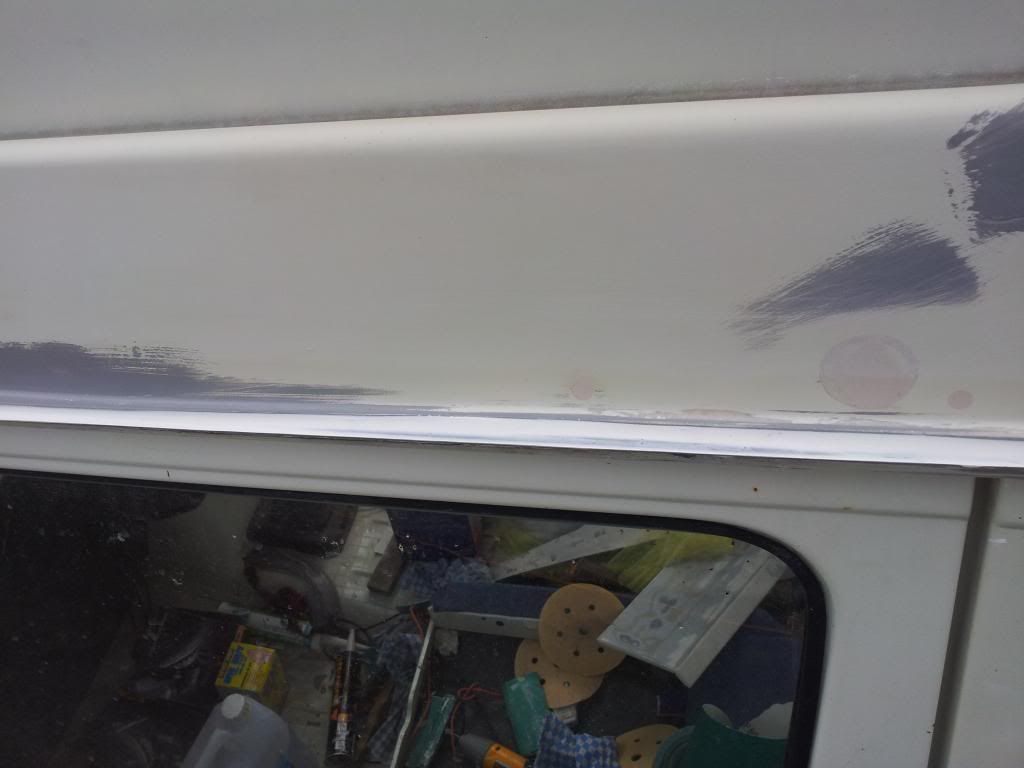
One of the back top section of the roof, where the gel coat had gone south. I repaired it with fibreglass & resin, before putting some primer on to keep the moisture out:
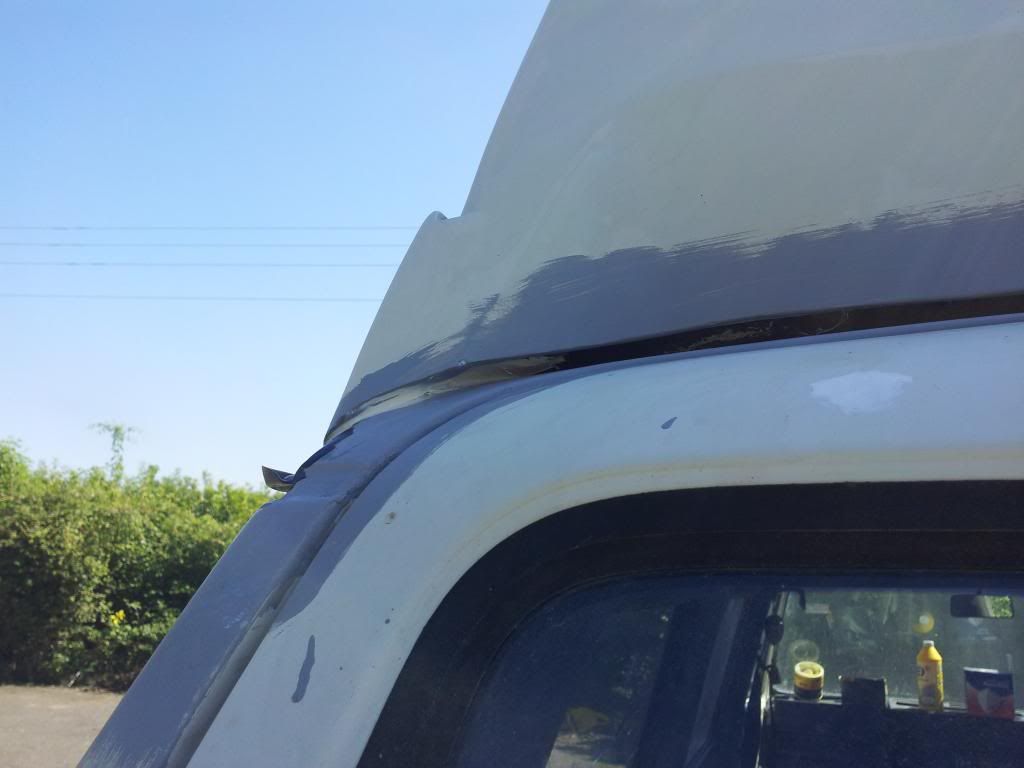
One of the n/s/r section of roof to body area. All ground clean of rust, vactann'd and brush primed:
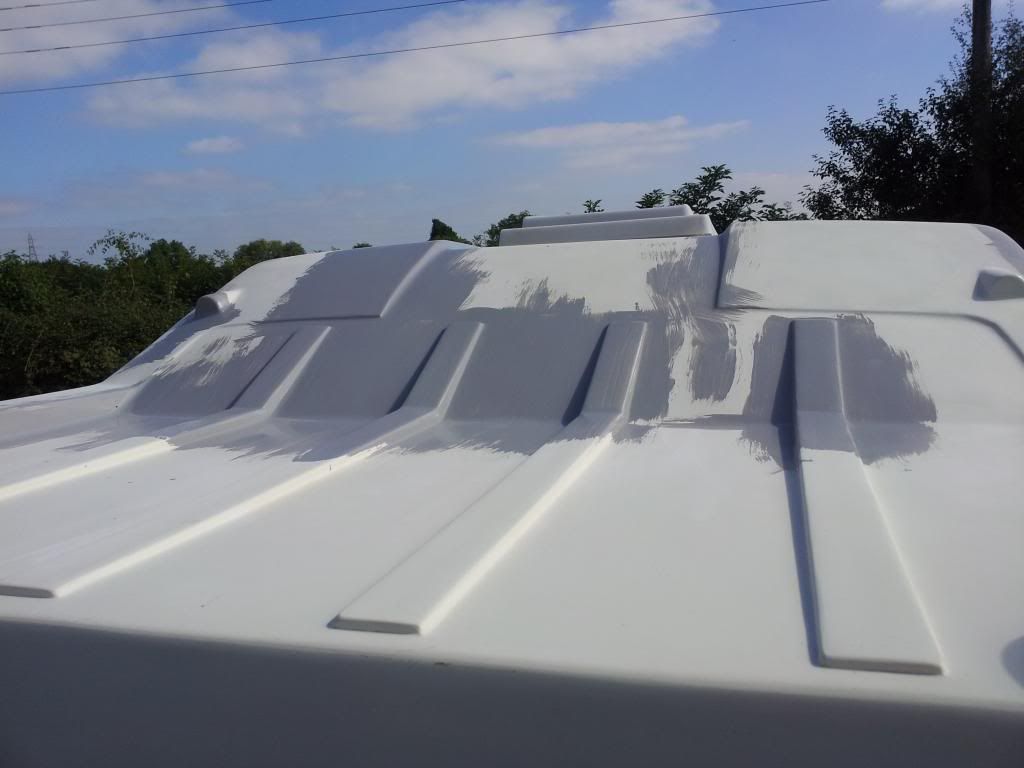
The o/s of the roof in spray 2 pack primer/filler

Voila! A view of the n/s roof & gutter areas, sprayed in 2 pack top coat:
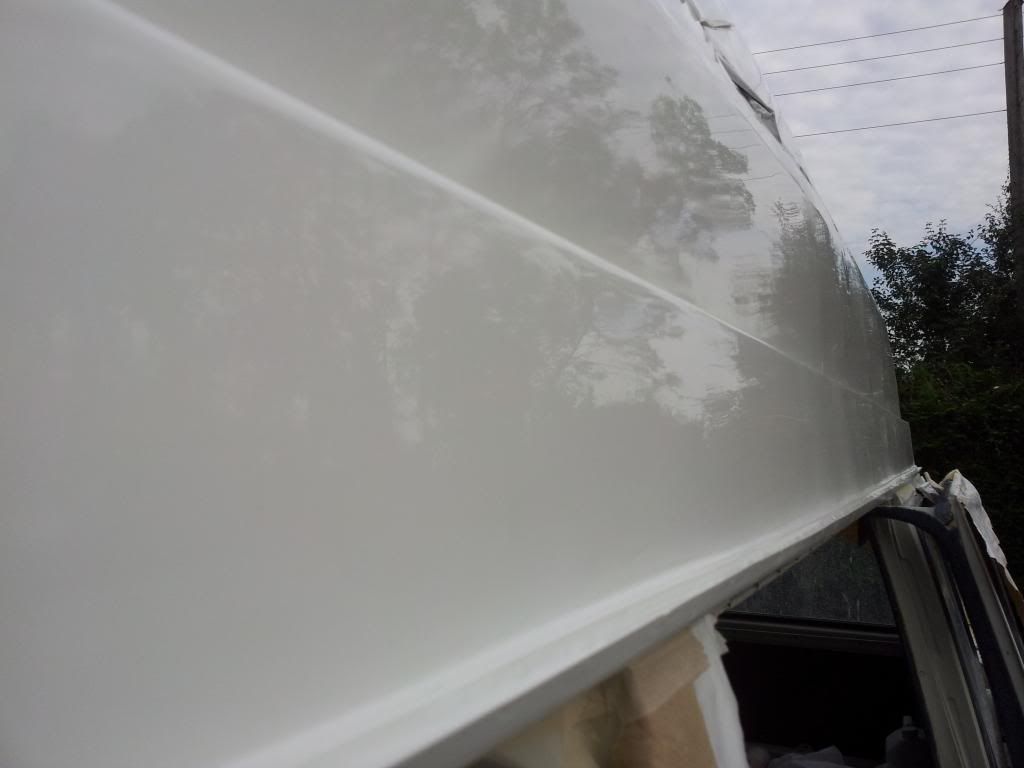
And again:
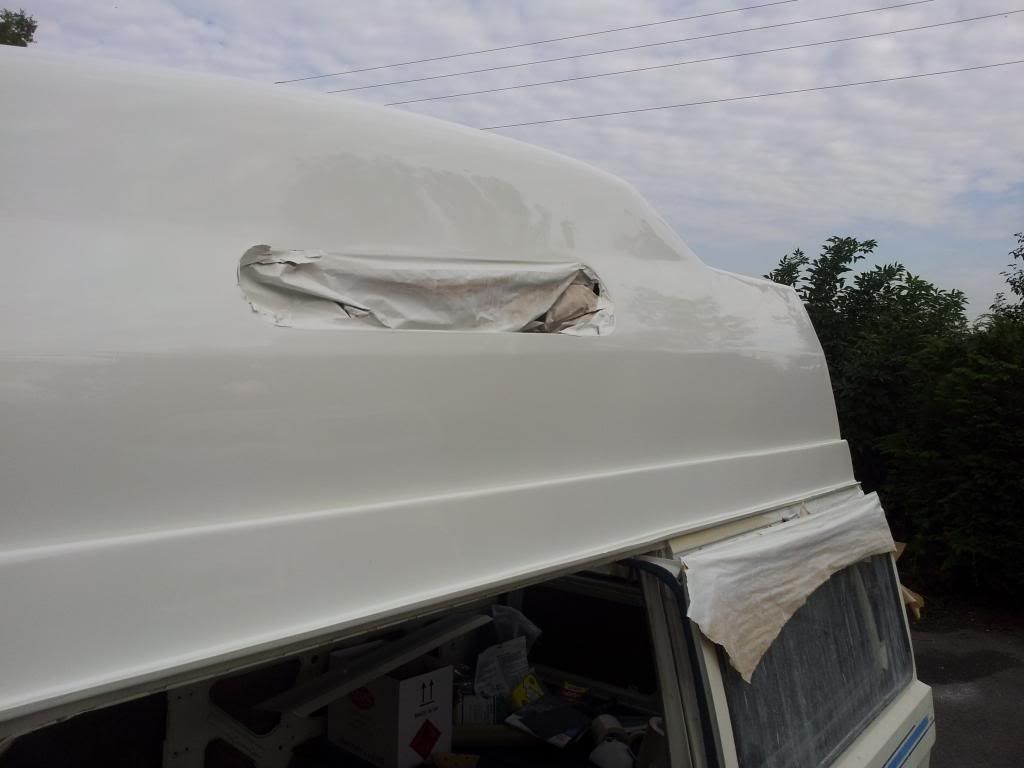
And one more:
