Ok.. just tidying up some rust and the like around the van.
I'm using a 40grit snading disc on a grinder... once the rust is off I'm lashing some Loctite rust rememdy on the clean metal.. purely cause I have some in the celler.. is there something else or better I can stick on the clean metal until painting day comes or best to just stick a thin skim of filler over clean metal?
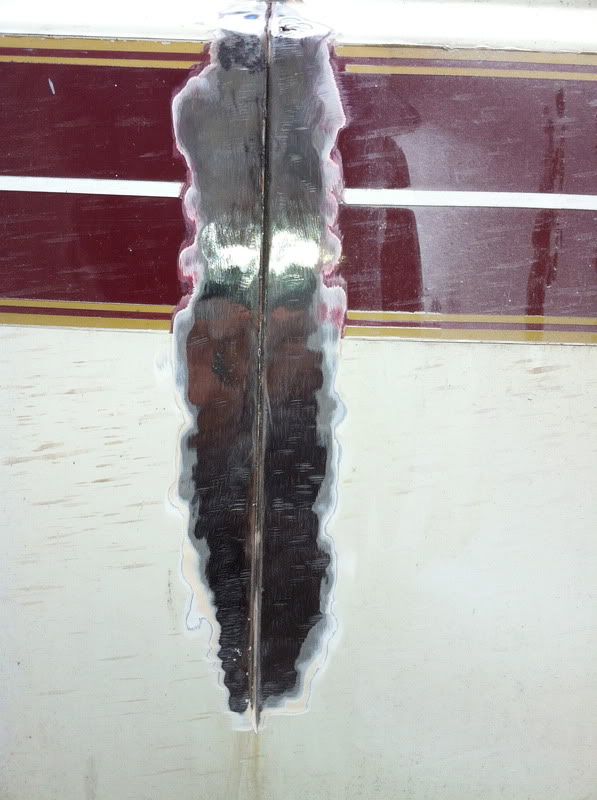
Gouge it all out the seam, your cellar stuff will do other things may be better but go with what you got, one thing dont stick filler straight onto the rust it will only hide it and make life harder later.
mike
Cool.. I think my dremel is a little under powered for the seams.. going through wire brush attachements lol.. but the grinder is too big. oh well.
The Rust Rememdy is going on well and turning matt black so guess its doing its job although its not actually going on rust as I'm removing it all to clean metal but wanted to protect the areas until painting.
PeteIOM wrote:Ok.. just tidying up some rust and the like around the van.
I'm using a 40grit snading disc on a grinder... once the rust is off I'm lashing some Loctite rust rememdy on the clean metal.. purely cause I have some in the celler.. is there something else or better I can stick on the clean metal until painting day comes or best to just stick a thin skim of filler over clean metal?
Thanks for all the advice
Nowt wrong with loctite! Used it loads of times. You can also leave it as it is or paint it. I always repaint my repairs.
metalmickey knows what he's talking about obviously.
Now watch the purists arrive!!
Grinder 1 - Pete 0 are todays results! (hey no taking back any advice about welders... it was a freak accident )
Started spraying up black things to make them look black as well as filling sanding, filling, sanding, filling sanding, filling sanzzzzZZZZzZZZzzzzz
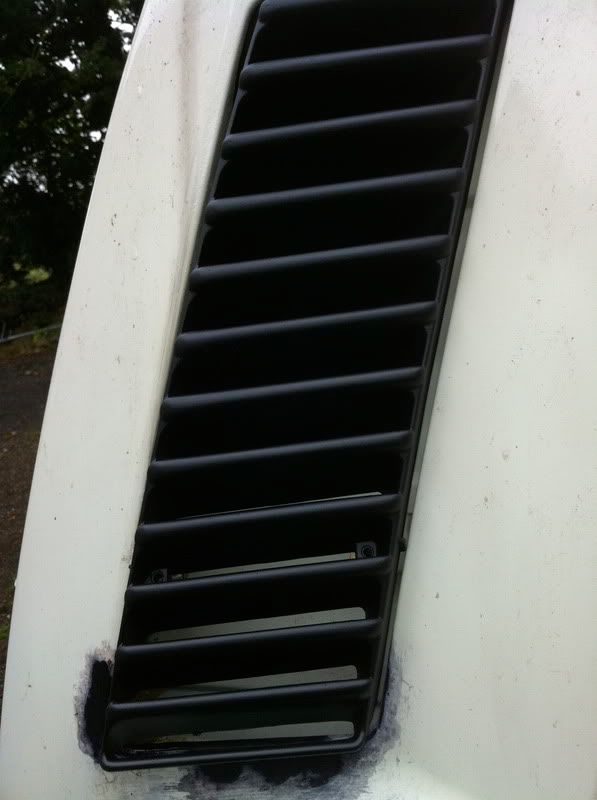
Got bumpers off now and grills... sprayed up and looking swish!
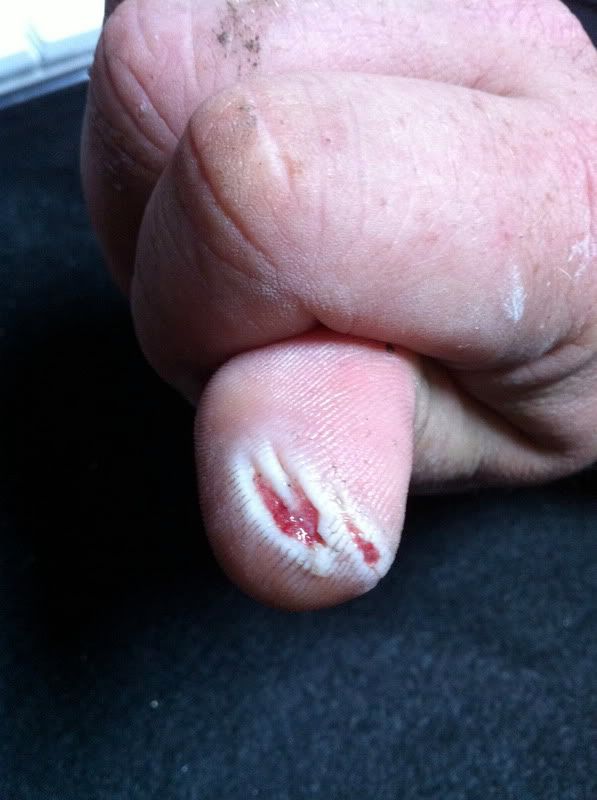
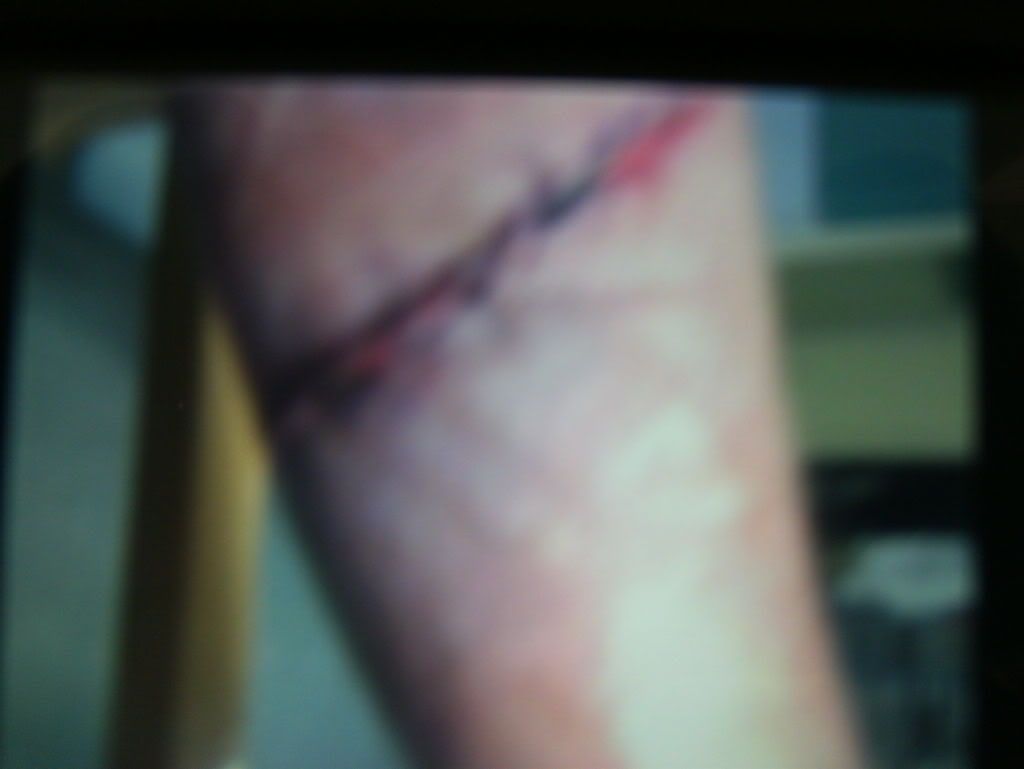
That's not a grinder wound!!!
Now, that's what I call a grinder wound!!! Glad I'm not the only careless one!!
See it's even kn@ckered my photo taking!!!
Bet your's is still sore though!!
Haven't got any grinder wounds to compare....
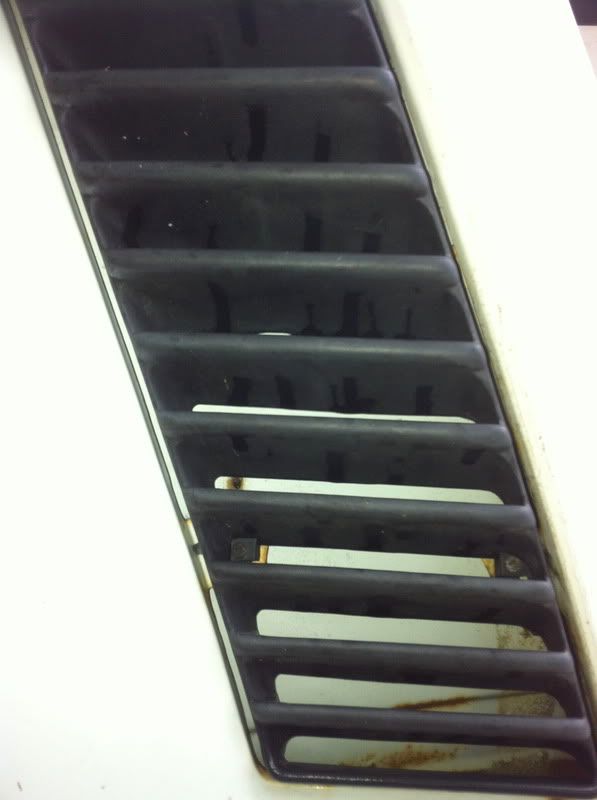
So, going back on topic about removing units and rust - can you give a little more detail about where fixings were on wardrobe and units? I have the identical van to yours (although minus most of the rust thankfully) and won't be looking at removing any units just yet, but would be good to know details for any future work. Shame about that rust behind kitchen units and along the floor to wall seam - how the hell was the water getting in? I've had a slight leak coming down inside from the sliding kitchen window (old window rubber). Water was then pooling around the floor seam and could flow towards the fridge area. Hopefully have fixed the leak before damage was done, and seams, floor etc are ok at the moment. The fridge vents warp with heat and age and let water in too. I fixed mine with aluminium reinforcing strip to get it flat again and then refixed to the body with stainless self tappers and new sealant (Silkaflex). Peering in the hole while vent was off revealed back of fridge looking a bit rusty and very dirty - similar to your pics. Gave it a gentle vacuum off, but it works fine so have left it at that. Floor in mine is factory standard chipboard (thanks, Autosleepers) - they did cut corners here and there. You should see how they got the water filler to fit...
Are you putting the original units back in?
Rusty seams - brushing in the rust killer is good but get out as much of the old seam sealer as you can to make sure there is no rot deeper in. I've used Vactan on rusty bits followed by a zinc rich primer. Blow over with top coat even it is only Halfords spray can Pastel White. This will protect your rustproofing efforts until you get final paintwork done. The seam will need resealing before final paint too - Silkaflex again or another good make. No point in skimping in this area - seams are a weak point on a 20 year old van.