

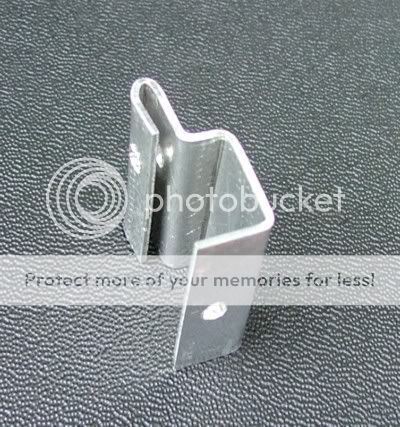
The brackets are formed from aluminium strips as shown, (looks complicated but a good vice, 2mm drill bit and strips of plywood should be sufficient)
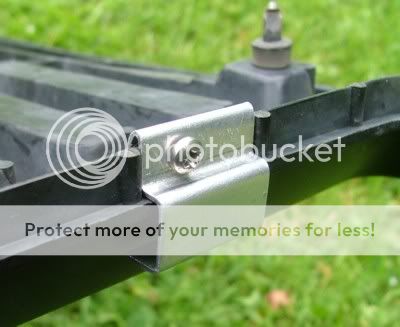
The brackets attach to the hidden flanges behind the grille as shown. The length of each bracket should be calculated to provide a clearance of at least 5mm from the face of each headlamp but also allow for clearance between the bracket/grille face to accommodate self tappers if used to secure the lenses to the bracket. Finally, colour match the brackets to the grille.
Cut the acrylic sheet (1.5mm to 2mm thick should suffice) on a band saw or a jig saw using a suitable blade (such as would be suitable for sheet metal). Approx. size is 135mm x 350mm. Finish/smooth the edges using a file (draw filing method) or scrape the edges with a steel rule.
On sunny/bright days the edges refract light and the outline of the acrylic lens can be seen from close up, if this bothers you then mask or paint them.

The lenses can be secured to the brackets using short self tappers (with a washer) or tie wraps. The fixing holes in the Acrylic need to have 'clearance' if using self tappers.
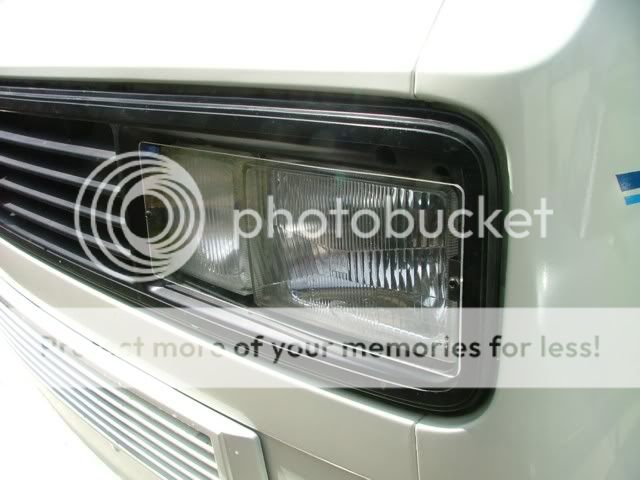
Depending on how your headlights are adjusted you may find that a very slight bend at the gap where the smaller headlight sits next to the larger one will help to maintain an even distance between protective lens and the headlamp, if so then this is best done by gently heating the acrylic over a strip heater and applying gentle pressure. Chances are that you won't need to do this unless you want things absolutely perfect!
Any questions, more details to make/form the brackets then happy to answer them………


