Hardwiring Dash Clocks etc

An alchemy of sparks, copper wire and earth

Moderators: User administrators, Moderators

Post Reply
boatbuilder
Registered user
Posts: 804
Joined: 09 Aug 2009, 21:53
80-90 Mem No: 8265
Location: County Monaghan, Ireland

Hardwiring Dash Clocks etc

Post by boatbuilder »

So last year I make up a circuit board for my dashboard using supplies from Maplin - some veroboard and leds.
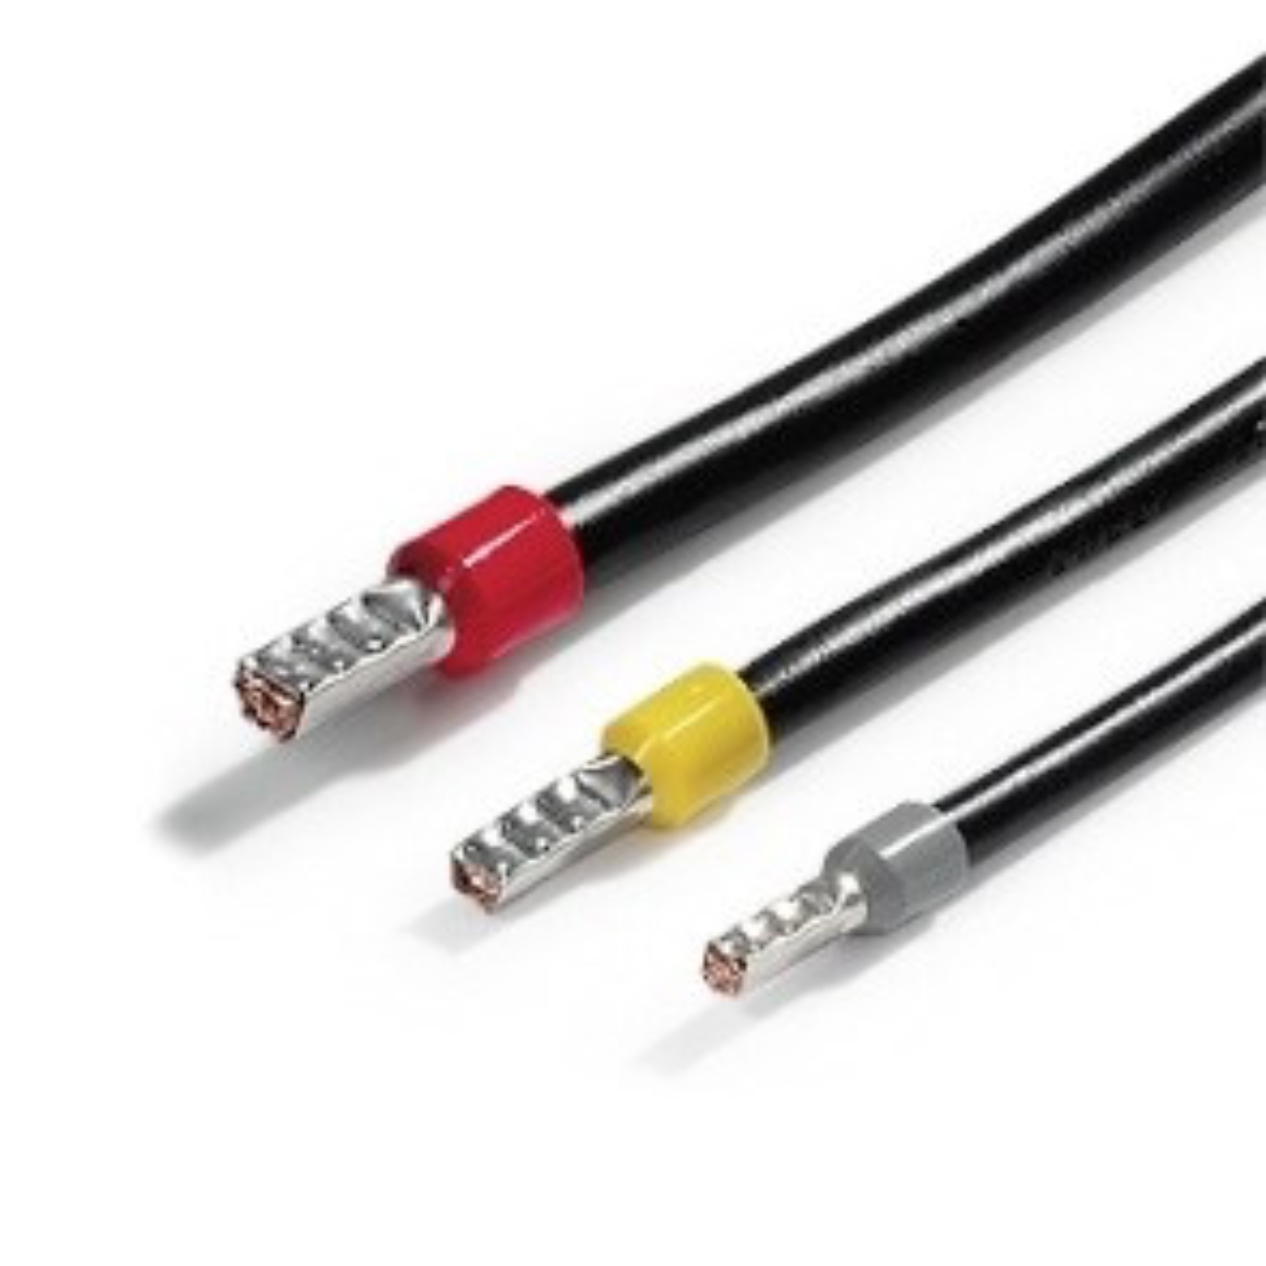
I used a computer ATX connector to join it to the loom, soldering all of the ends on the wires.

The problem I'm having now is that the wires needed are so tiny that the ends are snapping off where it joins to the veroboard.
Does anyone have any ideas on how to do this in a more robust way? Has anyone done this job without using veroboard? I've had problems with the copper tracks separating from the veroboard as well.
I've already soldered on the green screw clamp connectors onto the board, but it doesn't solve the problem of fragile wires snapping off or coming lose or the tracks coming away from the board...

Thanks! :ok
1984 1.9D (AEF Code) T25 tintop

User avatar
slowcoach
Registered user
Posts: 1635
Joined: 06 May 2010, 10:23
80-90 Mem No: 8892
Location: West Yorkshire
Contact:

Re: Hardwiring Dash Clocks etc

Post by slowcoach »

Sorry can't help here really, but just wanted to ask if you've replaced the 14pin multi-plug on the 'van side' of the loom with the atx connector?

I need to rewire mine soon, just wondering if people shy from that or not for any reason :-)
Cheers.!
===================
1984 TRAKKA Conversion Subaru EJ20 5 Speed

User avatar
captain Byrne
Registered user
Posts: 1004
Joined: 19 Mar 2009, 10:01
80-90 Mem No: 7107
Location: Glasgow
Contact:

Re: Hardwiring Dash Clocks etc

Post by captain Byrne »

This is a good long term fix if the tracking has gone at the bendy bit on the connecter end.

Image

Image

Image

Image
1983 LHD Westfalia poptop 1.9 DG petrol.

User avatar
bigbadbob76
Registered user
Posts: 1733
Joined: 07 Nov 2016, 14:41
80-90 Mem No: 15707
Location: Isle of Skye

Re: Hardwiring Dash Clocks etc

Post by bigbadbob76 »

I've used veroboard a fair bit and always use pcb pins to solder wires to, or pcb screw terminals and bootlace crimp on ferrules for the wires, the crimp ferrule supports the wire by gripping the insulation as well as the wire strands.

Image

Image
'86 1.9 DG, 4 spd, tintop, camper conversion.
Split case club member.

boatbuilder
Registered user
Posts: 804
Joined: 09 Aug 2009, 21:53
80-90 Mem No: 8265
Location: County Monaghan, Ireland

Re: Hardwiring Dash Clocks etc

Post by boatbuilder »

Slow coach yes I cut off the old connector and replaced it with an atx connector. I bought an atx connector with wires already attached so I just had to solder each wire to the correct position.

Bigbadbob those ferrules look like a good job. I already have those exact screw terminals on the board.


Sent from my SM-G920F using Tapatalk
1984 1.9D (AEF Code) T25 tintop

User avatar
CovKid
Trader
Posts: 8411
Joined: 30 Apr 2006, 13:19
80-90 Mem No: 3529
Location: Ralph - Coventry (Retired)
Contact:

Re: Hardwiring Dash Clocks etc

Post by CovKid »

Plug connector to and from clocks all needs to be robust. The smaller runs from each item to the next on a complete clock hardwire are not so subject to vibration. The ATX plug and socket works well and does at least have some colour coding to it which helps no end. It also gives you extra ways in and out of the clocks for extra indicator LEDS etc. Quality of wire used helps too. Solid core shouldn't be used for one. The terminal ends pictured above are great from plug to board.
Roller paint your camper at home: http://roller.epizy.com/55554/" onclick="window.open(this.href);return false; for MP4 download.

Post Reply