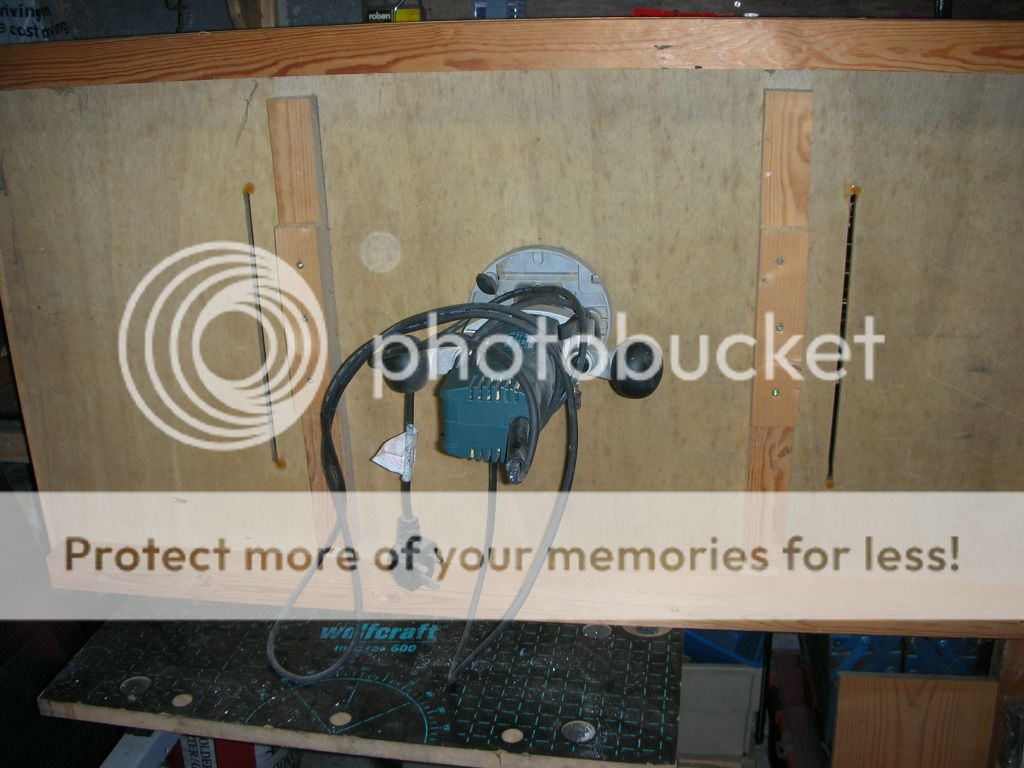
Underneath of table, note bracing to keep it flat.
Both sides are varnished to both provide a smooth surface and keep out damp.
1/2" timber on edges is to prevent splintering of the plywood.
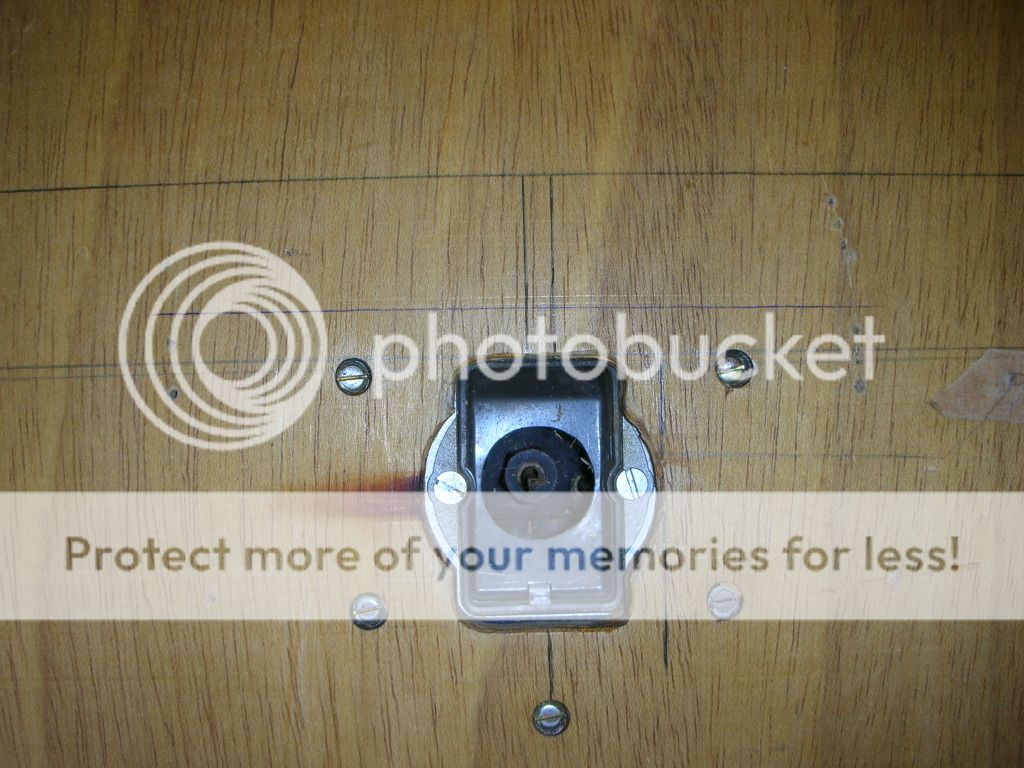
Close up of router, used the clear plastic dust port to design the hole.
Dust extraction is a must cos the cutter will overheat and the timber will burn. Masking tape is fine for temporarily connecting the vacuum cleaner if you don't have the correct fitting.

Top view of router & cutter.
Note the 2 screw holes on the left and the arc of screw holes on the right, these are for adjusting the "fence" if required. This is nothing more than a piece of 2x2, with a cut out for the router cutting and somewhere for the dust to go. I make the cut out by using a domed cutter in the router, screwing the fence down on the left hand side tightly, and then VERY slowly bringing the right hand edge towards the cutter.
This results in a nice smooth surface for the dust to escape.
For grooves across the end of a piece of timber, make one of these.
The hold downs clamp the timber so it can't move.
Length depends on the size of your table, you need to leave the timber protruding by just over 1/2 the width of your largest cutter. If it's too big the timber being grooved will chatter and splinter.

Last pic tries to explain what the end result should be, and how the fence works.
The only artist I can claim to be has the word p**** in front of it so no apologies!!.

When using ANY router table ALWAYS:-
Use a push stick to hold the timber down and protect your fingers.
Feed timber towards the cutting edge. If you feed from the other side the centre of the router cutter will grab the timber and chuck it like a spear. Spins at around 17,000rpm never forget that.
Feed the timber slowly. Because you are using a table the shaft of the cutter will protrude more than normal, and simple leverage produces more stress on the cutter and the router bearings.
For 6mm ply for example, I'd run all the 2x1 through taking a 2mm cut, reset the router and take another 2mm cut and so on.
If your router has an adjustable depth stop (screw adjustment) this is simple, if not then it's a bit more time consuming.
When using the sled remember to feed timber from the
opposite end.
Hope this helps, any questions just ask.
This table is very basic but has created hundreds of meters of picture framing etc, and weighs next to nothing. For heavier stuff I bought a router table insert for my Triton table saw, and use a 1/2" router.
You can always buy a decent fence but they aren't cheap.
For inspiration have a look at Incra stuff, I bought a 30cm ruler years ago it can draw parallel lines 0.25mm apart.

