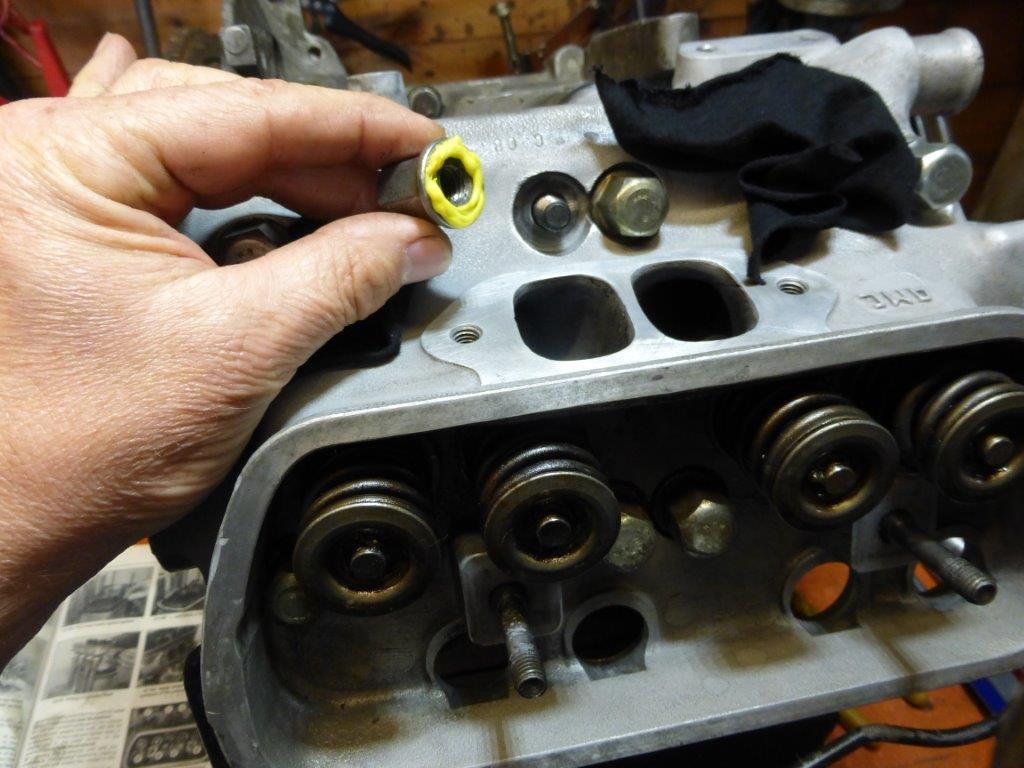
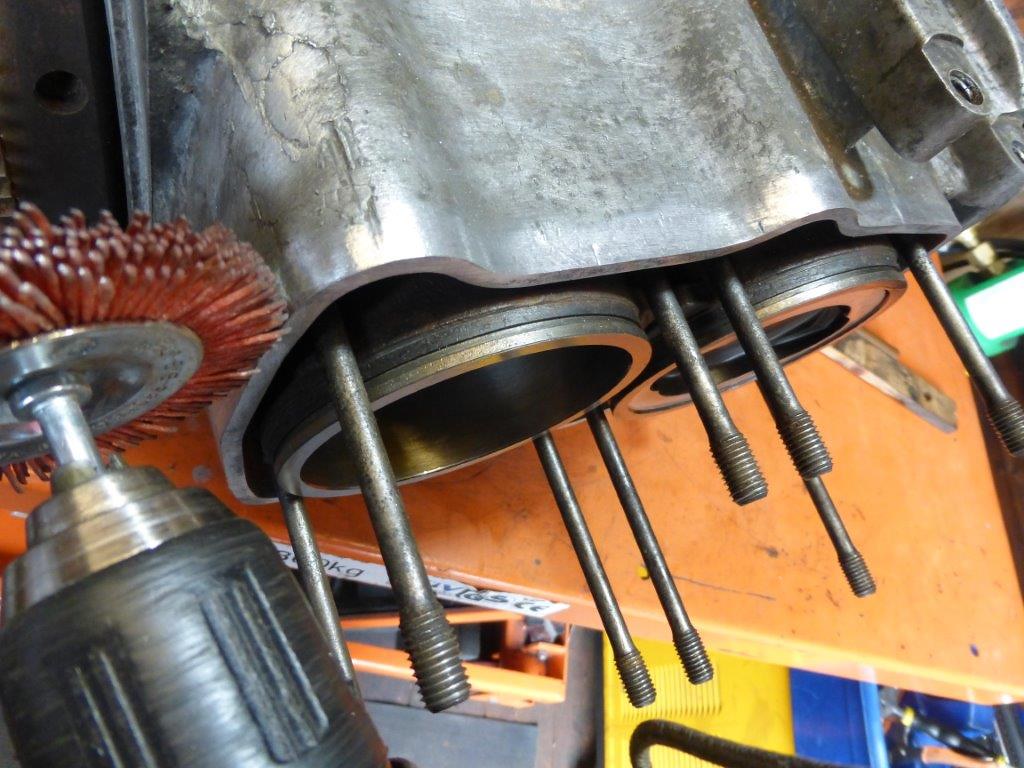
 P1100290 by Paul_Barr, on Flickr
quick check of the gallery plug that I forgot to do before...looks fine
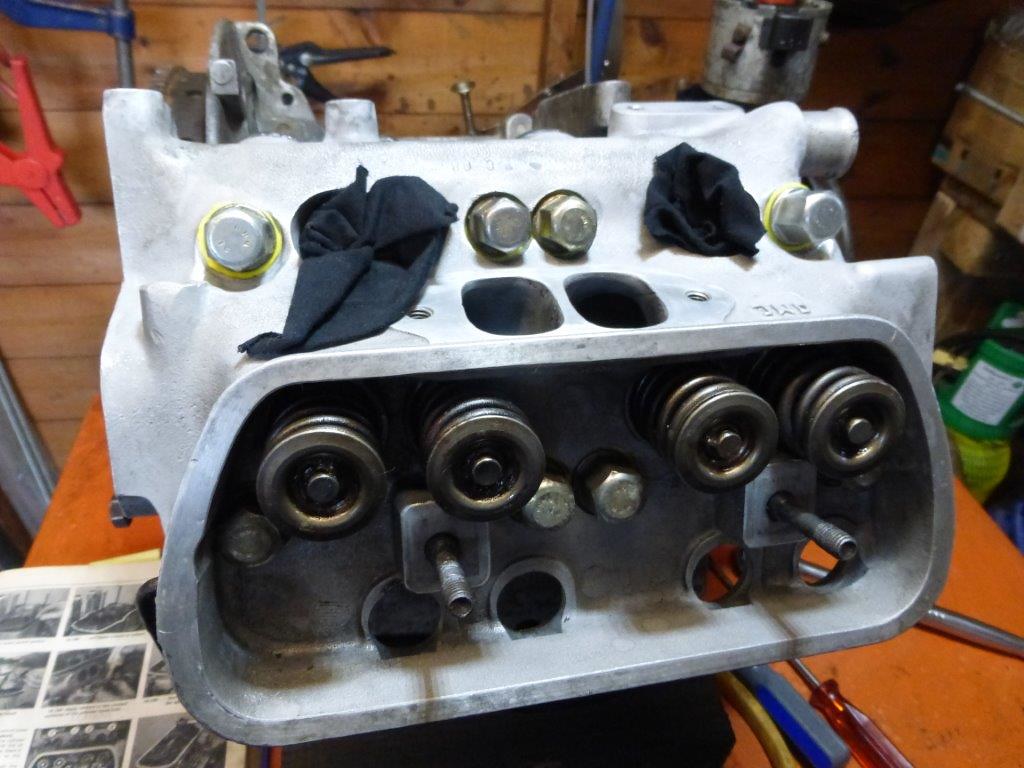
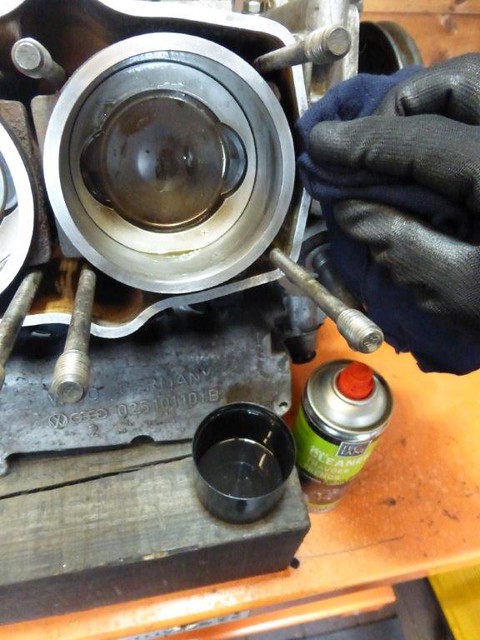
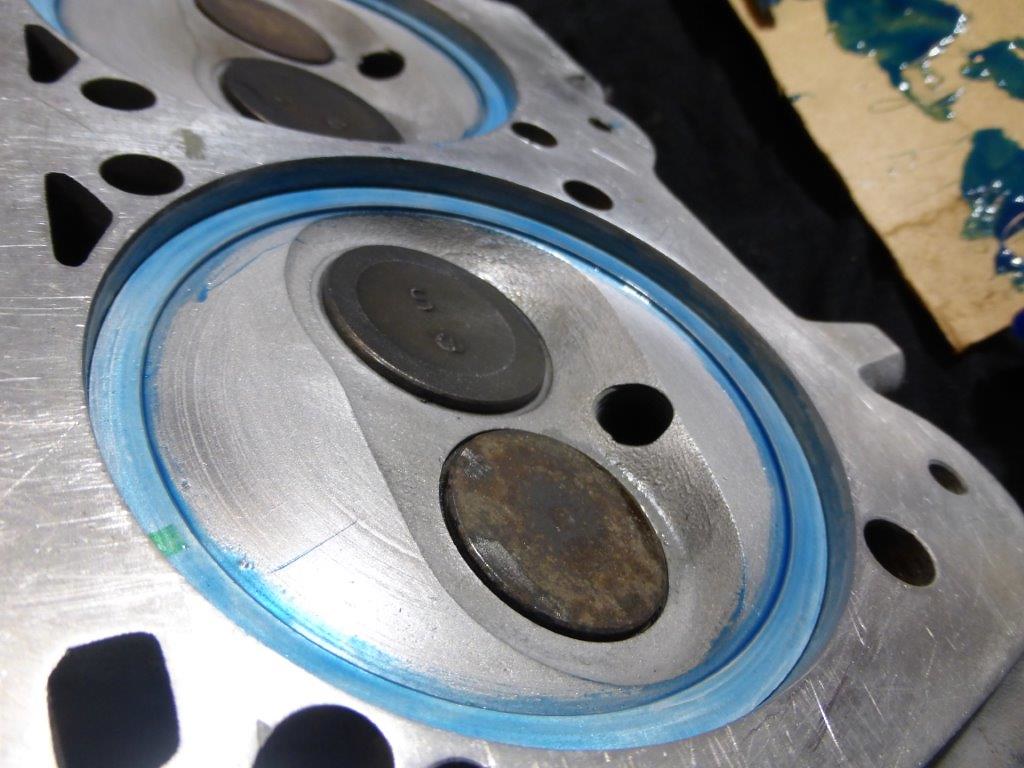
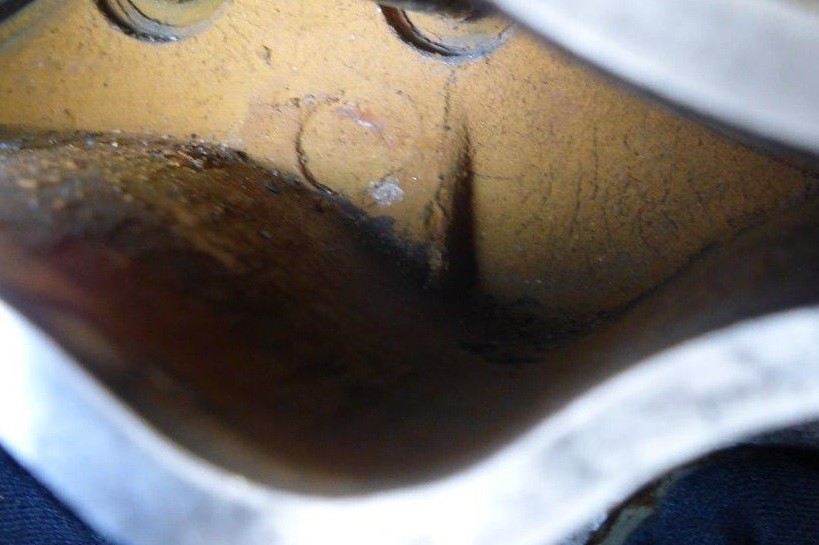 P1100298 by Paul_Barr, on Flickr
Got some brake cleaner as suggested by 937carerra, thanks.
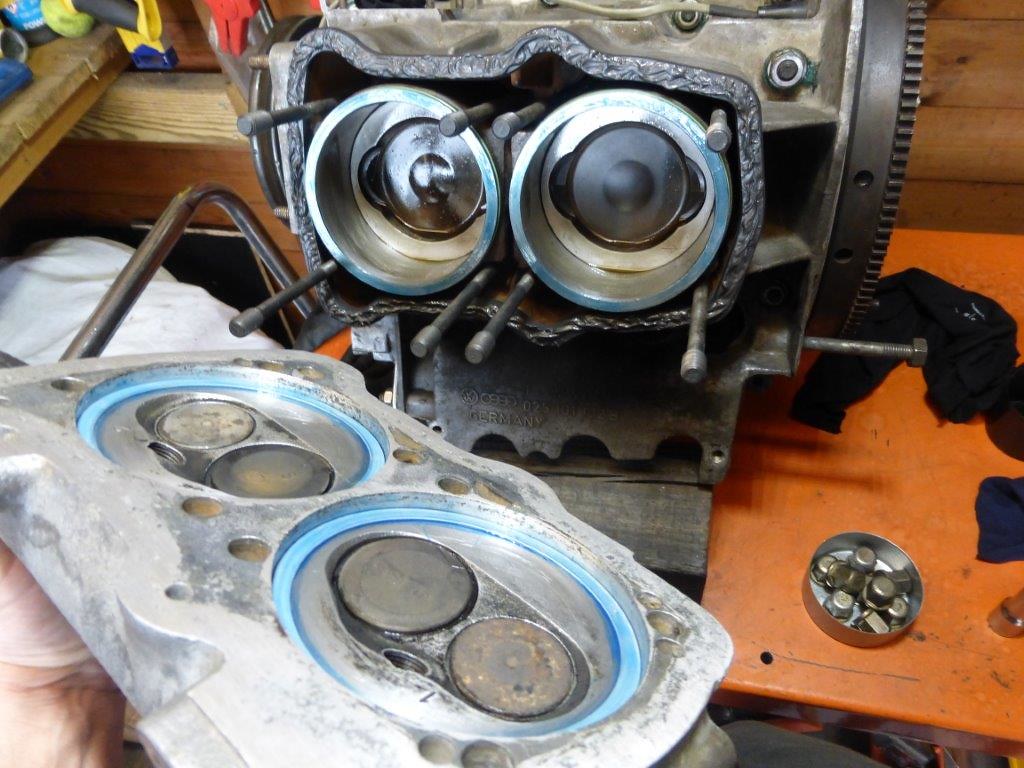
cleaned seal surfaces
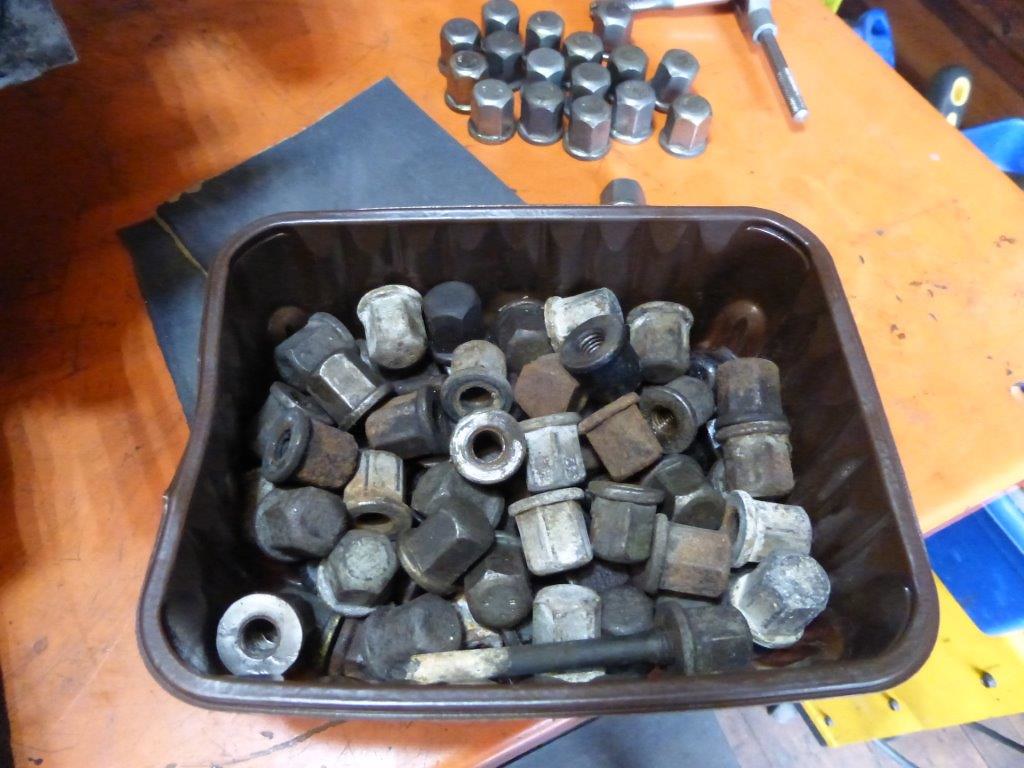
 P1100303 by Paul_Barr, on Flickr
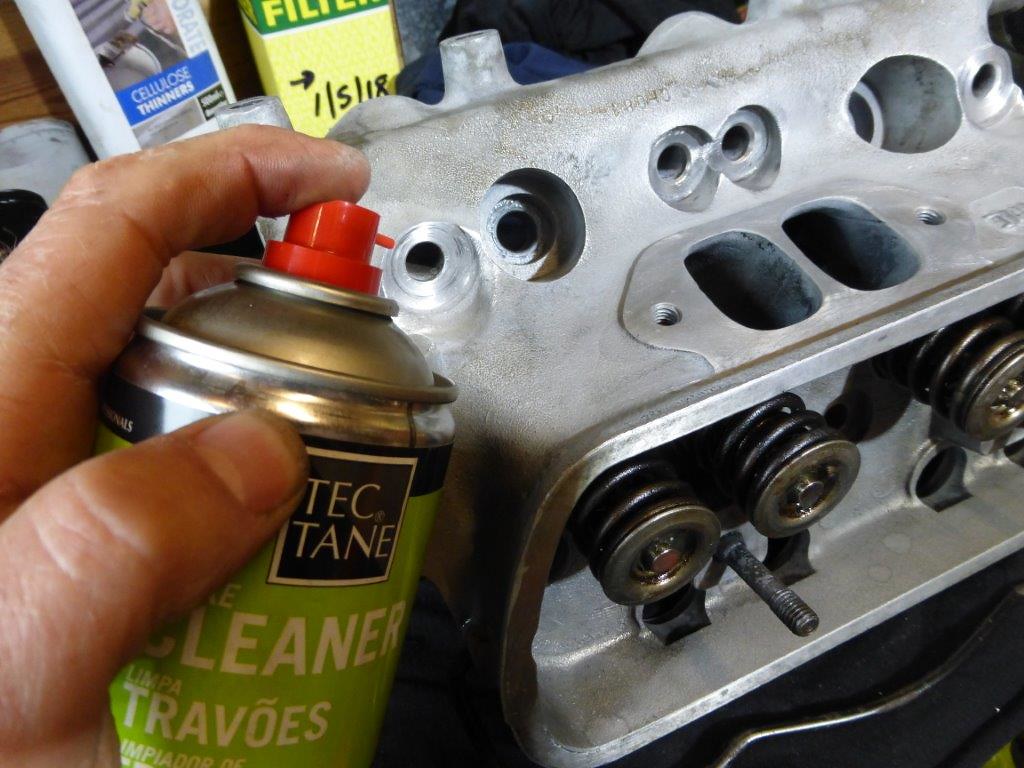 P1100303a by Paul_Barr, on Flickr
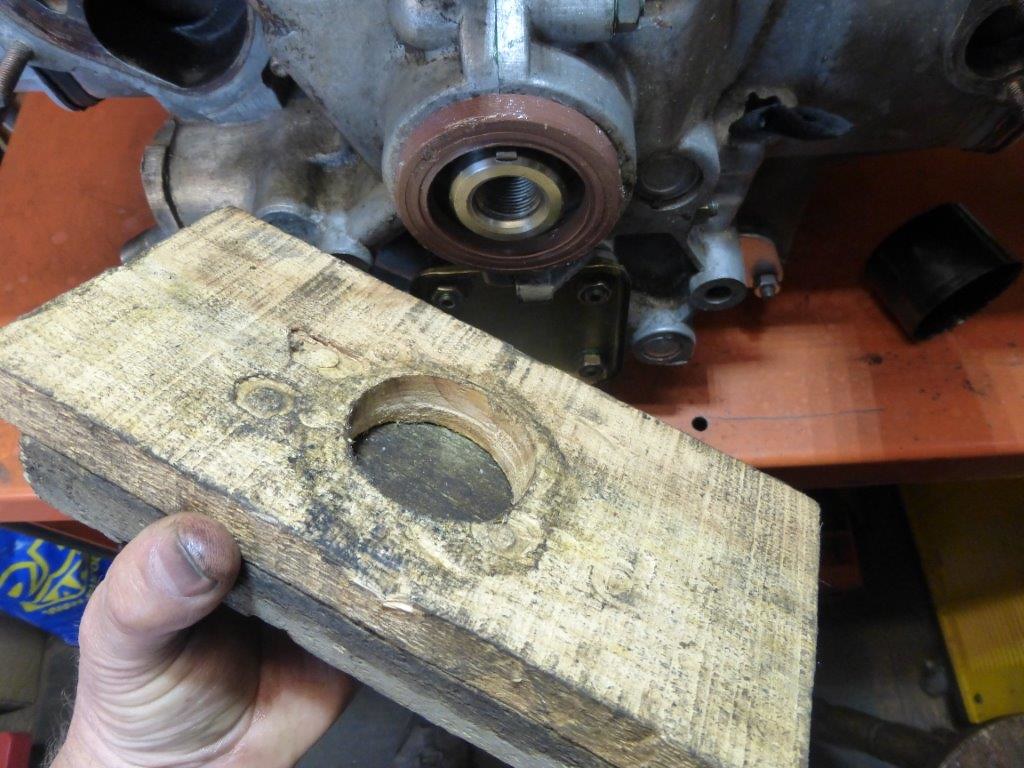
cleaned nuts not happy with this one
 P1100300 by Paul_Barr, on Flickr
lucky I have some spares
then I noticed I can't count
 P1100301 by Paul_Barr, on Flickr
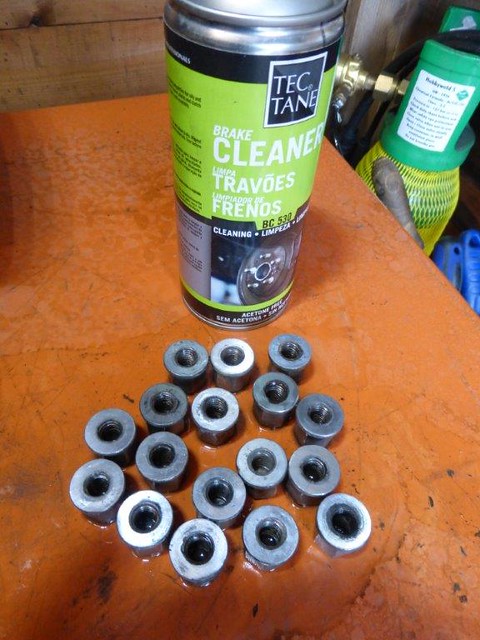 P1100302 by Paul_Barr, on Flickr
this is where a bottle of the stuff is easier
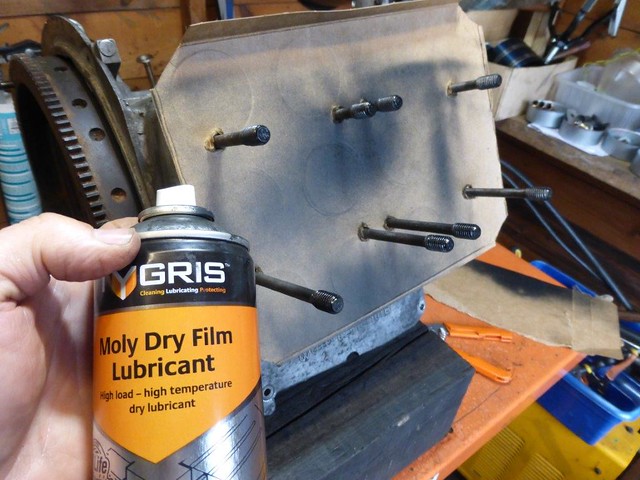
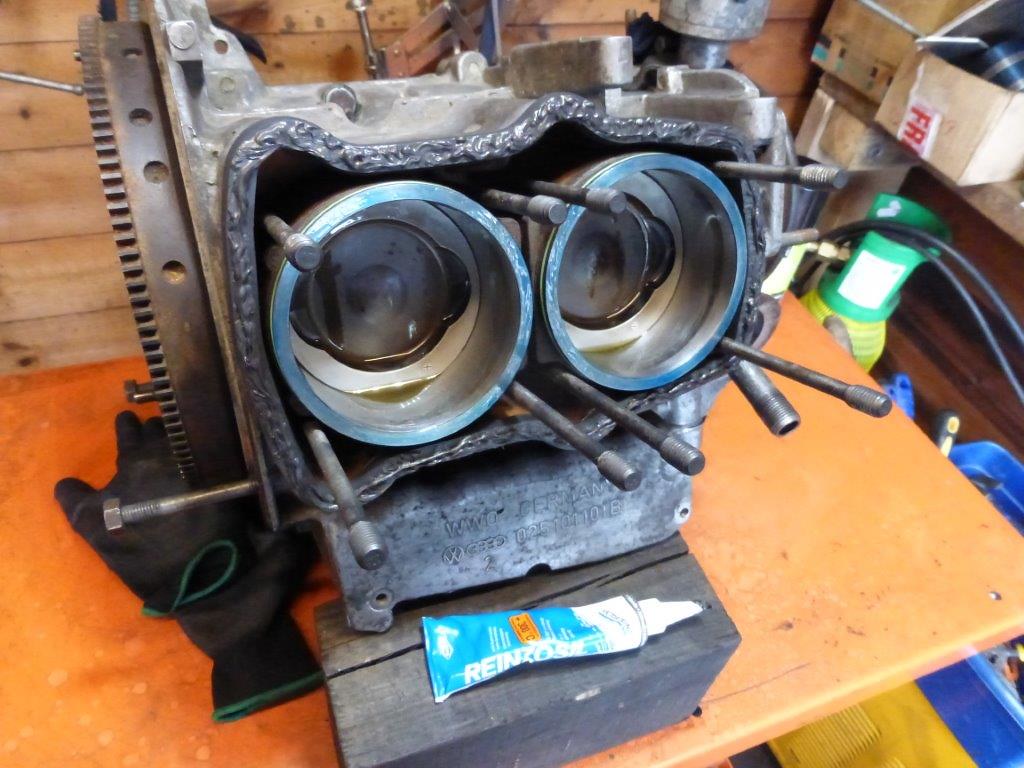
 P1100304 by Paul_Barr, on Flickr
dry moly on studs
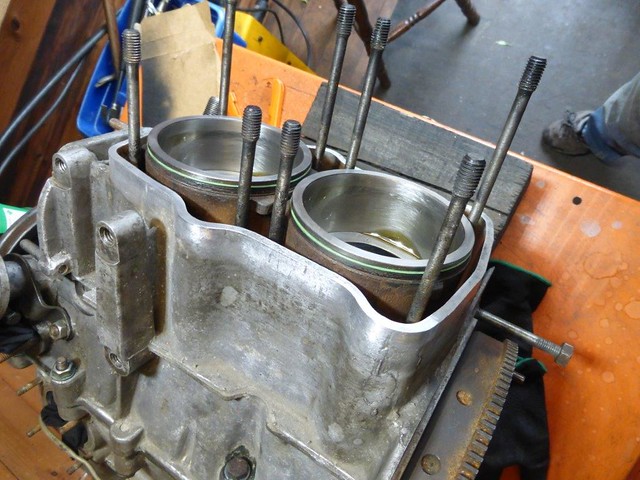
 P1100305 by Paul_Barr, on Flickr
green orings on
 P1100306 by Paul_Barr, on Flickr
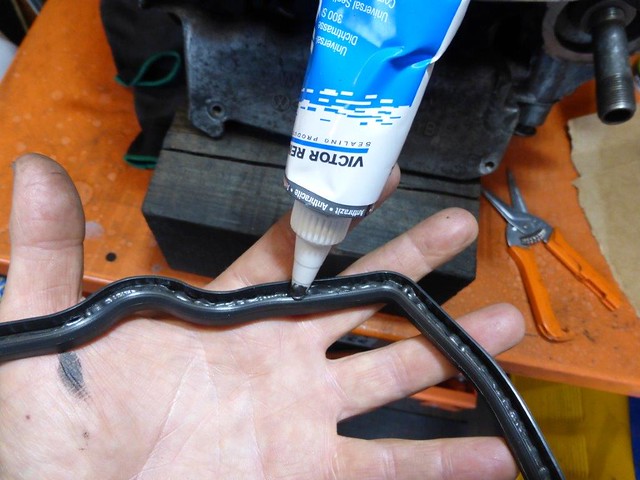
sealant in gasket, this is where VR is easier than Dirko because you get a nozzle
 P1100307 by Paul_Barr, on Flickr
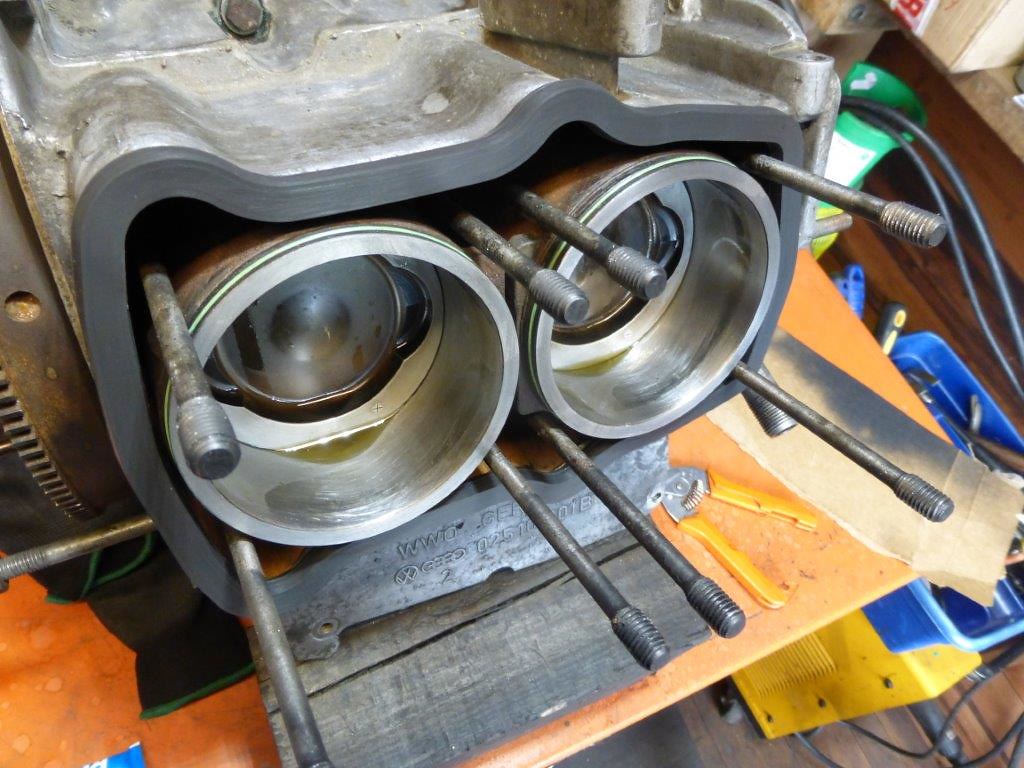 P1100308 by Paul_Barr, on Flickr
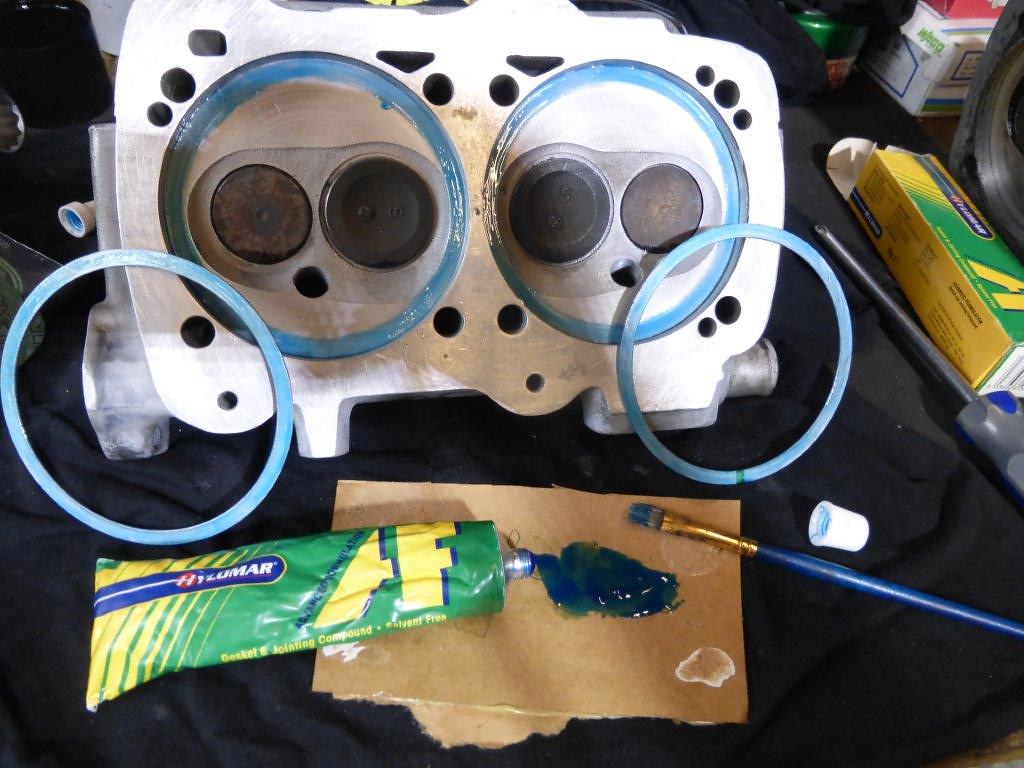
I'm using AF again, paintbrush gets a very thin even layer, this is a coarse bristle brush, fine can shed hairs you can't see
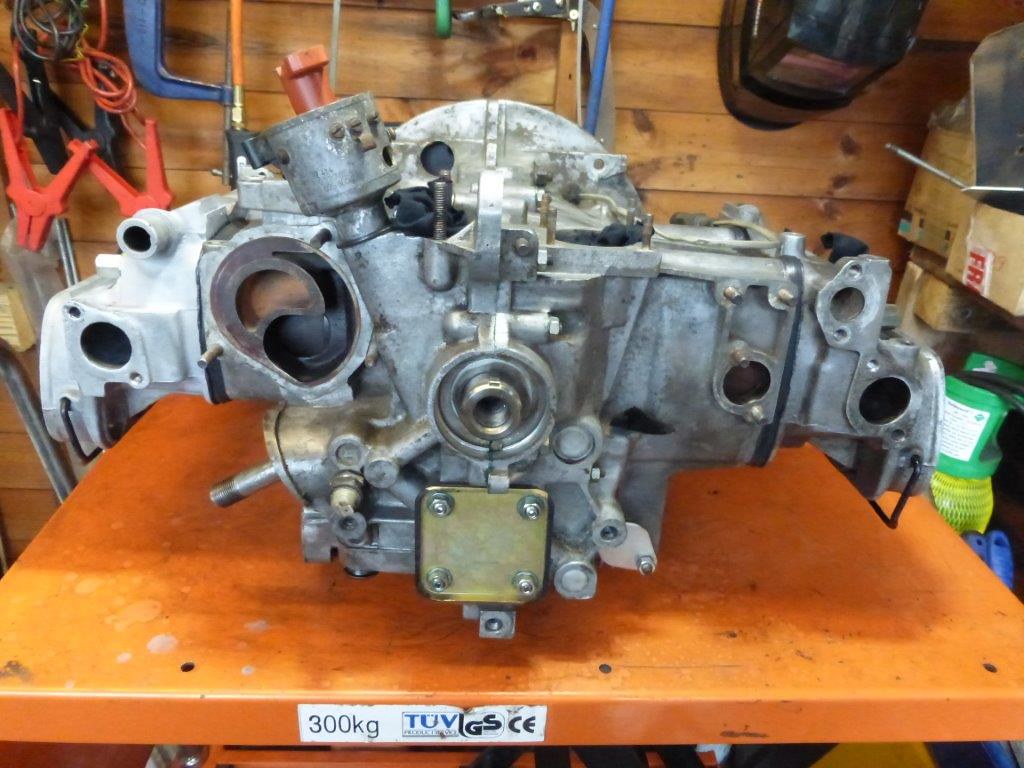
 P1100310 by Paul_Barr, on Flickr
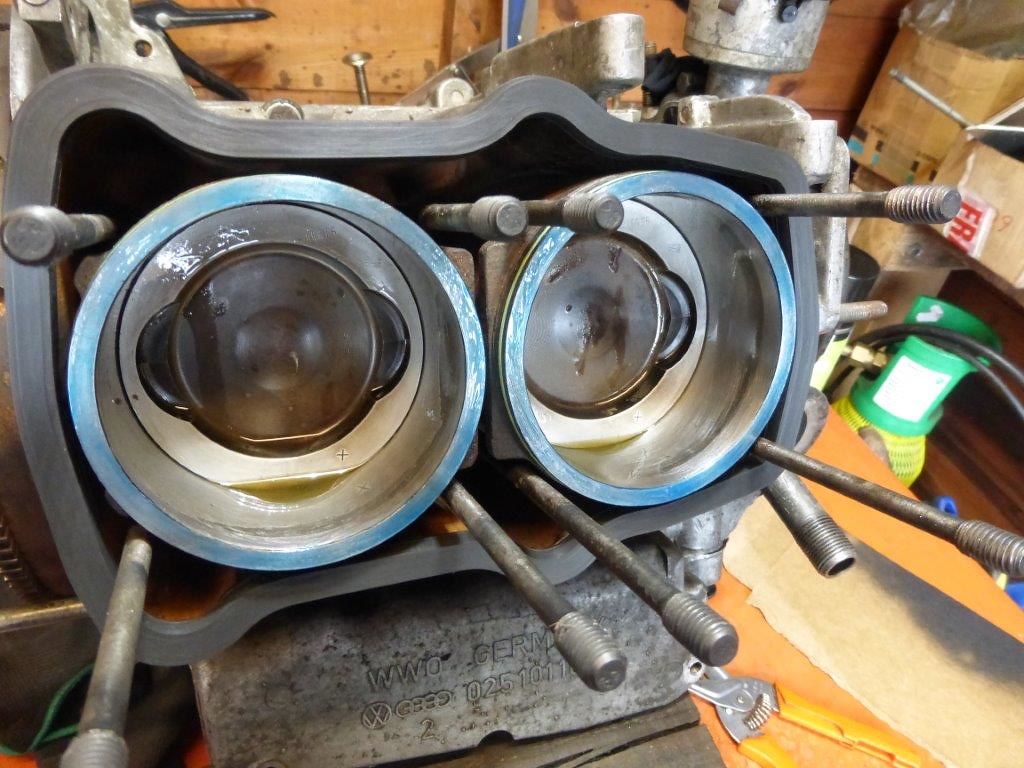 P1100311 by Paul_Barr, on Flickr
rings in and do the other side
 P1100312 by Paul_Barr, on Flickr
sealant on other side of water jacket seal
 P1100314 by Paul_Barr, on Flickr
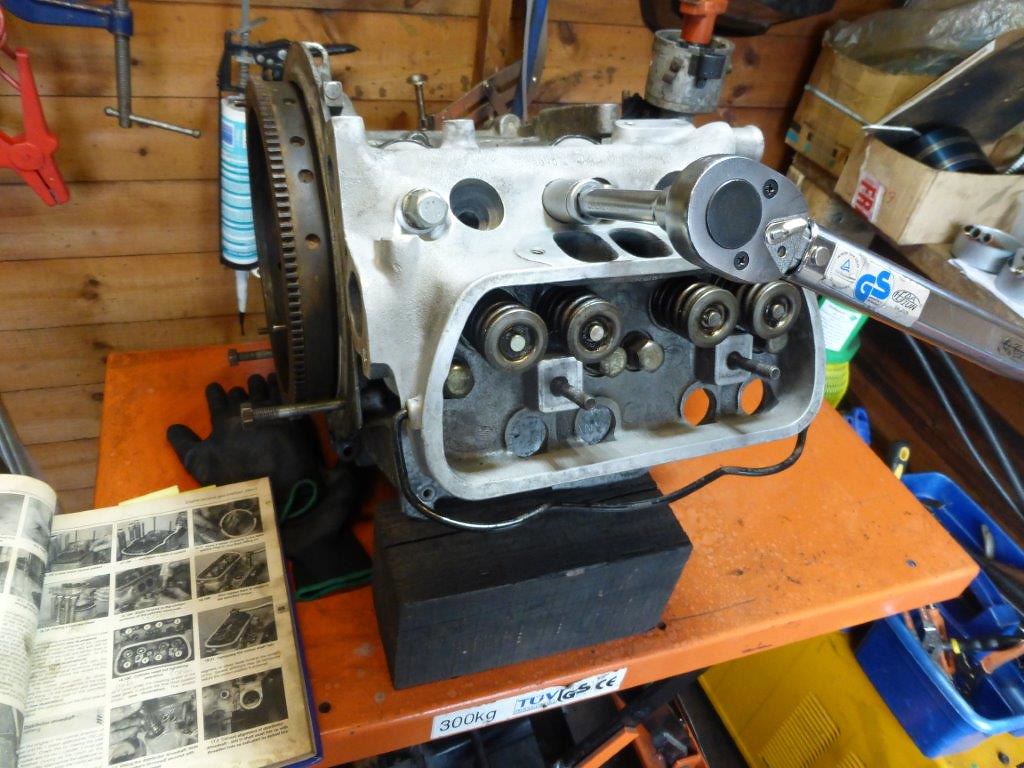
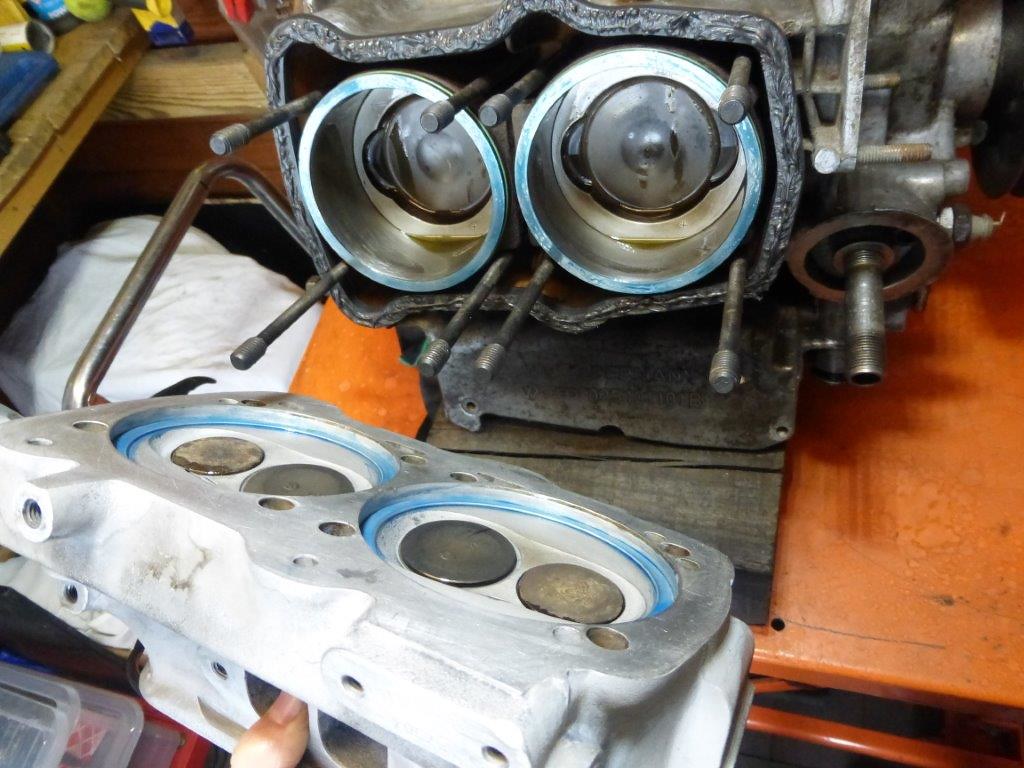 P1100316 by Paul_Barr, on Flickr
25Nm with dry nuts and leave for 30 mins to allow the Hymolar AF to creep out of the joint, just enough time to post this.....
 P1100317 by Paul_Barr, on Flickr
tencentlife wrote:
I recommend using Hylomar on the fire rings, it is a non-hardening elastomer specifically designed for this type of high-temperature sealing requirement with differential rates of expansion between elements (Rolls Royce developed it for their large jet engines). It must be used according to instructions, applying it to one part, smearing that part against its mate to create a film on both parts, then the parts separated and the volatile vehicle allowed to gas off for a few minutes. Then the parts are assembled and brought to 1/2 to 3/4 of full torque, then wait 20-30 minutes for the elastomer to "creep" under pressure, and finally bringing the fasteners to full torque. This means both sides of the fire rings must be coated and smeared to the heads and cylinder tops. The head capnuts can be first assembled dry, then after all have been brought to final torque, taken off one by one and retorqued with sealant. Hylomar can also be used under the capnuts, which will allow retorquing if ever necessary without the need to drain coolant, remove the nuts and apply new sealant, since the Hylomar never hardens. There are several variants of Hylomar, get the Advanced Formula ("Hylomar AF") for its superior workability, or the Universal Blue spray if you are willing to mask your parts carefully . There is a special solvent available as well, "184", which makes clean-up easy, although I believe acetone can also be used. Hylomar products are easily found on eBay or Amazon.