thought I would put down for the benefit of others what progress I have made on this project - with thanks to printmonkey for his thread earlier which inspired me. I want a solar capability which charges both batteries, gives me good information and has minimal impact on the look of the van. I have also had several occasions where my battery has run flat so I hope that this solution will prevent that and start to pay for itself when I dont need a hook up at campsites.
I bought:
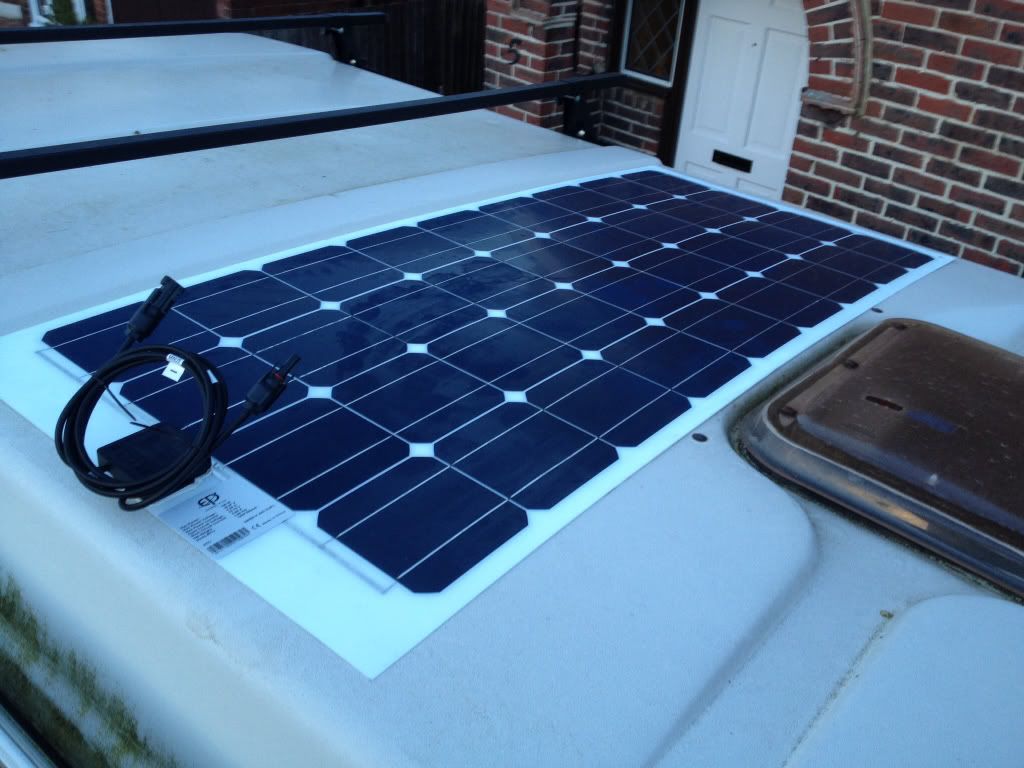
100W Semi flexible solar Panel: http://www.ebay.co.uk/itm/161057406947? ... 1439.l2649

£149
20A Charging controller (and optional liquid crystal display meter): http://www.ebay.co.uk/itm/161137693843? ... 1439.l2649

£56.99 (now seems to be £156.99!) This gives good information about charging for both batteries - you can prioritise which gets charged and at what percentage. It also tells you the voltage being achieved by the panel.
Suitably rated wire - 20A - 10 meters: http://www.maplin.co.uk/p/twin-core-20a ... etre-xs73q
£27 (I have since seen it cheaper but never mind)
Ring connectors to attach to the batteries.
Grommets for the wires.
means of attaching panel to roof - very strong 3M velcro equivalent and some brackets which I will fix to the roof with sikaflex. Possibly allowing the panel to be moved to maximise charging efficiency.
Set up:
I want the controller and the meter to be accessible but unobtrusive so have decided to position them to the rear of the top tray which runs from behind the driver's seat to the main wardrobe. As luck would have it the controller just sits nicely there (without the need to screw it down). Wires need to run to the controller from the solar panel and from the controller to both the leisure and starter batteries. I have had a look at MPPT chargers and PWM with the former supposedly being more efficient in converting the charge from the panel into charge for the batteries. However my research seemed to suggest that at these wattages there is little to choose between the two (and cheap MPPT chargers are not as efficient as they may in theory claim). This was also the only set up I could find where it would charge both batteries at the rates I could specify and track.
Routing the wire to the leisure battery:
From the controller there is a small gap to the void between the wardrobe and the side window. Leave enough wire to allow the controller to be removed from the tray (to put the other wires in and for maintenance etc). Feed the wire through the gap and down to into the main wardrobe. I intend to run the wire under the freshwater tank next time it is removed but for now I pushed the wire between the edging trim and the wall panel of the van to run the wire into both shallow cupboards above the water tank. Then I fed it down through the void containing the electrical equipment and to the floor to run behind the low cupboard, fridge and main cupboard where it can then follow the other wires through to the leisure battery.
Routing wire to starter battery:
Mine's a diesel so the battery is in the engine bay. Again starting at the controller feed a wire along the top of the wardrobe to come out at the back. Here there is a hole which has to be drilled in the left hand metal panel - there is a recess which you can feel on the inside and the corresponding bump above the air intake on the outside.

I made sure that it was above the overhang so that no water will get in. I drilled a 6mm hole (slightly enlarged to squeeze the wire through) and a dose of dinitrol to rustproof the exposed metal. The wire is fed down to the void behind the rear light cluster and can be pulled through by removing the light cluster. It is then run along under the lip of the engine lid and behind the soundproofing (to keep it away from moving parts of the engine) to the battery.
Routing Wire to solar panel:
I have yet to do this but the intention is again to run a wire from the controller backwards above the wardrobe, up through the corner of the floor of the upper bed, under the canvas and up through the fibreglass roof (now outside of the canvas) through a grommet.
Attaching the panel to the roof:
Yet to be done.
What power the set up produces:
I will update when i get the solar panel hooked up!
I will add more when I get the solar panel hooked up - hopefully in the next week or so (weather permitting).
Westy End