
After much umming and ahhing I bought a supposedly good 2nd hand engine through the forum. As it turned out it was actually worse than the one I had (thanks!) suffering even higher oil consumption, an inability to idle and low oil pressure once warm. Excellent.
So, after much more deliberation (and inspired by the postings of mm289 and Sarran) I thought I'd have a go at rebuilding my original engine. It appears that it was rebuilt at sometime in the past, as the engine number has a star stamped after it.
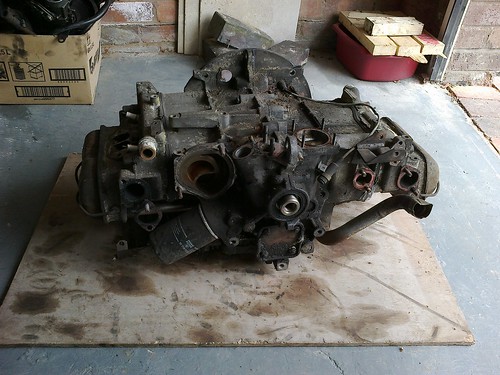
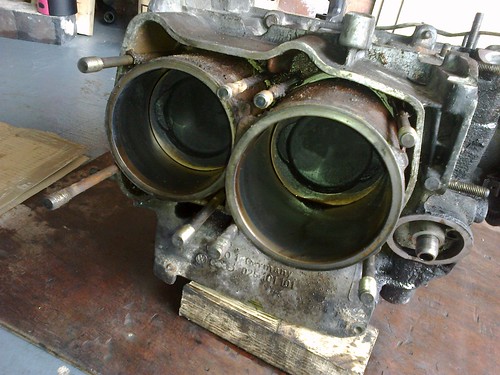
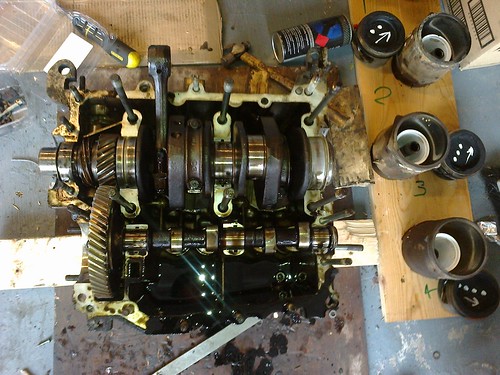
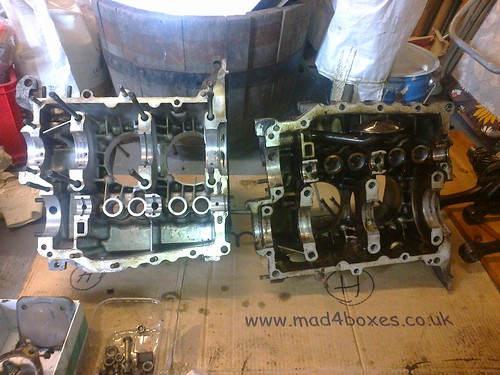
In the beginning there was a very tired lump:
A short term bodge to my leaking head - it worked for 6 months without a further leak, but it’s time to replace!
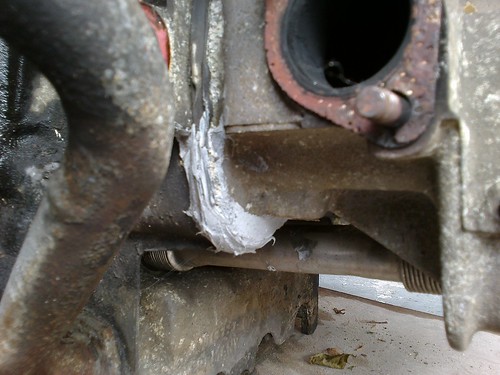
A note of caution, I'd also used k-seal. It did f'all for the leak, but has left quite dense deposits of copper everywhere (it is copper, not rust, though I have some of that too!) I dread to think what the inside of my radiator looks like now!
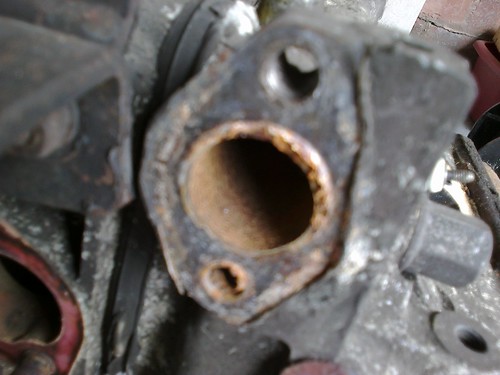
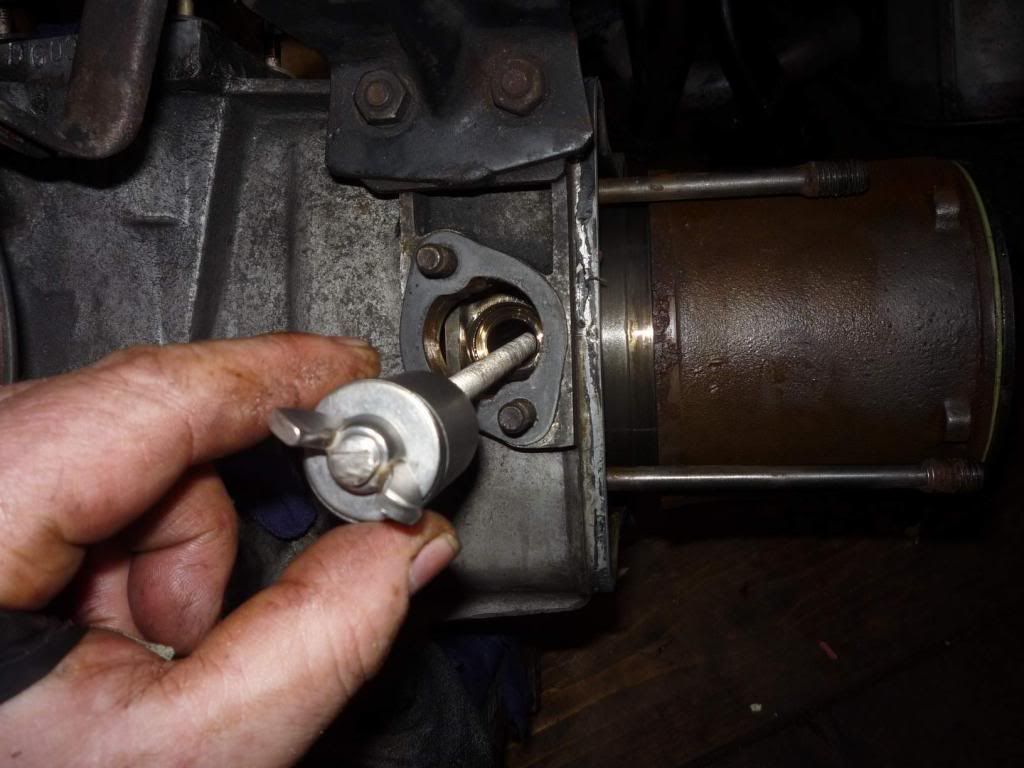
Right, first job was to get the heads off. Terrified the head studs would snap, but the nuts were surprisingly/worryingly loose. Studs all intact, but the bolt holes were full of a dense black sealant, which meant that the heads wouldn’t just lift off – you can see the dribbled residue here:
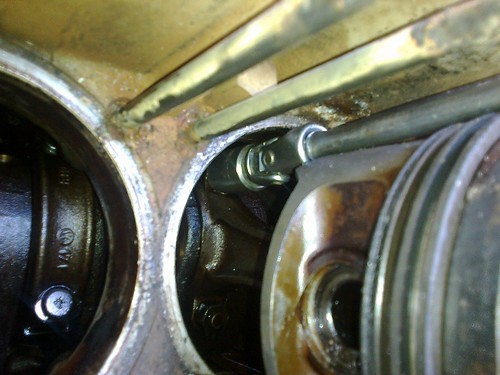
Almost five hours later (gentle tapping, harder tapping, levering against wooden packer, swearing and general abuse) the heads are both off! A small puddle of oil in the combustion chamber on the cylinder that had oil coming out the plug:
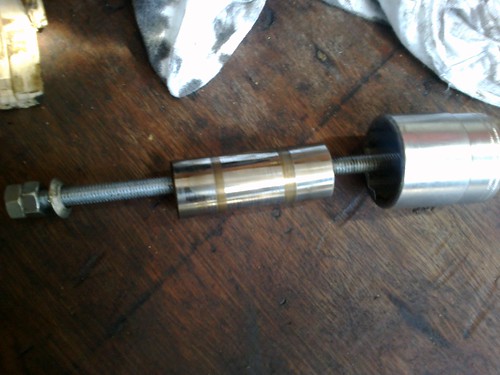
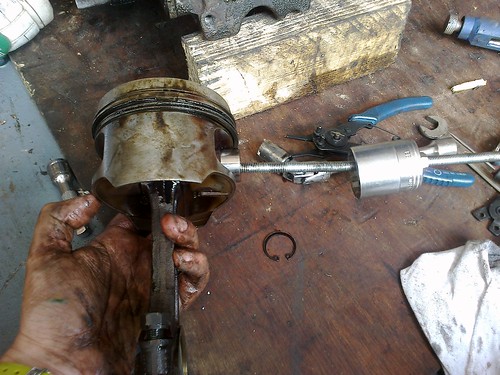
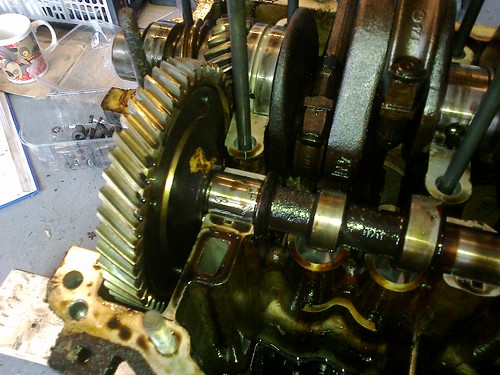
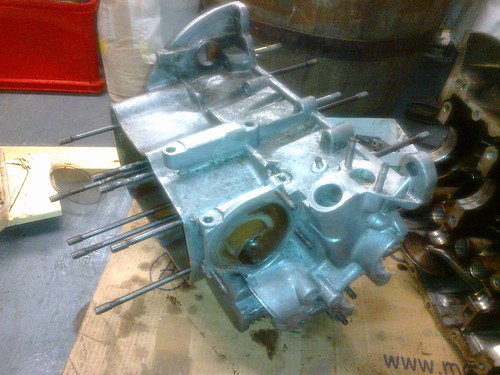
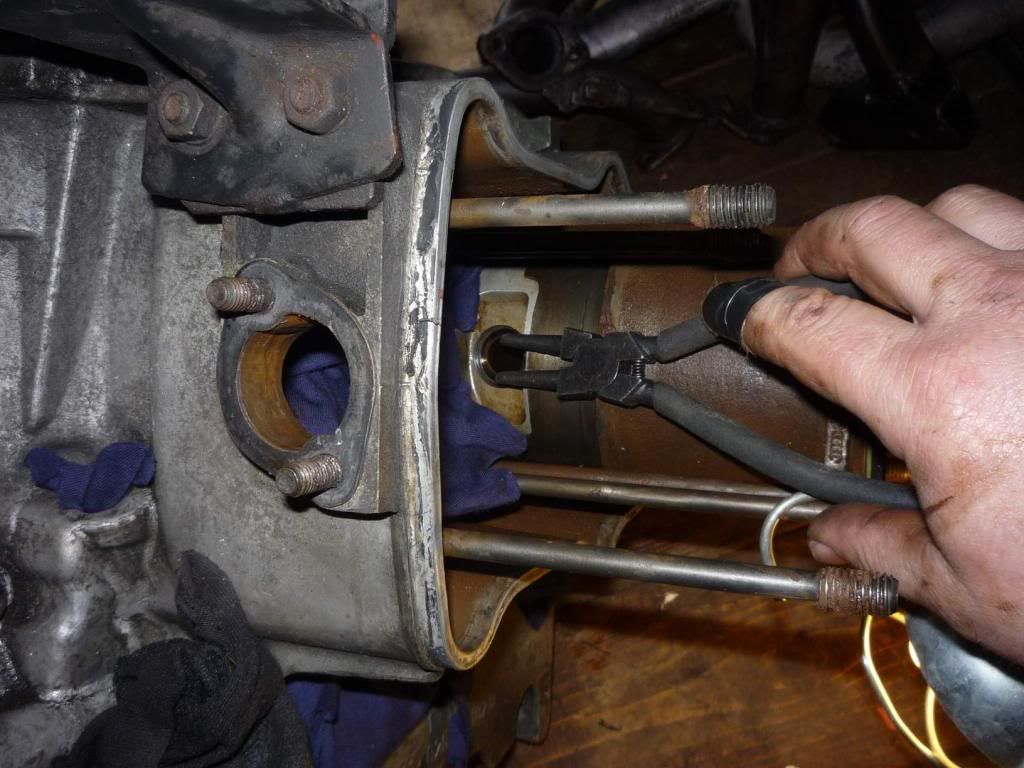
Next step gudgeon pins, pistons and liners out and split the case...
So far have the following parts needing attention:
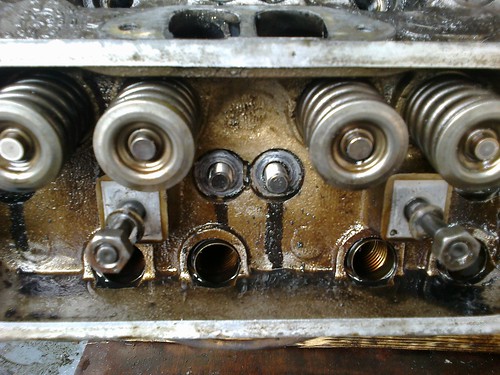
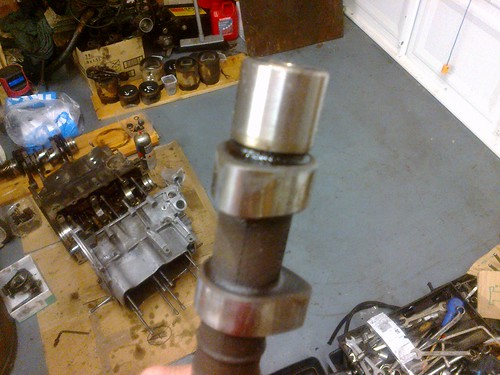
1) All rocker adjuster screws have worn, two have formed quite high steps (~2mm).
2) The inlet valve stems are all slightly mushroomed, exhaust look fine (though the other way round was normal!) Maybe the exhaust were replaced in previous rebuild...
3) Bores are polished smooth, so some honing/glaze busting required here
On the upside the following appear to be in good nick:
1) Heads are free of cracks, and sealing surfaces aren’t pitted
2) Head studs aren’t corroded.
3) Liners aren’t stuck to heads!
4) Liners aren’t ridged
I’ll keep posting progress as I go, probably along with a long list of questions!
Cheers,
Alex


