An update!
Sorry it's not any sort of 'how to' but I'm just glad I've got to this point, and I'm sure this has already been covered. As mentioned above - the rot was worse than it initially looked, but it was quite isolated and I was able to save the sill and associated parts above it. All I can say from my experience is that these brackets if original are worth a check and even if they look ok or just a little crusty on the surface, I can confirm that they're probably knackered, and given what an important job they so it's worth getting them replaced - to be fair though, mine are strangely worse than others for some reason.
It's one of those jobs that isn't too technical, but it has to be treated one bit at a time or you'll go nuts!
Firstly off cam the trailing arms. I removed these with the drive shafts attached. The first hurdle being the out mount bolts. They were basically fused to the inner part of the bushes so were ground away. Once the inner bolts were removed (which came out a lot easier than the outer ones) it was clear how worn the outer brackets were.
Fairly standard looking 'old' bracket.

Not looking too great from the inside

Off with the trailing arms

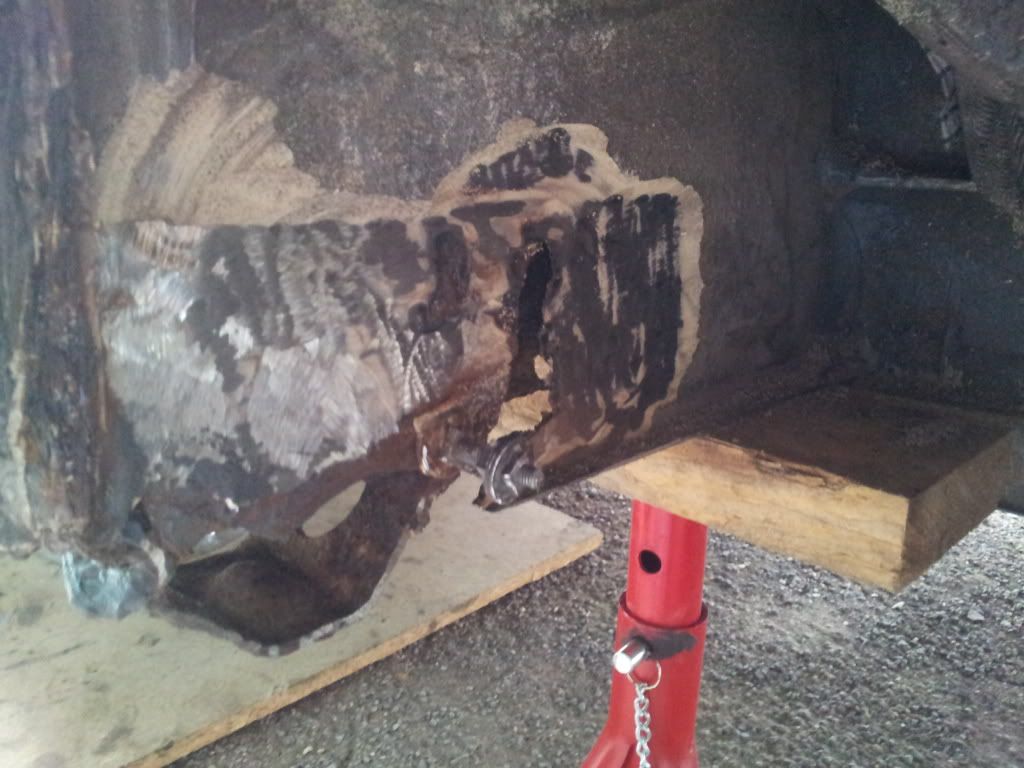
After much bashing I was left with this

Oh dear...

After another couple of hours of banging and grinding I was left with this (see replacement for comparison) -
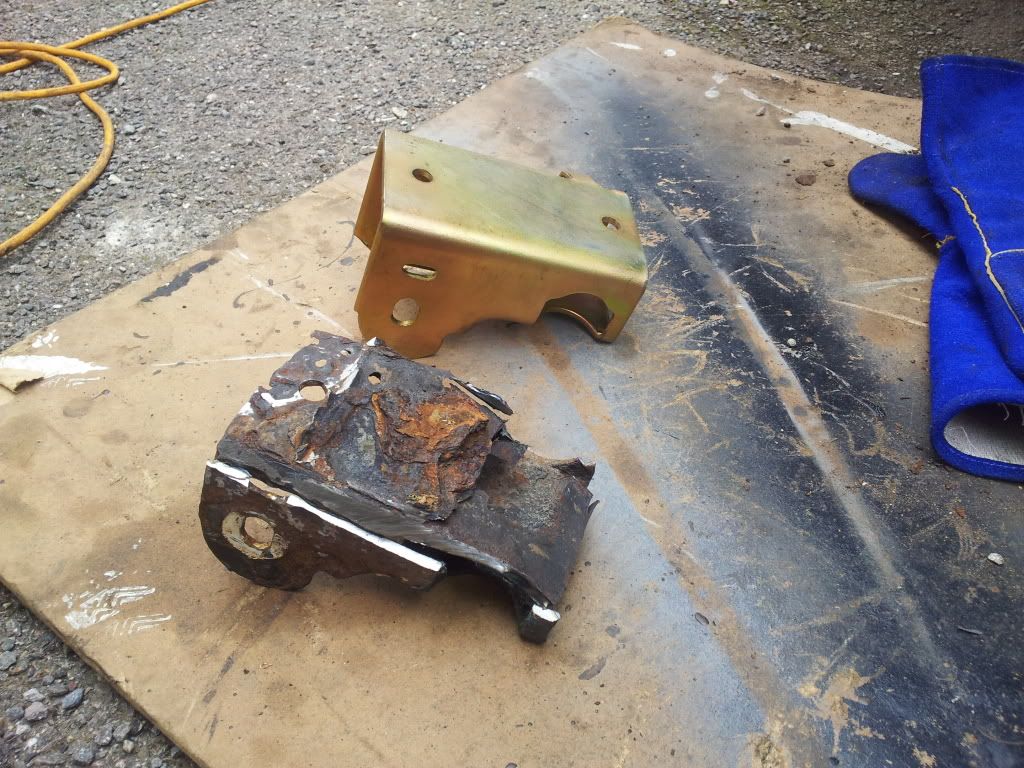
At this point, whilst cleaning up the wheel arch and spring mount I noticed how bad and corroded the upper section was. No pic here I'm afraid but here's how it looked after about an hour of grinding and welding. I totally cut out the 'nobbly' bit and attached it to new metal before offering it up.
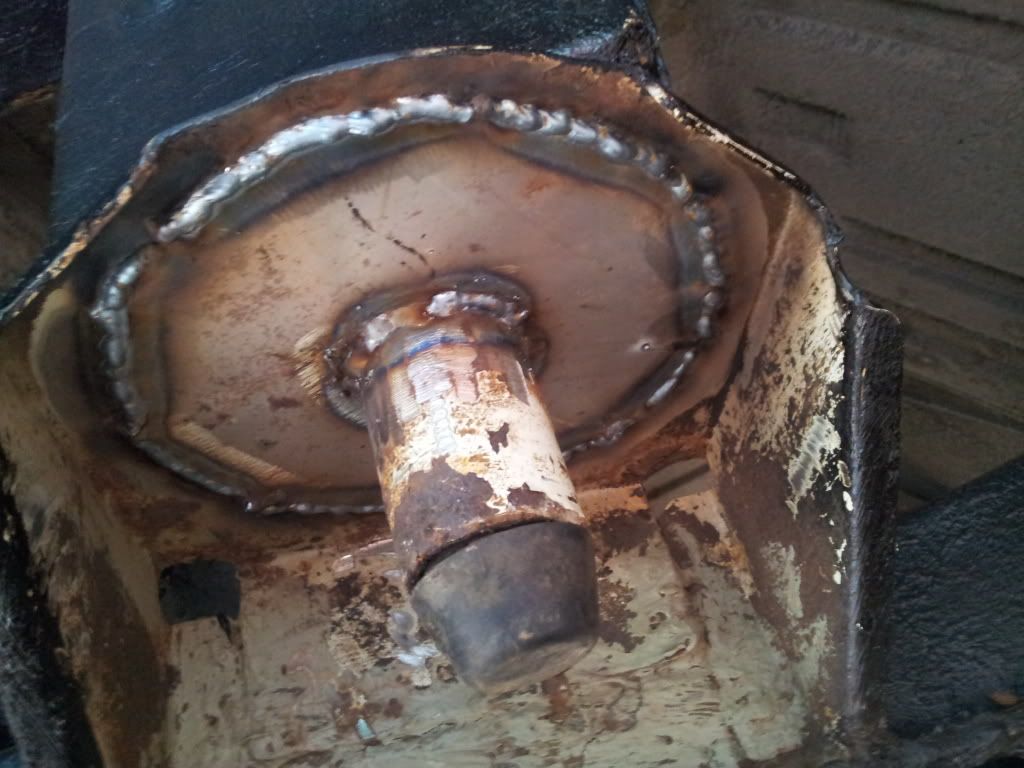
Anyway, on with attaching the new brackets...
Offered up prior to tacking in place (worth noting that a lot of measuring and referencing as done before this bit! And that a mobile phone "spirit level" app came in really handy for measurements)
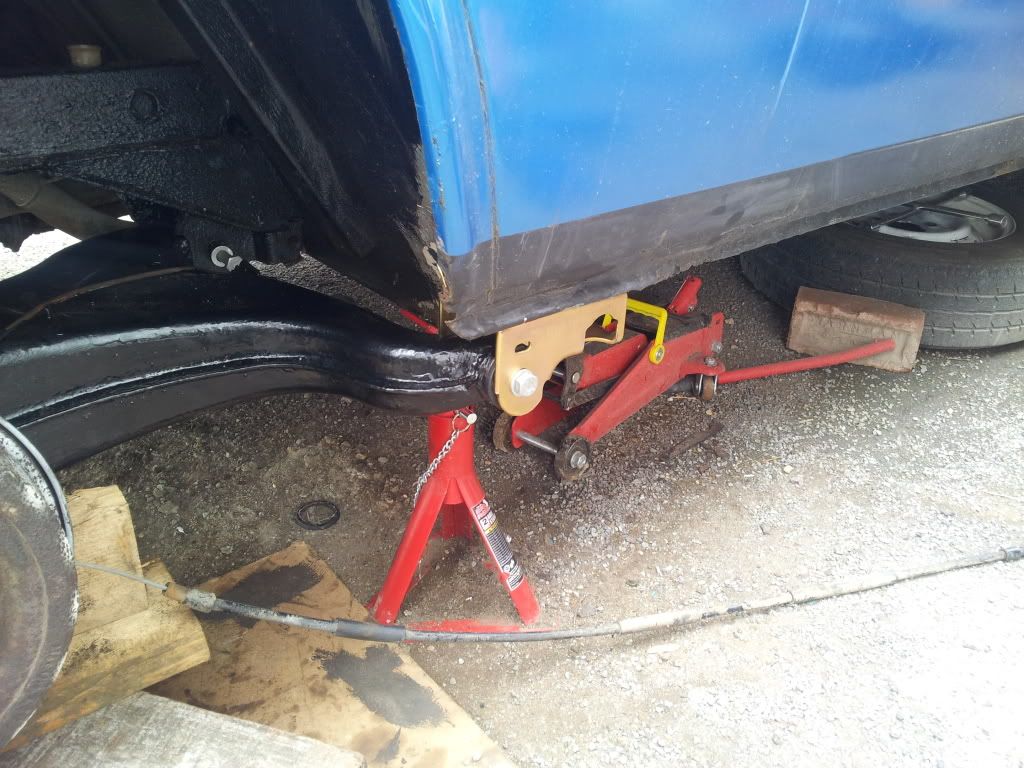
Time to weld then... and get some really good penetration

And don't forget the other side...

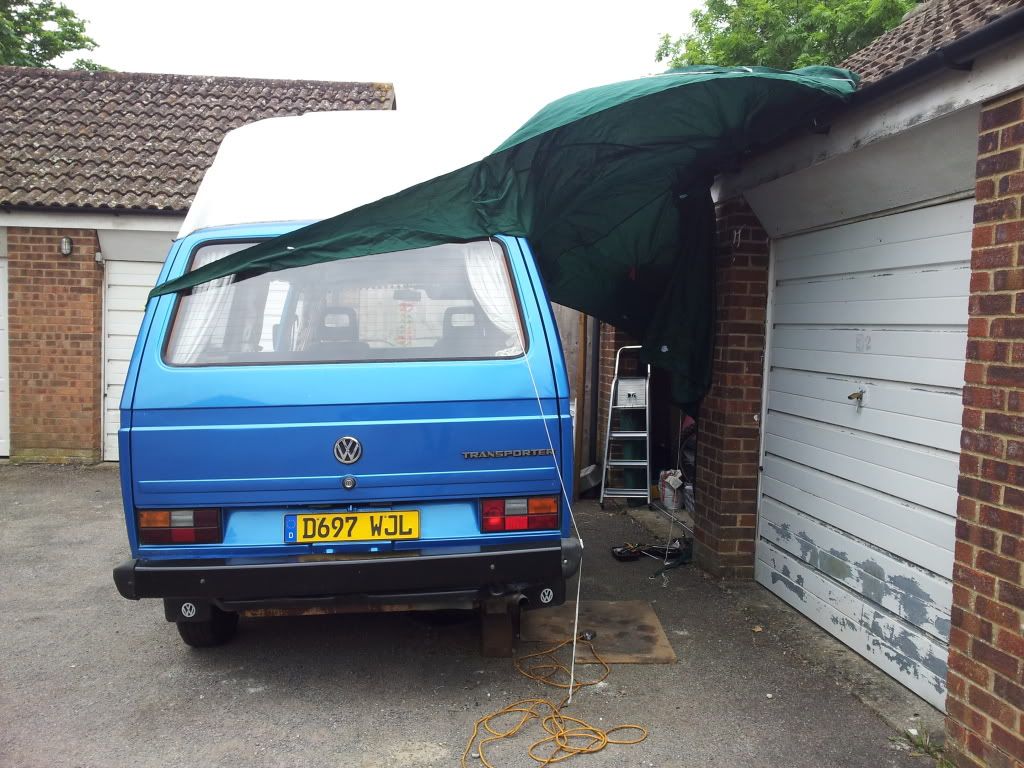
The workshop...
