Starting to tackle the seam rash

Thin bits of metal and bright blue light.

Moderators: User administrators, Moderators

Locked
Jonnyb416
Registered user
Posts: 965
Joined: 17 Feb 2011, 22:07
80-90 Mem No: 9259
Location: Wigan

Starting to tackle the seam rash

Post by Jonnyb416 »

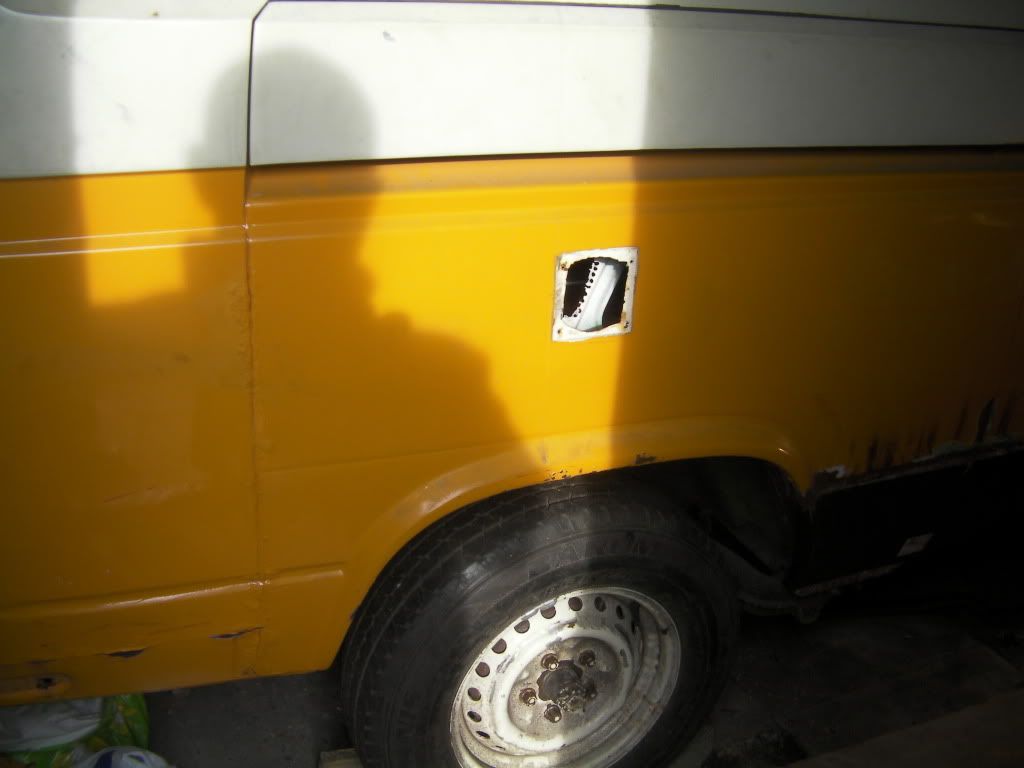
As I move onto repair the offside of my van I won't be needed as many replacement panels but I will need to master the art of de-rusting seams.
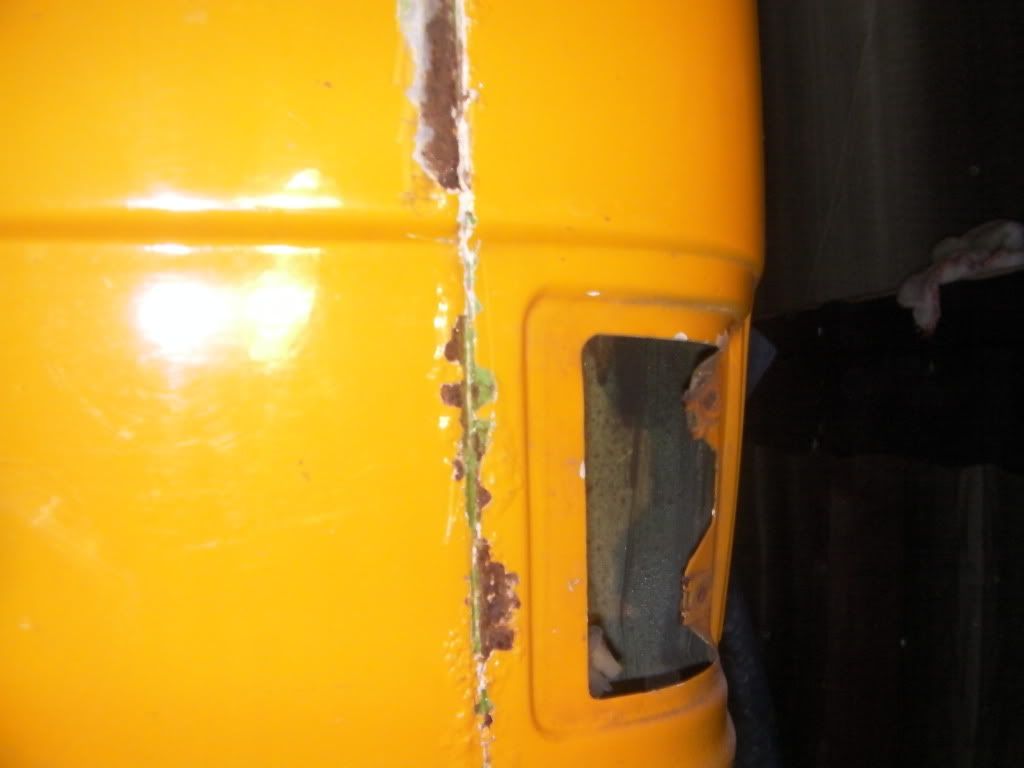
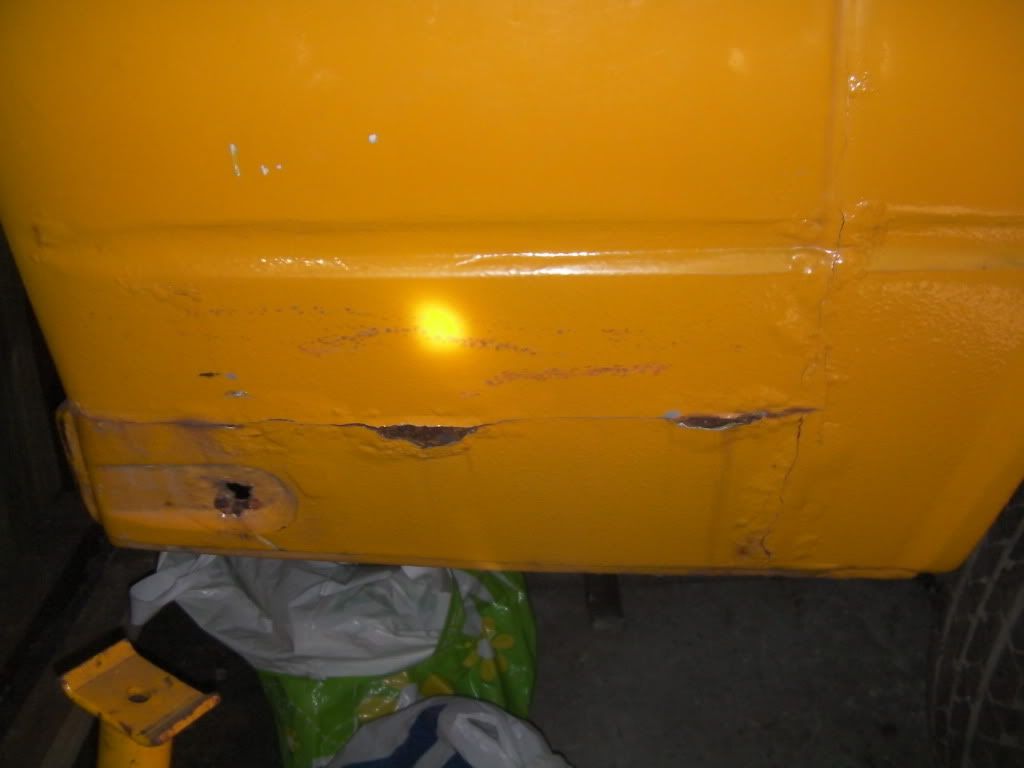
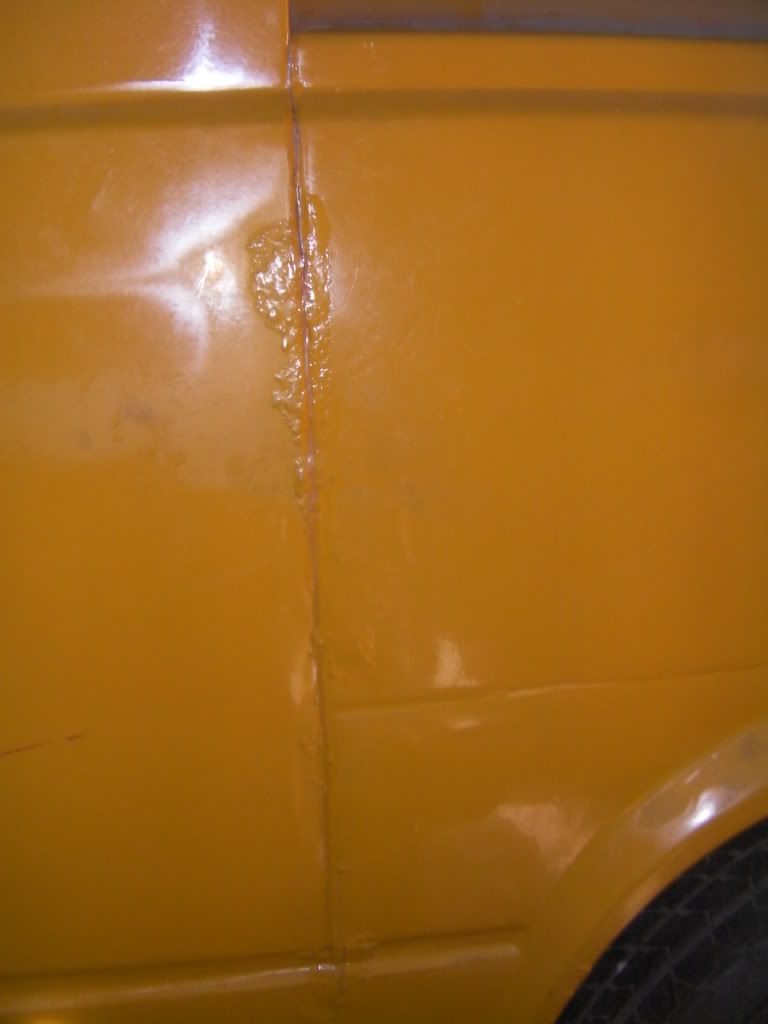
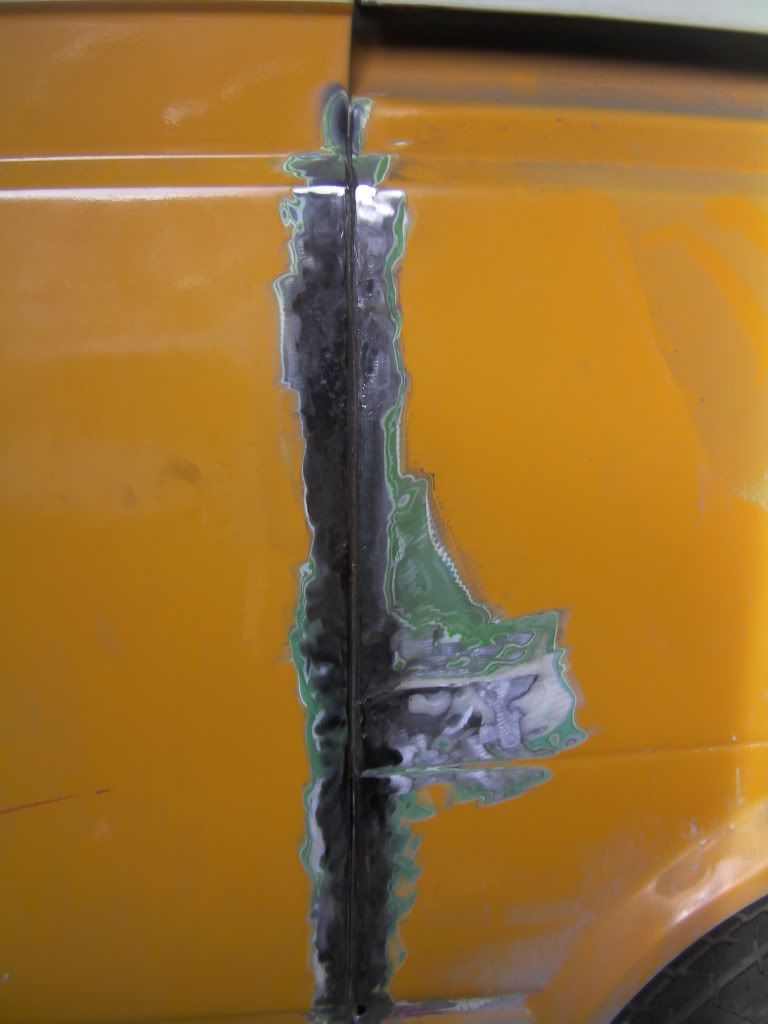
This is what I started with today. Jon.
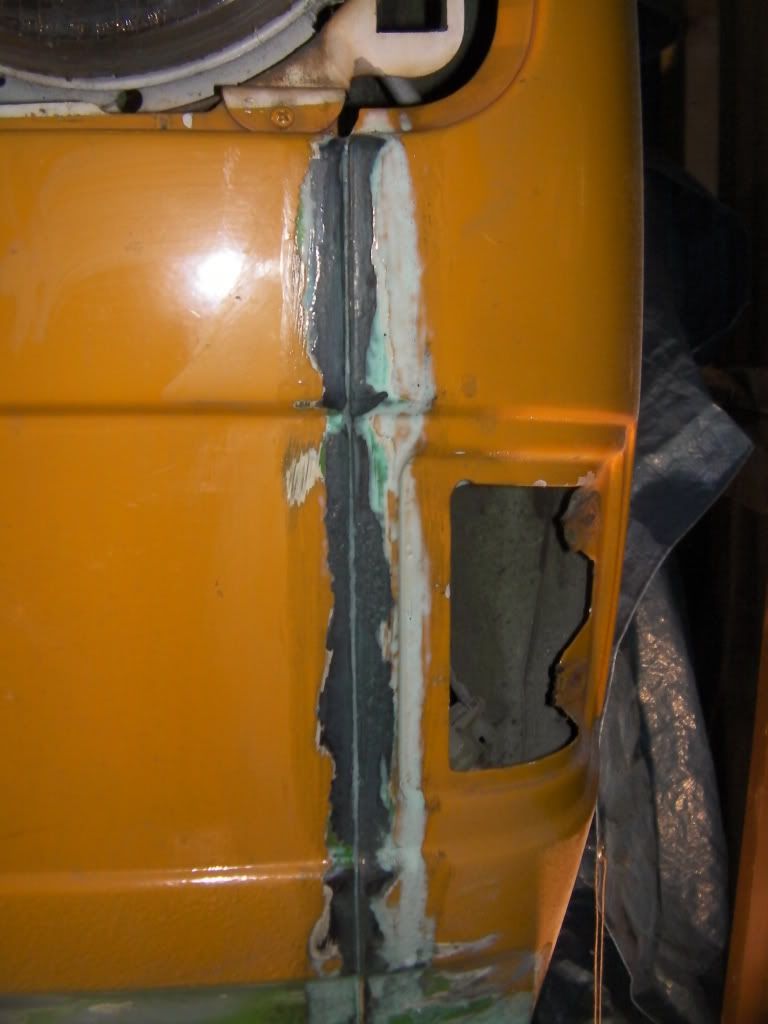
Image
And a close up
Image
1982 Diesel hightop. 1Y engine. Still work in progress but running and taking us on holidays.

Jonnyb416
Registered user
Posts: 965
Joined: 17 Feb 2011, 22:07
80-90 Mem No: 9259
Location: Wigan

Re: Starting to tackle the seam rash

Post by Jonnyb416 »

Now these seams weren't the worst so ideal to practise on.
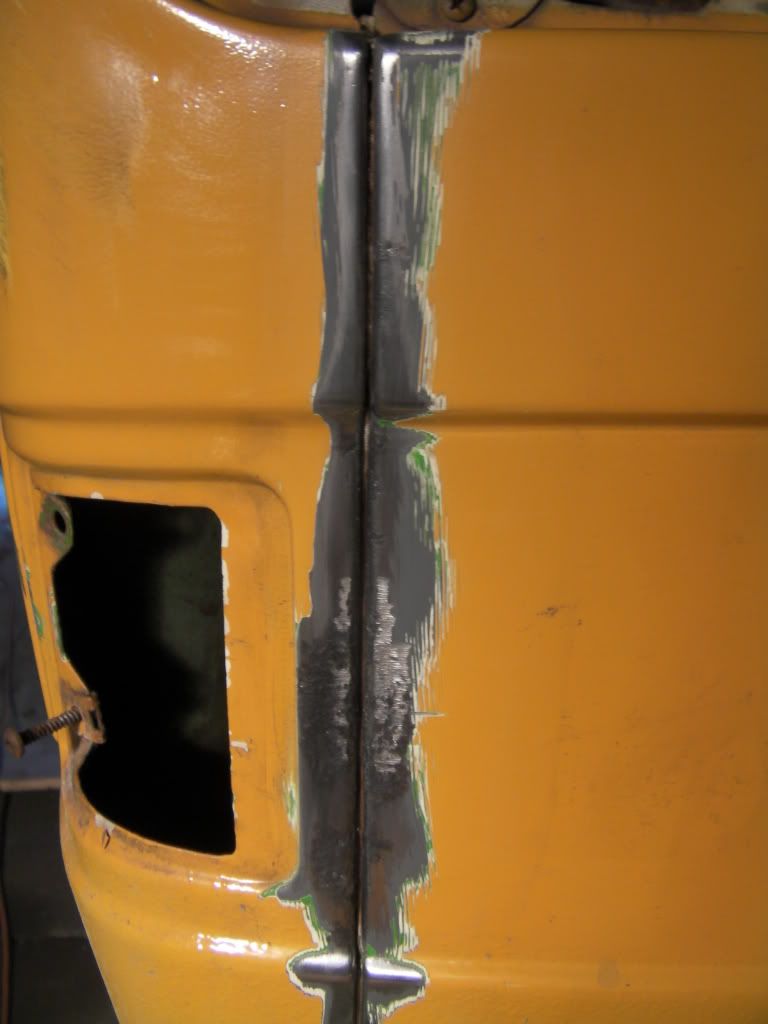
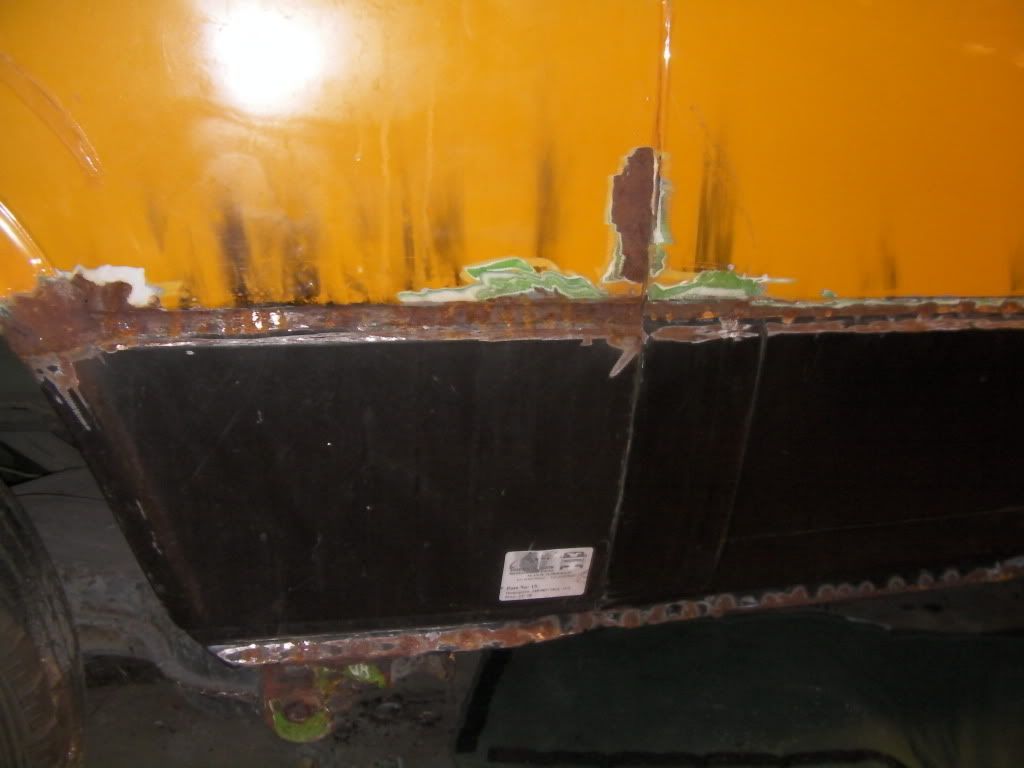
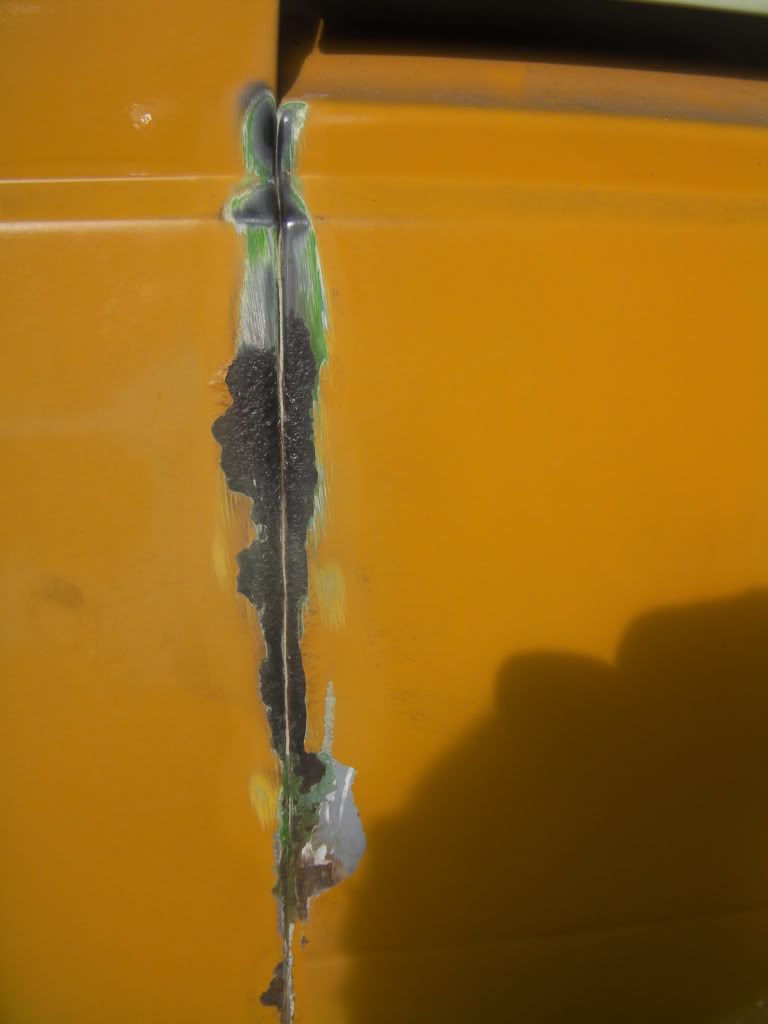
All I did was scrape out what I could with a screwdriver then attack with a wire wheel on my drill. Wasn't too hard.
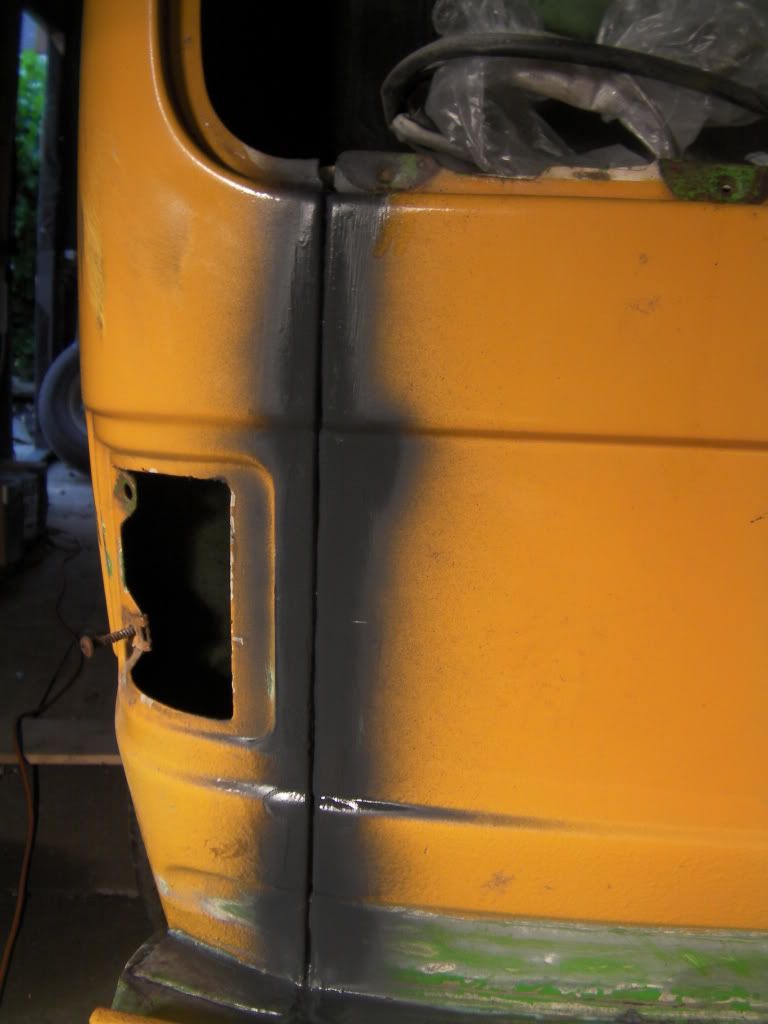
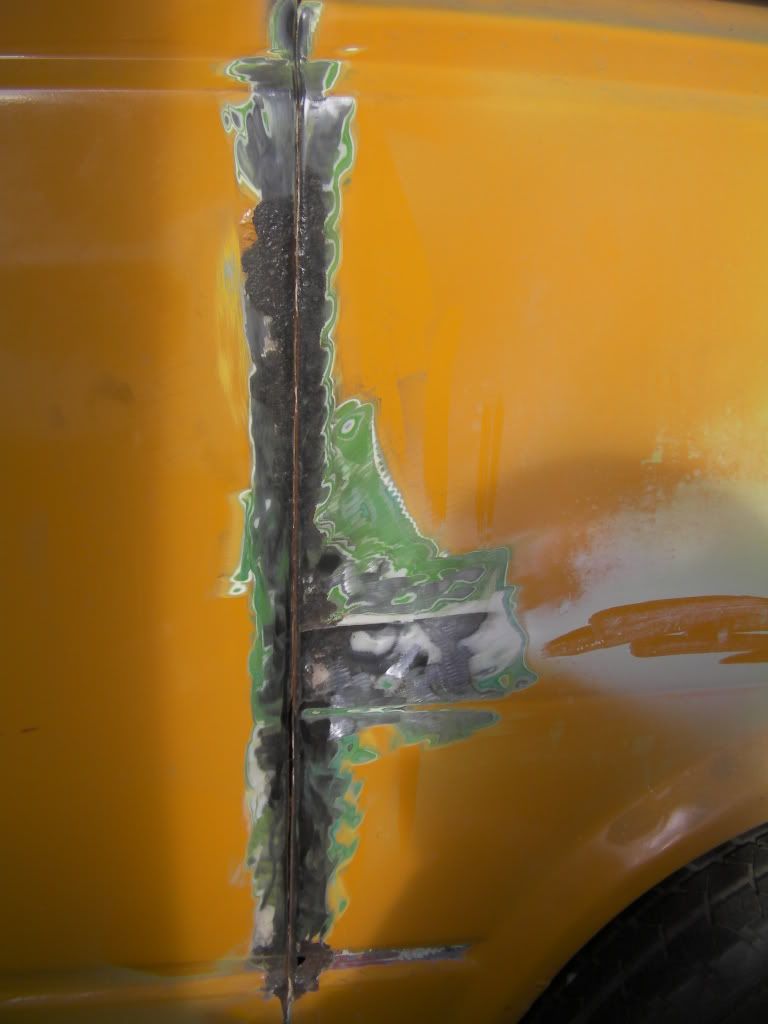
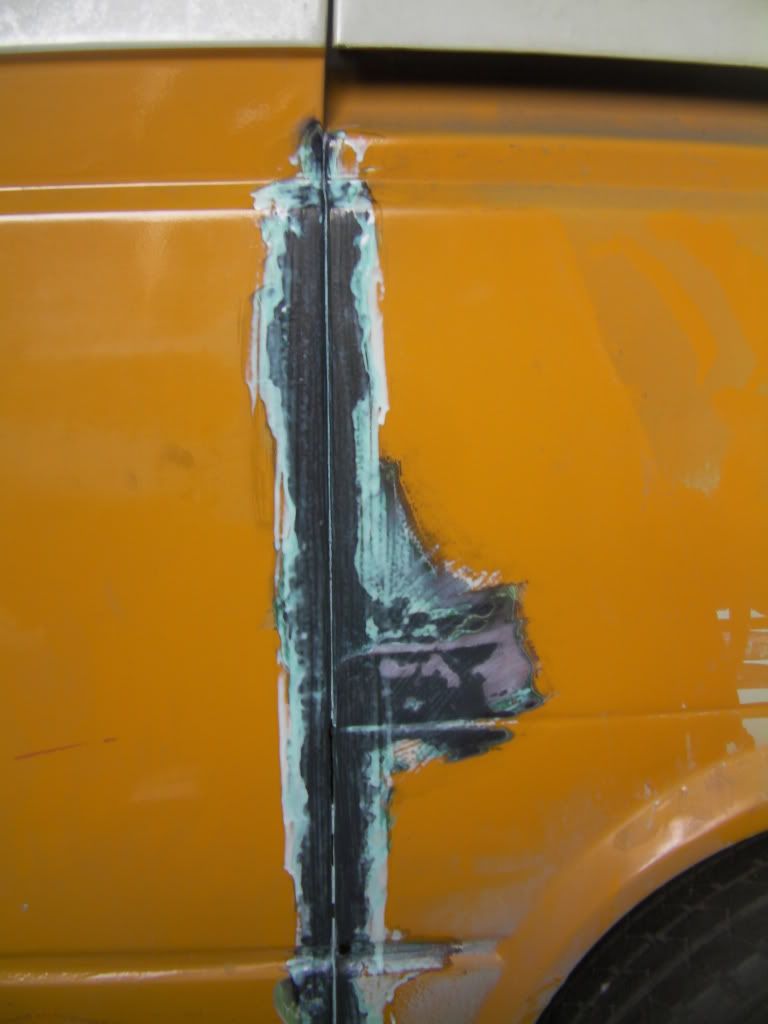
Image
Image

Applied some vactan

Image
Image

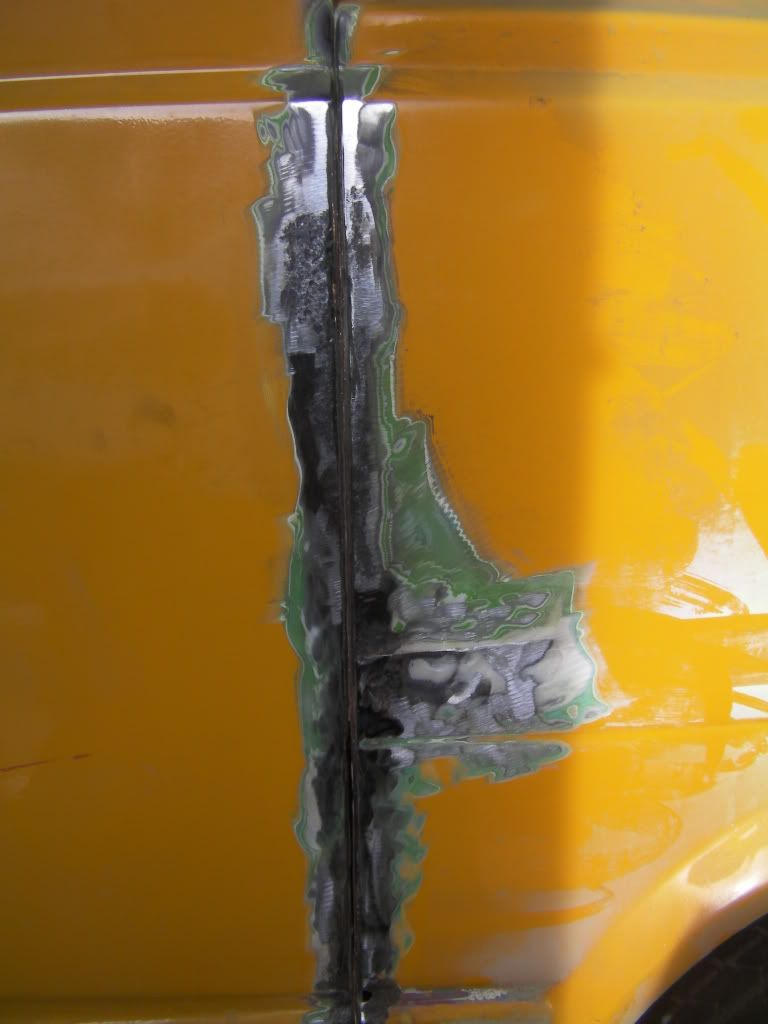
Then covered in etch primer

Image
Image

Any advice or tips welcome :ok :ok
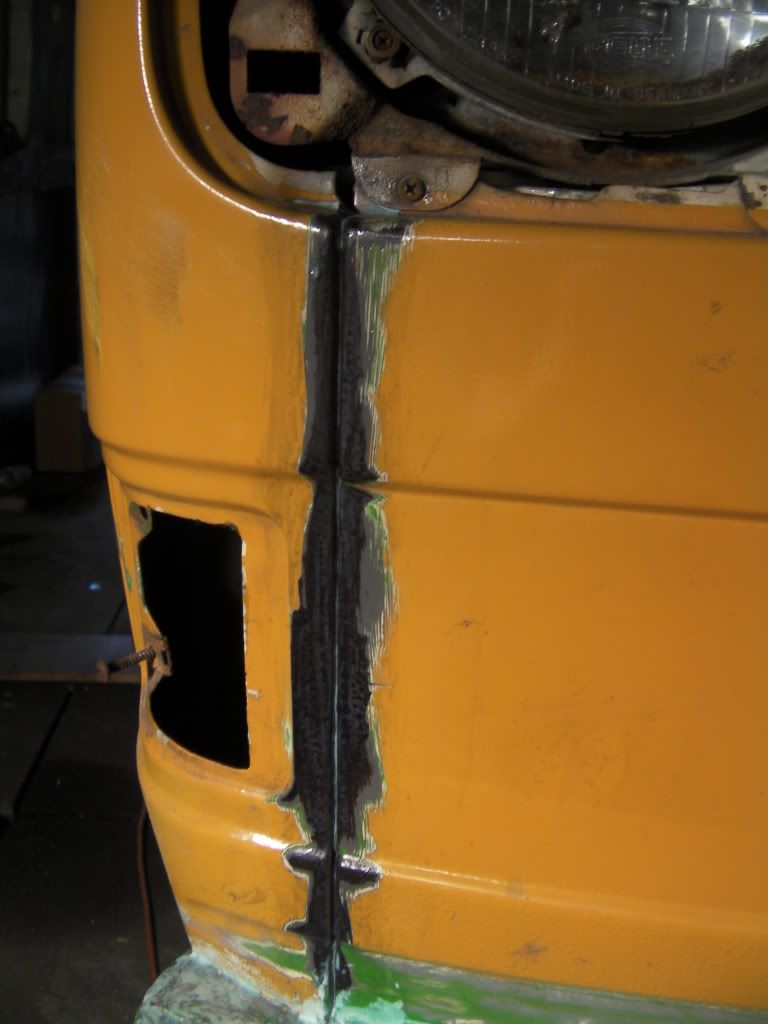
I did get behind the seams where possible and treated with vactan too.
Will tackle the others another day.
Jon.
1982 Diesel hightop. 1Y engine. Still work in progress but running and taking us on holidays.

jimpainter
Registered user
Posts: 418
Joined: 25 Aug 2009, 06:47
80-90 Mem No: 0
Location: crewe

Re: Starting to tackle the seam rash

Post by jimpainter »

Pretty good going there. The only thing i would say is if you wanted get a stanley knife and really scrape into the seams. Get all the old sealer out of there, but otherwise cracking job. :ok
JRP Automotive welding,bodywork, resprays, servicing and repair.
Classic Vw's
Cheshire
07854516387

User avatar
Mickyfin
Registered user
Posts: 1395
Joined: 18 Jul 2011, 08:26
80-90 Mem No: 10312
Location: Kuopio, Finland

Re: Starting to tackle the seam rash

Post by Mickyfin »

With this on my to do list, seeing your efforts here has inspired my confidence! :ok
Owner of Flintstone, our T3/25 Caravelle C Syncro 1.9 Petrol.

Jonnyb416
Registered user
Posts: 965
Joined: 17 Feb 2011, 22:07
80-90 Mem No: 9259
Location: Wigan

Re: Starting to tackle the seam rash

Post by Jonnyb416 »

This is what I face next, you will notice the offside sill that was fitted (rather badly) by the previous owner.

Image
Image
Image
Image
Image

I will take a look at this one first
Image
1982 Diesel hightop. 1Y engine. Still work in progress but running and taking us on holidays.

Jonnyb416
Registered user
Posts: 965
Joined: 17 Feb 2011, 22:07
80-90 Mem No: 9259
Location: Wigan

Re: Starting to tackle the seam rash

Post by Jonnyb416 »

Started to clean away the paint and rust to reveal what condition the metal is in. Jon.
Image
1982 Diesel hightop. 1Y engine. Still work in progress but running and taking us on holidays.

Jonnyb416
Registered user
Posts: 965
Joined: 17 Feb 2011, 22:07
80-90 Mem No: 9259
Location: Wigan

Re: Starting to tackle the seam rash

Post by Jonnyb416 »

I have 2 questions about this picture please:

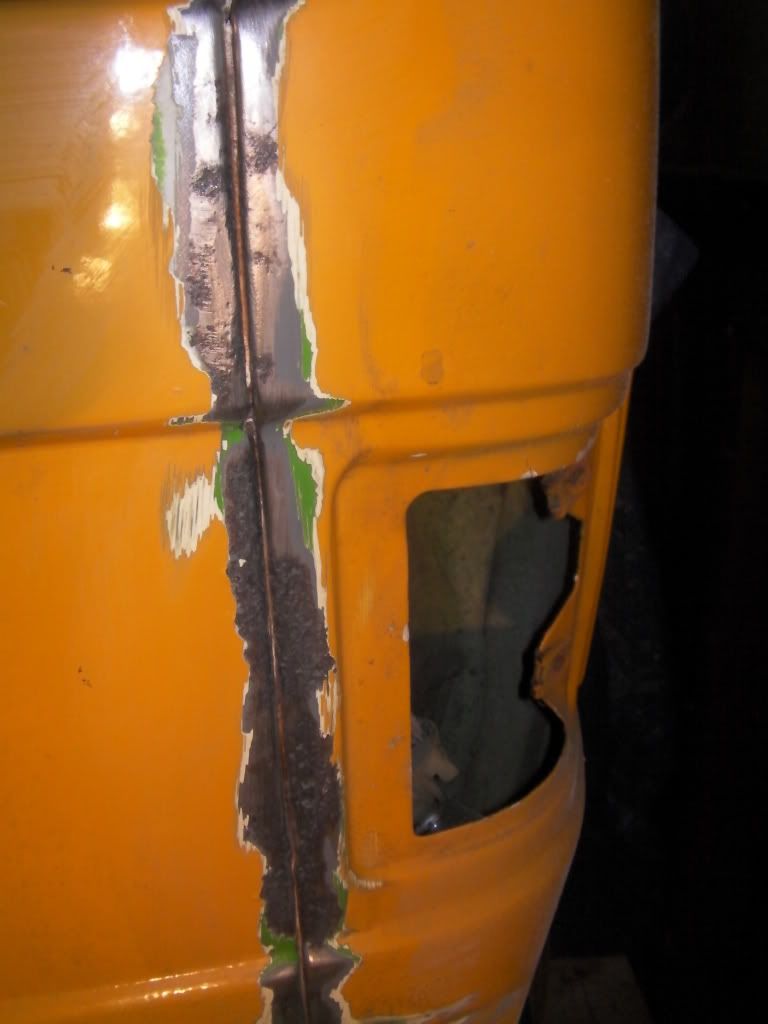
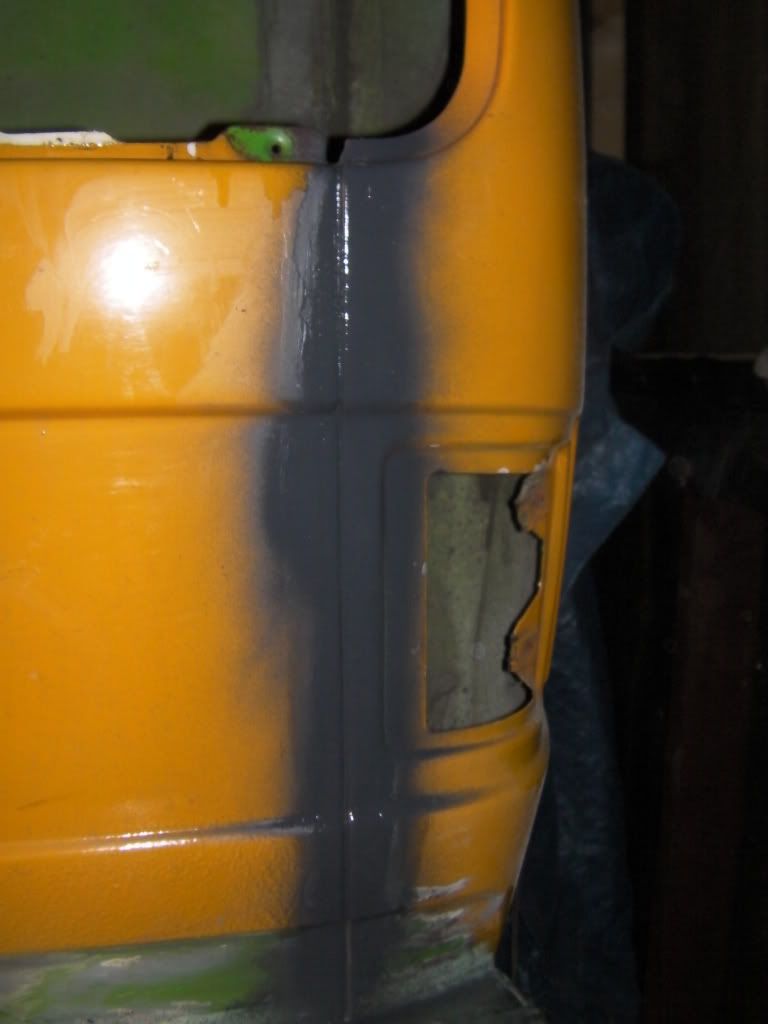
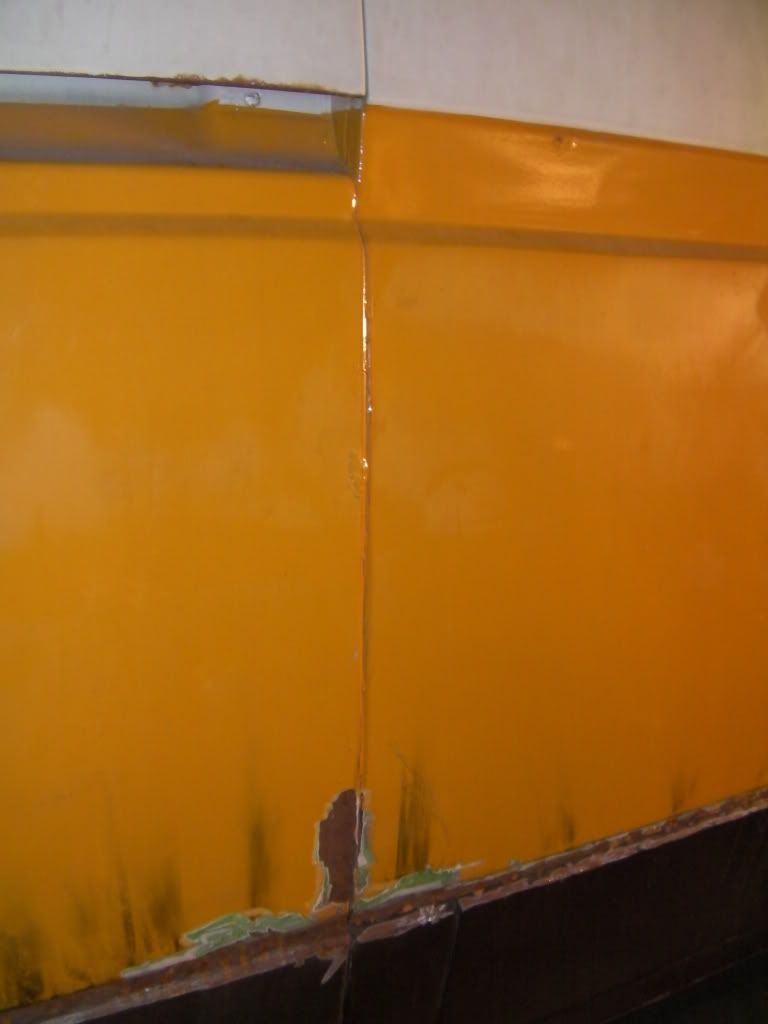
1) Where the rust is/was near the top of the seam it leaves a slightly bubbly surface, now should this be ground back to shiny smooth metal or would rust treatment etc be OK? (close up pic further on)

2) There has been a lower arch replacement at some point. The join between seems is closer at the top where the original panels were and larger where the newer panel is. So... should the gap between seems be minimal or a distinct gap?

Jon.

Image

Image

Image
1982 Diesel hightop. 1Y engine. Still work in progress but running and taking us on holidays.

Jonnyb416
Registered user
Posts: 965
Joined: 17 Feb 2011, 22:07
80-90 Mem No: 9259
Location: Wigan

Re: Starting to tackle the seam rash

Post by Jonnyb416 »

Close up of what's left of the rust patch. Jon.

Image
1982 Diesel hightop. 1Y engine. Still work in progress but running and taking us on holidays.

Jonnyb416
Registered user
Posts: 965
Joined: 17 Feb 2011, 22:07
80-90 Mem No: 9259
Location: Wigan

Re: Starting to tackle the seam rash

Post by Jonnyb416 »

Vactanned up but may need to be ground back some more. Jon.

Image
1982 Diesel hightop. 1Y engine. Still work in progress but running and taking us on holidays.

User avatar
Mickyfin
Registered user
Posts: 1395
Joined: 18 Jul 2011, 08:26
80-90 Mem No: 10312
Location: Kuopio, Finland

Re: Starting to tackle the seam rash

Post by Mickyfin »

I would imagine that the pitted area, once sanded back enough would then need the vactan, then filler primer?
Owner of Flintstone, our T3/25 Caravelle C Syncro 1.9 Petrol.

jimpainter
Registered user
Posts: 418
Joined: 25 Aug 2009, 06:47
80-90 Mem No: 0
Location: crewe

Re: Starting to tackle the seam rash

Post by jimpainter »

Carful how much you grind/sand back. What are you useing? If flap discs be careful because they can go through metal really quickly. If you can get a wire wheel in, they remove the rut out of the pitting to an extent then treat it. Ideally though a spot/sand blaster gets all the pitting clean. But as is always the way its never a permanant repair unless the offending bit is cut out and replaced. But if cleaned and treated correctly it should be good for a few years :ok
JRP Automotive welding,bodywork, resprays, servicing and repair.
Classic Vw's
Cheshire
07854516387

Jonnyb416
Registered user
Posts: 965
Joined: 17 Feb 2011, 22:07
80-90 Mem No: 9259
Location: Wigan

Re: Starting to tackle the seam rash

Post by Jonnyb416 »

Thanks Jim. Been using wire wheel on a drill and flappy disc on grinder but only pressing lightly!and taking it easy. Van won't be on the road for a while so won't be using filler etc yet. I have treated and will use etch primer. Used the Stanley knife too. Will be getting stuck in to the rest tomorrow hopefully, the others don't look as bad :lol: Jon
1982 Diesel hightop. 1Y engine. Still work in progress but running and taking us on holidays.

Locked