Paint Your Wagon - with a roller!

Thin bits of metal and bright blue light. Including glass & trim.

Moderators: User administrators, Moderators

MattyG
Registered user
Posts: 38
Joined: 07 Jul 2010, 10:55
80-90 Mem No: 8480
Location: Teignmouth, Sunny Devon

Re: Paint Your Wagon - with a roller!

Post by MattyG »

does any one know rainmans cream colour - is it ral 1014 - this is exactly what im after but he hasnt posted what colours he used and I can t get my PM working :roll:
cheers
matt

Image

elmo makaroy
Registered user
Posts: 19
Joined: 01 Dec 2010, 19:45
80-90 Mem No: 0

Re: Paint Your Wagon - with a roller!

Post by elmo makaroy »

so my van has been half painted for a couple of weeks now and since i have a planned camping trip coming up i better get a move on and paint the rest of it,

i done it abit backwards and done the lower half first (green) and now i have got the white paint to do the top half and roof, its all prepped and sanded back (not the best prep by any means but should look ok once painted)

my main concern is painting the tricky bits like around the front windscreen and the edges of the windows, i know ill probly have to use a brush but i dont like the finish a brush gives, inside is also worrying me, i need to paint inside the boot sliding door and front cab doors, im guessing i need to take the sliding door off to get to the inside of it properly, does any1 know how i take it off as i cant figure it out?

ill take some pics in the morning after the first coat of white has gone on the outside
vw t25 Tin Top, Aircooled 2litre CU Engine with Twin Solex Carbs

User avatar
CovKid
Trader
Posts: 8411
Joined: 30 Apr 2006, 13:19
80-90 Mem No: 3529
Location: Ralph - Coventry (Retired)
Contact:

Re: Paint Your Wagon - with a roller!

Post by CovKid »

You can get round windows with roller no prob as long as you didn't opt for pound-shop masking tape. A good way to do it is brush (foam or bristle) then quickly go over with ball end of roller to remove any brush marks. Poor prep will give poor finish though. It never hides it. :wink:
Roller paint your camper at home: http://roller.epizy.com/55554/" onclick="window.open(this.href);return false; for MP4 download.

gaz f
Registered user
Posts: 515
Joined: 27 Apr 2009, 13:06
80-90 Mem No: 6697

Re: Paint Your Wagon - with a roller!

Post by gaz f »

elmo...

You don't need to remove the sliding door to paint around it. For the insides of all my doors and around the tailgate guttering I used 1" artist brushes as they have very soft bristles and a nice long handle for getting in between the sliding door and the body for the edge there. They also give a very good finish on their own, so much so I have never bothered to polish up any of these areas as there are no brush marks!

Image

Cruz
Registered user
Posts: 3919
Joined: 12 Oct 2005, 10:40
80-90 Mem No: 2092

Re: Paint Your Wagon - with a roller!

Post by Cruz »

Really good that Gaz. I neglected to do that on my first 2 coats but I think i will have to do it this time.

Anyone painted the inside of their cab doors and the inside of the a pillar?

elmo makaroy
Registered user
Posts: 19
Joined: 01 Dec 2010, 19:45
80-90 Mem No: 0

Re: Paint Your Wagon - with a roller!

Post by elmo makaroy »

that looks much better than the finish ive got, but ive only done the first coat and although im pleased with it i am hoping i will get a better finish the second time round, i am thinking about just buying a couple tins of spray paint to do inside the doors as i think it would be much easier, i was only ever looking to smarten it up abit and i dnt really mind the fact that you can tell up close its been done with a roller, looks so much better than the state it was in when i first got it, i will post some pics shortly
vw t25 Tin Top, Aircooled 2litre CU Engine with Twin Solex Carbs

elmo makaroy
Registered user
Posts: 19
Joined: 01 Dec 2010, 19:45
80-90 Mem No: 0

Re: Paint Your Wagon - with a roller!

Post by elmo makaroy »

pictures as promised, 1 coat of white and first coat of green, looking alot better than when i first got it

Image

Uploaded with ImageShack.us
vw t25 Tin Top, Aircooled 2litre CU Engine with Twin Solex Carbs

SouthEastWesty
Registered user
Posts: 11
Joined: 17 Mar 2010, 14:23
80-90 Mem No: 0
Location: SE London

Re: Paint Your Wagon - with a roller!

Post by SouthEastWesty »

elmo makaroy wrote:pictures as promised, 1 coat of white and first coat of green, looking alot better than when i first got it

Image

Uploaded with ImageShack.us


Looking good for a first coat mate :ok . What RAL are you using for the Green?

I've chosen Green and White as well (as van was originally Lianna Green until someone did a bad over paint with blue/black and it's still green inside). I'm collecting the paint tomorrow and have gone for the "Yellow Green" RAL 6018.....Fingers are crossed! :shock:

martin t25
Registered user
Posts: 82
Joined: 23 Jun 2007, 20:59
80-90 Mem No: 5707

Re: Paint Your Wagon - with a roller!

Post by martin t25 »

i painted a van in the hottest time of the year last time with excellent results
i am now considering doing the bottom half of my t4 work van, obviously drying time will be increased in this cold march weather?
should i mix a thinner coat to help this or keep everthing the same as last time?
has any one got pics of matt black and gloss black on their vans so i can compare as ime undecided :ok
2.0 Aircooled westy joker automatic (june 79)

User avatar
CovKid
Trader
Posts: 8411
Joined: 30 Apr 2006, 13:19
80-90 Mem No: 3529
Location: Ralph - Coventry (Retired)
Contact:

Re: Paint Your Wagon - with a roller!

Post by CovKid »

Not a hard and fast rule but you need more thinners the higher the temperature.
Roller paint your camper at home: http://roller.epizy.com/55554/" onclick="window.open(this.href);return false; for MP4 download.

gaz f
Registered user
Posts: 515
Joined: 27 Apr 2009, 13:06
80-90 Mem No: 6697

Re: Paint Your Wagon - with a roller!

Post by gaz f »

Cruz wrote:Anyone painted the inside of their cab doors and the inside of the a pillar?

Yep, did them exactly the same way as I did around the edges, just removed the door trims and masked the rubbers. Takes ages to do though with the small brush but is worth it I think.

One thing worth mentioning when doing the inside edges is it takes a long time before the paint is dry enough that the rubbers won't stick to the paint when you close the doors! Tailgate is easily sorted... remove the rubber then it can be closed completely and the painted surfaces don't touch, but the sliding door and cab doors need to be left just on the latch, not closed completely for a couple of days as although the paint is dry to the touch it's still soft enough to tack itself to the rubber. This may cause a problem if your doing it on the street!

volition82
Registered user
Posts: 5
Joined: 08 Aug 2010, 08:34

Re: Paint Your Wagon - with a roller!

Post by volition82 »

I've been painting my van in matt black and as I couldn't find much information on the colour I thought i'd post how i've been getting on.

My van is a lwb, high-top LT35 so it's a big old thing, around 2 metres wide, 5 metres long and 2.5 metres high so a lot of prep and painting to do! The original colour was white so I took all the doors etc off and painted around them and then re-fitted before I started painting the outside, i'm in the middle of sanding back the third coat.

I've done some final prep test patches on the top of the roof which you can't see and i've had some curious results. There seems to no middle ground with the matt paint finish. It's a bit hard to explain but the finish before you sand and cut looks good and uniformed but when you sand and g3 if you have any orange peel the matt colour seems to high-light the fault. Where as with a gloss colour you can get away with a bit of orange peel or slightly uneven surface you can't with the matt, the orange peel seems to create two different shades of black. I've sanded the test patches until they are baby smooth but unless it's 100% bleamish free it looks awful. So that basically leaves me with two choices, leave it as it is or put a lot of paint on and completely flatten it back until theres not a bleamish in the paint. I think what i'll do is carry on flattening back the third coat and then put a final coat on and leave it. The finish on one coat over a smooth surface is very good and as long as i'm careful when I roller it looks good. Also matt black is a complete nightmare to keep clean so i'll probably get some synthetic matt lacquer and put a couple of coats on top to protect the finish.

If I had flatten back between each coat it would have reduced the amount of finishing but I still think it would need at least 5 coats to get it glass flat and not sand through to the base colour. I just don't think all the extra work is worth the difference in results.

From my limited experience I know that black paint is one of the hardest colours to get right, has anybody had the same problem or any ideas/suggestions?

gaz f
Registered user
Posts: 515
Joined: 27 Apr 2009, 13:06
80-90 Mem No: 6697

Re: Paint Your Wagon - with a roller!

Post by gaz f »

volition...

You answered your own question mate, you have to flatten back after each coat as all your doing is magnifying the problem areas by putting more coats on over the top of them. Your also making it harder for yourself to get blemish free since if the blemish is on the first coat your going to have to cut back through the further 3/4 coats you have put on to get to it.

What I found was after sanding back the first coat (which basically damned near removed all the paint I had put on!) the second coat looked very good and sanded back a lot easier than the first, then again with the third. It was even easier to smooth off, so easy infact I stopped after 3 coats since it looked good when my original plan was for 4 coats. I understand what your saying about all the work involved sanding a coat back and if the end result is worth all the effort and that is totally up to you but I feel sanding the first coat is the one that makes the big difference to how the end result looks.

volition82
Registered user
Posts: 5
Joined: 08 Aug 2010, 08:34

Re: Paint Your Wagon - with a roller!

Post by volition82 »

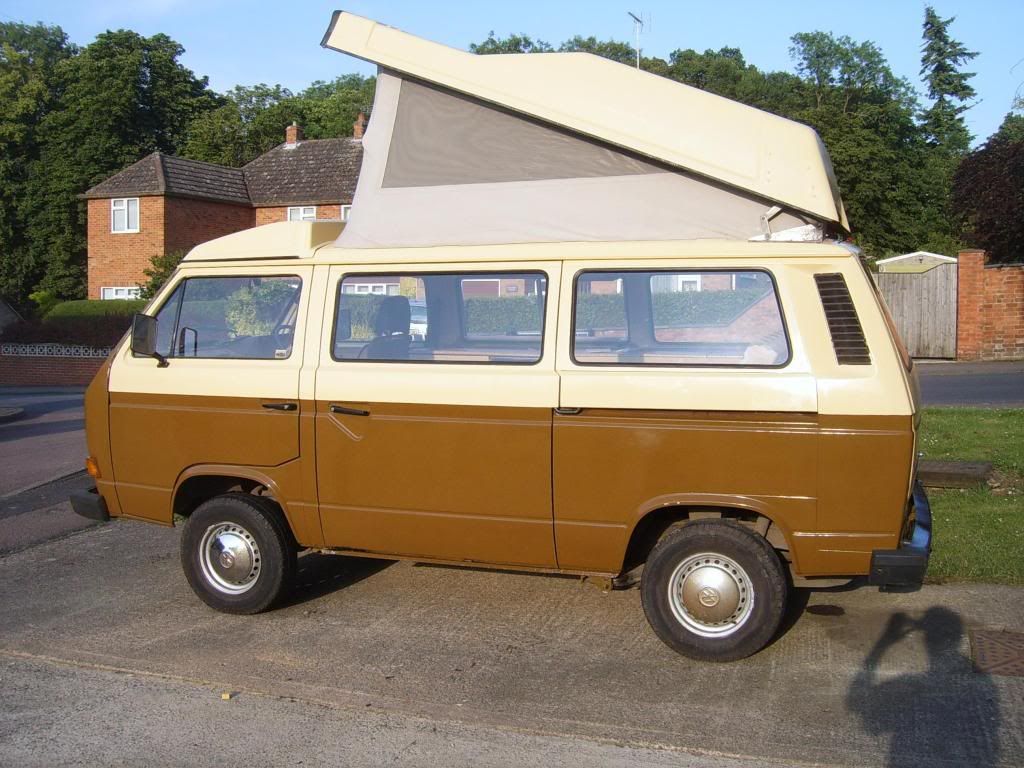
Thanks for the reply and tips, had a look through your van thread and you've done a nice job there. Like the colour scheme as well with the white wall tyres and subtle red detail :pimp

I knew it would be a big job painting the van this way but I didn't realise just how big a job it is, the prep without filling has taken around 150 hours so far. With painting the high-top it must be nearly three times the surface area of your van, the high-top being fibreglass doesn't help as they aren't exactly flat and straight! Even from what you've said I can't see me getting away with any less than three more coats if I want to flatten it back. I think my van is just to big for one person to do this way especially as it's a motorhome and has an extra seven windows in it as well as the rear doors having windows.

I'm going to flatten back what i've done then do another coat and see what it looks like but i'm fairly sure i'll just leave it like that. The slightly better finish just isn't worth all the extra work, the thought of sanding the van four times is giving me nightmares :run . Luckly the matt black looks quite good just rollered I wouldn't get away with it so well if it was a gloss finish.

Really impressed with the combi-colour, great paint, could have done with discovering it years ago. A tip for anybody painting matt black is paint it in the shade or on an overcast day. I tried painting on a sunny day in mid january so it was still really cold (had two t-shirts, gillet, fleece and overalls on) and the paint still dried as soon as I put it on. Should have listened to what was said on the dvd!

User avatar
CovKid
Trader
Posts: 8411
Joined: 30 Apr 2006, 13:19
80-90 Mem No: 3529
Location: Ralph - Coventry (Retired)
Contact:

Re: Paint Your Wagon - with a roller!

Post by CovKid »

You shouldn't get much if any orange peel if the surface is clean and free of contaminants. However, the roller won't really do the work until its been fully saturated and any air in it worked out. This is why some experience air bubbles when they first start. Not sure about matt but you do need to thoroughly stir paint before starting as solids tend to work to bottom of can giving mixed results. As always though, surface prep essential and anyone looking for a concours finish first go, should really put it in a spray shop and foot the bill. That said, get the mix right and the technique and it'll still look 100 times better than when you started :D
Roller paint your camper at home: http://roller.epizy.com/55554/" onclick="window.open(this.href);return false; for MP4 download.

Post Reply