
I also needed to fit some door whistlestops, new loom boots for the doors, sound deadening, and some grey doorcards, so decided to hit everything in one go.
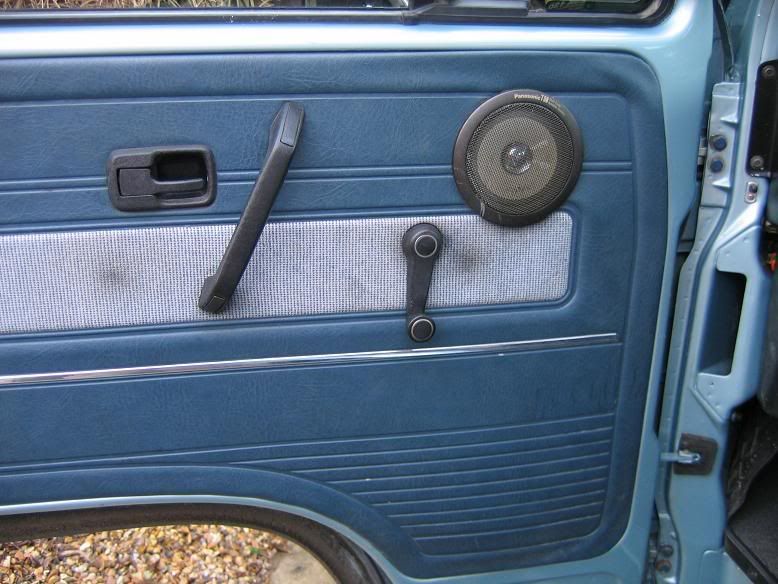
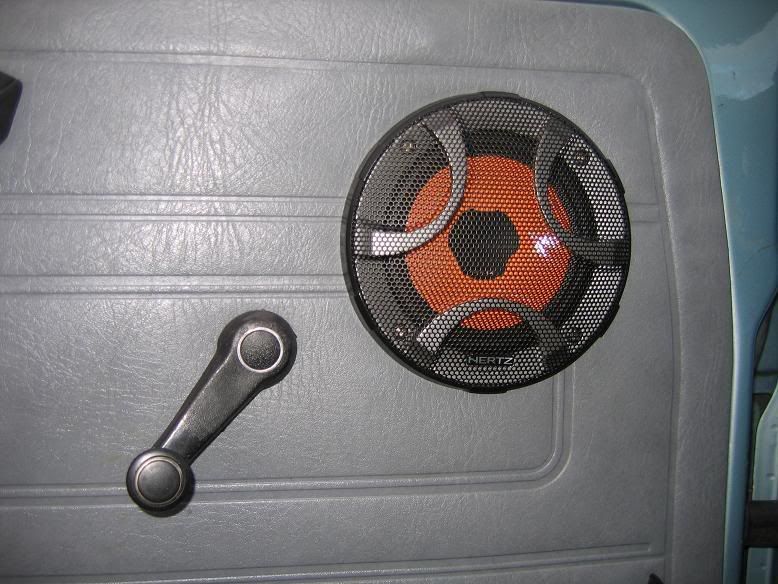
I have had a set of 6" speakers on a previous van mounted down at the bottom, and to be honest, the sound stage was rubbish, and always fighting the road noise, so I decided from the beginning to mount the speakers high up on the door. I am very pleased with the results. Only a tiny portion of the speaker is hidden by the sides of the dash - but the 5" are much better in the bass department than 4" would be.
The HeadUnit is a Kenwood W5541U (front USB and aux in socket), the components are Hertz ESK130. Speaker cable is Gale (found at the dump). I have no amp - the Head Unit is driving them directly (So all the more reason to make sure they are mounted in an optimum fashion)
The starting point...One crappy set of Pioneer speakers that sounded like a squelchy fart box when turned up:
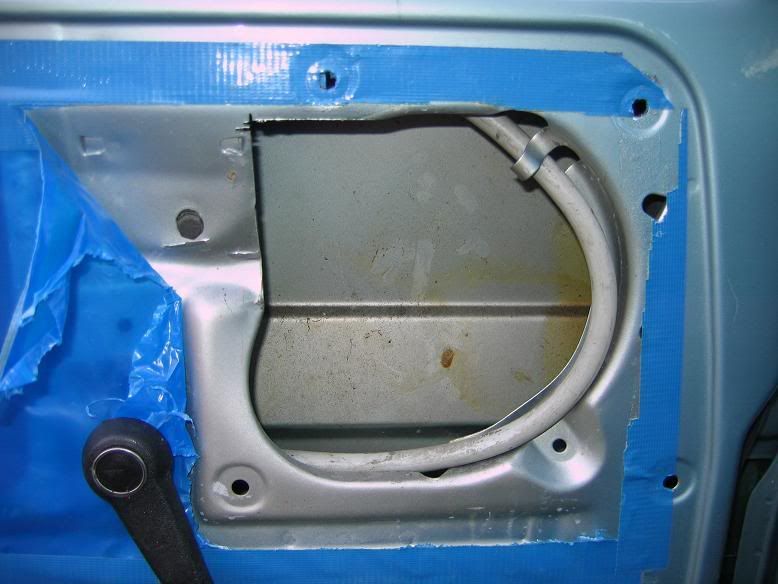
Trimmed a bit of metal to make it easeier to fit/create template. That larger hole also makes it easier to fit a a good layer of sound deadening material onto the outer door skin.
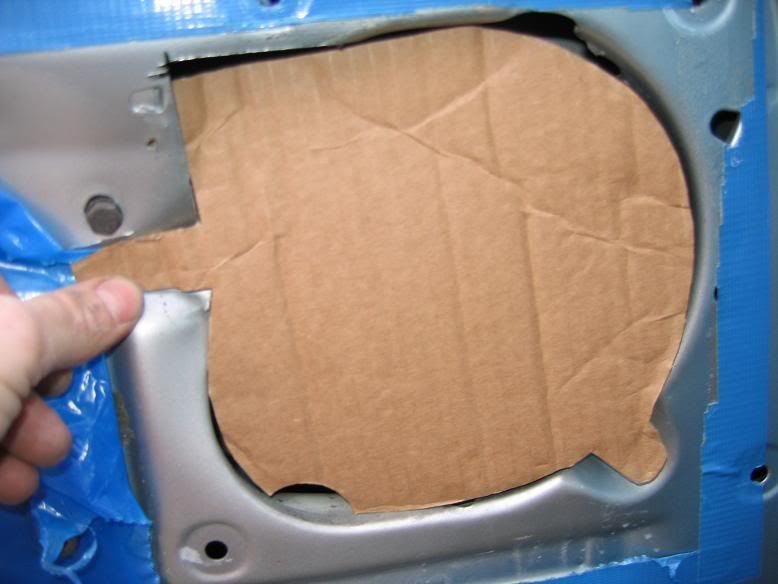
Then I made a cardboard template to fit the hole:
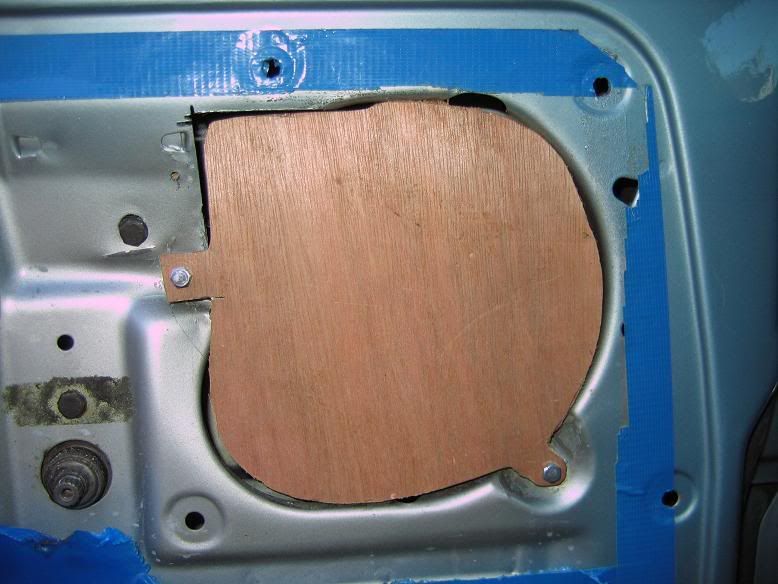
Next a 6mm ply template:
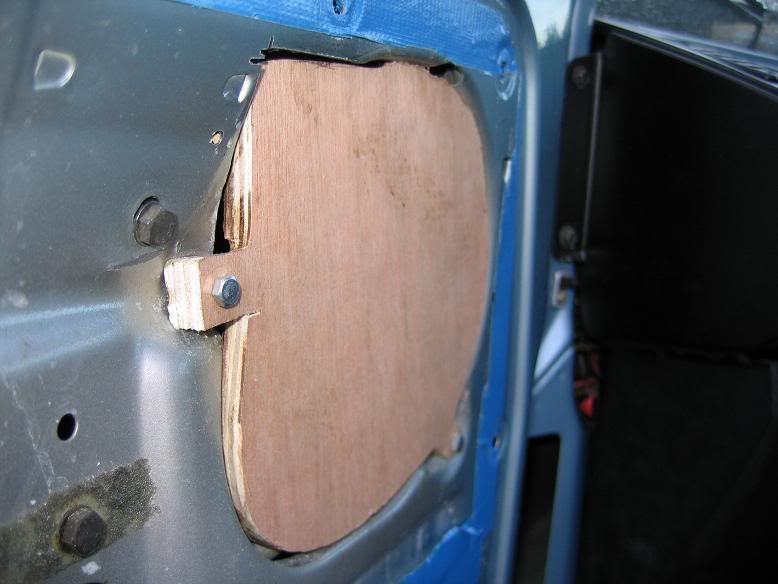
I then remade this template in 14mm ply, and bolted it into place at the 9pm and 5pm positions:
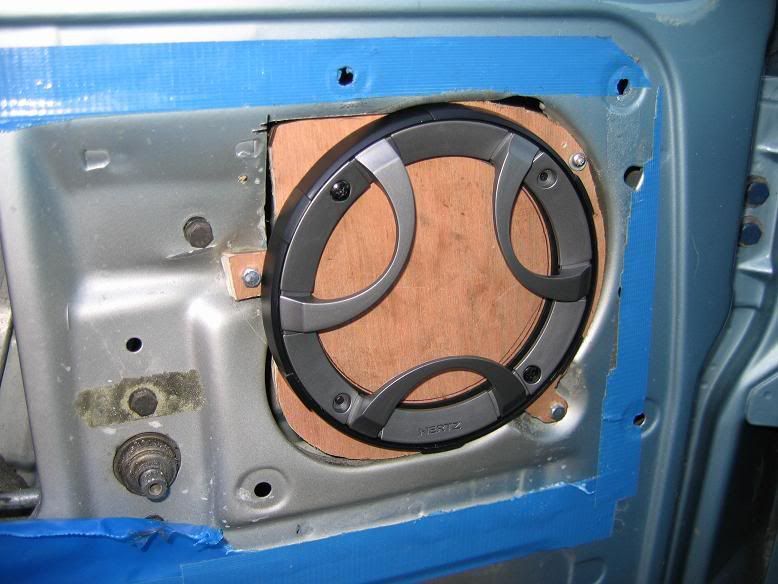
Next I did a check to ensure that the speaker would sit nicely onto the wood. As you can see 5" fit just nicely.
At this point you can draw the hole that needs to be cut. Take the wood back off and then cut it out on a bench:
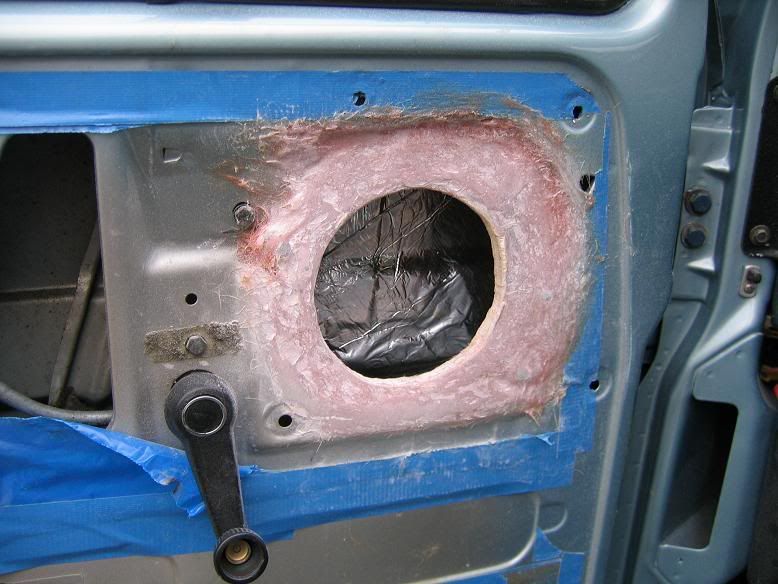
Ok - time to get permanent and fibreglass over the wood and surrounding door frame area (you can see why you need to cut the hole at the previous stage....it would be a pain after fibreglassing) :
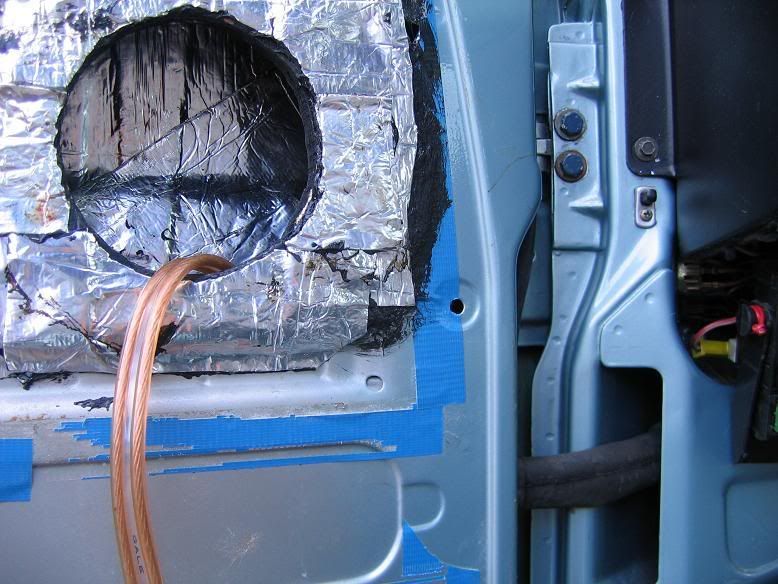
Paint the fibreglass and then Sounddeaden over the top (actually - the door was taken off just prior to this stage after so that I could fit the whistle stops. I also fitted the rubber boots and threaded through the speaker cable too):
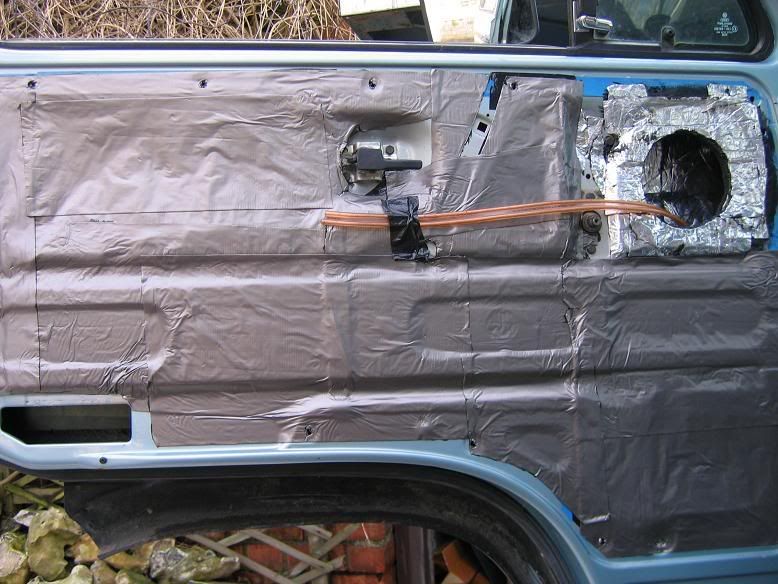
Make sure the water barrier goes back in:
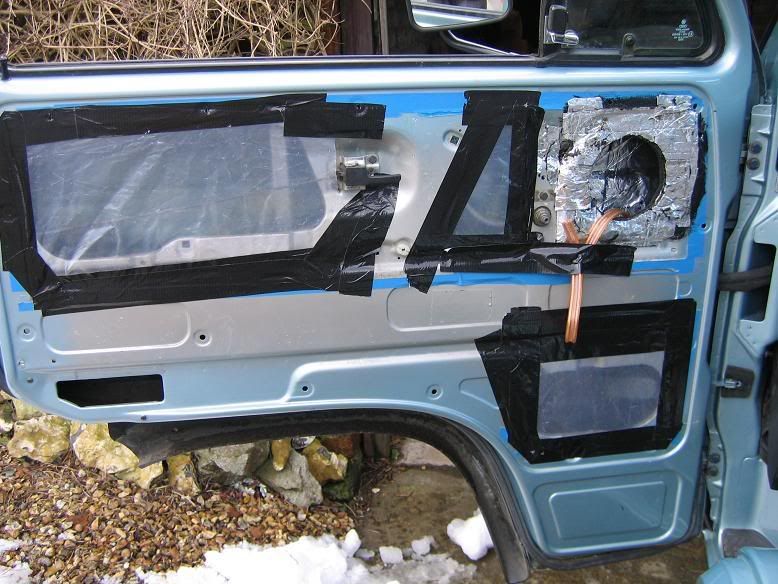
Now sound deaden over the top of the inner skin:
Finally, refit the door card (after some carefull trimming for the speaker hole), and mount the speaker through the door card directly into your new wooden surround:
I'm sure I've made a few mistakes (this is my first custom speaker install).....but I'm very happy with the results.
If you see me at a show or whatever, you're welcome to come have a listen to see what you think.
cheers,
Rich


