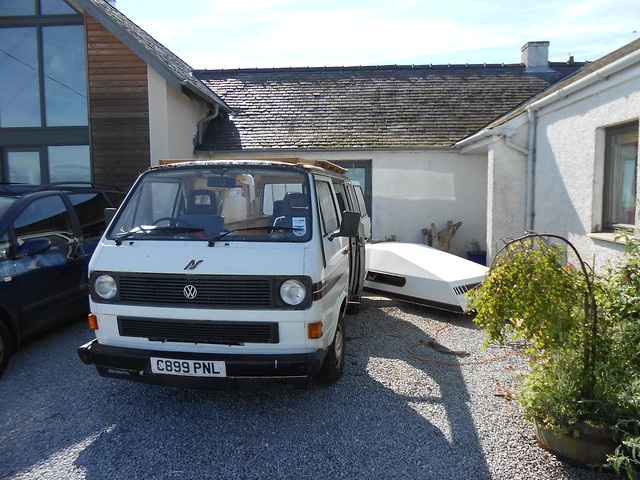
In breaking the windscreen I don't think I was treating it badly. I basically cut around the outside of the rubber seal so the screen could be pushed out from inside. However when I was doing this a crack appeared (not under much stress as it was coming out easily) and spread up the entire screen

. I think I was just unlucky.
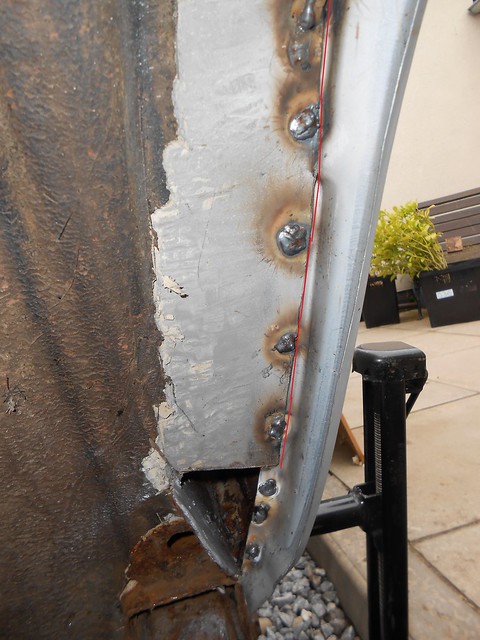
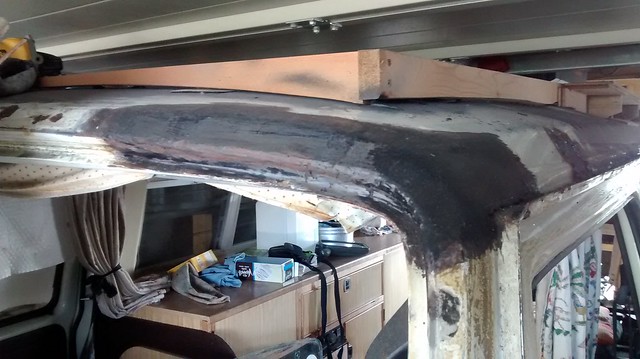
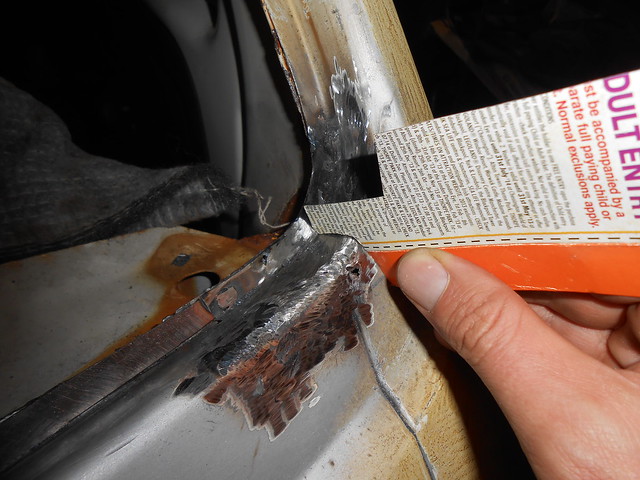
So I did some welding today, which is the first welding I've done since purchasing my auto-darkening welding mask:
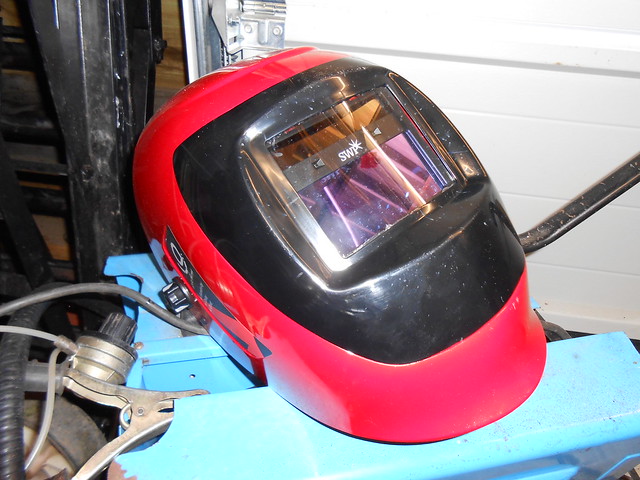
I don't know why I didn't get one of these before! The difference is just amazing; welding just got 100 times easier:
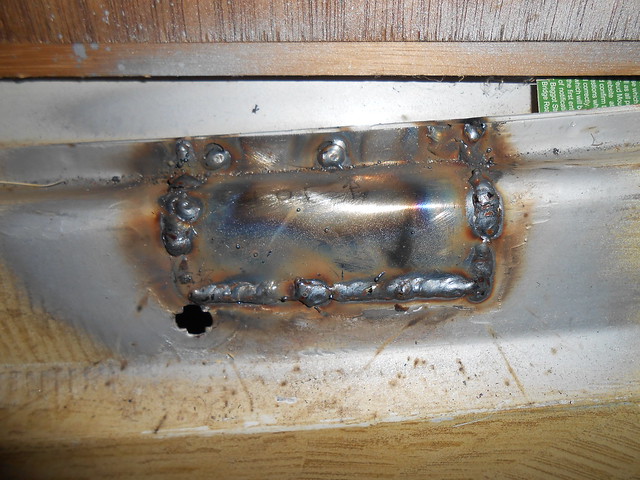
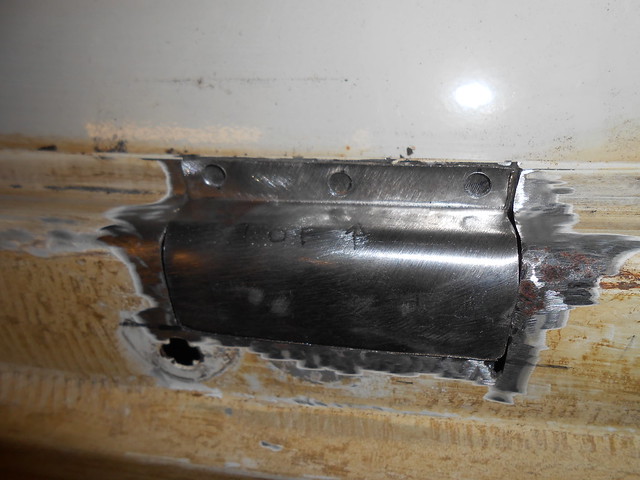
Okay it's not as tidy as some can do on this forum, but I was pleased with it!
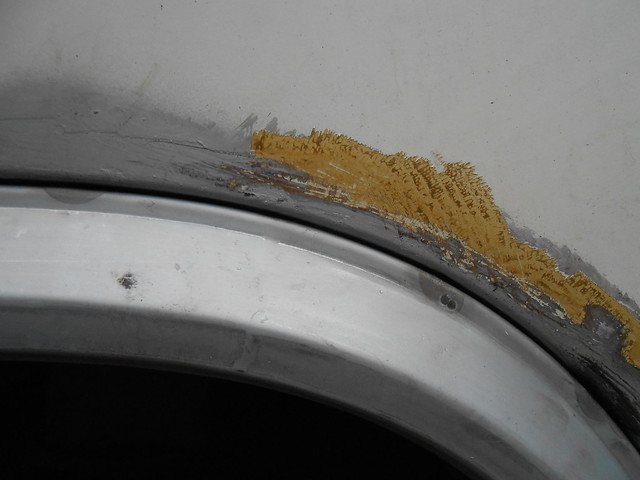
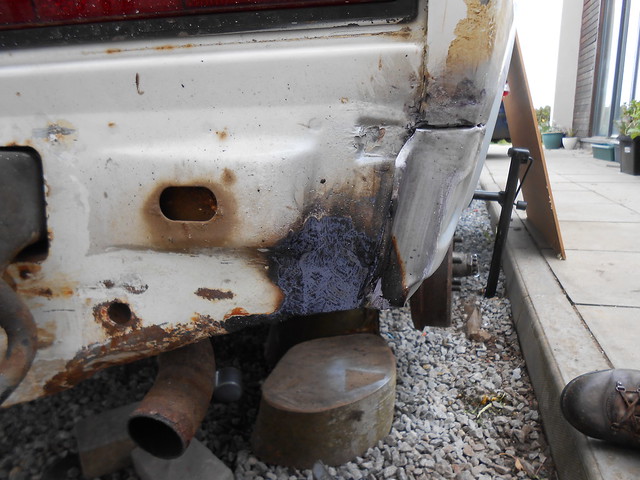
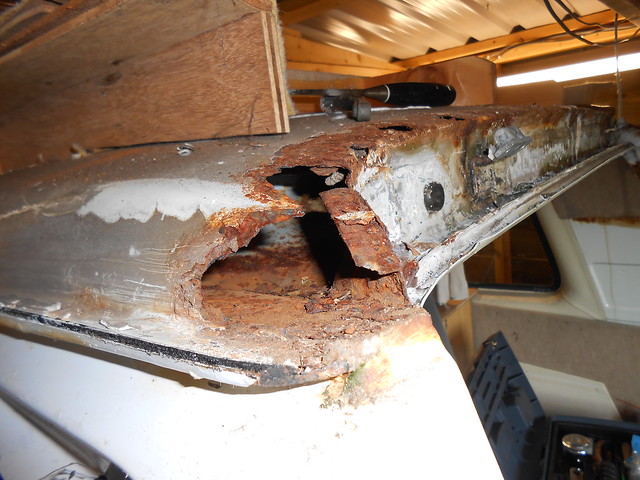
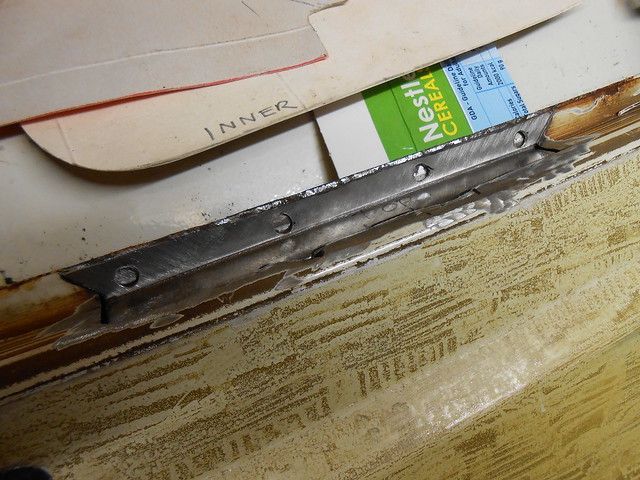
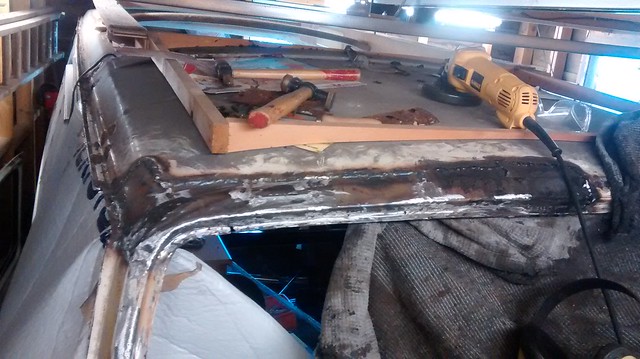
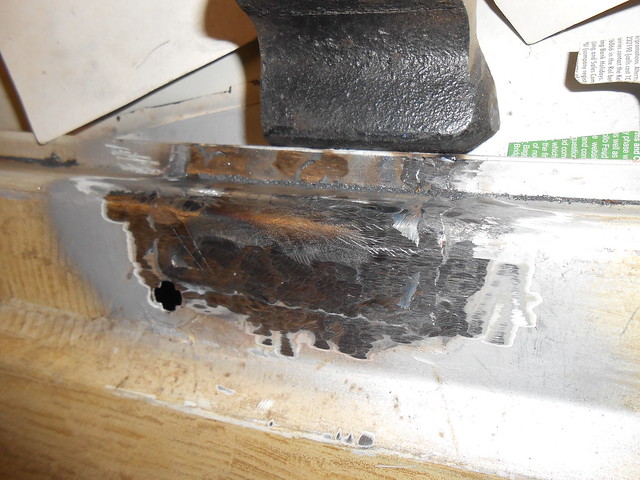
After tidying up it looked like this...as suggested by MM I've been checking the profile as I go along with my cardboard windscreen edge checker! I must get some of those flapper disks as "max and caddy" suggested!
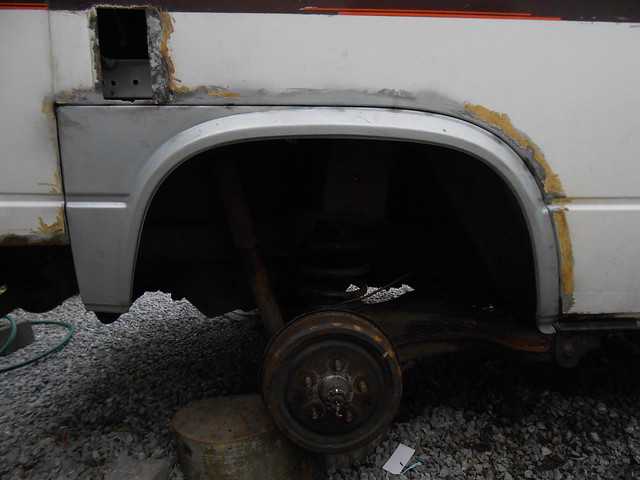
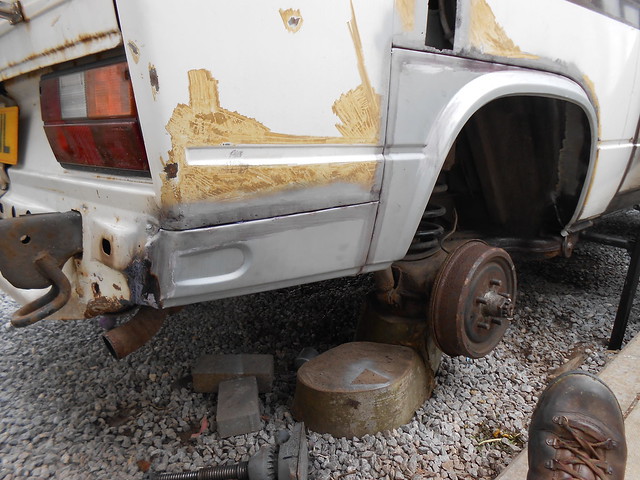
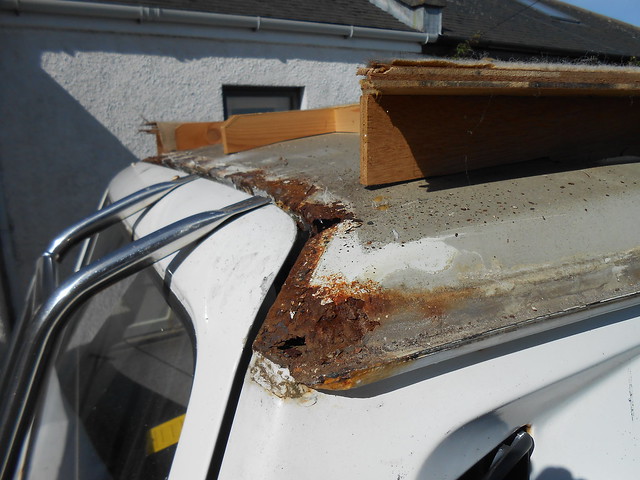
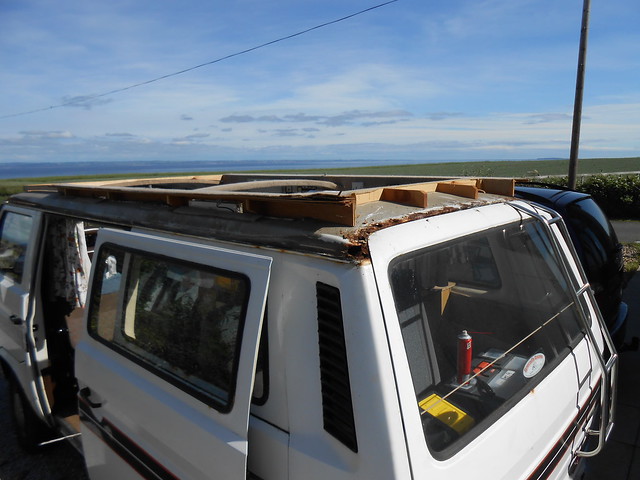
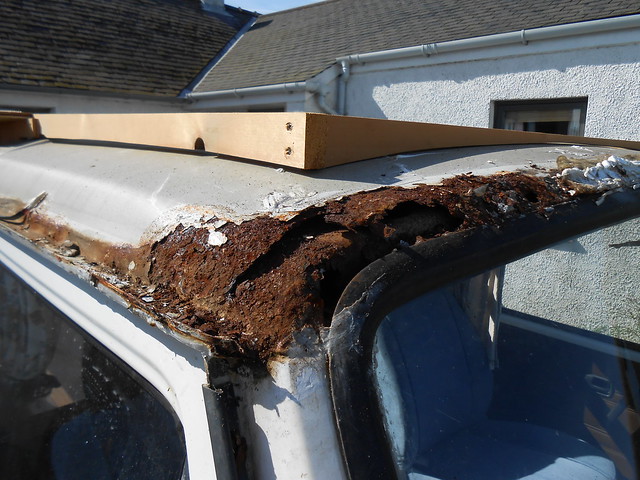
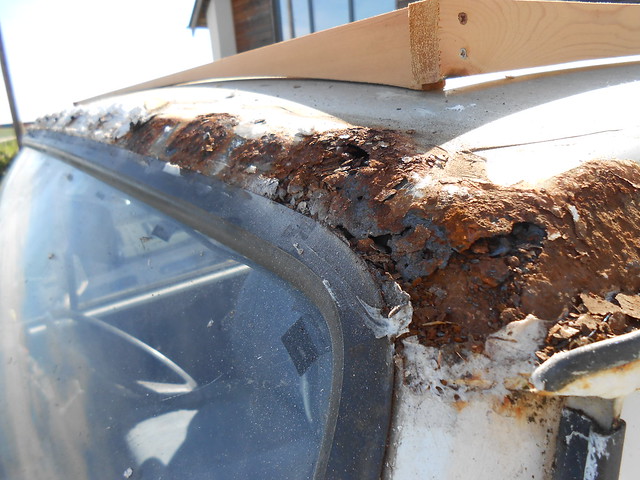
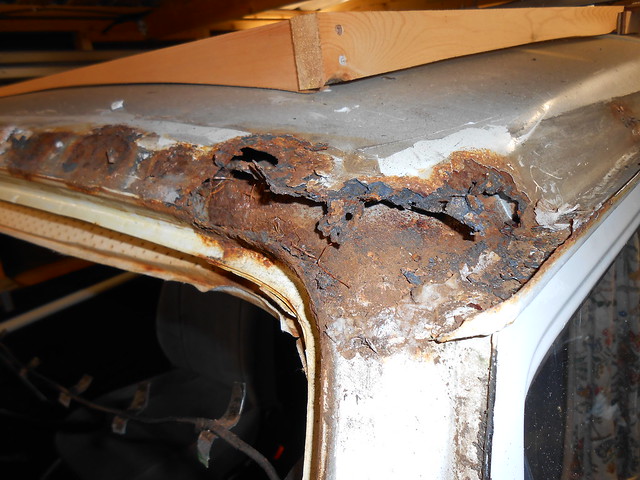
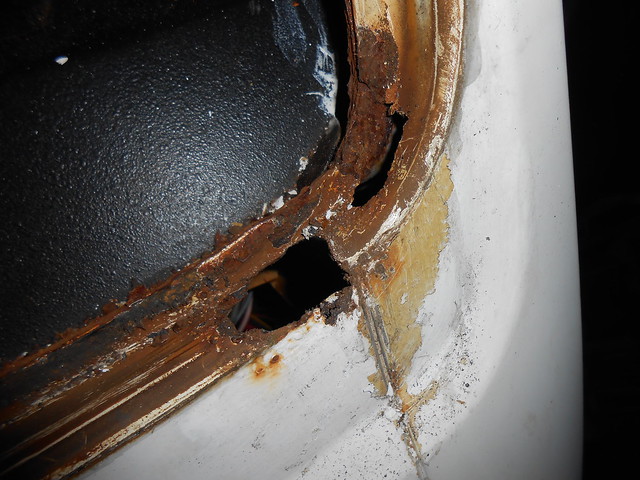
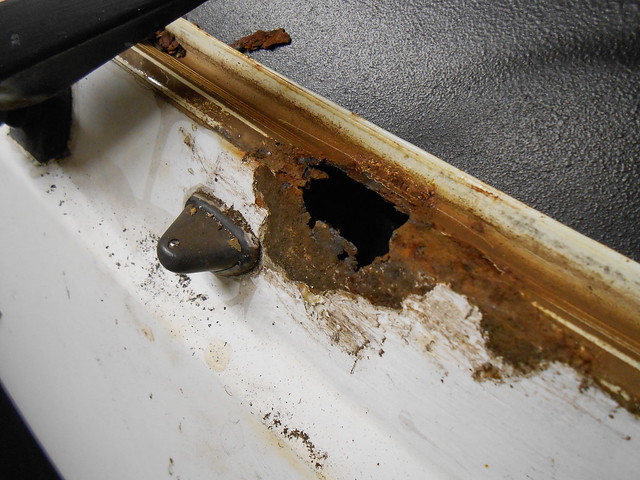
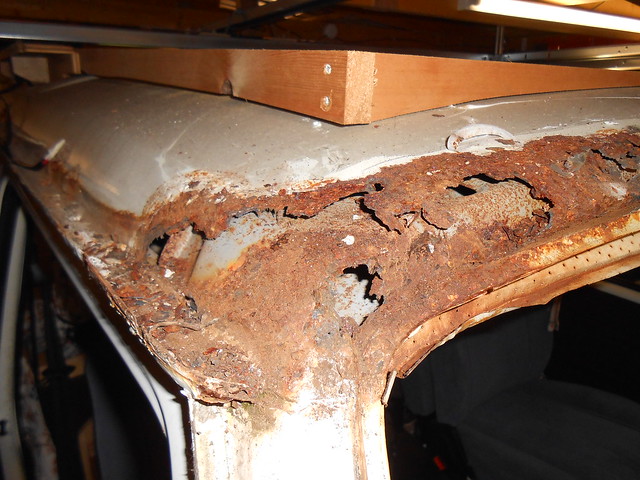
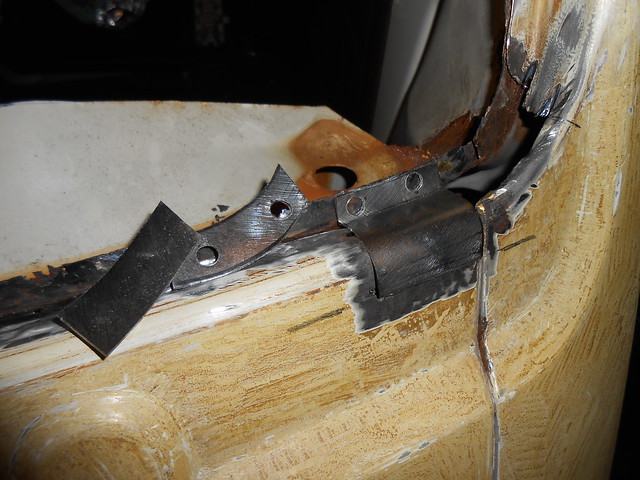
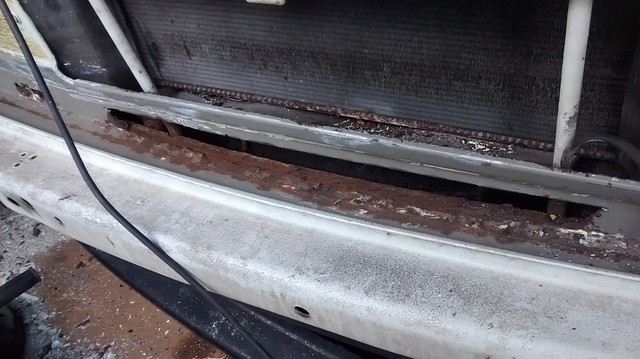
So on with cutting out rot, making cardboard templates, trial fitting and welding in new metal...