Page 2 of 2
Re: It was all going so well...
Posted: 13 Aug 2018, 10:27
by CJH
That looks like a neat solution. I did consider fixing something to the cradle of the trolley jack. I may still go down that route if my 3-point lift doesn't work out. Mulling it over, the only change I think I need to make is to have a flat surface under the gearbox (still with lateral battens) so that I can slide the gearbox onto the engine.
Re: It was all going so well...
Posted: 13 Aug 2018, 11:47
by itchyfeet
Like it, now I have a decent size jack that might work, trouble is I have a gravel to work on but a board down would solve that.

colinthefox wrote:This is my tried and trusted method.

Bolt a flat steel plate to the cup of a trolley jack. Wooden wedges get the "angle of the dangle" just right. The jack handle is at the rear of the van, so as you raise the gearbox it moves towards the engine at the same time. If the gearbox won't balance or needs extra height, make a cradle out of scrap wood.
Re: It was all going so well...
Posted: 13 Aug 2018, 12:25
by 937carrera
https://www.ebay.co.uk/itm/Transmission ... 1279015010

Off the shelf trolley jack adapters are also available, I assumed people knew, but maybe not
Re: It was all going so well...
Posted: 13 Aug 2018, 12:48
by bigbadbob76
here's how I did it-


Re: winching through the hole...
I figured i could blank it off later if needs be but will probably put in a blank grommet.
The hole is directly above the middle of the box laterally and 10" forward of the edge of the engine hatch. if you don't go far enough forward you risk hitting a lightweight cross member so check underneath before drilling the big hole.
I took the hook off the winch and passed the wire through then re-fitted the hook.
You can hang the winch controller down past the engine so you can work it from underneath.
The shackle goes through the heater hose clip mounting hole and luckily it's the perfect balance point for the box. you can take the clip off by reaching in from the engine bay with a couple of 13mm spanners.
Re: It was all going so well...
Posted: 13 Aug 2018, 19:27
by CJH
I remember seeing that now - another neat idea.
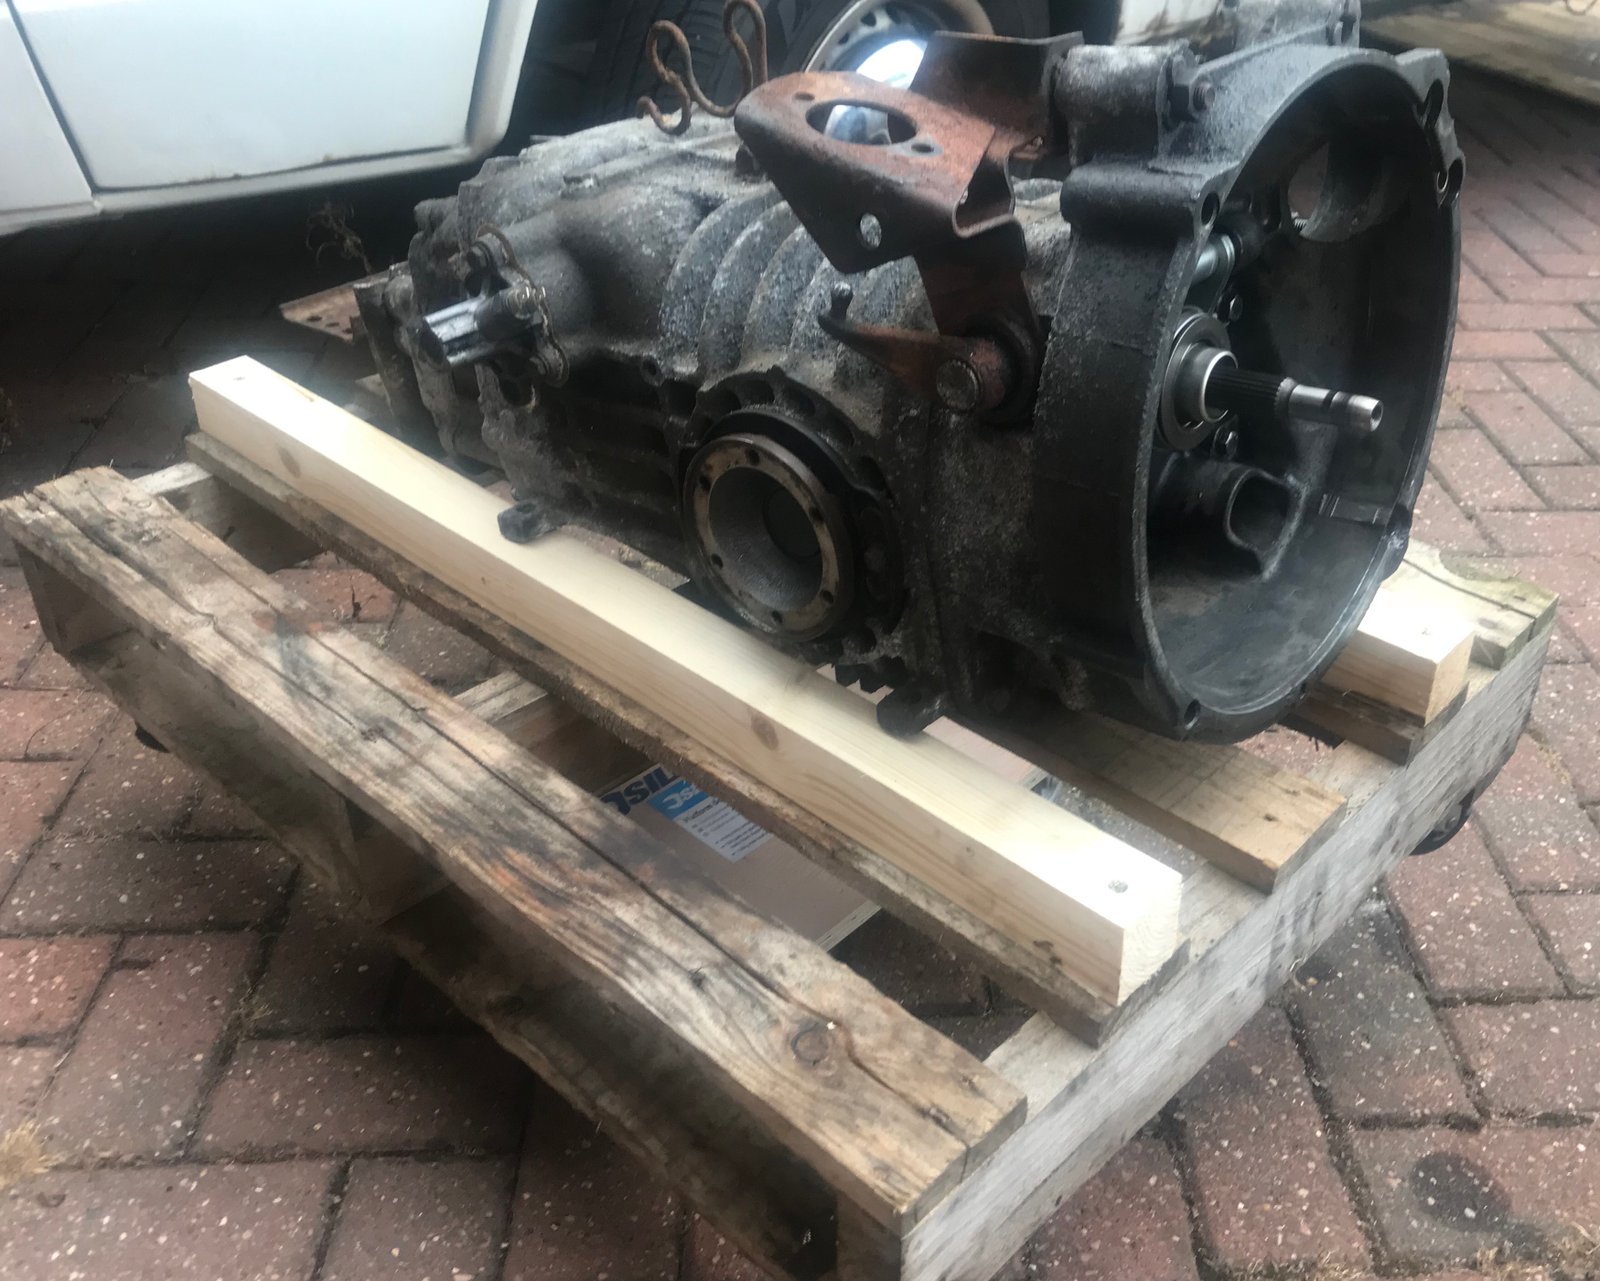
But my trolley plus three jacks worked a treat this evening. The gearbox is safely back in. I put a couple of battens on my pallet-with-castors and the gearbox was rock solid. I didn't invert the pallet in the end because I thought I'd need to be able to slide the gearbox along it. Unfortunately the furniture dolly underneath made the whole assembly too tall to go under the van

.
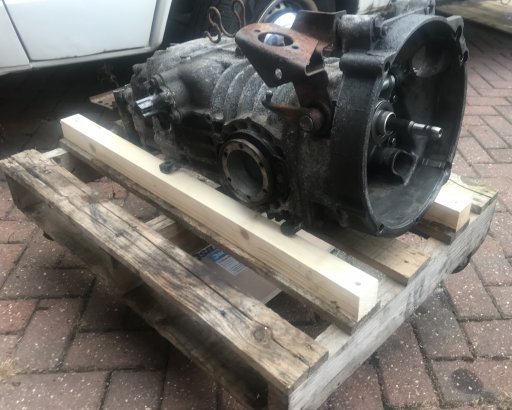
But it was simple enough to roll the pallet underneath then start jacking it up with two trolley jacks at the rear of the van and a bottle jack at the nose (I first had to jack that end up to get the bottle jack under). Then the three jacks gave me complete control over the angle of the gearbox, and it all went very smoothly - no panics, no awkward heavy lifts, just loads of climbing under the van and out again. So I fitted the starter and did up all the bolts, and decided that was enough for one evening. Will finish the job tomorrow evening and find out if the clutch release bearing stayed put!
Re: It was all going so well...
Posted: 13 Aug 2018, 19:54
by itchyfeet
That's handy it comes out going to make it easy to drill holes and attach stuff.
 P1100715
 by
Paul_Barr, on Flickr
nice fit, chop off and bolt on...
 P1100716
 by
Paul_Barr, on Flickr
Re: It was all going so well...
Posted: 14 Aug 2018, 19:49
by CJH
I finished the job this evening. I've still got 4 forward gears and 1 reverse gear, no (extra) creaks or groans, and so far, after a short trip to the shops, no oil drips. Still, when I installed this engine it took a few hundred miles for the oil to accumulate sufficiently to start dripping from the bottom of the bell housing, so I won't know for a while whether it's any better than it was. Fingers crossed.