
I've been looking at installing an Eberspacher for a while now so after seeing a garage near me selling a few on EBay I rang them direct and ended up with a 2005 D2 Airtronic.
First job was to test it before fitting it to the van. So I downloaded the manual From Eberspacher's website and plugged everything in, put the fuel pipe into a bottle of diesel, connected the positive and negative terminal to a leisure battery and turned the controller on.
..........Nothing!!
After a "help" posting on here (cheers Mocki) I learnt that an Eber will not think about running if the voltage is below 10.5 volts AT THE FUSE near the unit, not the battery.So I charged the battery and the eber fired up. It ran without smoke and turns its self down once the required temp had been reached.As mine heater had come from a BT van it had a 1 hour timer fitted so this was removed and replaced with a relay to allow it to run for more than an hour
I then ordered all the bits needed to fit it to my van. I needed 60mm flexi hose for the inlet, 80mm hose for the hot air, a length of exhaust, fuel pipe 'T' piece, vents and a load of hose clips, all of which was bought from EBay.I tested the heater again in the shed using all the hoses and pipe just to make sure it still worked OK before fitting it in the van.
Now the hard bit. I'd never fitted an Eberspacher before so was a bit nervous about tapping into my fuel line, drilling hole though the floor of the van and routing a hot exhaust under the van without melting my plastic water pipes!
After a few PM's and a good look a Ringo's Eber installation at Vanfest I was ready to start.
I am fitting mine heater under the rear seat so the first thing to do was to remove the back seat to allow good access.
Then I put the van on ramps so I could crawl underneath. The floor of the van is corrugated so I had to choose a location where I could get all the holes into a flat section. This happened to be more or less in the centre of the van. After a bit of measuring and double checking I drilled my first hole, a small pilot hole to make sure that everything was going to come out where I expected it to. Everything looked ok so I then marked the holes I needed to drill using the manual to get the exact measurements then I drilled all the holes, 4x7.5 mm to bolt the heater down,1 x 7.5mm hole for the fuel connecter and 2 30mm (should have been 26mm but I didn't have a hole saw this size) for the exhaust and inlet. I also drilled an 8mm hole for the fuel pump wires and to allow me to connect my earth wire to the earthing point on the gearbox.
My van is fitted with carpet then ply lined and then insulated so this had to be cut out to allow the rubber gasket to fit tightly against the flour. I then painted all bare metal.
I then plumbed in the fuel lines and mounted the heat fuel pump. I have put my T piece as close to the tank on the return side (as advised). To do this I just cut the 8mm rubbed fuel hose which connects to the tank put my 't' piece in and tightened up my pipe clips. Easy.
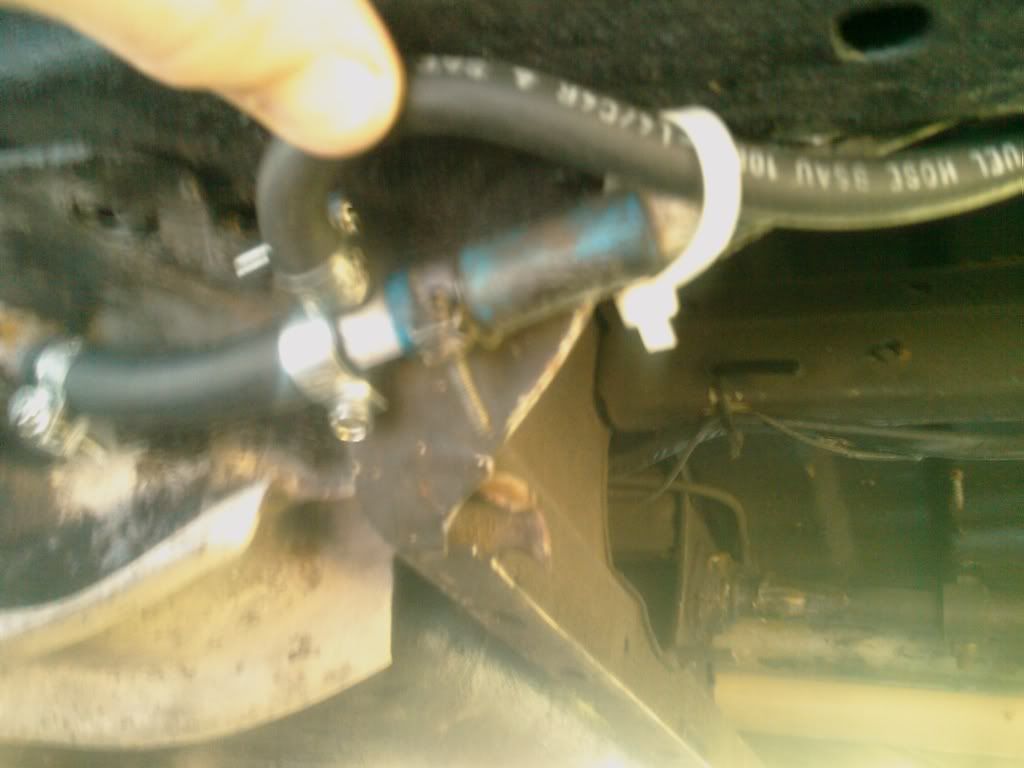
I then fixed the Eber fuel pump to the chassis rail using an existing hole and an 6 mm bolt tilting the pump slightly upwards as per the install manual. The fuel line was then cable tied to the vans fuel line and cut to length.
The heater was then bolted in place. I used a smear of sealer on the gasket and also used some sealer under the van to make sure no water would get in.
Routing the air inlet pipe is pretty straight forward as it doesn't get hot so can be tie wrapped to convenient location. The only thing to watch out for is that it must not be able to draw in away exhaust fumes and must point away from the direction of travel.
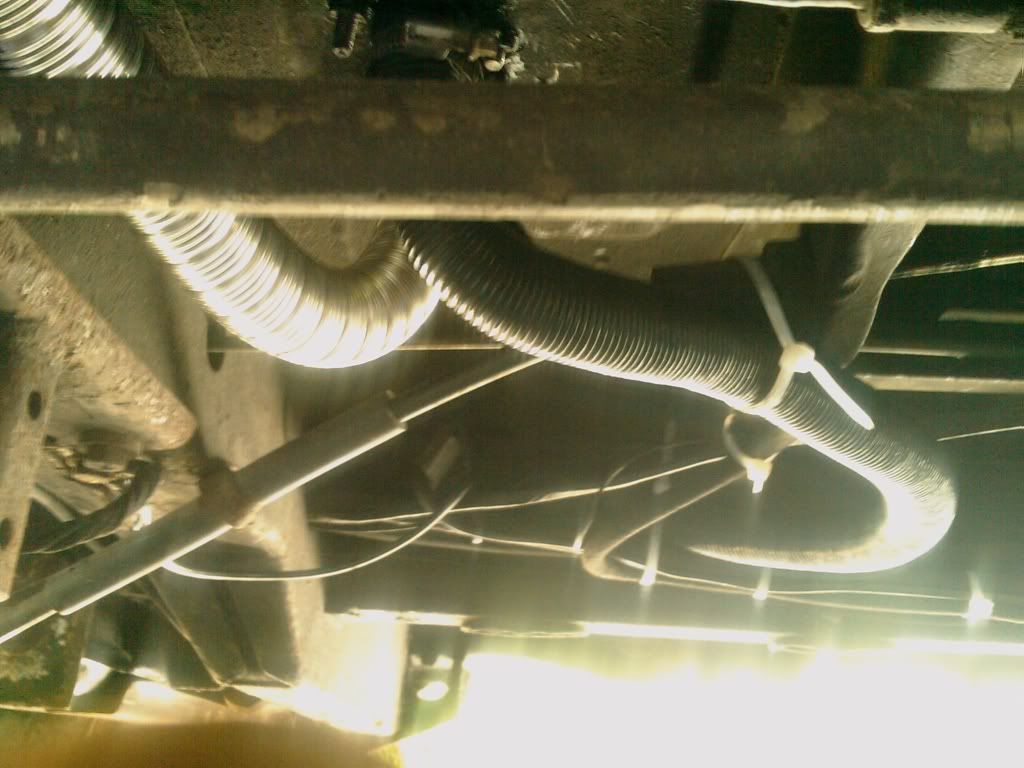
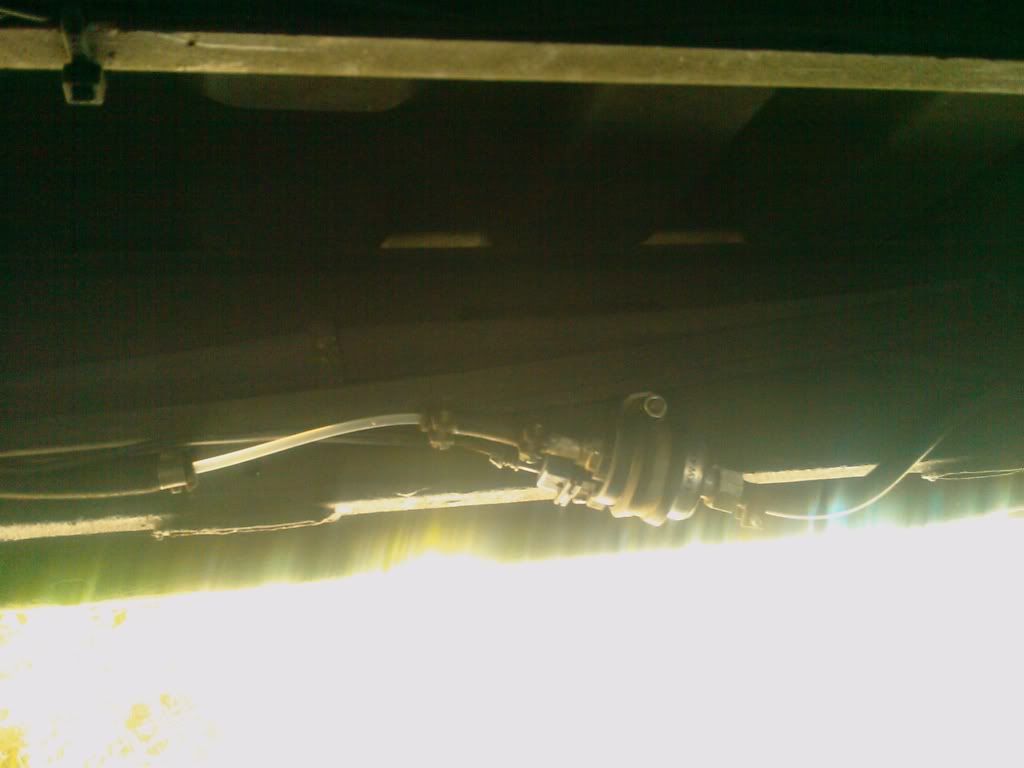
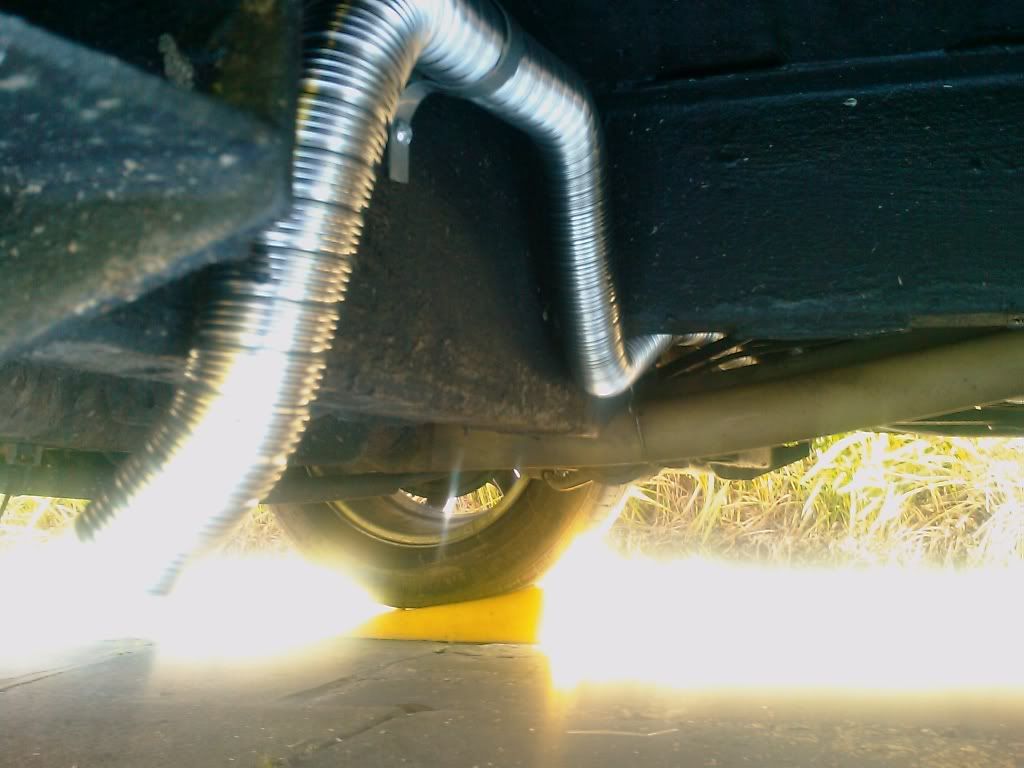
The exhaust needed to exit on the driver's side of my van to the fumes would not going into my awning, this meant that it would have to be routed passed my plastic front to back heater pipes. To make sure that they never come into contact I made some 'P' clips and fasted these along the route of the exhaust, which exits just in front of the rear jacking point.
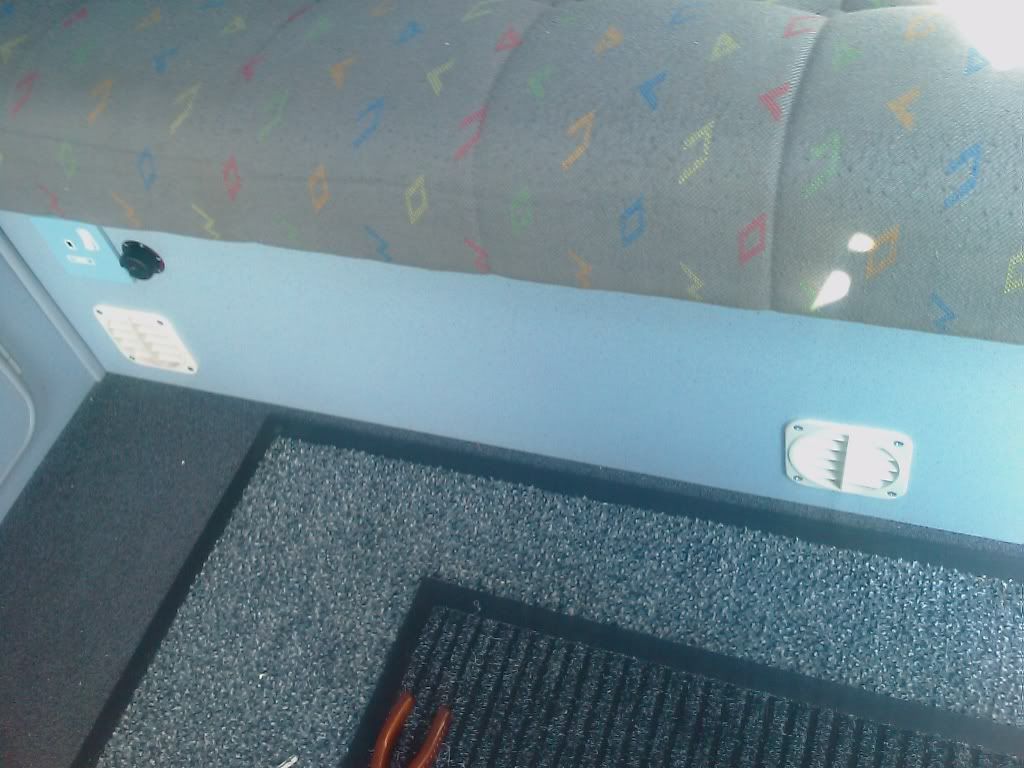
Back inside the van I now had to fit the vents, one for fresh air and one for the hot air. I got hold of a 100mm hole saw to cut thought the wood under my seat which made this bit pretty straight
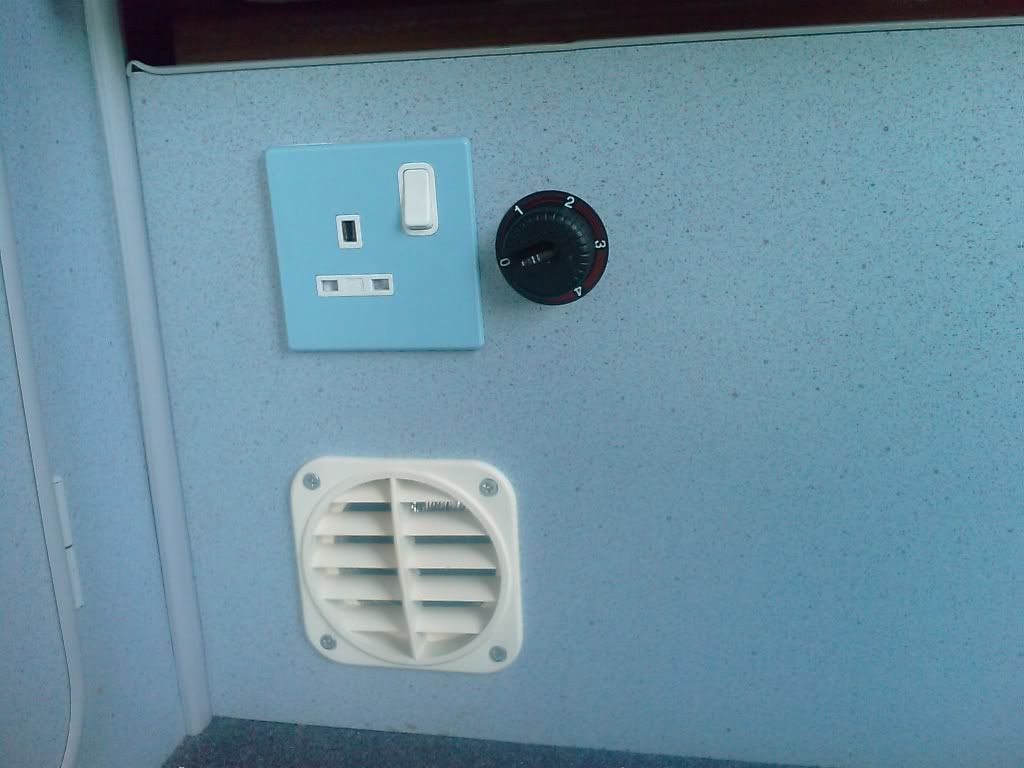
I then had to fit the control switch. My ply wood was a bit too thick for the switch so I had to counter bore the back of the ply using a small hole saw and then remove a few layers of the ply with a chisel.
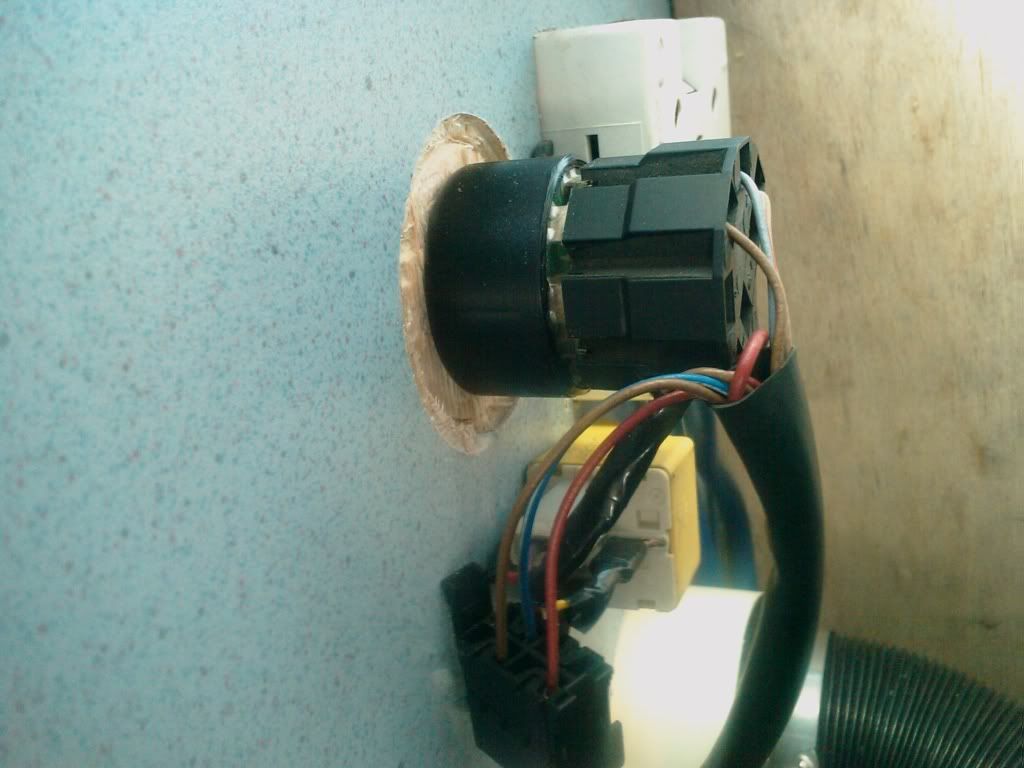
I then ran a positive cable straight from the battery thought a 30amp fuse directly to the heater. I used 6mm squared diameter cable to avoid any voltage drop. I took the earth to the earthing point on the gearbox thought the same hole as the fuel pump wire. This hole was then sealed with a bit of mastic.
All that was left was to connect all the ducts up with jubilee clips and then test
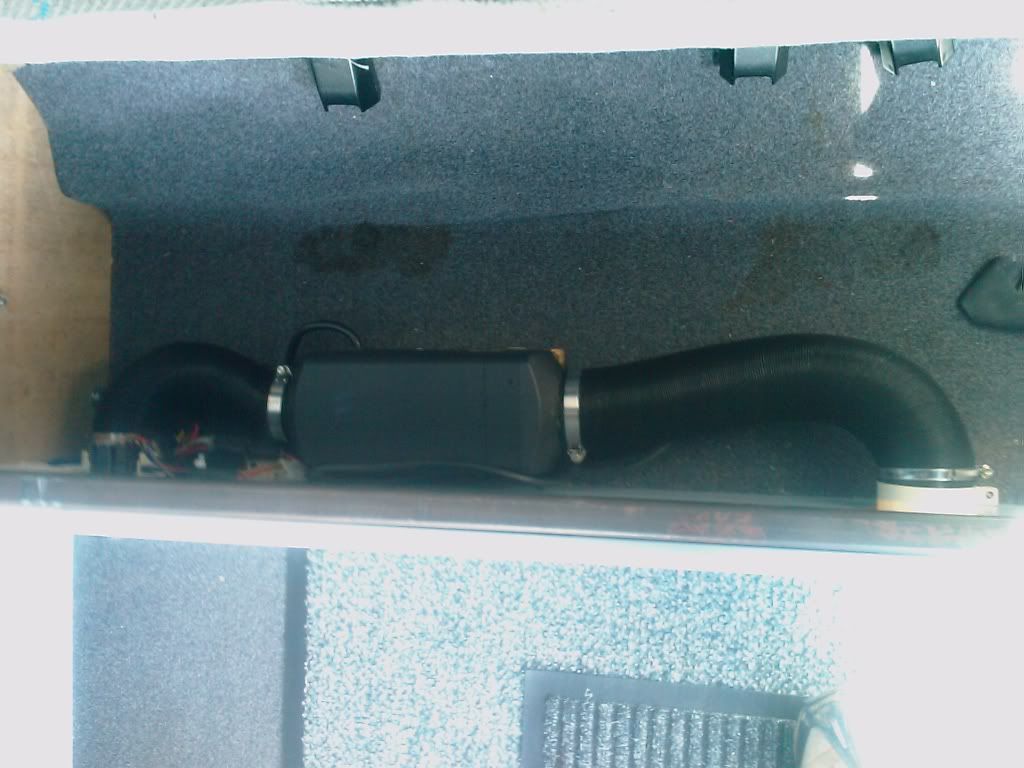
Switched it on and it fired up no problem, volt meter showed 12v at the fuse during start up so it looks like my leisure battery will be up to the job. I let the eber get up to full heat and let it run for 20 minutes or so, then checked the exhaust to make sure it was clear of everything
All in all I'm pretty please with the outcome. It's not as difficult to do as I had imagined.
Total cost including buying the Eber and all the other bits was around £250.
Cheers
Gaz

