Interior non camping alternative front seats
Rover seats
bluebus: Hi I put some Rover 216 seats in my last T25, they unbolt quite easily from the Rover. To put them in the van I had to drill through the runners and the bodywork. On the side nearest the door its easy just bolt through the runners and tighten the nuts from under the wheelarch.To get to the other side under the seat it is a bit more tricky drill through the runners the same but it takes a bit of patience to get the nuts on and tightened. When they were in being that the new runners were on top of the old VW ones it gave you extra height, unless you are over 6 feet tall you still have plenty of head room. The seats were very comfortable and a lot kinder to your back. Good luck, bluebus
Saab 900 seats
Fitting Saab 9000 seats
WiKi Article by Cruz (Shaun Fielding)
[1]|http://homepage.ntlworld.com/georgina_shaun/T3_website/fitting.html
With credit to original ideas by syncroandy (Andy McClements)
[2]|http://www.sthwark.demon.co.uk/syncro/syncro_projects.html#Saab
Fig.1 is a closer picture of the drivers seat fitted
Firstly the runners on the Saab seat are spaced further apart than the existing runners on the vans seat mouning box. So the runners on the Saab seat need adjusting
To do this the seat runners need unbolting and rebolting on the inside of the seat with spacers on each side to achieve the correct runner width which on my van was 392mm.
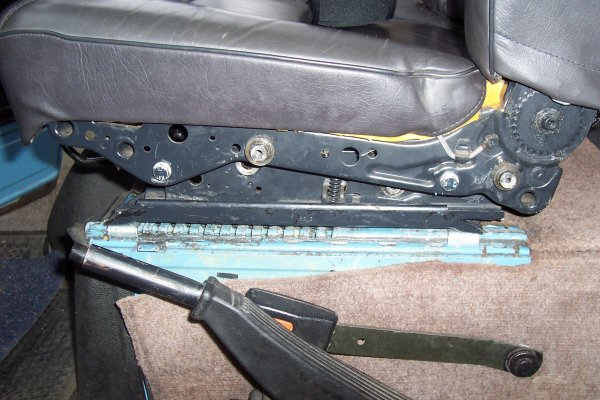
Fig. 2 shows how the seats runners are bolted normally
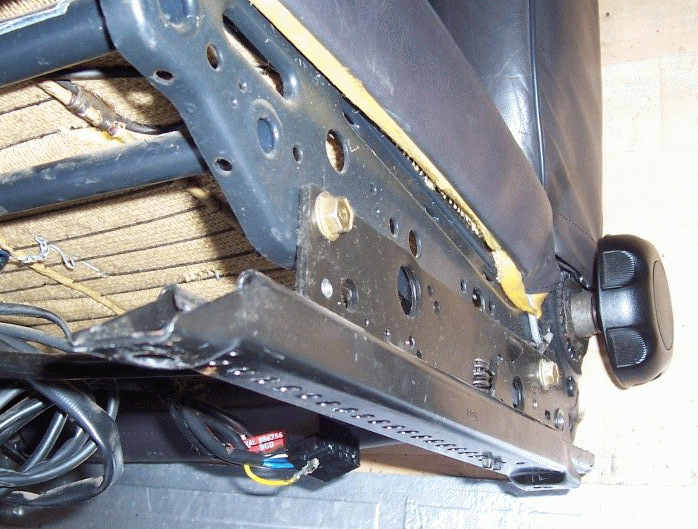
Fig. 3 shows how the runners are bolted on the inside of the seat with the required spacers and M8x70mm bolts to achieve the same runner spacing as the vans seat box.
IMPORTANT NOTE: The Drivers seat is tricky as the runners are not bolted on but held on with spiggots for the seat height adjustment workings. With the seat height adjustment the seat is too high for driving the T25 so you will need an angle grinder to get the seat runners off and remove the seat height adjustment lever and workings. Then space and rebolt the runners to the same holes as on the passenger seat.
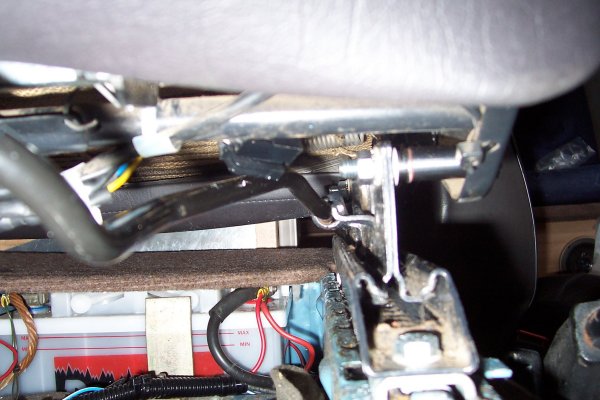
To achieve this the runners need unbolting from the seat. The seat adjuster lever needs removing and reshaping to the new narrower dimension, and then re-attatching. The the seat needs bolting back to the runners with the spacers on either side as in Fig. 3
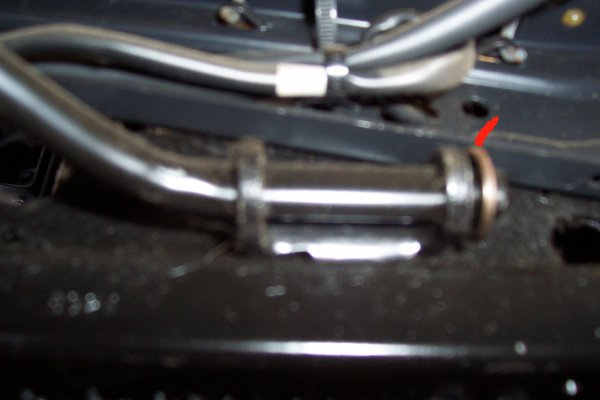
Remove seat adjuster lever by removing the tab washer as in Fig. 4
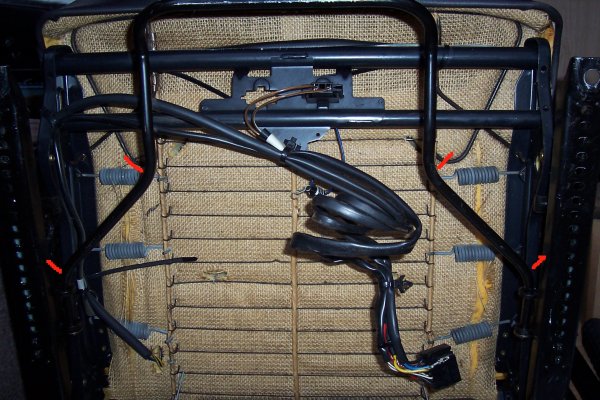
Bend the seat adjuster lever at the places marked in Fig. 5 to match the new seat runner width
Now for the drilling of the holes in the van seat box in order to mount the seats. I am using the swivel base in this example but it is EXACTLY the same for non-swivel base mountings.
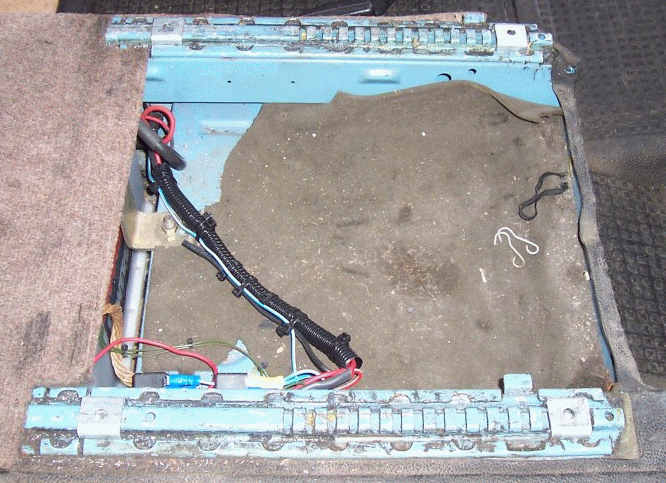
Keep the existing welded seat runners as we will be bolting to these
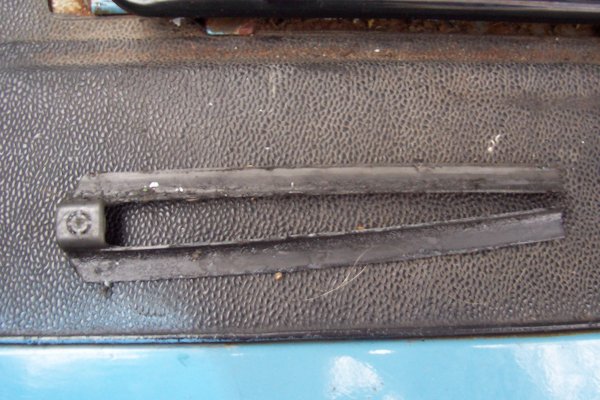
Remove the old plastic anti-wobble strips (Fig. 6) from the van runners and retain if ever you want to put original seats back in.
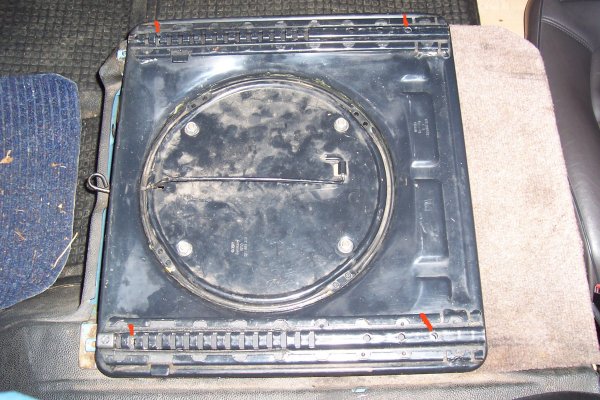
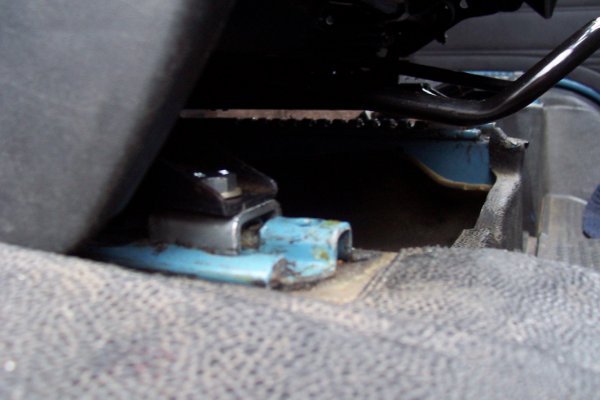
Drill 4 holes in the correct places (measure the seat runners to be exact) for bolting the Saab seat runners to the van as in Fig.7
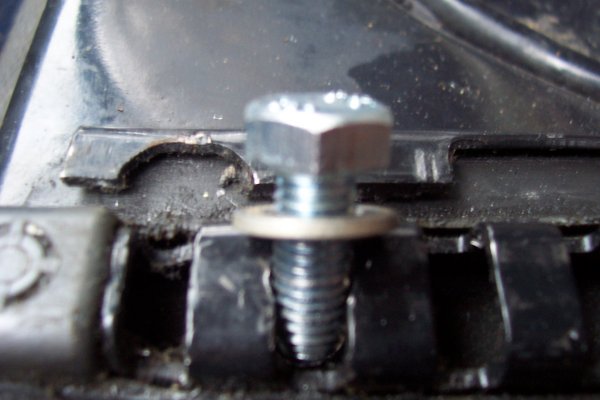
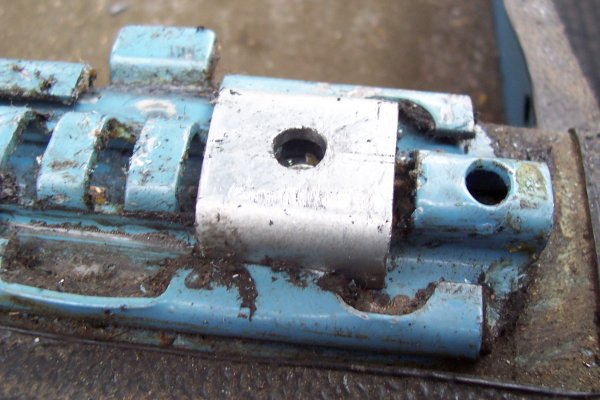
Drilling the holes for the forward most mountings is tricky as you have to drill into one o the existing slots as in Fig. 8
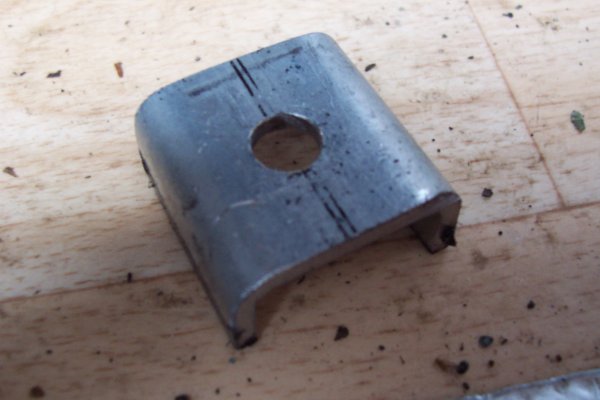
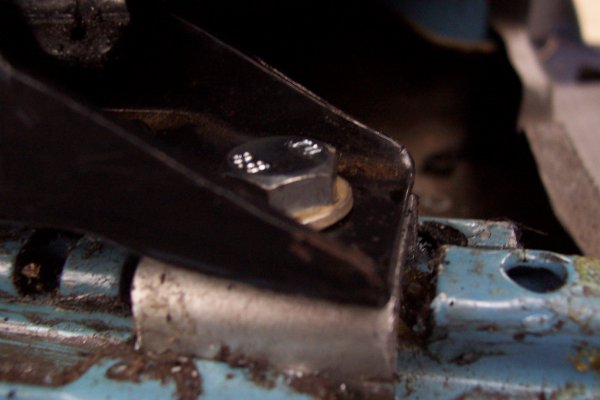
Now to me this set-up seems a little insecure for the front bolts (probably isn't) but to be safe I made a little U-bracket in order to strengthen the bolt in place as in Fig. 9 to 12
I made 4 of these for each seat so as to strengthen the bolt area and to give the seat runners a flatter and wider space to bolt to. They also make excellent drilling aids for drilling into the slot
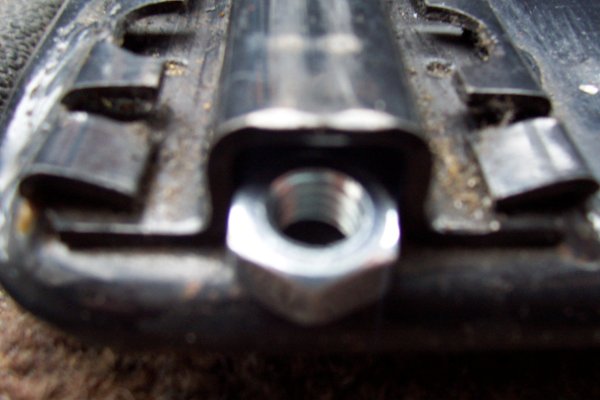
Now the holes have been drilled we are ready to bolt the seats. How are we going to bolt them you ask? Well what you do is slide M8 nuts into the existing van runners and line them up with the holes you ahve drilled. They need to go in from the back as the slot at the front is narrower. See Fig. 13
Once the nuts are in position you can tighted the bolts into them and the runner slot will stop them from turning.
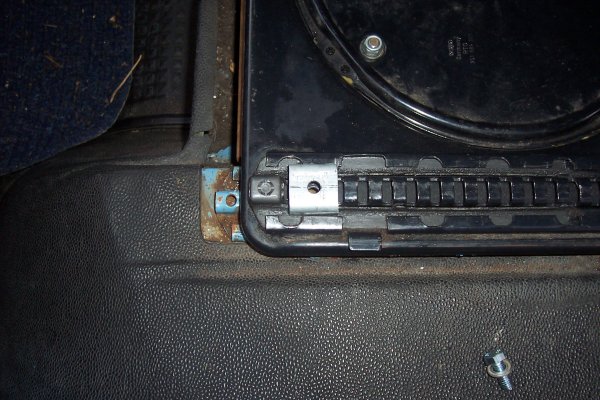
The last thing now is to bolt the seat in postition using M8x20mm bolts. Place the little U brackets in place and bolt the seat to the van as in Fig. 14 and Fig. 15
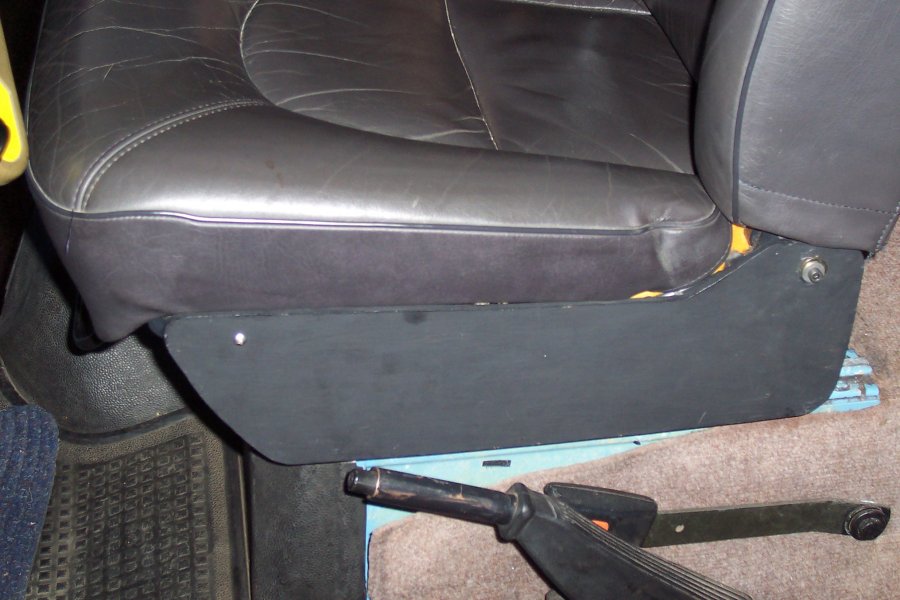
As each seat only has plastic covers on one side I fabricated some wooden sides using MDF as in Fig. 16
Now repeat the process for the other seat. GOOD LUCK!!
