Gearbox Clutch CVs - Renovating 4 speed change mechanism Pt2
Introduction - Repairing Centre Coupling
Having (presumably) renovated the front section of the 4-speed gear shift assembly, you have two options, work on to the middle section, disturb the pinch bolt or leave it alone.
However, you won’t be able to replace the middle bush (which wears) unless you tackle this section.
If you need to replace the rear bush or gaiters and don’t want to disturb the pinch bolt you can remove a pin from the universal joint and remove the rear shift rod that way but to work on the middle section you'll first need to move to the rear, decuple it, and come back to the middle.
Disassembly - General
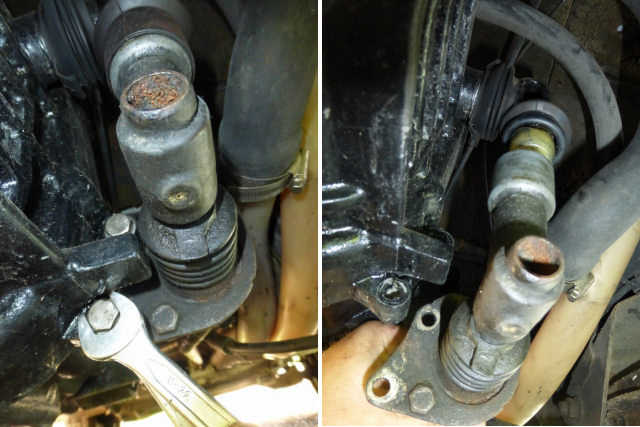
So, starting at the back (alongside gearbox), remove the two bolts holding the support plate to the gearbox. Note that the plate, held on with two nuta and bolts, is fitted to the FRONT of the gearbox casting. Get this wrong on reassembly and you'll have all kinds of problems getting into gear! It is a common mistake on reassembly.
Photo: Removing rear coupling (ball and socket assembly)
Then the gear linkage will come away and can be rested on the ground.
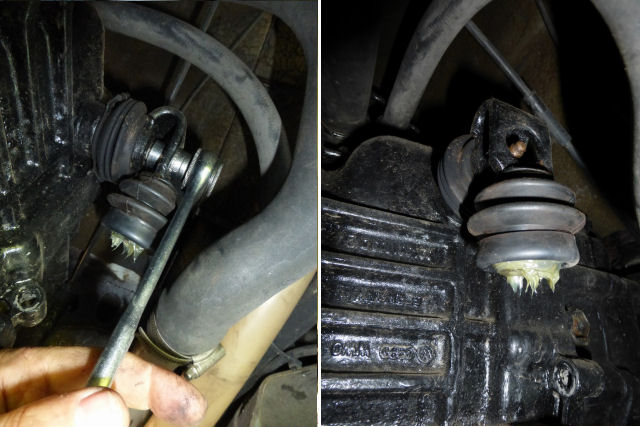
Release the selector lever nut (below). It will move forward into gear as you do this, so before removing the lever which fits on splines, return it to neutral by moving the lever to the vertical position (below right). If you do this it will be in the correct position when you replace it!
You can replace rubber gaiters and refresh the grease. Note that the nylon ball part (widely available) can be replaced too. Often this has worn to the point where the socket will virtually drop off! It is not unusual to find the two held together with cable ties (which will work as a temporary measure) but the job needs doing properly for smoother gear changes. The socket itself can be replaced with an aftermarket part from Brickwerks. Search around and you should be able to source most of these parts as a kit.
Centre Section Coupling
Ok so now back to the middle to remove the rear selector rod.
If you don’t want to disturb the pinch bolt and need to repair the rear selector rod then you can split the universal joint.
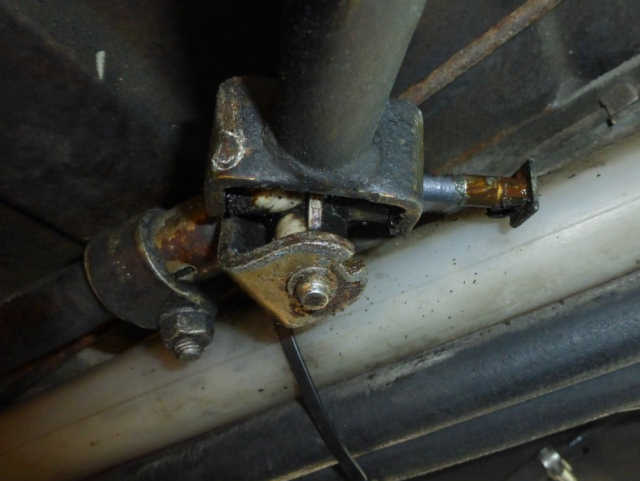
You'll need to remove this circlip (below), taking care not to loose it
Photo: Circlip removal
Then remove the pin (below), this will need pushing out with a suitable nail/ screw/ bolt
Photo: Removing pin
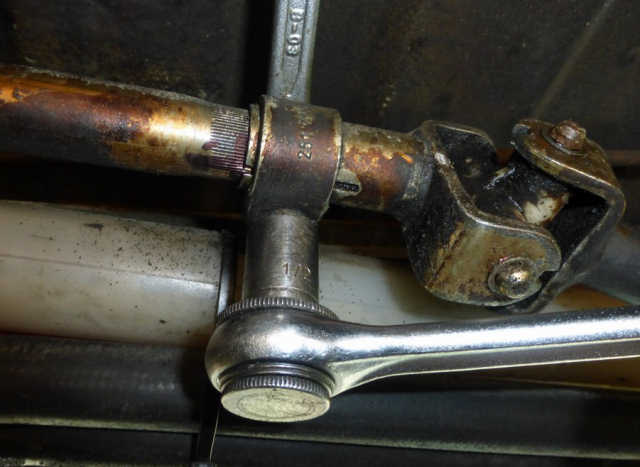
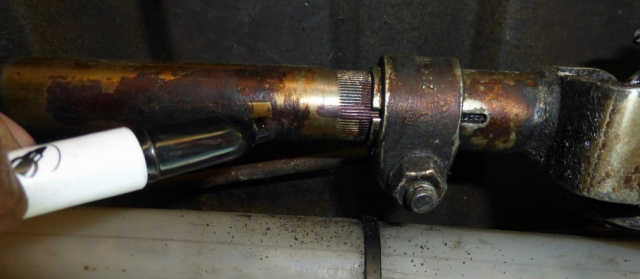
Or if you want to do it properly - release the pinch bolt.
Photo: Pinchbolt removal
Then you probably need to drive the rear rod assembly off the front one as it will be stuck, before whacking it with a hammer. Remember - its all connected to the gear leaver which you don’t want to damage!
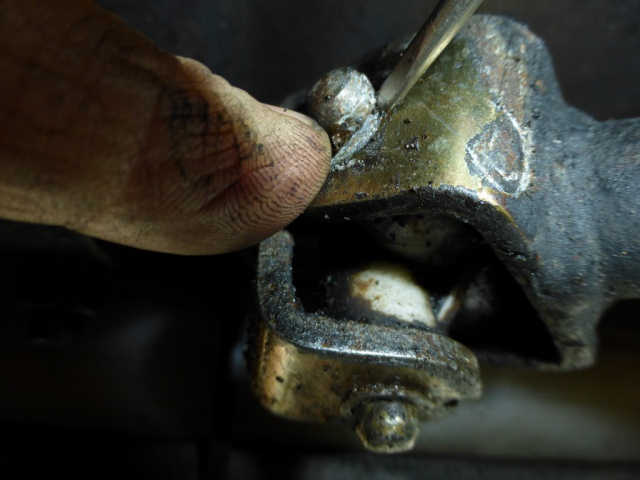
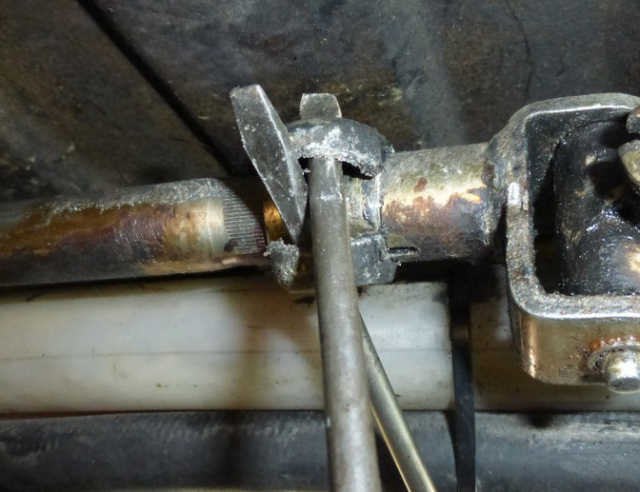
To remove the pinch bolt clamp, rotate it with a screwdriver so you can get at it, then with another screwdriver, prise it open (below).
Photo: Method for removing clamp using two screwdrivers.
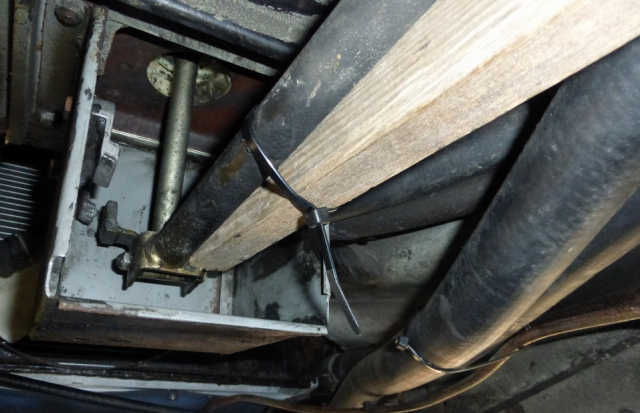
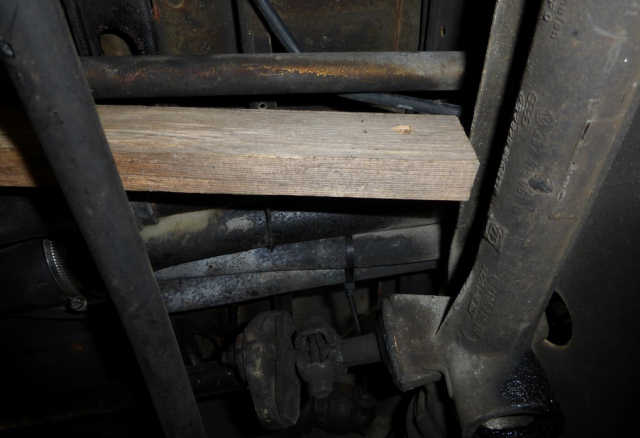
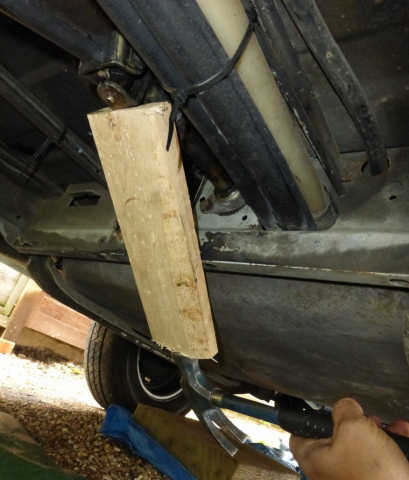
Right, back to the front of the vehicle. (Below) I fitted a 500mm long piece of wood secured with a cable tie, to stop it moving between the front rod and the chassis member to take the load.
other end here…
(Below) You may want to mark it first but it’s a bit pointless as it’s obvious how far front to back it sits as the rod will leave a mark and the rotation is set as part of the adjustment.
Photo: Marking coupling for reassembly
Now you can hit it with a hammer and a piece of wood…
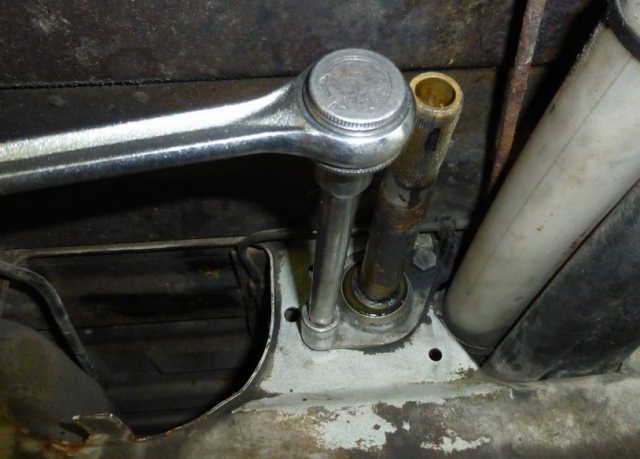
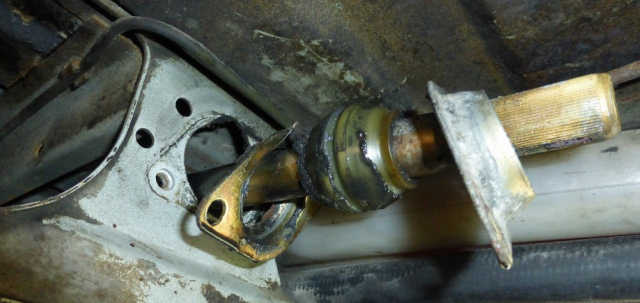
Now disconnected, you'll need to remove bush plate (below)
At this stage its a case of regreasing and/or replacing bush if needed (below) and then refitting these components.
Bush and associated parts replaced, we now need to move swiftly on to renovation and replacement of rear shift rod: http://wiki.club8090.co.uk/index.php/Gearbox_Clutch_CVs_-_Renovating_4_speed_change_mechanism_Pt3
