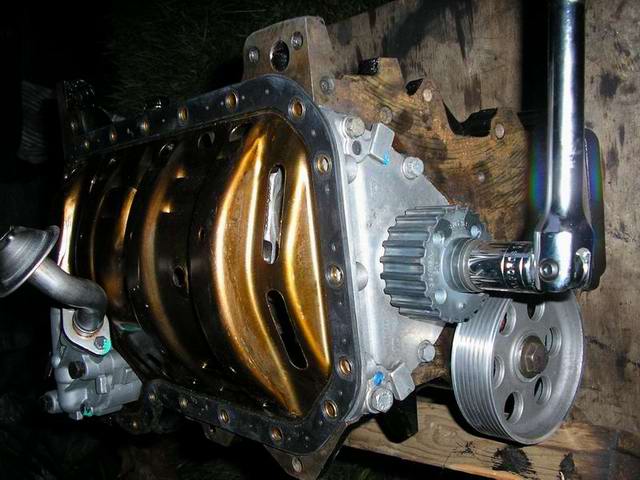
Parts - Crankshaft
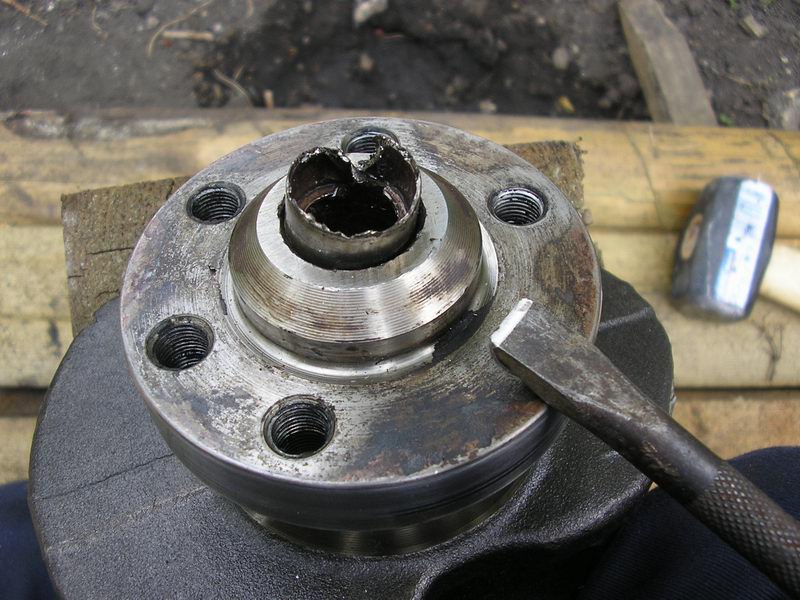
Spigot bearing removing
Either fill the cavity with heavy grease (rubber gerase is good) then centre a tight fitting spigot in bearing and strike heavy blow dead square with club hammer - should loosen and shift it out. Or drive down the side with a small sharp chisel, pick out with a scriber or other strong but fine tipped tool.
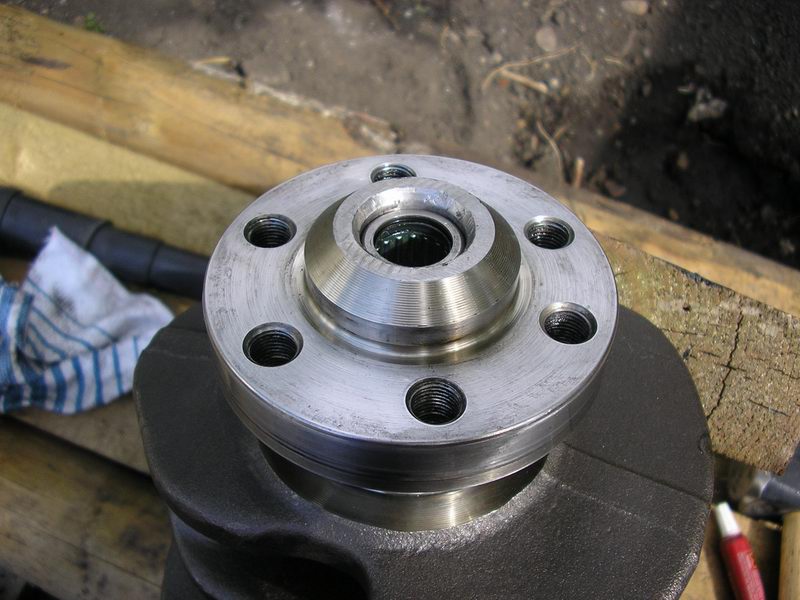
Spigot bearing fitting
Dave Friday:' Morning all, anyone know how far the bearing should be tapped into the crankshaft?
HarryMann: About flush with the inner step, so that the full length of the outer race is supported... past comment has suggested it's not too critical, so don't leave it hanging out the end or distort it by whacking it in too hard up against any inner shoulder...
Dave Friday: I checked the depth of the old old before oiking it out[4mm] and had tapped the new one in a bit further before checking [4.67mm],there is a lip in the crank bore and its probably touching this [my daughter said the lip is to stop it going any further in]. Mine seems a little further in than yours, but the crank end looks slightly different to mine[just the depth of the inner chamfered edge].
PS Bentley says 1.5mm, Just kampers 15mm !!!
HarryMann: That's an ADG/AAZ crankshaft, so the detail is slightly different.
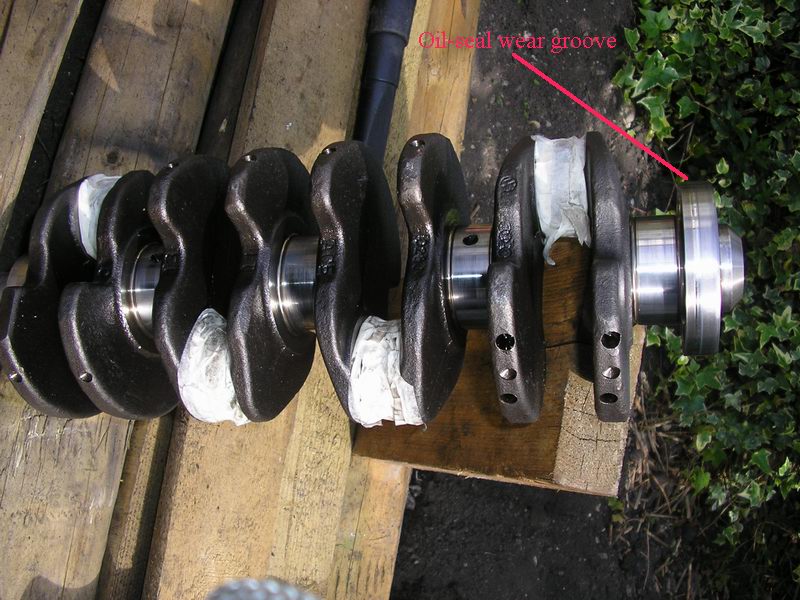
Crankshaft rear oil-seal journal
If wear grooves can be felt with a finger nail, its not a bad idea to try to remove any edges by polishing, to prevent the oil-seal lip being damaged during installation. Ensure roundness is not compromised. Brasso or a very fine (500 ~ 800 grit) wet and dry used carefully.
Alternatively, when installing the seal in is housing, it can sometimes be fitted in a slighly different position such that the lip sits on a fresh part of the journal. Lube well prior to installing the housing.
Crankshaft pulley and bolt (Service Bulletin - Warning)
It is known that (at least on 1.9TDs, AAZs) this area can give problems (serious)
The early pulley and bolt design can (and frequently does) fret and come loose, allowing the timing to 'wobble' - poor idling and erratic running being the initial sympton, degrading to complete disaster if the crank timing pulley registration moves significantly.
Warning Subsequently it can break altogether or strip, but the final upshot can be total loss of valve timing and hence valve/head contact
A 100% repair depends on how far it has gone and how much damage has occurred on the crank end.
At a minimum a new bolt and crank-pulley wheel is required.
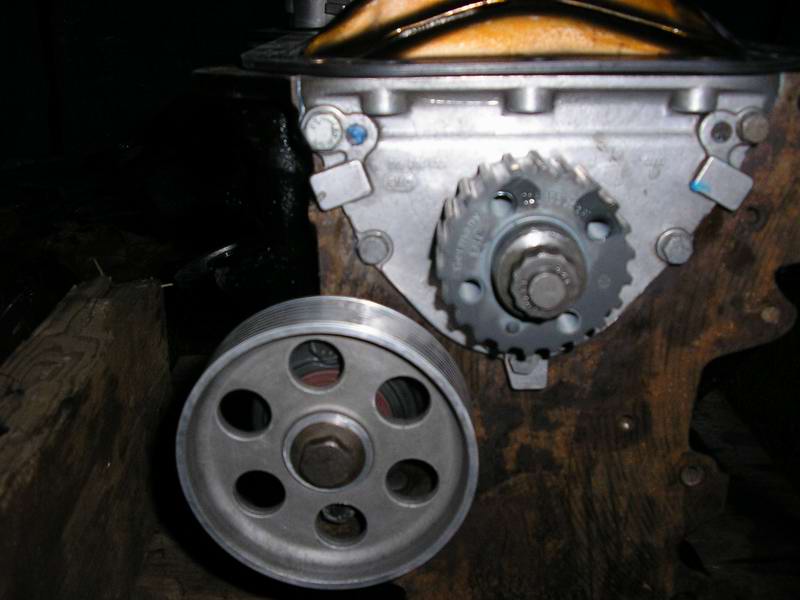
As a precautionary minimum, on any engine with the old (hex) bolt, fit a new (modded, 12-point) bolt and loctite it. Use the correct Part No. and tightening procedures Rebuild Part Nos and some torques
This is what the later bolt looks like (sorry, a bit blurred):
Sorry, wrong one very sharp! :)
Forum topic confirming unexpected but total failure, circa 90,000 miles
