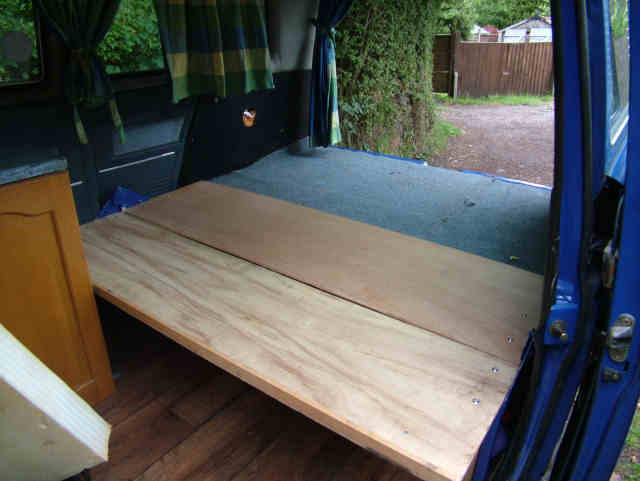
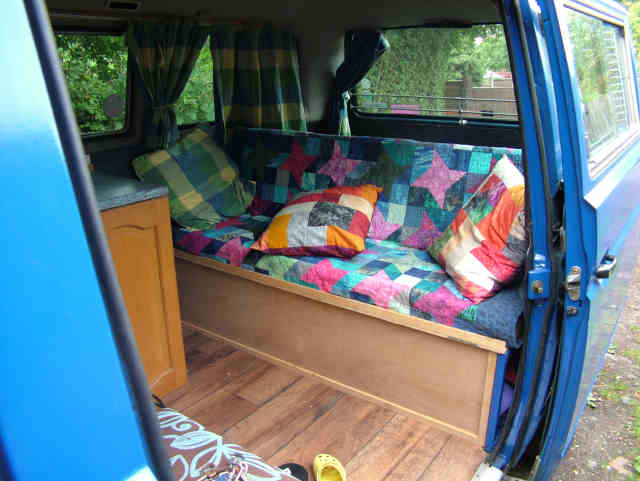
Camping Interior self build beds
Cushions and foam
Cushions - 80-90 Wiki Suppliers links
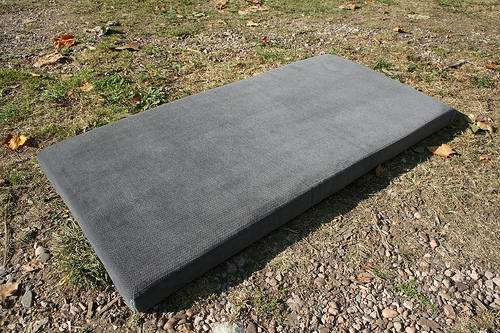
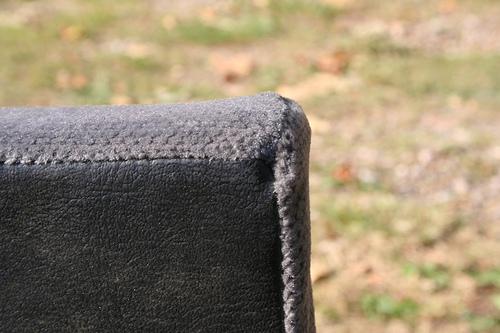
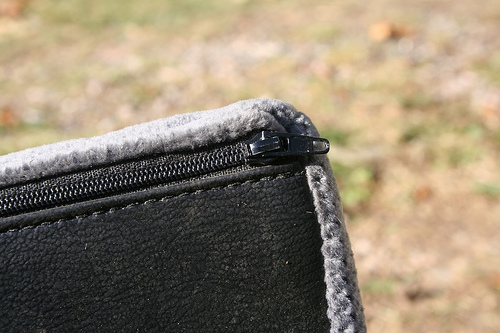
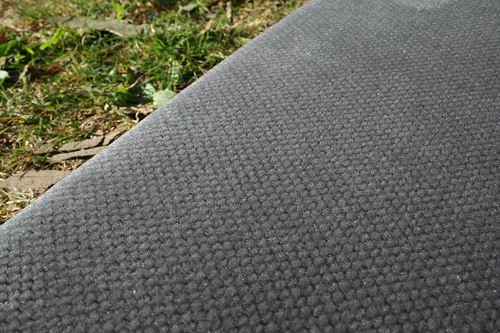
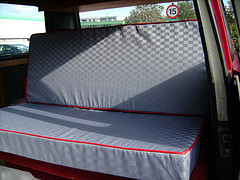
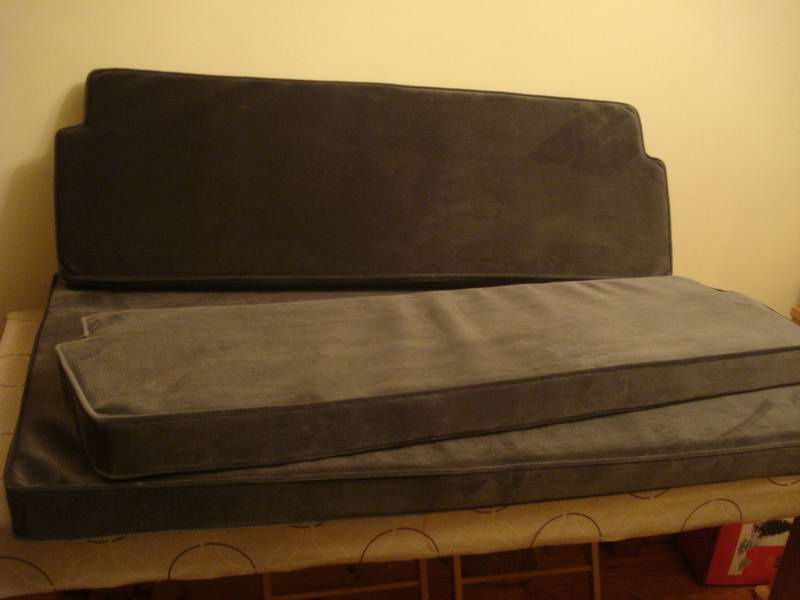
Pluss Organisation Exeter make-up cushions. See 80-90 thread Here are some pictures of cushions made-up for club80-90 members from that thread:
Bed plans/designs (esp. R&R beds)
www.keithandsylvia.co.uk Rock and Roll bed plans
Steel-frame R&R bed base
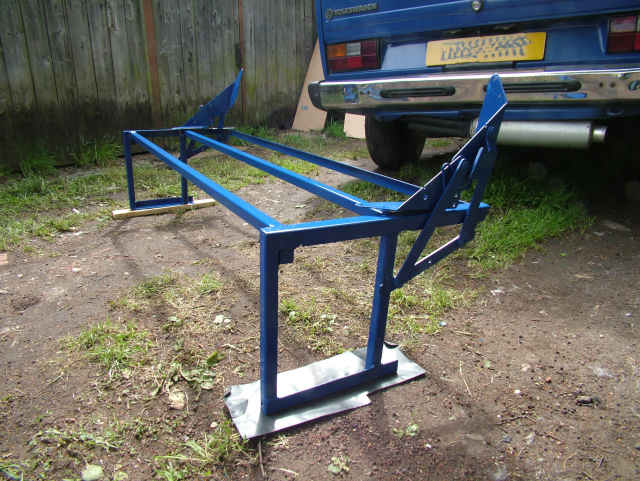
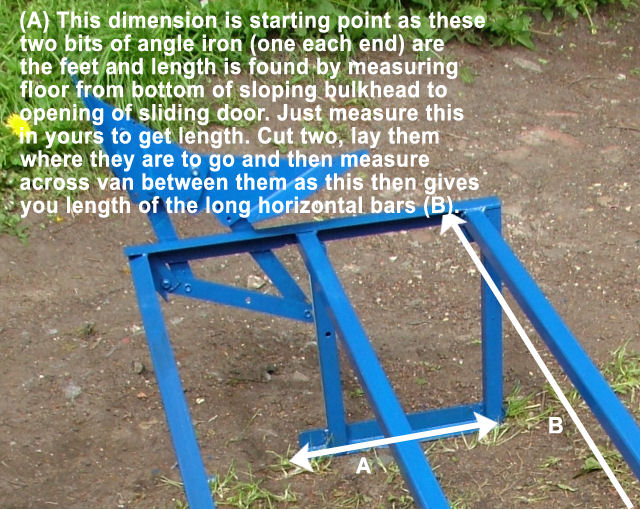
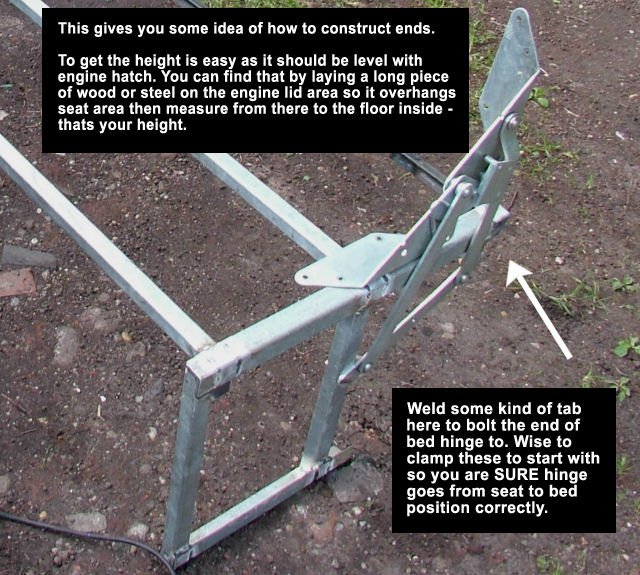
And added here by Covkid for anyone who wants to make their own rock n roll bed. It is predominantly steel but is also a useful guide for any DIY seat/bed - including wooden ones. Its only a design outline (not a blueprint) and actually easier to make than try and explain but hopefully my efforts here may save you some time. This seat is very bespoke, so you'll need to do your own measurements but due to its design it also means you can cut and weld to suit any width, depth or length. Construction pics should help you define measurements. Seat base and back can be ply but seat back will need strengthening (more about this later). Up to you how you finish the bed/seat but carcass is here for reference. The slope of van sides gives the room needed for hinges to move freely.
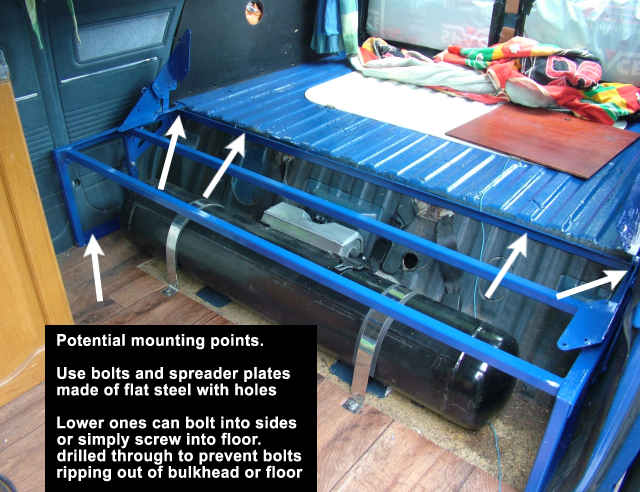
Firstly I removed the rock n roll hinges from the existing MDF seat, threw the MDF in the bin. I then set about welding together a strong seat base that is bolted through the floor and rear bulkhead with chunky spreader plates. Spreader plates are basically massive washers or pieces of flat steel bar with a hole drilled through them. They take the strain and stop bolts being ripped out of bulkhead. Fit stronger than you need - best way!
I am indebted to Big Gordon (my neighbour) for his help throughout. When making the seat base and back, I designed it so that with the seat base down, I can be sure it won't move an inch and locks into place firmly. I'm very happy with the result and it strengthened the bed base in the process. I feel that the rear seat now far exceeds safety requirements and has provided extra strength across the width of the van without compromising storage space in any way.
Horizontal bars don't bend (even with my weight) as they're heavy guage box 3mm steel (had to compromise weight to get required strength) but the rest is angle iron - all galvanised as thats all I had to hand and original hinges from my old MDF bed.
It bolts down to bulkhead with spreader plates on reverse (5mm flat steel with holes for bolt) so won't be going anywhere. You could use lighter guage steel for horizontal seat base if you added support struts but I have tank underneath so wanted space clear. If you have no tank, you gain a lot of storage space with this design!
Note: leaving back open makes it much easier to fit than a wooden one which has to be cut to fit exactly. You can take the whole seat further back, simply by grinding the ends off the angle iron at rear and repositioning hinges. This one sits an inch back from sliding door opening - ample.
These are Marcle Leisure Hinges http://www.marcle-leisure.co.uk/information/rock-n-roll-hinges.htm however not all hinges are the same so it pays to clamp or tack-weld them on until you've found the best position for seat up/down movement then fix them permanently with bolts. The same applies to DIY wooden seats if you're building from scratch - make a test dummy box base to work it all out fiorst. I ground what appeared to be a stop pin off the Marcle ones - not needed on a steel seat base but on a wooden one the pin drops into a recess to presumably lock the seat down.
I'd built two wooden rear bed/seats in the past which whilst serving their purpose at the time, had inherent weaknesses and even if a seat belt fixing is sound, if the seat can give way under serious deceleration, you introduce a whole new set of problems, more so when the vehicle is loaded with stuff above the engine that can push on the back of the seat. Hence my solution.
Various ideas and designs have appeared over the years for more robust rear bed/seats, and you can buy seats ready made but at the end of the day its about having a seat that is firmly fixed (when in the seat position), properly anchored with chunky bolts and spreader plates, belts properly anchored, and affordable. Thats as much as you can reasonably aim for. I chose to build my own, and one that I felt would absolutely meet those requirements, even if it meant a weight increase. In materials it cost well under £100 and I don't see how I could possibly improve upon it. I'm 17 stone (ish) and I can jump on that rear seat, and three hefty blokes couldn't tear it out with their bare hands (a good acid test for wooden seats). I am very happy to seat three children on it and it simply will not move. The rear bulkhead and floor offer good places to create fixings. The seat should end up level (without boards or cushions) with the rear engine hatch level. The frame is very easy to make and hinges can be mounted or even welded to the sides of the frame as appropriate.
Heres the finished seat carcass, freshly painted and drying in the sun prior to installation. Closeups of the construction follow.
The front of the seat can be infilled with a board or made into a cupboard with doors for storage. I just happen to have a tank under mine. The front horizontal was set back on mine so I could just screw in a framed board.
A final note about base and back (in case you're wondering). Seat base is easy - a thickish ply board screwed to seat part of hinge is fine and a thin strip of wood screwed to underneath (hard against one of the steel horizontals) enables me to lock it so it can't move forward when in seat position. The back shouldn't flex, so what I did was have a friend put a lenth of wide flat steel into a folder to give it strength along the length but not so it ended up too thick in profile and this became a stengthening rib for the back as opposed to bendy ply on its own. It works well and as soon as I have pics of this I'll add them but noted it here as a solution. You may come up with a better one!
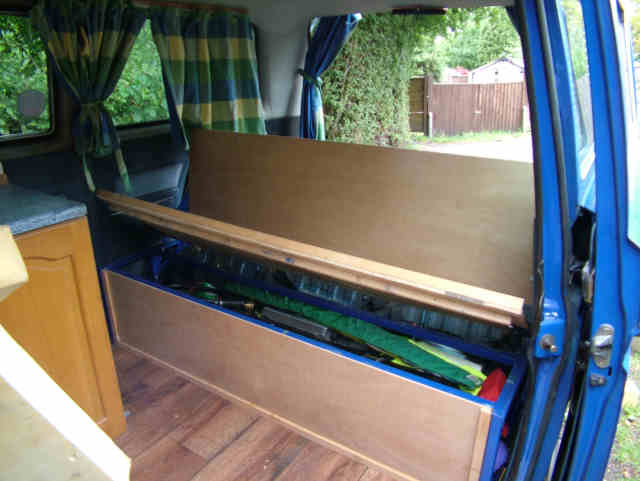
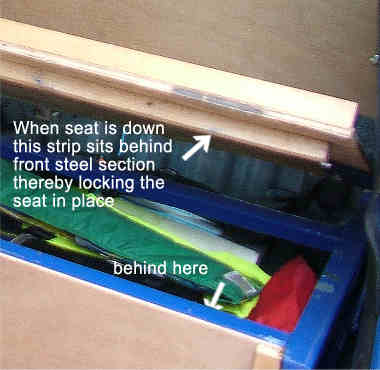
Finally, A small piece of trim was added to front edge of seat to help stop cushions moving/sliding. Below is a rough guide to how I finished the seat including a closeup of how the seat is locked in position so it can't come adrift and send rear passengers into unexpected 'auto-bed' mode.
In fact its a snug fit and the weight of seat base and passengers actually stops it lifting out although a simple bolt catch could be added - I just saw no reason to fit one as it works perfectly the way it is. When in seat position, theres about a 4" gap between base and back to be able to pull through lap belts quite easily. When its down, they disappear underneath :D Likewise if you're wanting to sit in the back for a meal, the belts are easily pushed through out the way. Seat base and back is only 11mm ply to keep weight down but to remove any flexing, a length of profiled steel (similar to that used for galvanised steel fencing uprights) was bolted across the back to the hinge either side. When the bed is down. this actually disappears into seat base so doesn't foul anything.
And with bed down - perfectly level.
I have slept in it and its very comfy. I'm a big lad and it sleeps me and one other fine. Support for the leading edge is partly on a strip of wood along a cupboard (unseen in photo) over on the left although I may hinge fascia of seat to seat base to make a full-length support - not decided yet. Back of seat is strengthened with a piece of profiled steel fixed to rock n roll brackets which as I say, drops nicely into seat base when bed is down if you leave enough space at ends. Beats an MDF one by miles and now I'm perfectly happy for kids to sit on back although 3-point belts would be better still. Main thing is that seat is going absolutely nowhere now.
Lots of ways you can do a rear seat, mine being only one suggestion but I was looking for a level bed with good strength, excellent anchorage points, requiring no support pieces in centre of seat (ie clear underneath) and one that won't fall apart or get ripped out easily. Much of it came about during the build stage, spotting minor modifications to get it right. It also forms a strong cage around the tank and (arguably) strengthens the back of the vehicle in terms of a side impact (MDF would offer none at all) - just my take and each to their own on this. However, the construction is all here for anyone who wants to follow the idea. Materials were mostly donated/borrowed/found. I guess if I'd bought all the materials new it might just come to £80.
NOTE
Have added these points as I was asked this directly by a member. Not everyone will agree with me but my answer was in reply to a question about the security/fixings of a wooden (ply or MDF) seat base and in this instance she had a seat that only had floor fixings and the person who installed it said it couldn't be fixed to the rear bulkhead as there was nothing to fix to. This seems a lame excuse to me.
Many are just screwed with tiny L brackets and as she found after a shunt, the seat departed company, ripping the wood in the process. I'm not a fan of wooden seats particularly when fixings have been a last thought. You CAN fix to the bulkhead no problem. All you want is two big L brackets and bolt each to bulkhead by drilling a hole for the bolt and using a piece of thick steel as a washer underneath, run the bolt through. Once tightened up, the washer stops the bolt ripping out of the bulkhead providing a firm fixing. The weak point with wooden seats will always be where any bracket is screwed/bolted to the brackets so if you make sure these too have big washers, you'll reduce the chance of the bolts/screws ripping out of the wood. As stated above, if two strong fellas can rip out the rear seat with their bare hands, its not fixed properly so add whatever reinforcement is needed and DON'T rely on small L brackets and self tapping screws - it is not enough.
Bed bases
jed the spread Caravelle bed base. The front portion of the bed is made up by folding the standard rear Caravelle seats forward.
Bed plans/designs (esp. R&R beds)
www.keithandsylvia.co.uk Rock and Roll bed plans
Bed bases
jed the spread Caravelle bed base. The front portion of the bed is made up by folding the standard rear Caravelle seats forward.


Hammocks / Bunks
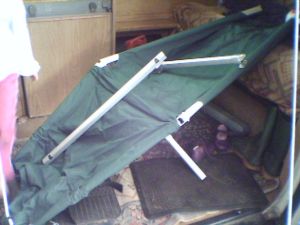
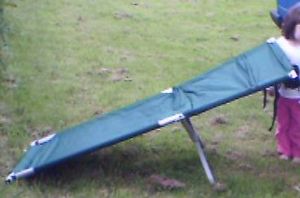
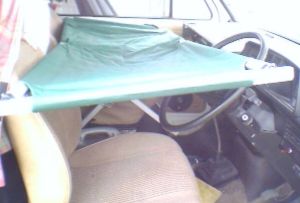
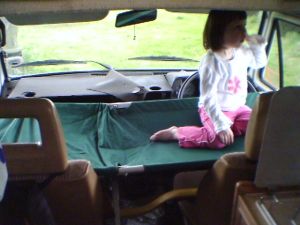
Hacksawbob Cab Hammock: Argos campbed £19.99
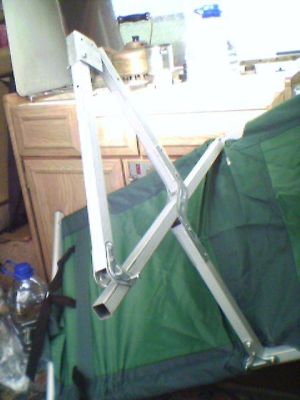
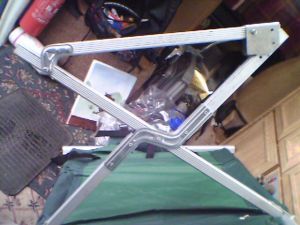
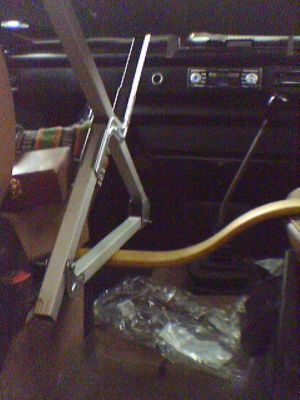
I have adapted the above camp bed to fit in the van. Basically I have removed the two legs from either end and shortened both poles at one end to fit in the vans width. Chop the ends which will be on the passenger side as otherwise the center leg will collide with the handbrake. When you shorten the long poles measure it in situ as one pole will be slightly longer than the other as the door is tapered towards the front of the van. Also make sure you allow for the plastic lugs that fasten the stretchers in place on either end as these will need to be replaced once the legs are shortened, if it is too tight a fit you will have it pressing against the glass.
I left the middle leg in place and used one of the legs that I cut off in the end to act as a stretcher. I fabricated one end with a U braket to lock it in place. The other end already has a braket from where it was attatched originally. This rests on the spare gas bottle (now we use the yellow steering lock you can see in one of the pictures) to force the centre to be stretched tight when weight is on the bed. The only down side I would say is that it has caused some light scratching on the shoulder of the door but I suppose i could have wrapped the ends in gaffer tape or similar to prevent this. Apart from that this is a very sturdy bed that has had 4 children playing in it at the same time without a problem I'm sure it would take the weight of anyone whos was short enough to to fit the van widthwise (probably about 5' 3") its light (aluminium) and will fold up neatly (in half) into the bag it was supplied with to stow.
