VW Electrics main cables: Difference between revisions
| Line 19: | Line 19: | ||
[[File:cab1x.jpg]] | [[File:cab1x.jpg]] | ||
Photo 1: ''Acid corrosion can take its toll on charging/starting circuit.'' | Photo 1: ''Acid corrosion can take its toll on charging/starting circuit.'' | ||
Revision as of 14:27, 31 May 2014
Introduction - Good Connections
(Under construction)
Intro by Covkid:
Good connections and good cable are essential for effective charging and starting. However, after 30 years work, the main heavy-guage cables that go from alternator to starter and battery can be subject to deterioration. You need at least 4 metres of new cable do this job - suggested types at the end.
The thickest cable by far is the one between the battery and starter and if you drive a T25 with your main battery behind the drivers seat, you'll realise that its quite a distance between the two. The alternator cable isn't quite as chunky but for this upgrade I replaced both of these cables with the same 25mm fine strand cable. Its just about bendable at that thickness.
Copper cable isn't cheap so prepare for that. Work tidily and you'll get excellent connections as well as a reduced chance of problems in the future.
Cable corrosion
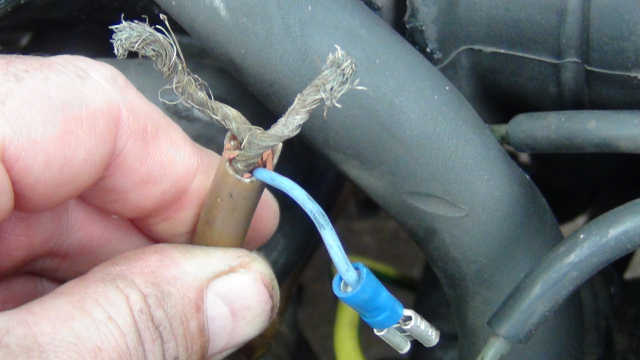
The photo below shows the terrible (although not untypical) state of a cable at the rear of an alternator. This is acid corrosion which can also cause the insulation to crack and break away leaving bare copper wire. Most alternator connections actually terminate in a plug rather than like this and therefore the state of them can easily be missed. The copper within either starter or alternator cable can become brittle and corroded, no matter how far you cut back, and potentially create resistance - reducing the alternator's ability to charge and the starter's ability to turn the engine over. The stands can break too, further reducing the capacity of the cable.
Generally, when things have become this bad, the only thing you can do is replace the cables completely and solder new connectors as and where required. You can crimp (if you have access to oversized crimps) but soldering makes for a more reliable connection and helps seal the cable.
Photo 1: Acid corrosion can take its toll on charging/starting circuit.
This particular engine a 1.9DG and wiring layouts do vary. It also uses a golf alternator rather than a stock one so only has a single nut which holds the main cable. You will need to decide how best to replace corroded cables in your setup.
Replacing cables
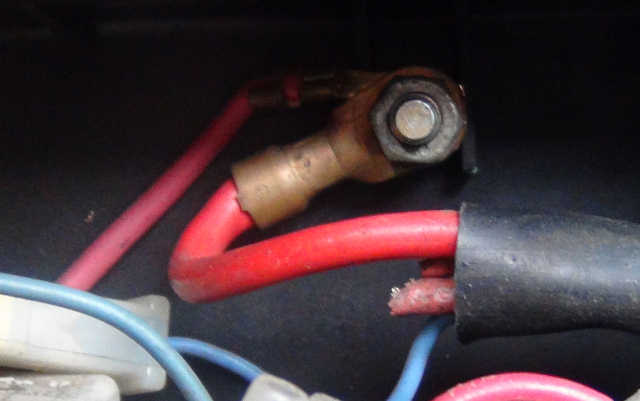
I started by removing the old corroded cable on the alternator (above photo) which was not one, but two red cables, twisted around the post and clamped between two washers (not by me!!). This cable doesn't, as you might expect, go directly to the starter terminal as it did on so many v-dubs but goes to a post connection inside the black junction box in the engine bay on the left (see photo below).
I puzzled over this for a while, checking either end to figure out why it was wired this way, and to be honest it still makes no sense unless it was something to do with assembly process at the factory, or that some vehicles had their battery in the back?. Either way, another seperate fatter red wire on that post in the junction box also goes to the starter motor main connector so effectively all went to the starter motor connection anyway - just in a roundabout kind of way!
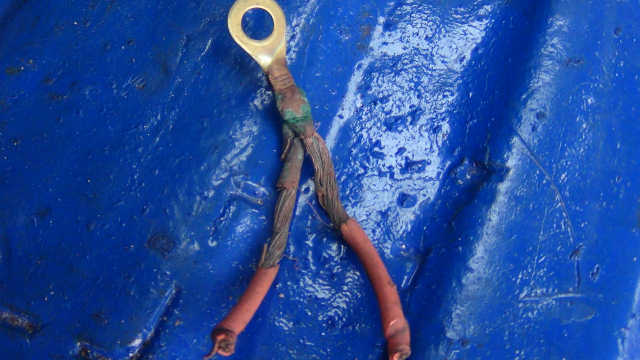
I gave up musing this one, decided it was daft, and snipped those two alternator cables in that box completely (you can see ends in above photo and what was snipped below) and just ran the new alternator cable straight to the starter terminal with another soldered ring connector. This seemed wholly logical, a more direct route and a lot simpler.
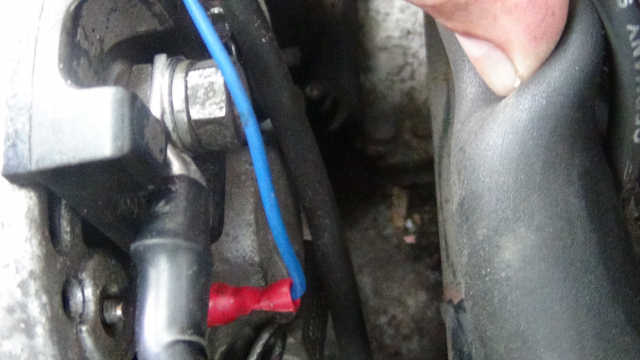
Below, the back of the alternator. As mentioned, mine is a golf alternator (90 amps) and has a single post plus blue trigger wire. I could therefore get away with a really fat cable (handy as thats what I had) but you may need to scale back such ambitions if the cable goes to a plug or spade connector. It doesn't need to be anywhere near as thick as the one I used but does need to be equal to what came off and a good connection. Cable used to wire in a leisure battery would be perfect actually.
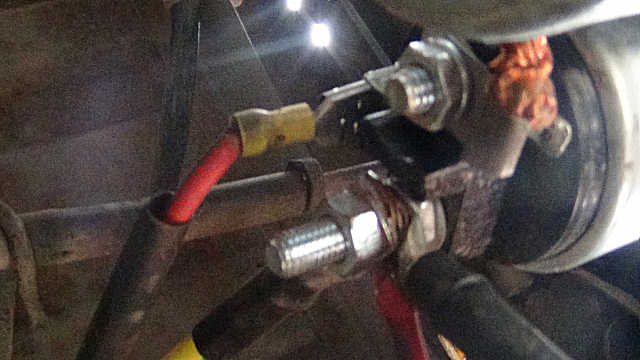
Looking underneath, at the bottom of the pic (below) you can see the two thick cables on the starter - one to alternator and the other to battery. Its important to leave enough room for these cables without stretching them but also routed so they don't foul anything underneath. Running the cable to the battery ended up being a cat & mouse affair. I couldn't be bothered to pull out the old one until such time as I have the vehicle on a proper lift so snipped ends off and ran the new cable as near to exiting run as I could with cable ties until I reached battery terminal. You'll easily run four metres if you go via existing route - less if you ran through rear bulkhead (with grommets) and almost direct to battery inside. Up to you on that - see what works best.
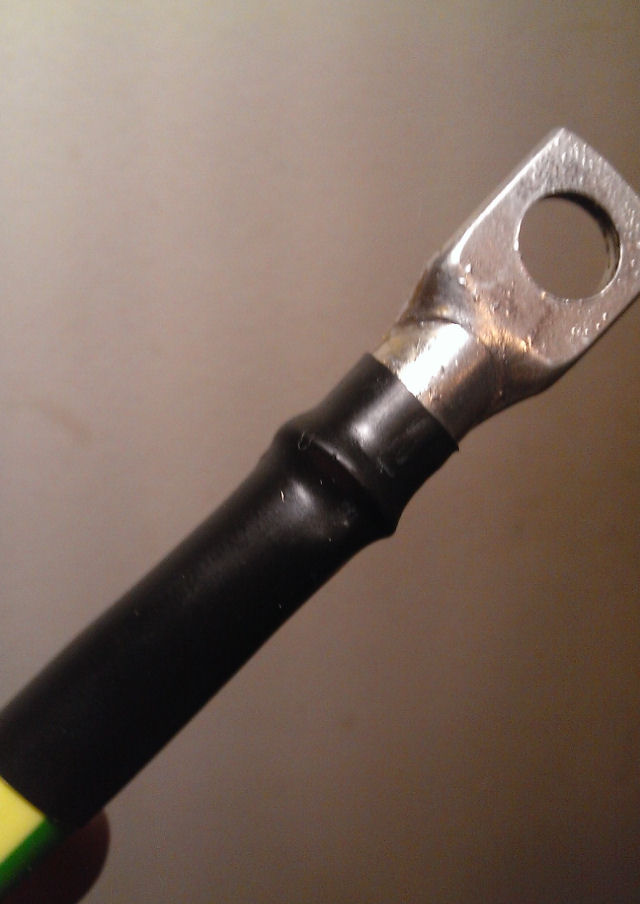
Photo below gives you some idea of how chunky the new cables are. There are plenty of videos on the web showing you how to solder these ring connectors on but essentially I cut back the outer slightly less than needed (it melts slightly under heat) dipped bare wire in flux, poked it into ring connector, heated end up with mini blowtorch and trickled the solder in. Don't hold the work vertical or solder could penetrate too far and make the cable stiff. Use shrink tubing to make it impervious to air/water.
