Page 1 of 10
Wing,arch,valance,side window&Sliding door,cab step,inr sill
Posted: 12 May 2011, 20:06
by Jonnyb416
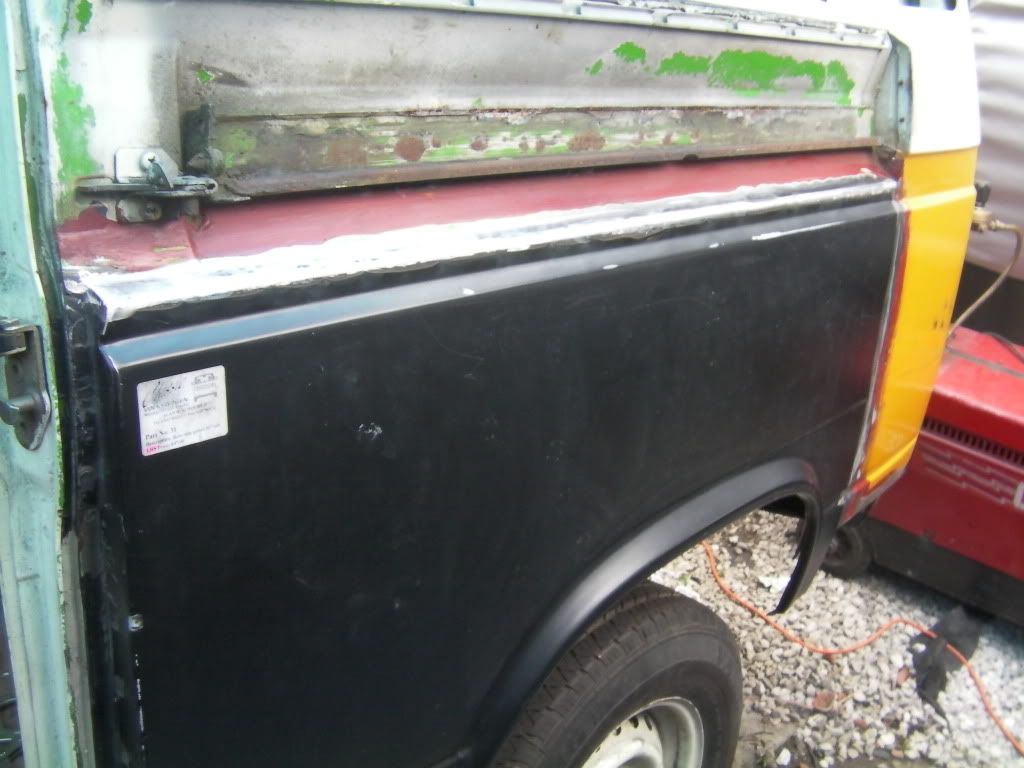
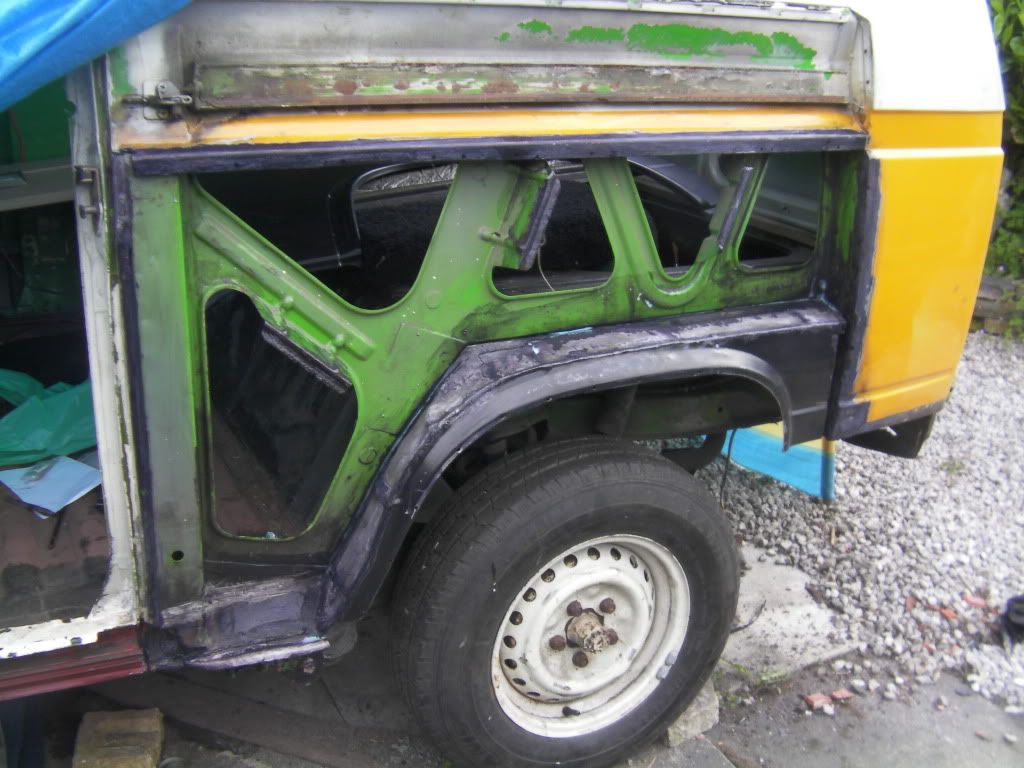
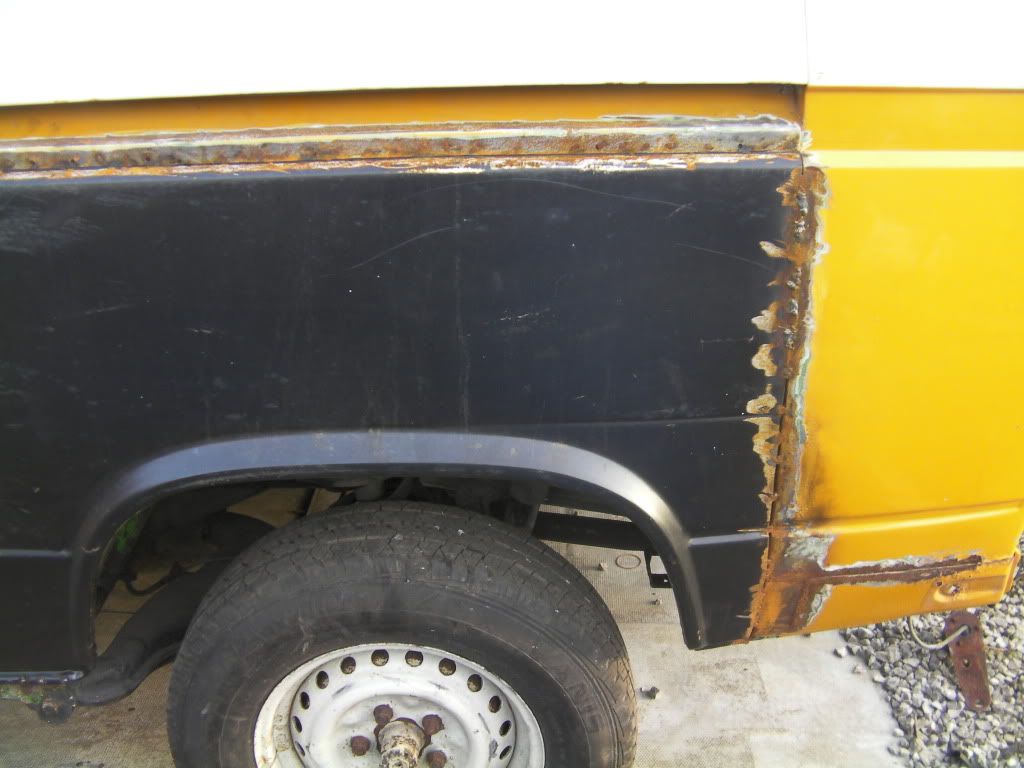
Removed the rear wing today, the panel we removed had been attempted at by the previous owner but the welding was awful.
So the complete thing had to come off and a new one from AHS was at the ready.
Jon.
Re: Rear wing repair
Posted: 12 May 2011, 20:33
by Jonnyb416
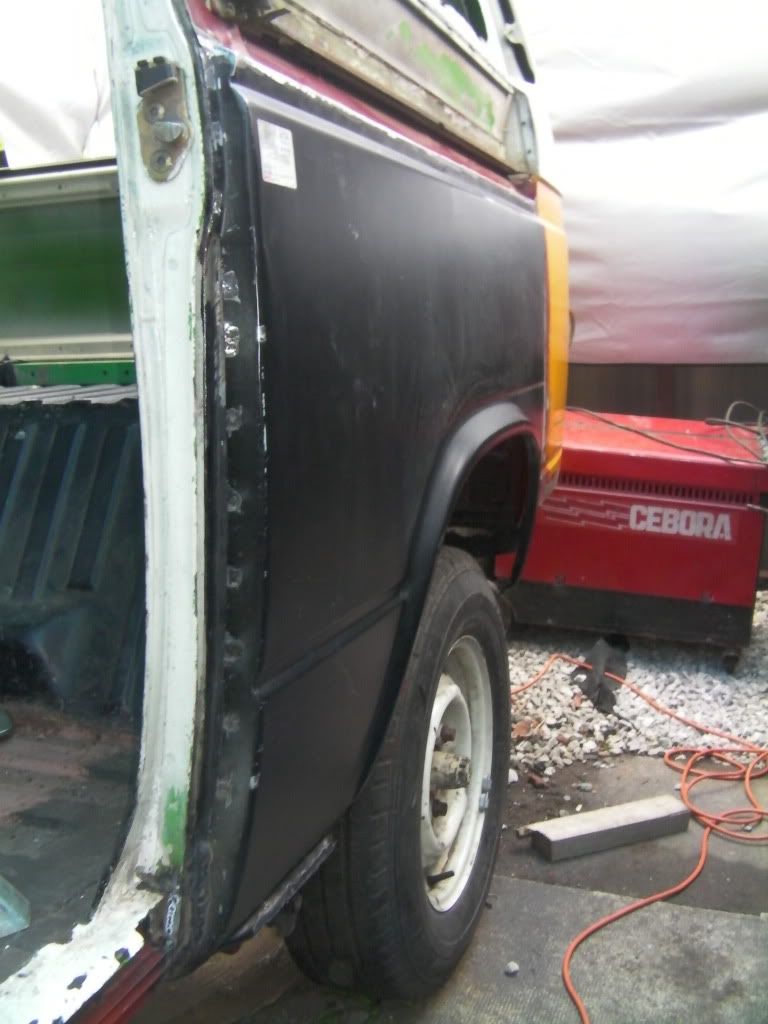
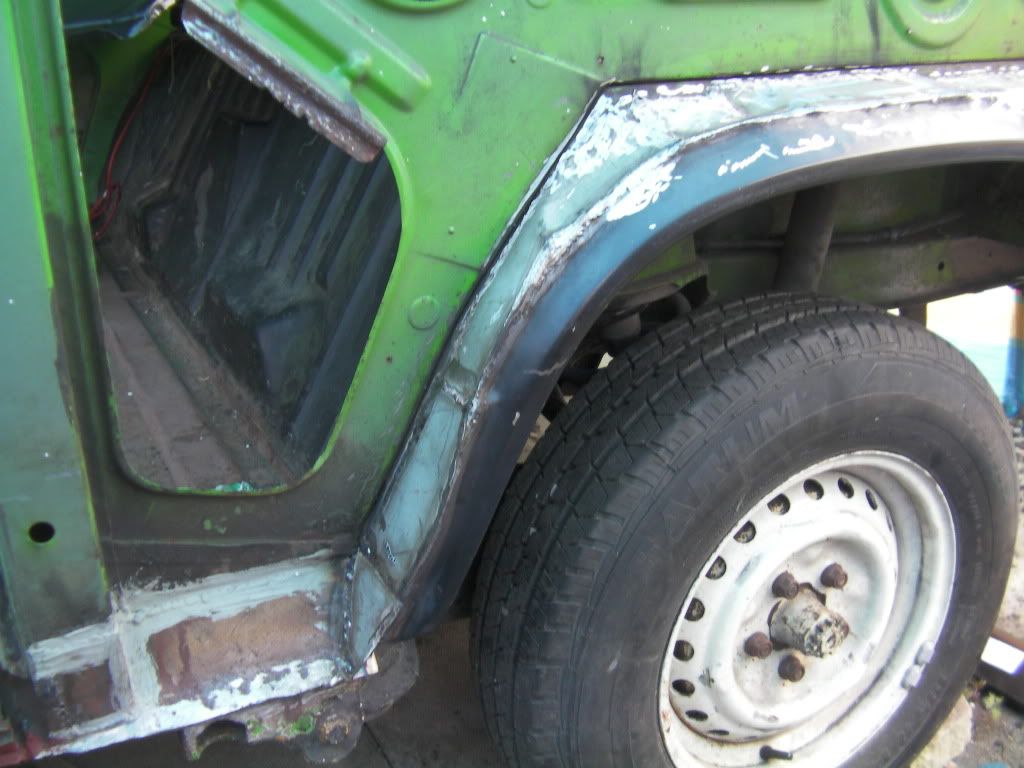
Left with this, looks like someone has already replaced a piece at the bottom next to the C pillar.
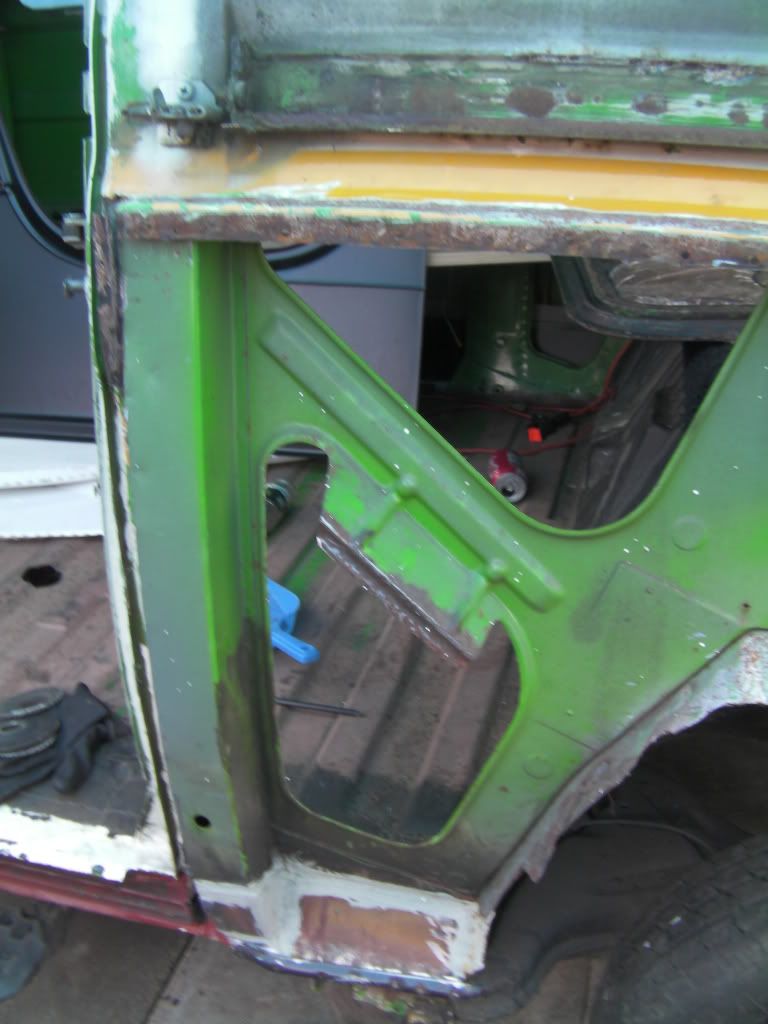
And a close up of the crazy welding (on the outside of the seam)
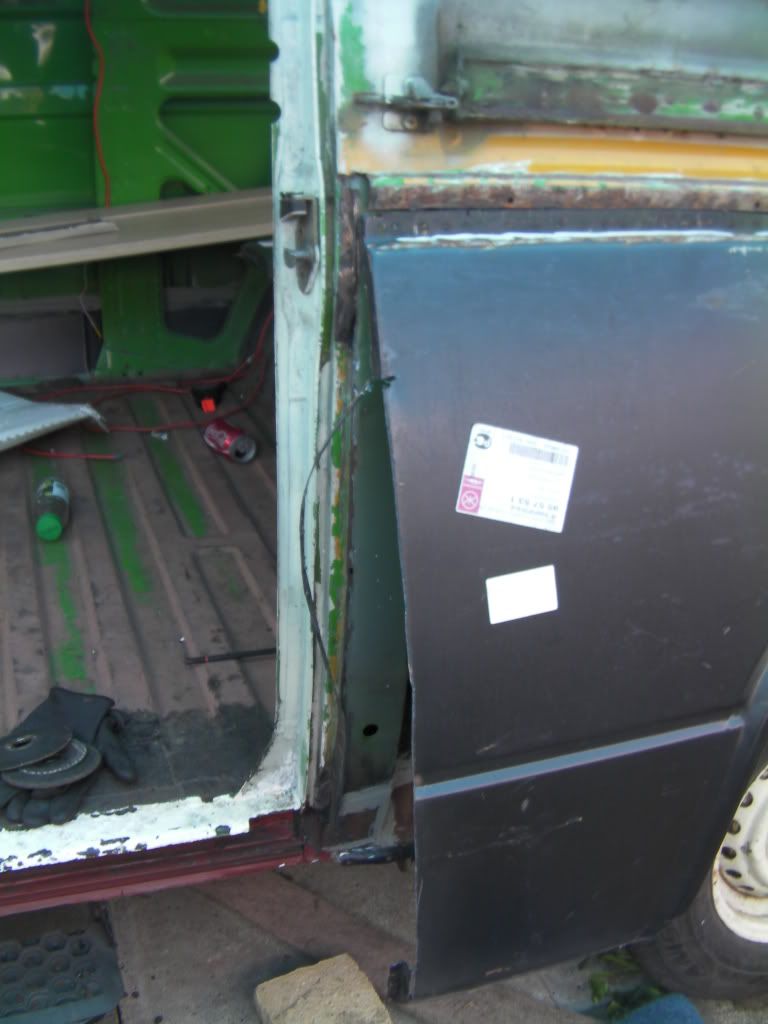
Chopped this off, got a new panel for here too.
Jon.
Re: Rear wing repair
Posted: 12 May 2011, 21:00
by Jonnyb416
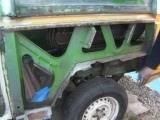
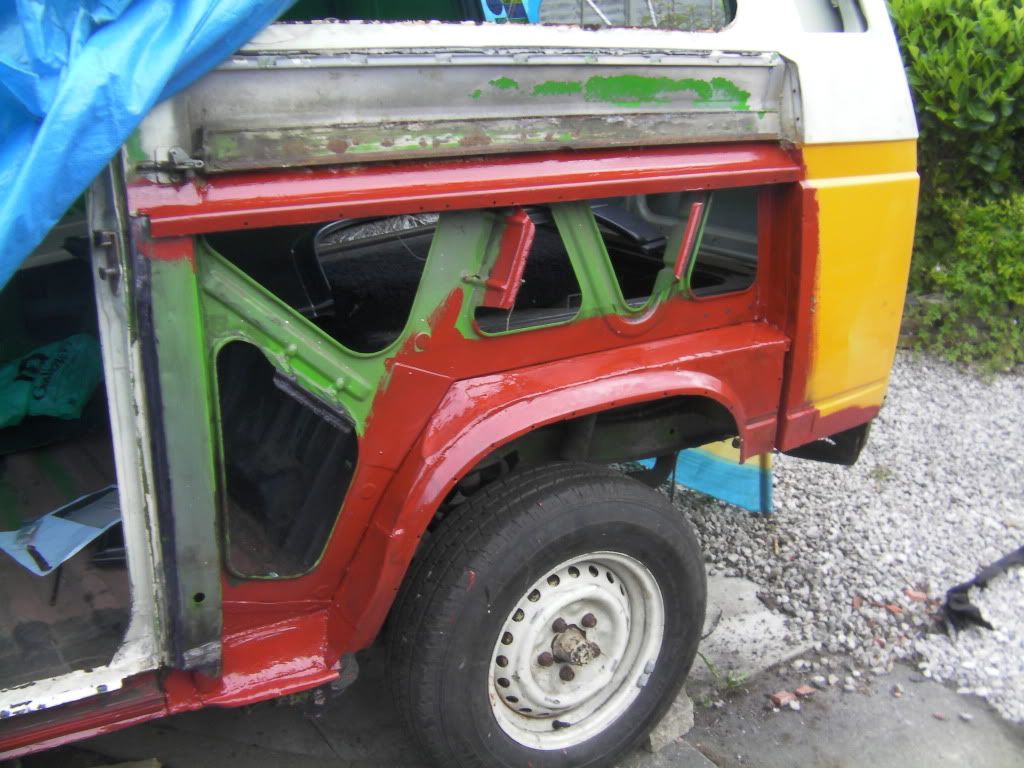
And now the brainwave!! Or maybe not? We used the arched section of the old panel to allow making the inner arch easier.
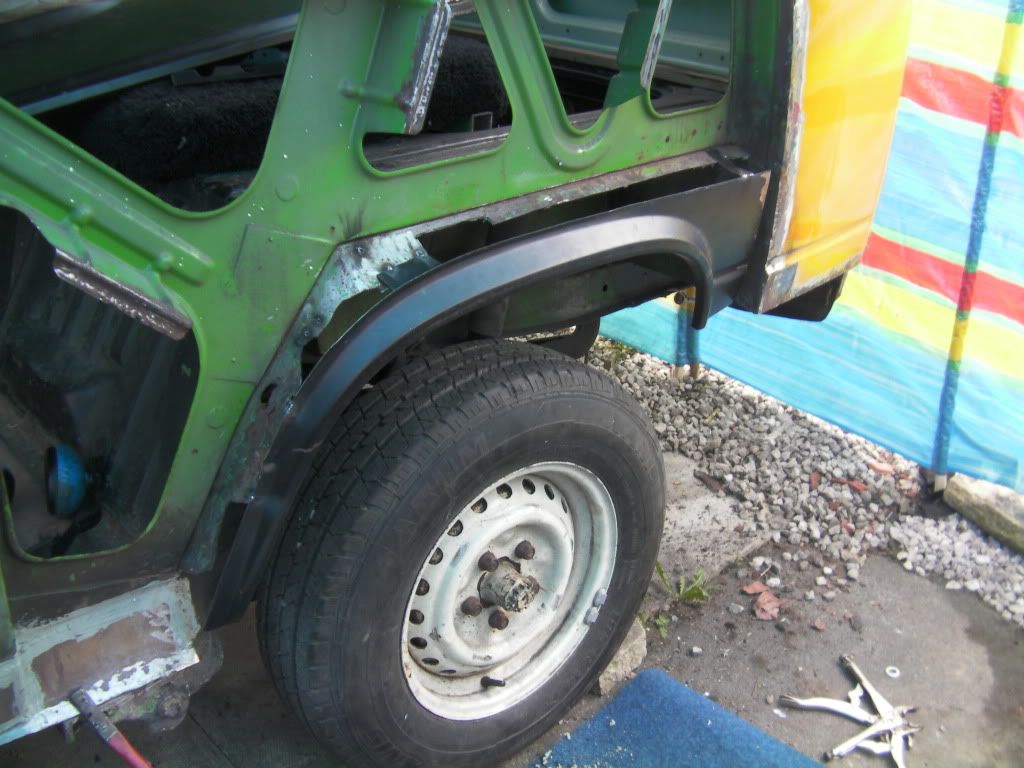
I must admit seemed a different approach to what I have seen on here. Suppose we will see if its succesful or not!!

Jon.
Re: Rear wing repair
Posted: 12 May 2011, 21:10
by Jonnyb416
Got the arch piece in position after lots and lots of checking with the new panel then started to plate up the inner arch.

Then finished plating to the bottom of the arch.
Jon.
Re: Rear wing repair
Posted: 12 May 2011, 22:27
by Jonnyb416
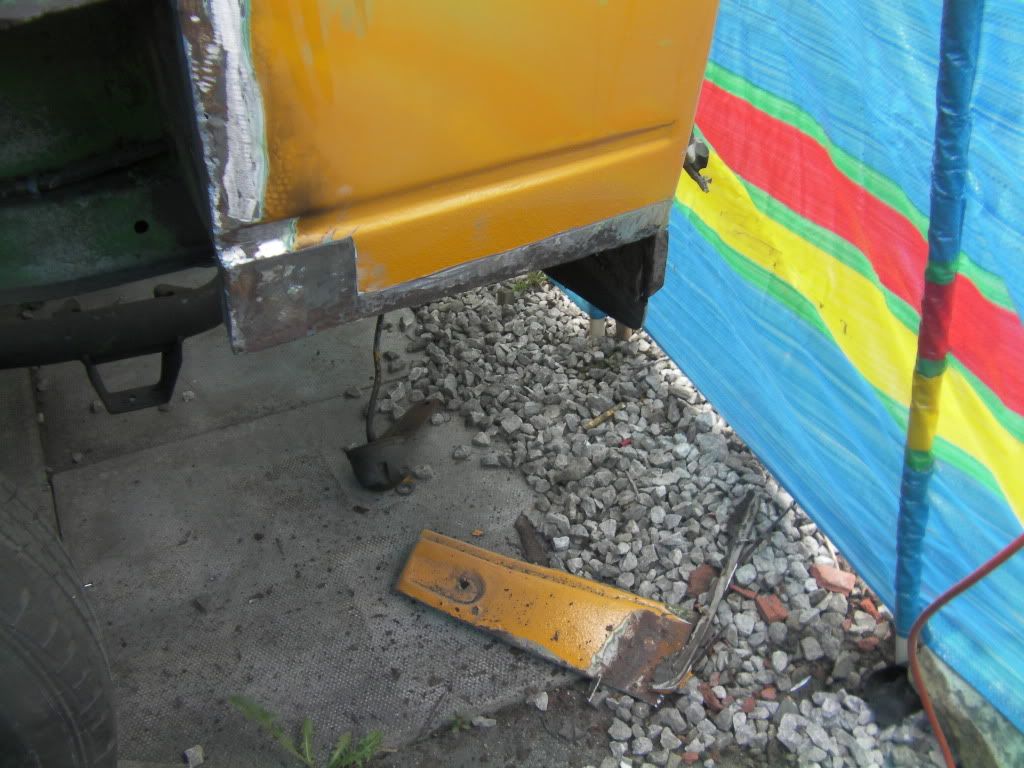
Had to now make a piece for the bottom of the wing to spot to as the bit already there wasn't long enough.
After a lot more trial fitting, a few bangs and taps with the hammer it seems the panel should now fit nicely. Maybe just a few more minor adjustments.
Gave it some rust treatment and red oxide and left it there until next time. Hope to fit the wing, lower rear bit and tidy up the bottom right corner where the sliding door seal sits oh and seam seal inside, waxyol and all that.
Notice the bit of arch thats in place now has been beaten so its no longer the same shape as the original arch.
Will update when we fit the rest.
Jon.
Re: Rear wing repair
Posted: 13 May 2011, 09:13
by 1664
Jonnyb, just put your links inbetween the 'Img' tab when posting them, or, hover your mouse over the image in photobucket and click on the image code below it (it should change to 'copied' momentarily) and paste the code into your post on here. That way your pictures will show in your actual post like this
Click the 'quote' tab top right of this post and you will see the 'img' codes I described at the front and back of your link

Re: Rear wing repair
Posted: 13 May 2011, 11:15
by Jonnyb416
Here is a go with the first picture on this thread, been trying to do this but never known how.
Re: Rear wing repair
Posted: 13 May 2011, 11:17
by Jonnyb416
Does anyone see any serious flaws in constructing the inner arch like this?
Jon.
Re: Rear wing repair
Posted: 13 May 2011, 11:31
by New Kentish Campers
I dont see why not. The main thing is that the structural integrity of the area is there, which it now is, and, that the new panel fits nicely over on top and can be welded in sucessfully.
Besides, you've done it now anyway......

Good luck with the rest of it and keep the pics coming.
Cheers, Doug.
Re: Rear wing repair
Posted: 17 Jun 2011, 18:00
by Jonnyb416
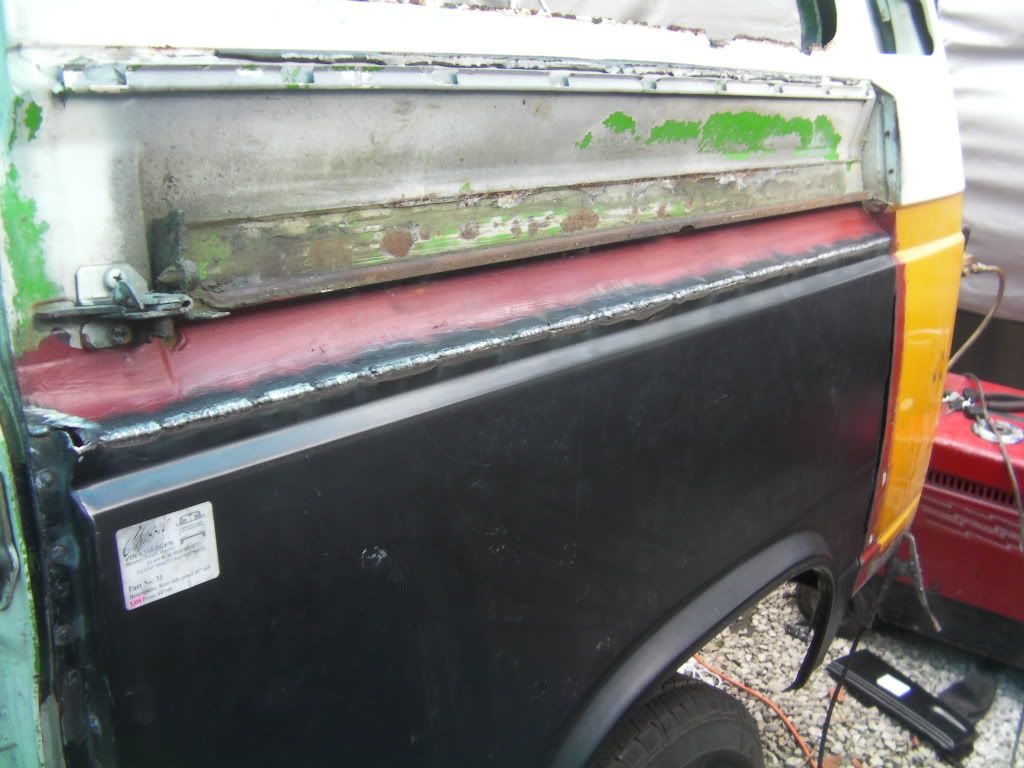
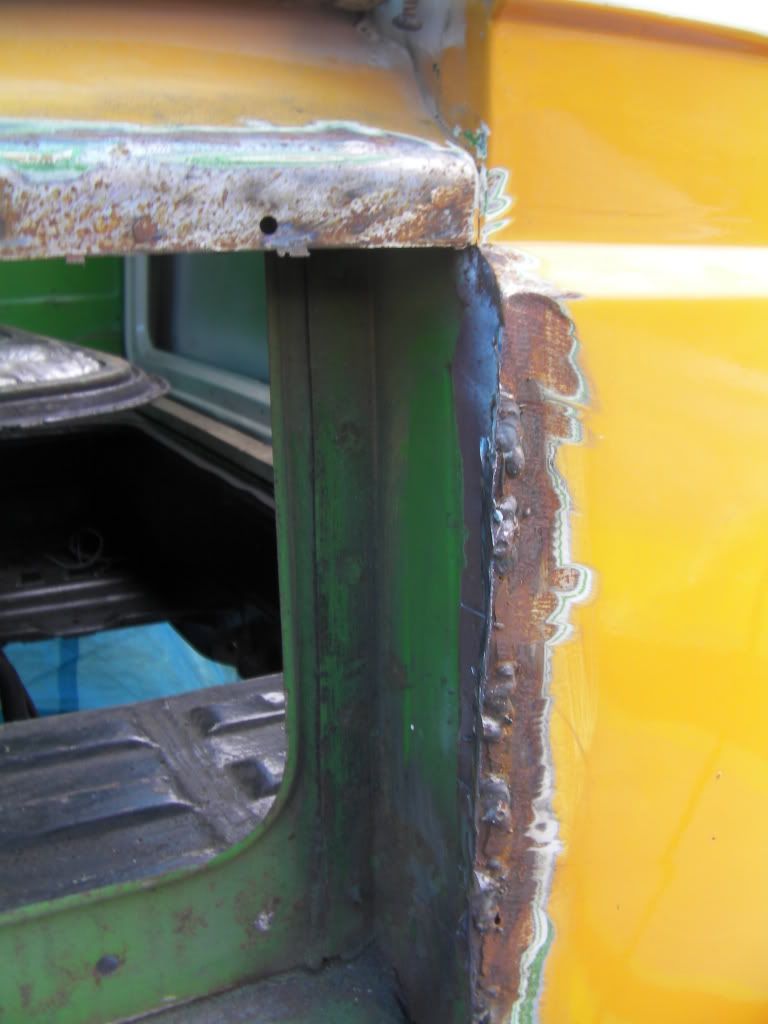
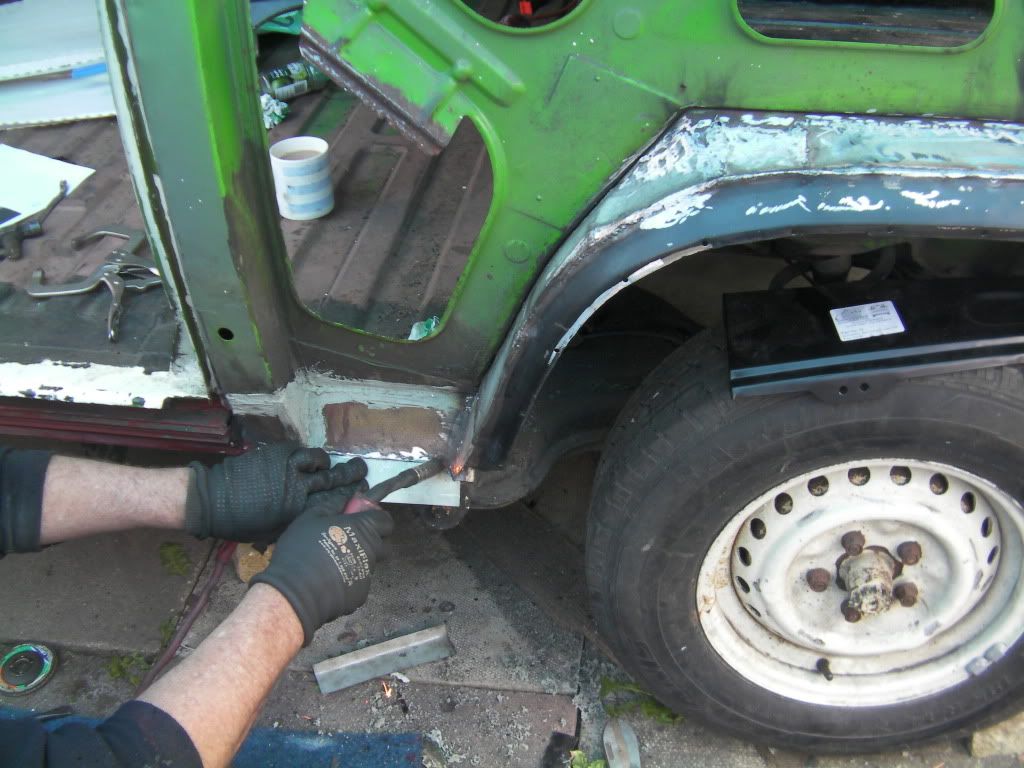
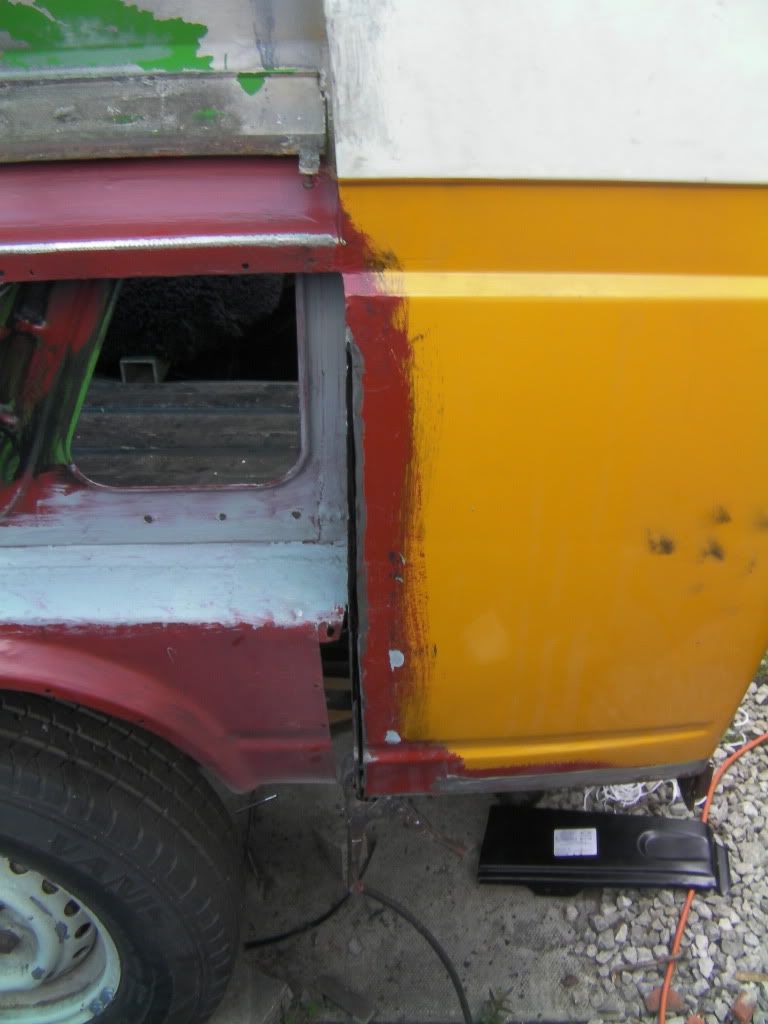
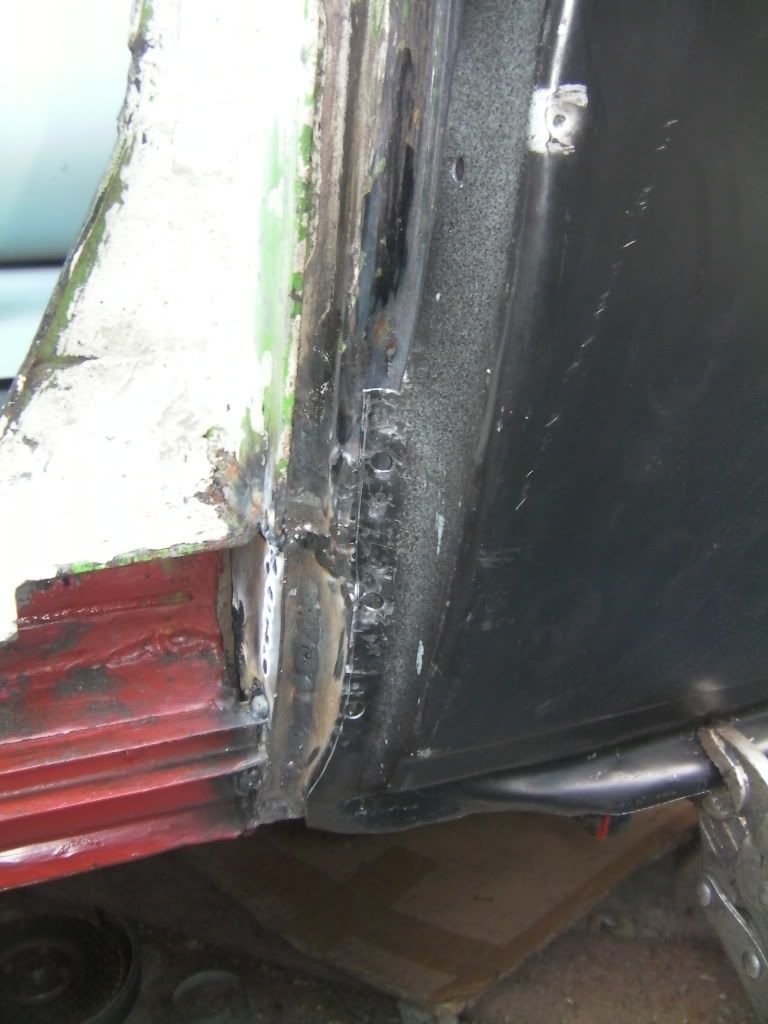
The panel behind the rear wing had been seriously distorted due to the previous owners attempt at welding on a rear wing, so it needed cutting out and plenty of beating to allow the new rear wing to sit flush along side it.
Re: Rear wing repair
Posted: 17 Jun 2011, 18:07
by Jonnyb416
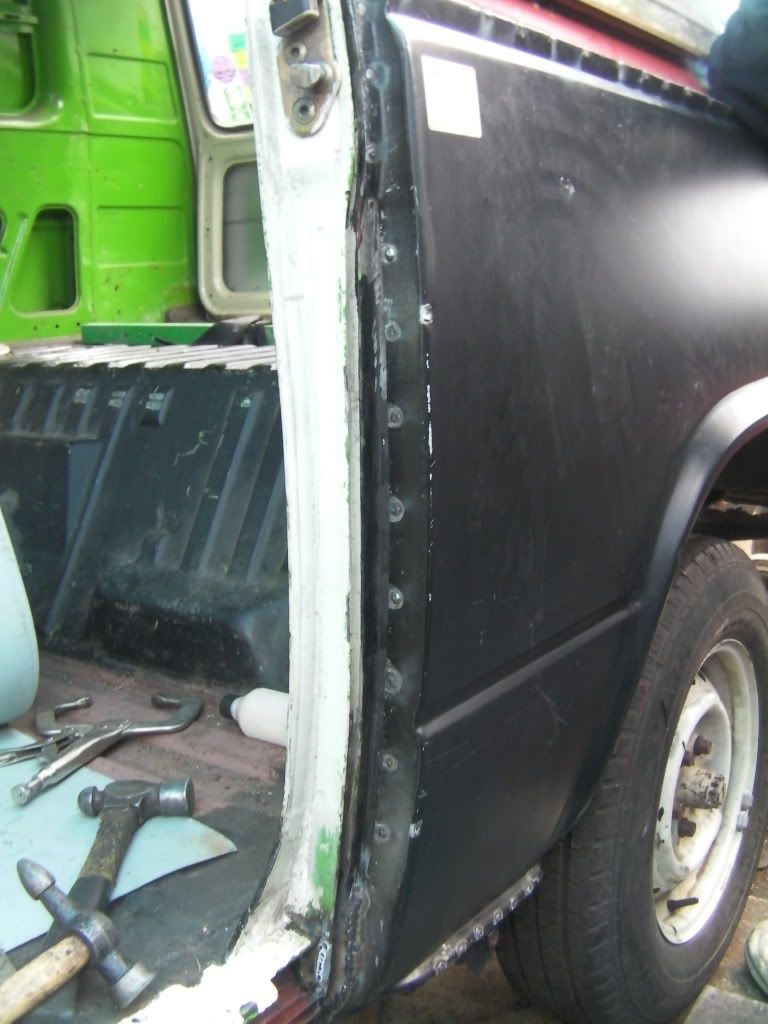
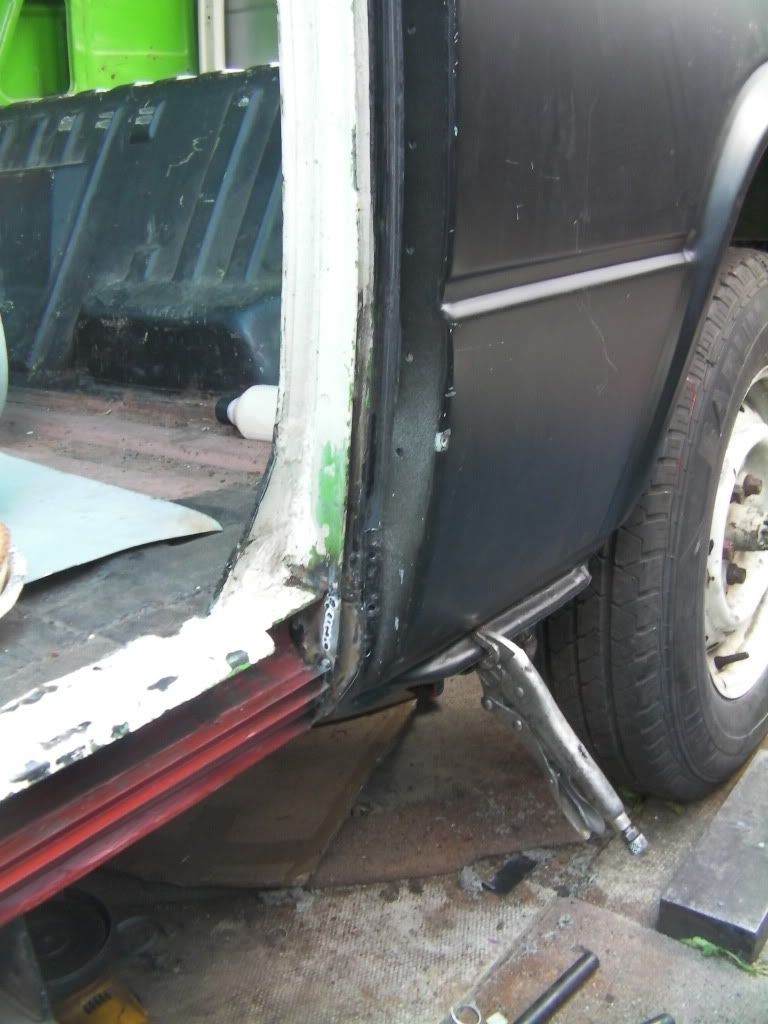
Next needed to make up a few bits to repair the area around the bottom of the C post and sliding door seal channel as this was missing. Very grateful to Jake (fellow Club 80-90 member) who last night kindly allowed me to take pictures of his van so we knew how it should really look. Thanks Jake
Oh and he gave me a passenger door window as mine is missing and Jake had a spare, the blokes a legend!!
Re: Rear wing repair
Posted: 17 Jun 2011, 18:10
by Jonnyb416
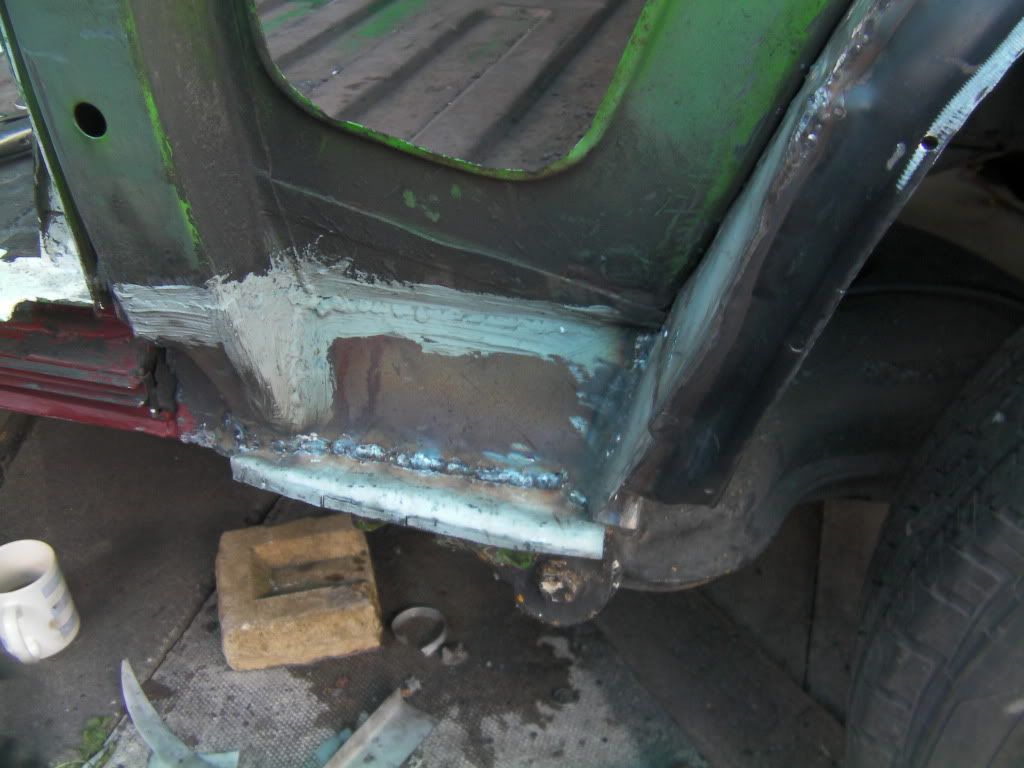
All welded in a ground back a bit.
Re: Rear wing repair
Posted: 17 Jun 2011, 18:16
by Jonnyb416
Re: Rear wing repair
Posted: 17 Jun 2011, 18:44
by Jonnyb416
Re: Rear wing repair
Posted: 17 Jun 2011, 18:51
by Jonnyb416
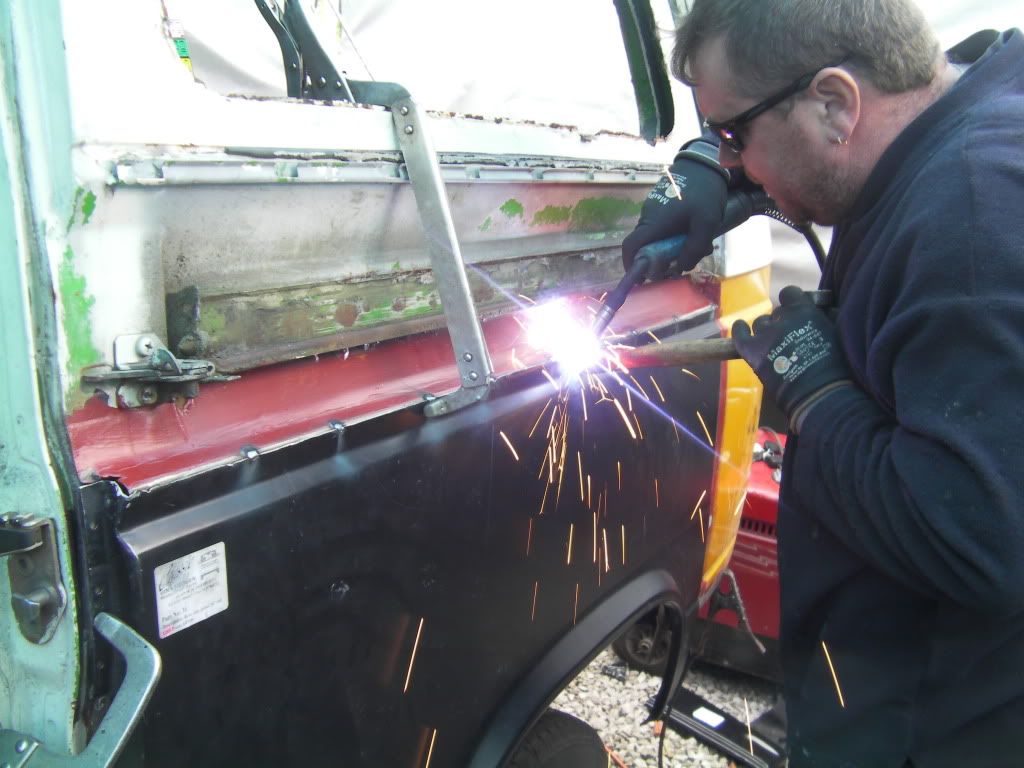
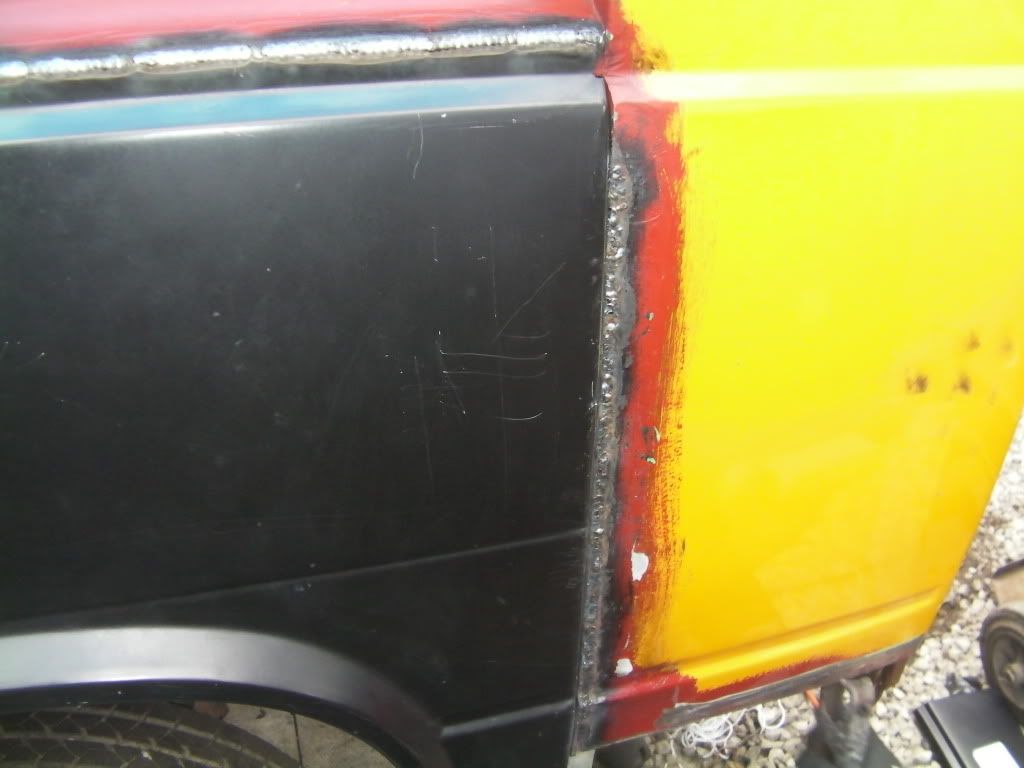
Final job of the day was to grind the gap we had filled with weld. I am sure you will agree that this Guy is pretty talented and despite never working on a T25 before he is doing a good job.
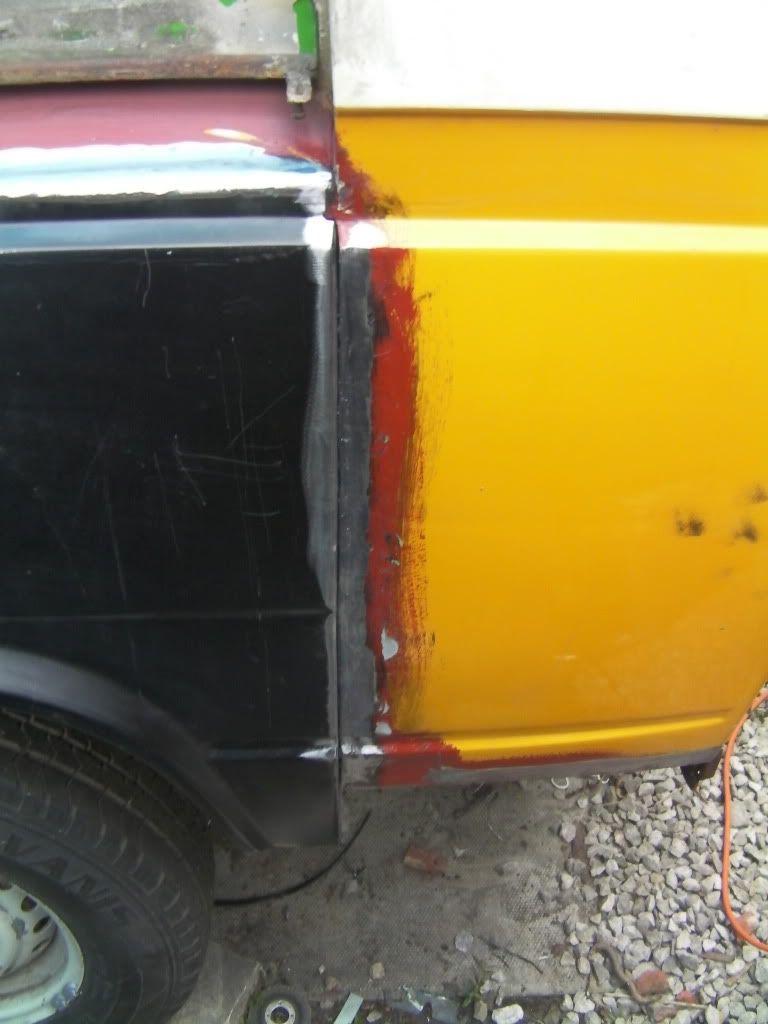
It's all looking nice and straight now, just compare it to how it looked before we started.

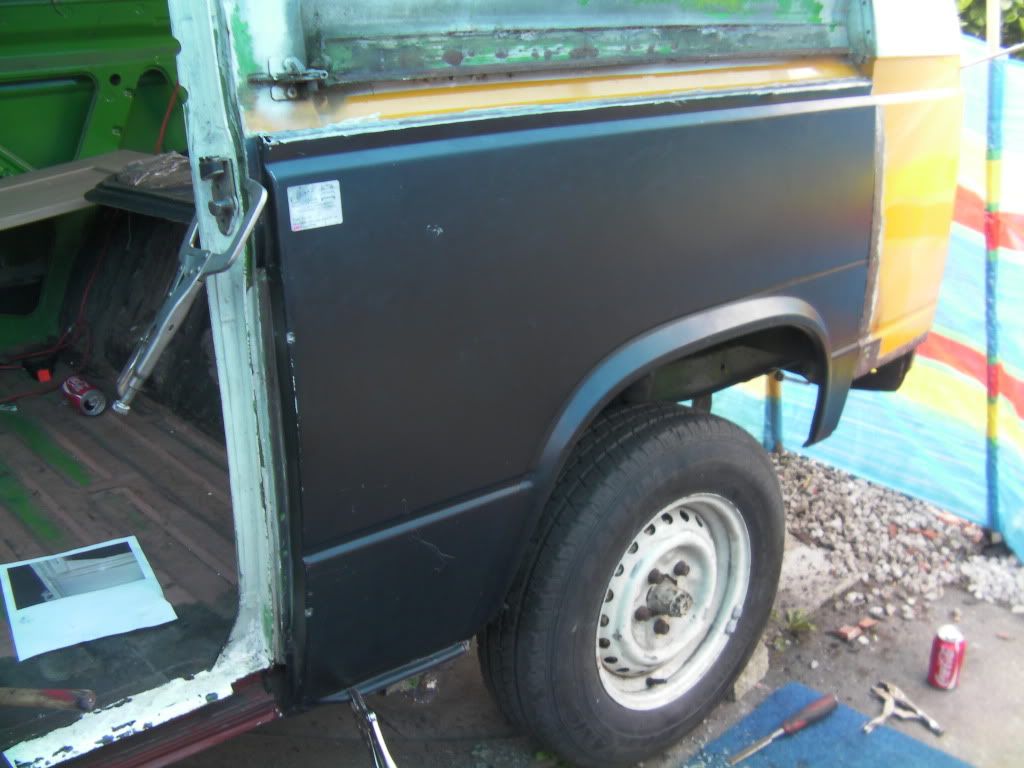
Next time we will spot under the arch, fit the little piece on the end and move on to the rear of the van, I cannot wait!!
Jon.