Page 1 of 1
Captains seat arm cover removal for WIKI with pictures
Posted: 02 Feb 2010, 00:05
by toolsntat
Got an arm thats off( how i got it) here and want to fit it

Do you have to put it all the way on and then insert the roll pin

Any cut away pics anywhere??
Andy
Re: Captain seat arms.....
Posted: 02 Feb 2010, 00:19
by R0B
this might help you andy..
http://www.weidefamily.net/vanagon/ click on
interior then
armrest repair
Re: Captain seat arms.....
Posted: 02 Feb 2010, 00:55
by toolsntat
Cheers

Mmmm looks like the blob of repair weld needs grinding then to make the socket piece swivel inside the arm


Andy
Re: Captain seat arms.....
Posted: 24 Mar 2010, 23:30
by toolsntat
Right I need to take the trim off the arm to sort this out
There are 2 screws to remove the plastic shroud but 1 is under the adjusting knob
Does the knob come off the shaft at all
Re: Captain seat arms.....
Posted: 26 Mar 2010, 14:03
by jtwhitestar
yes it just pops
plastic is quite brittle be careful
Re: Captain seat arms.....
Posted: 26 Mar 2010, 18:53
by toolsntat
jtwhitestar wrote:yes it just pops
plastic is quite brittle be careful
Thanks
Maybe get the hair drier on it beforehand then
Andy
Re: Captain seat arms.....
Posted: 26 Apr 2010, 01:32
by toolsntat
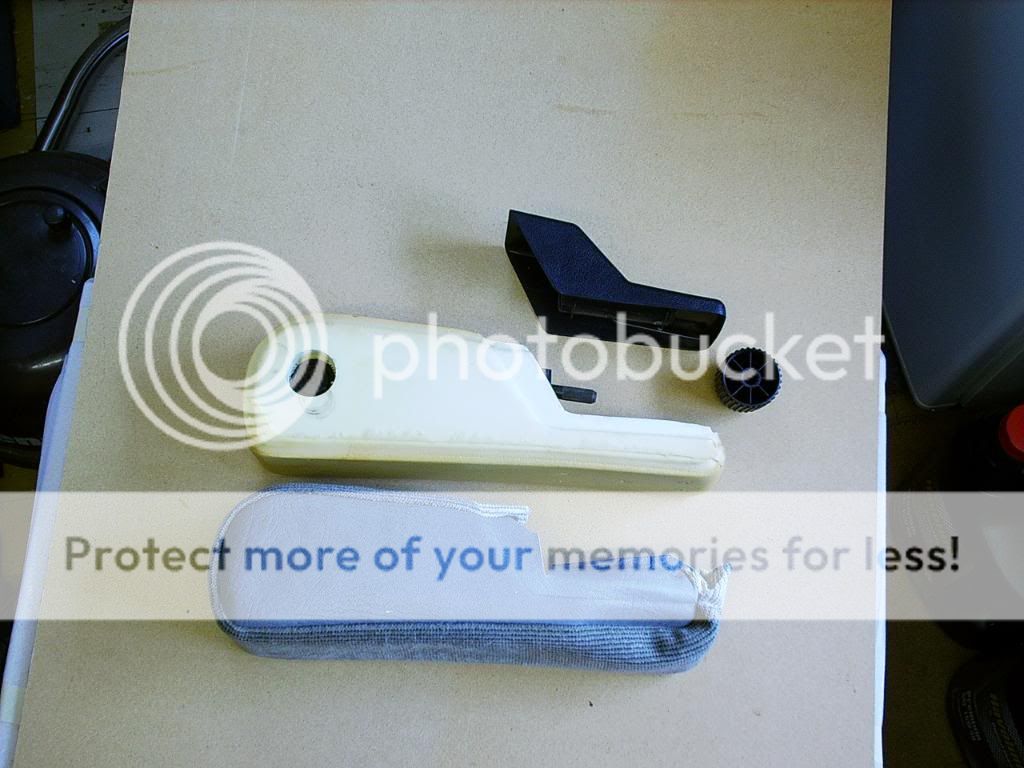
Following on from this I have now stripped back the armrest and here are the pictures of the process......
The offending article removed

Fill the knob with HOT water
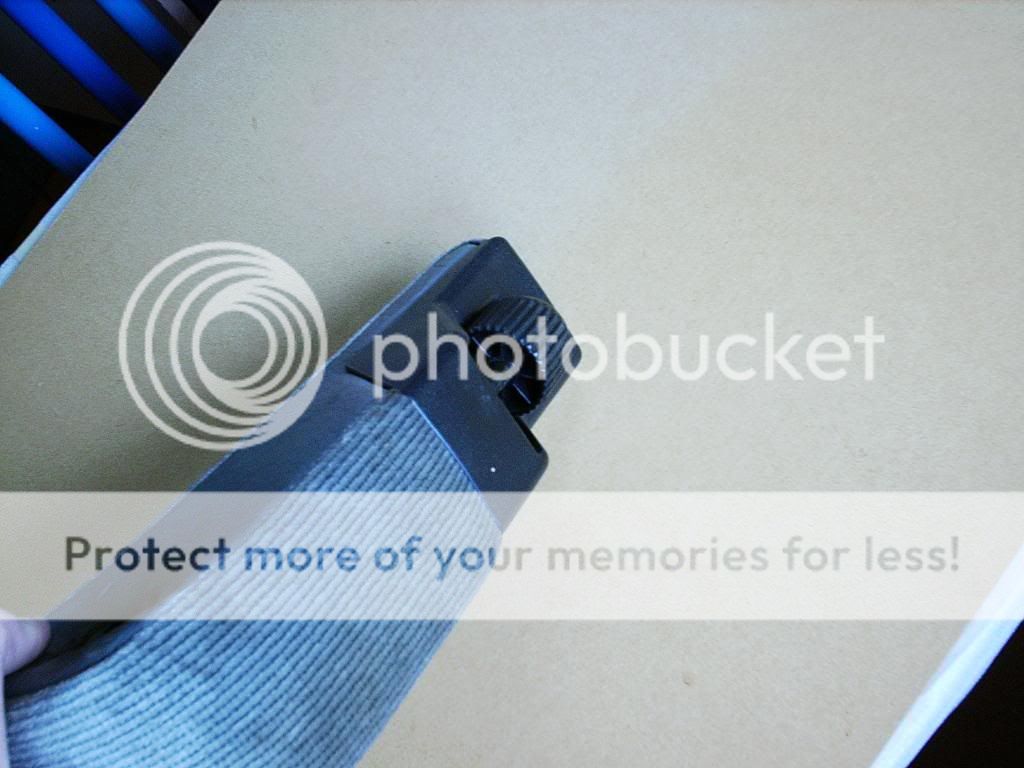
Pull off (its tight

)

Undo 2 screws and remove plastic
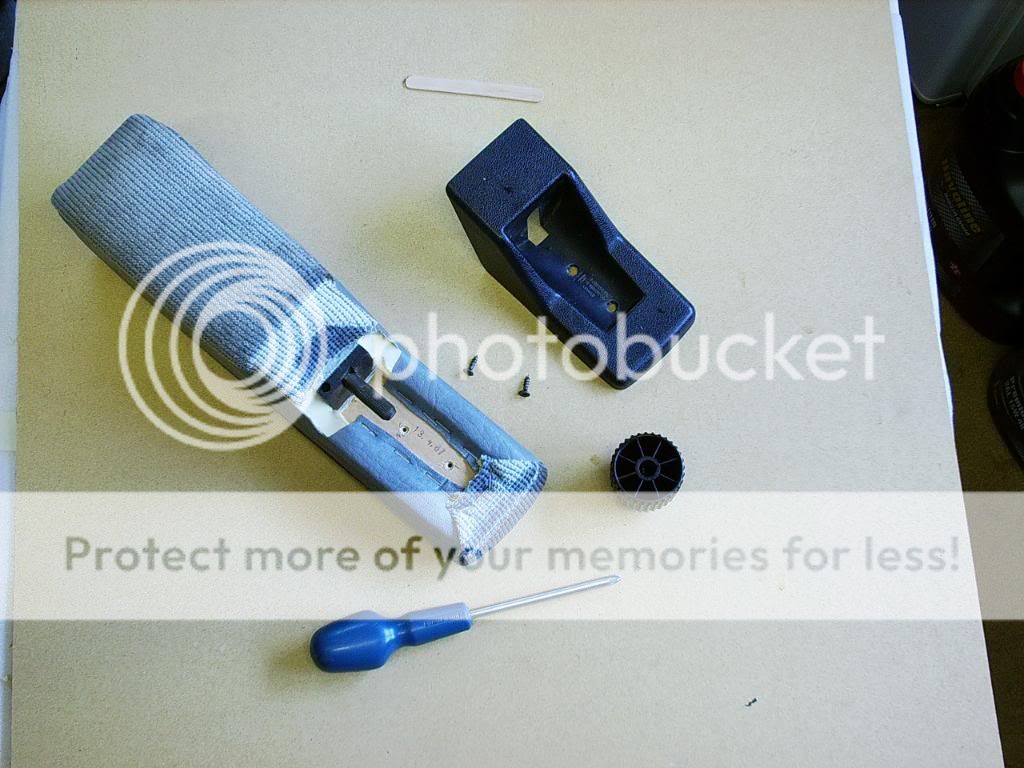
Take out staples
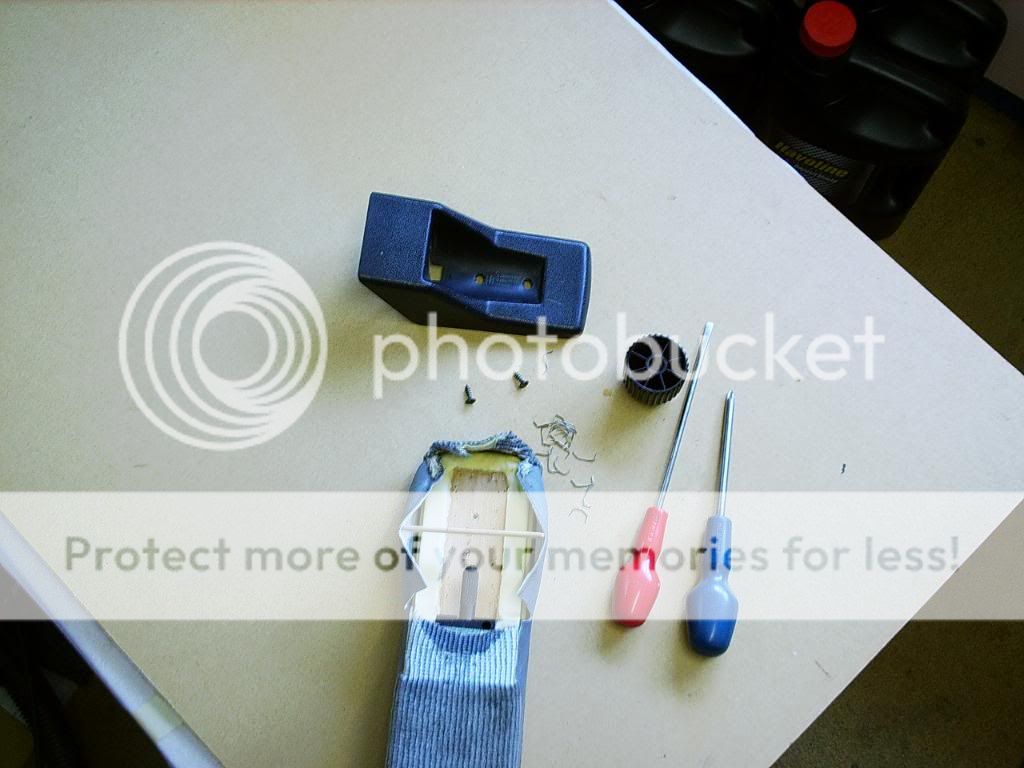
Ease back the cover and slide off (not that easy
)

Re: Captains seat arm cover removal for WIKI
Posted: 26 Apr 2010, 07:56
by CovKid
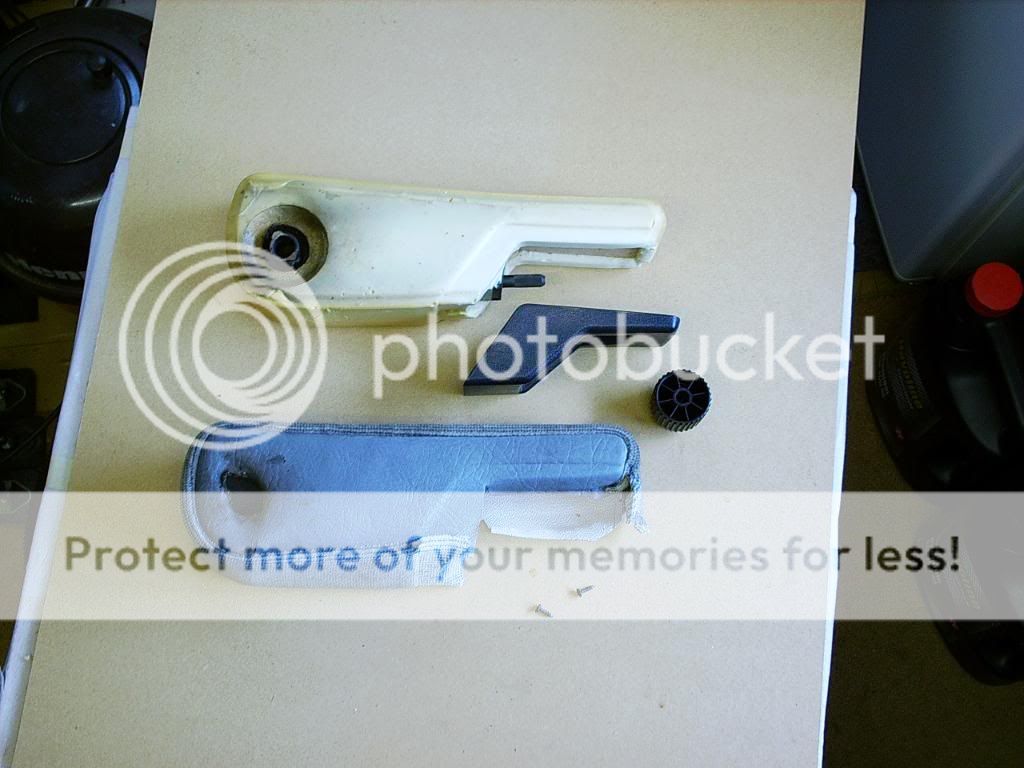
Good pics. The cover turned inside out and taken apart could be used as a pattern for a new cover if anyone wanted to do that.
Re: Captains seat arm cover removal for WIKI with pictures
Posted: 09 Jul 2012, 20:12
by donciuz
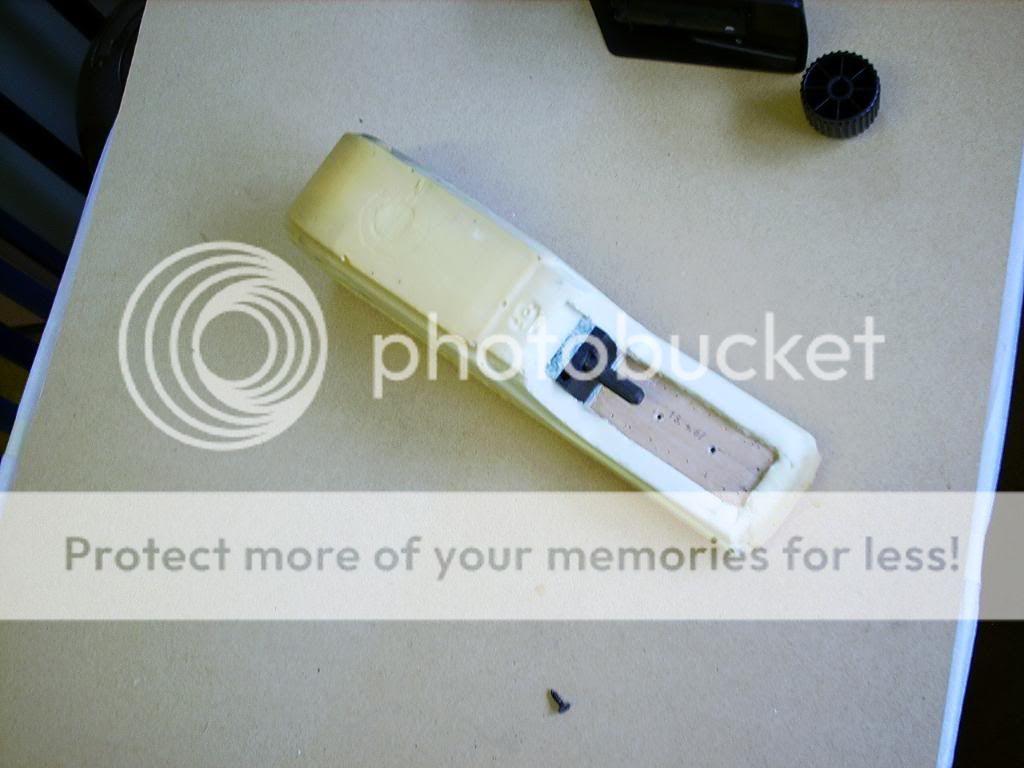
As i never found pictures how to do the rest of the repair beyond the stripping, so I am uploading one of mine as it might be handy for someone doing this for the first time like me.

And sorry about the mess

I took a stanley knife and made two deep cuts on each side, then carefully peeled the foam off the plastic peace, and then from the ply. You can see the foam is still in one peace, be very carefull, and i never took it fully off just enough to get to the screws. Then the four screws holding the plastic piece to the ply can be located. Undo them and you have plenty access to the loose nut. I put the nut in place and then assembled everything in reverse order. I had no need to glue the foam back, as the cover holds the foam tight.