Basic Ebber service
Posted: 17 Apr 2008, 22:35
Righto , i've given my rather smoky Ebber a good old service
here goes
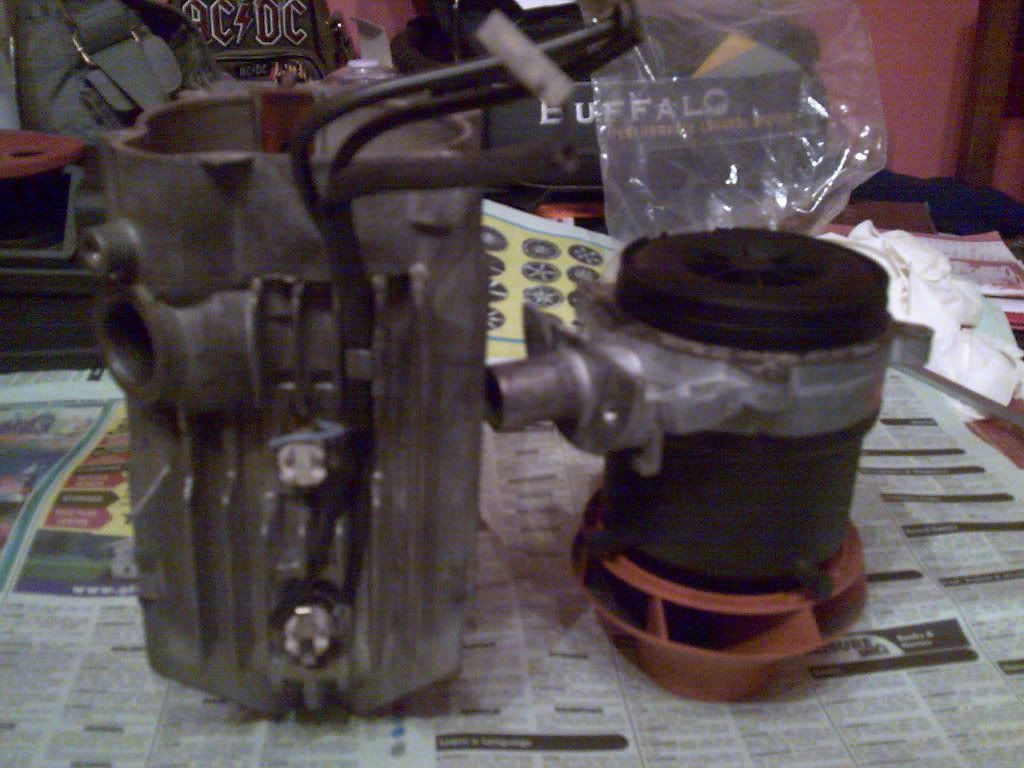
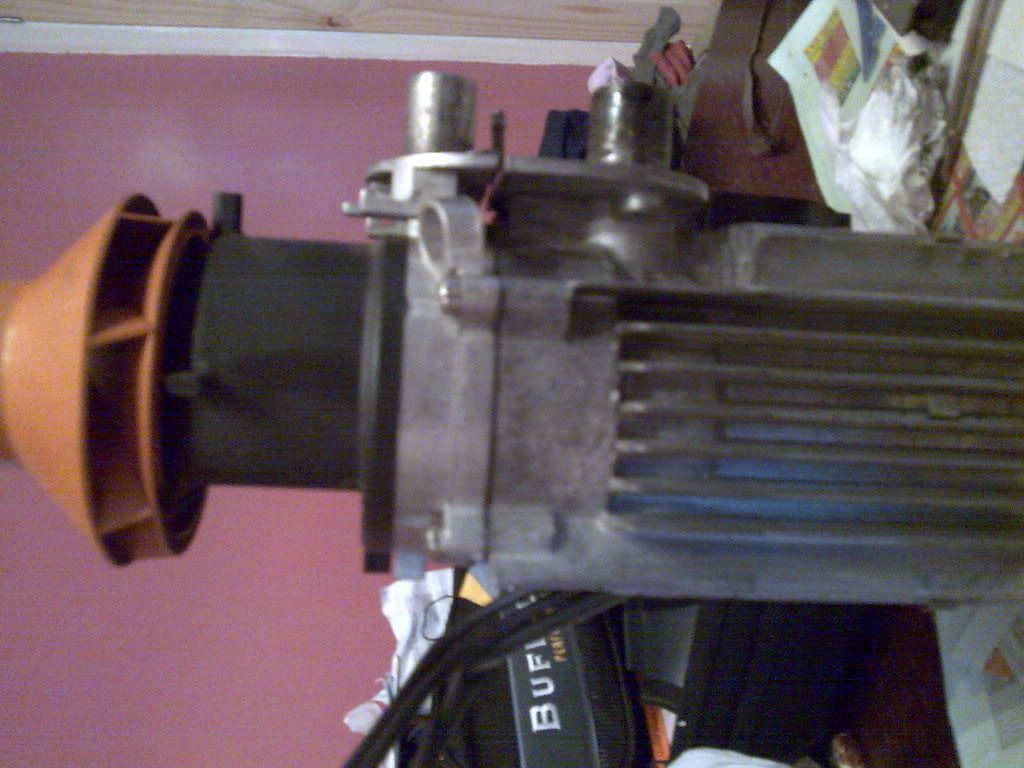
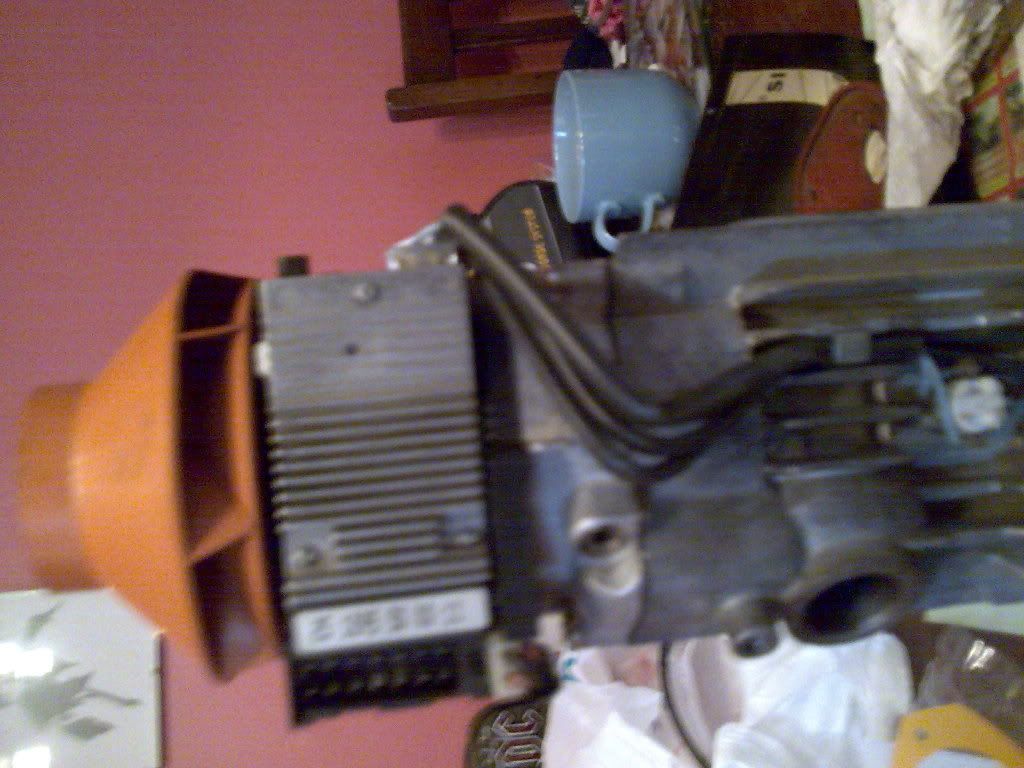
Firstly disconnect the power to the unit , then remove the plastic cover on top of it , no.4 allen key on mine , then remove the little 7mm nut on top of the glow plug and then the plug its self (17mm). then remove the exhaust, the air intake and the fuel line and then the 4 10mm nuts then take off the two end caps .. then remove the unit to a warmer place
[IMG]http://i201.photobucket.com/albums/aa12 ... age016.jpg[/img]
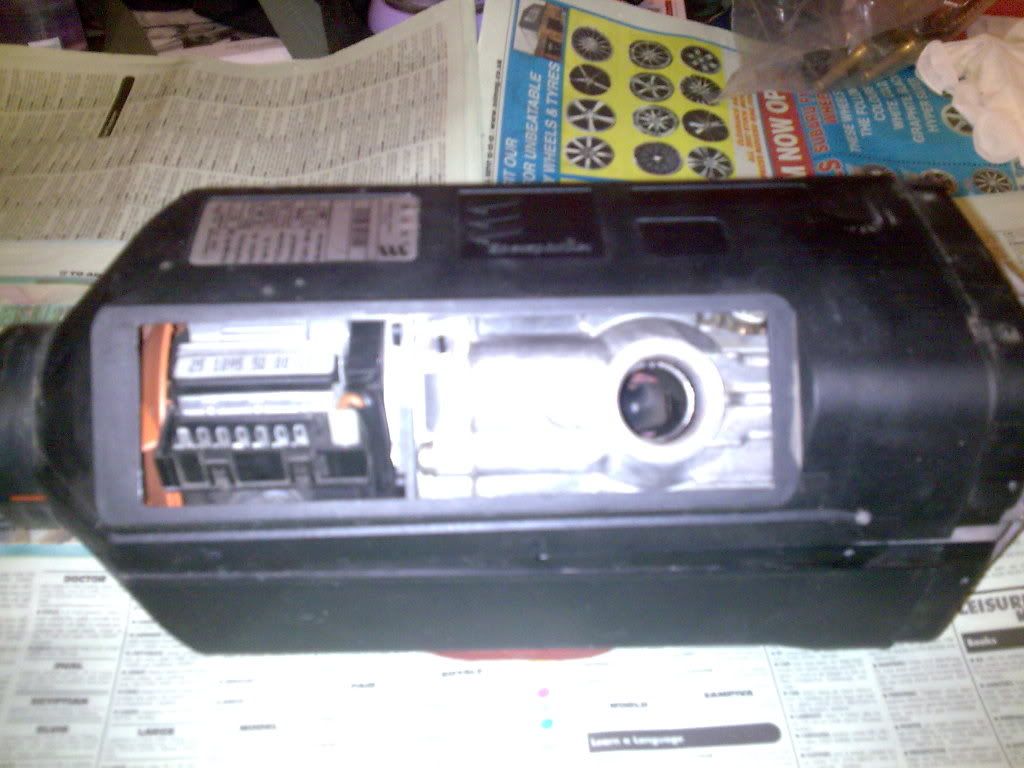
remove the units rubber seal , and then the 6 plastic rivets , push the middle in with a nail , carefully then split the plastic caseing
[IMG]http://i201.photobucket.com/albums/aa12 ... age017.jpg[/img]
remove the three sets of wiring plugs
[IMG]http://i201.photobucket.com/albums/aa12 ... age019.jpg[/img]
and the brains its self
[IMG]http://i201.photobucket.com/albums/aa12 ... age020.jpg[/img]
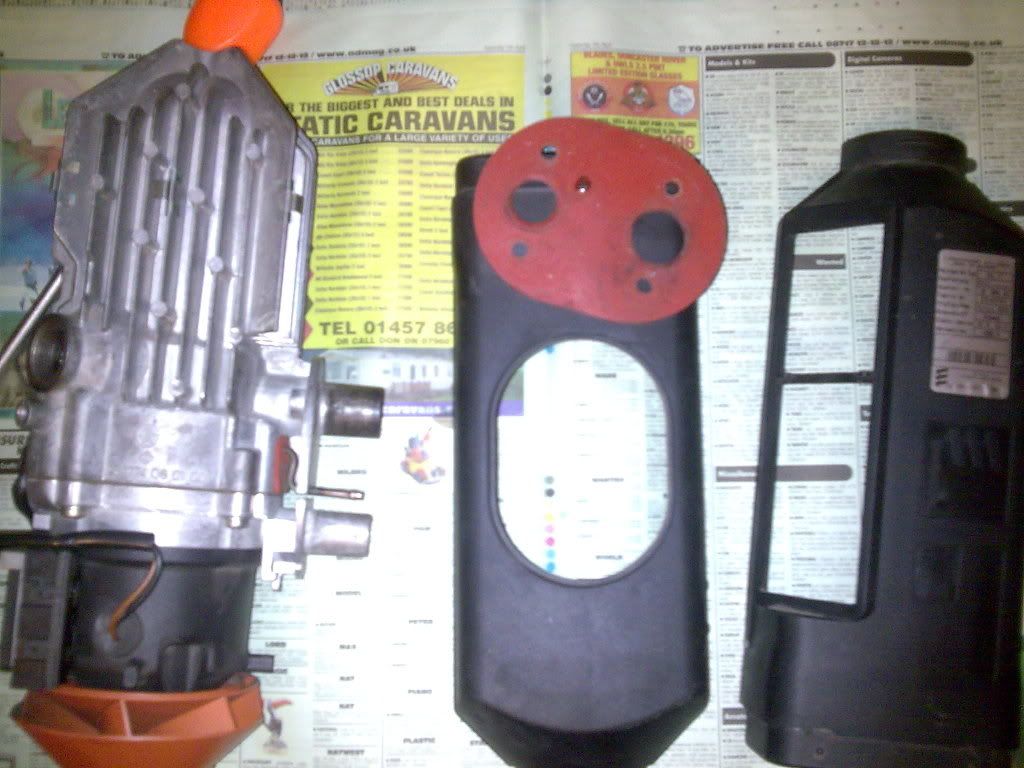
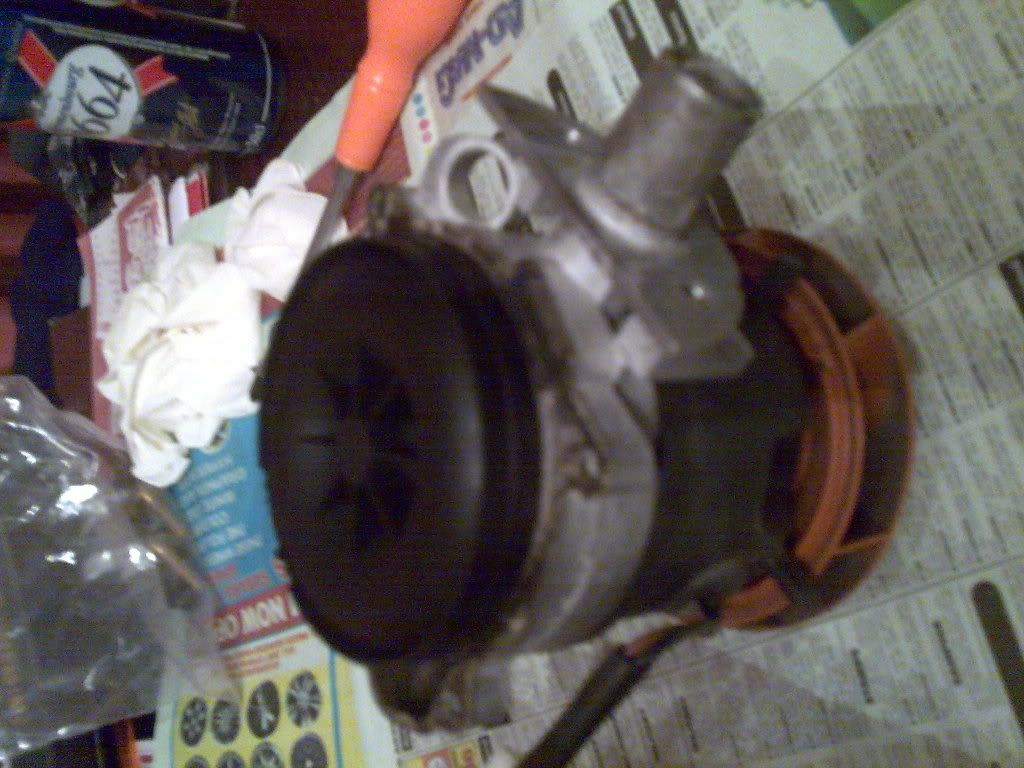
Then remove the 4 cross head screws the hold the fan housing to the combustion chamber
[IMG]http://i201.photobucket.com/albums/aa12 ... age018.jpg[/img]
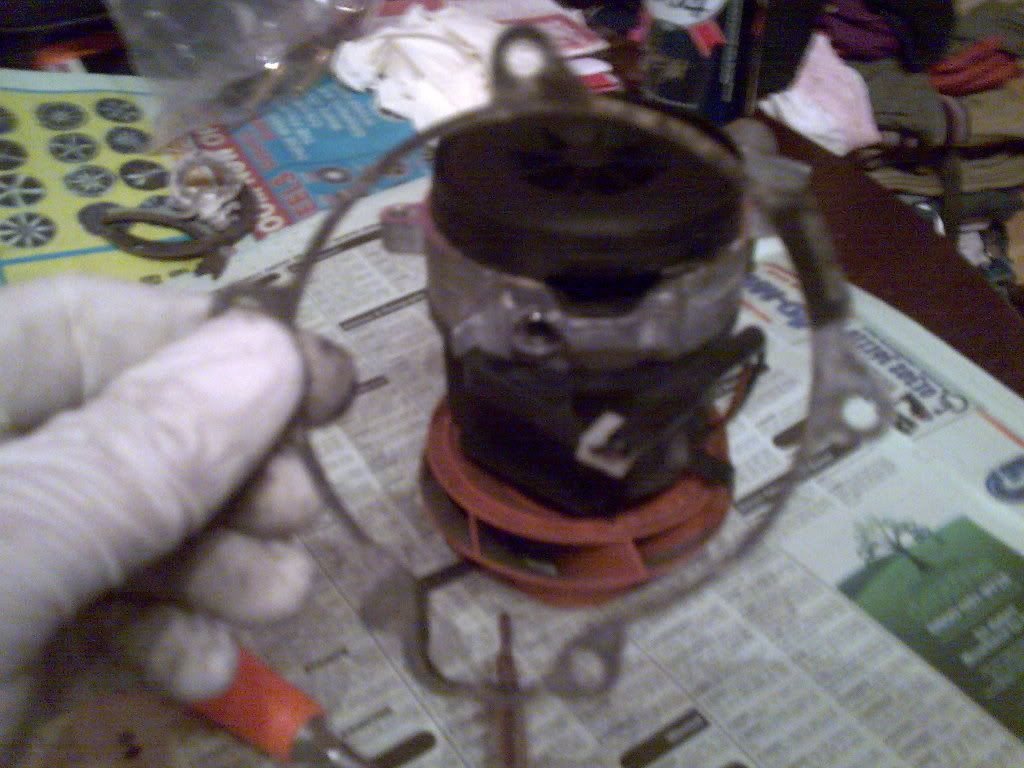
that done the unit will now split in two
[IMG]http://i201.photobucket.com/albums/aa12 ... age021.jpg[/img]
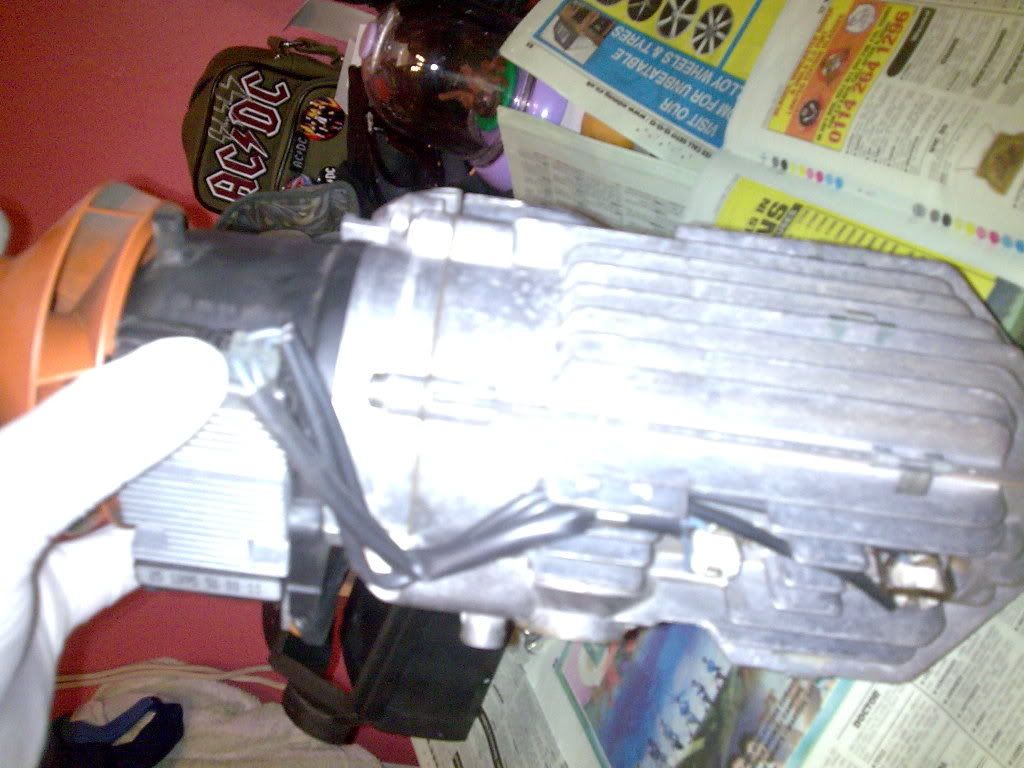
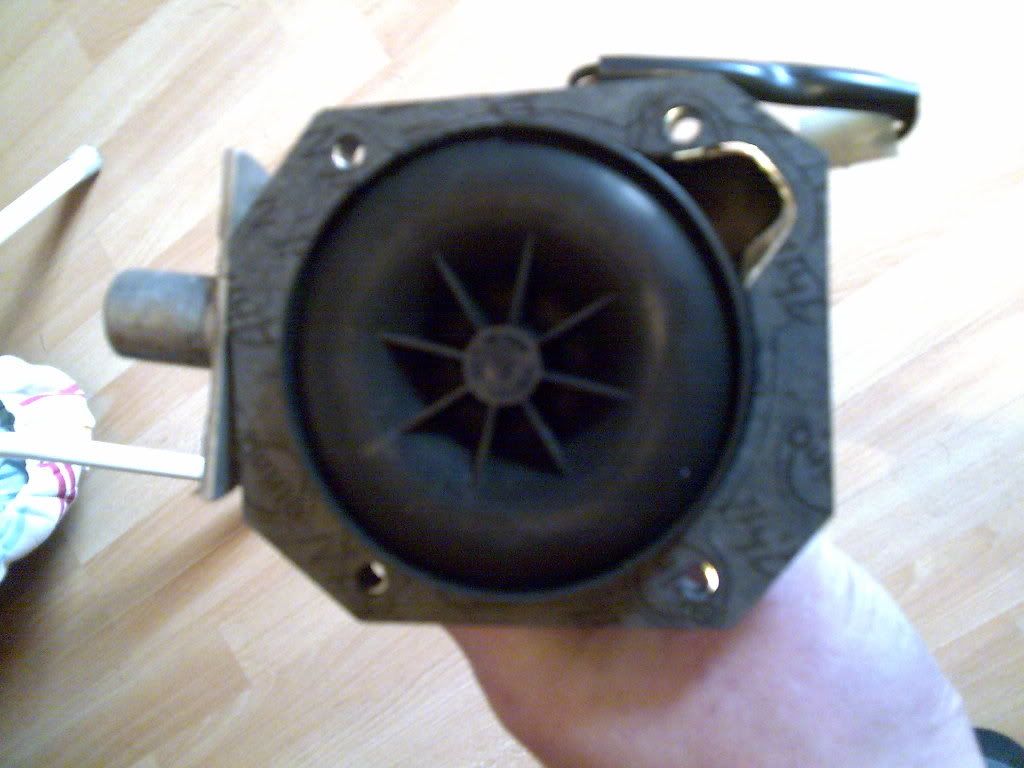
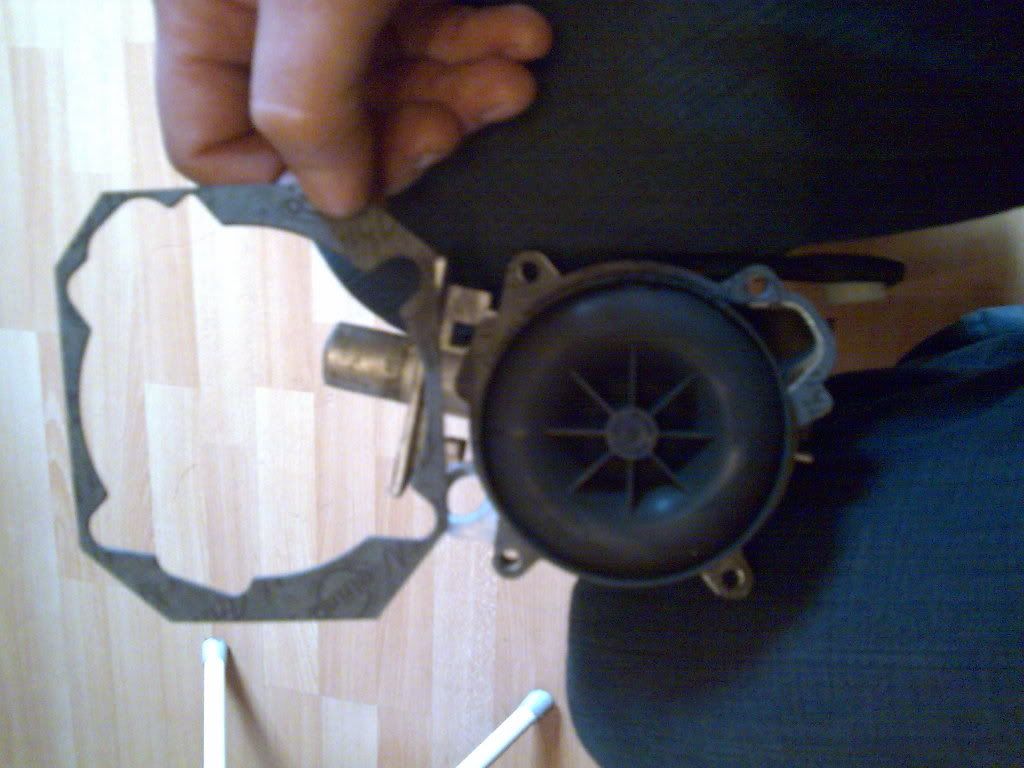
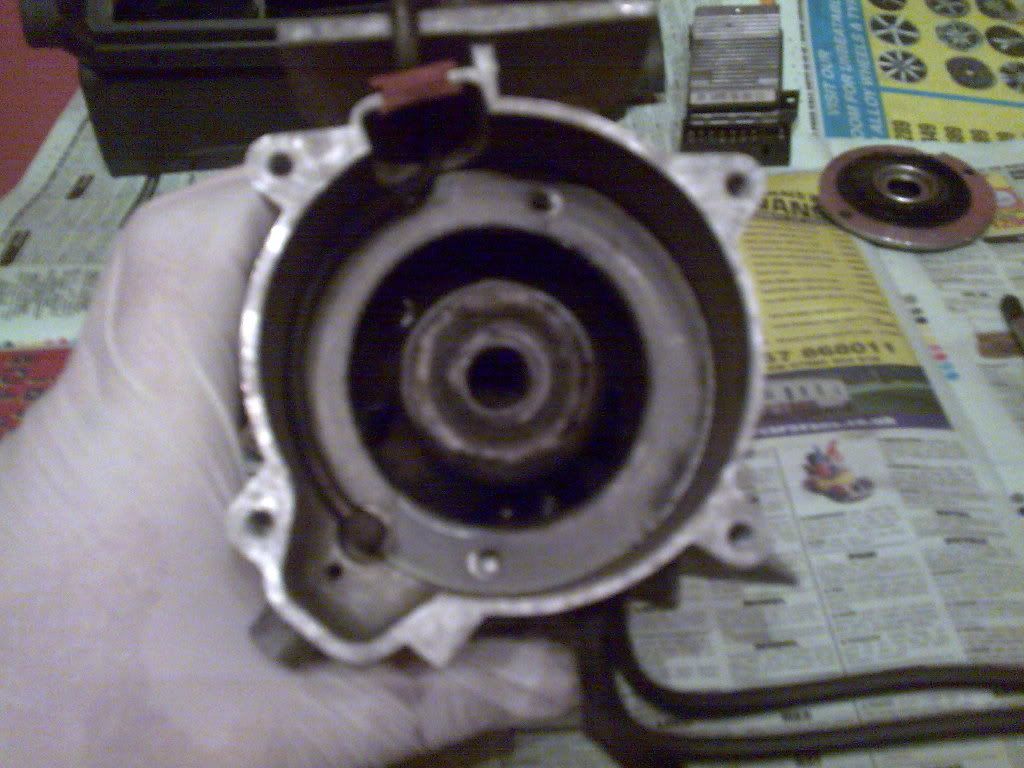
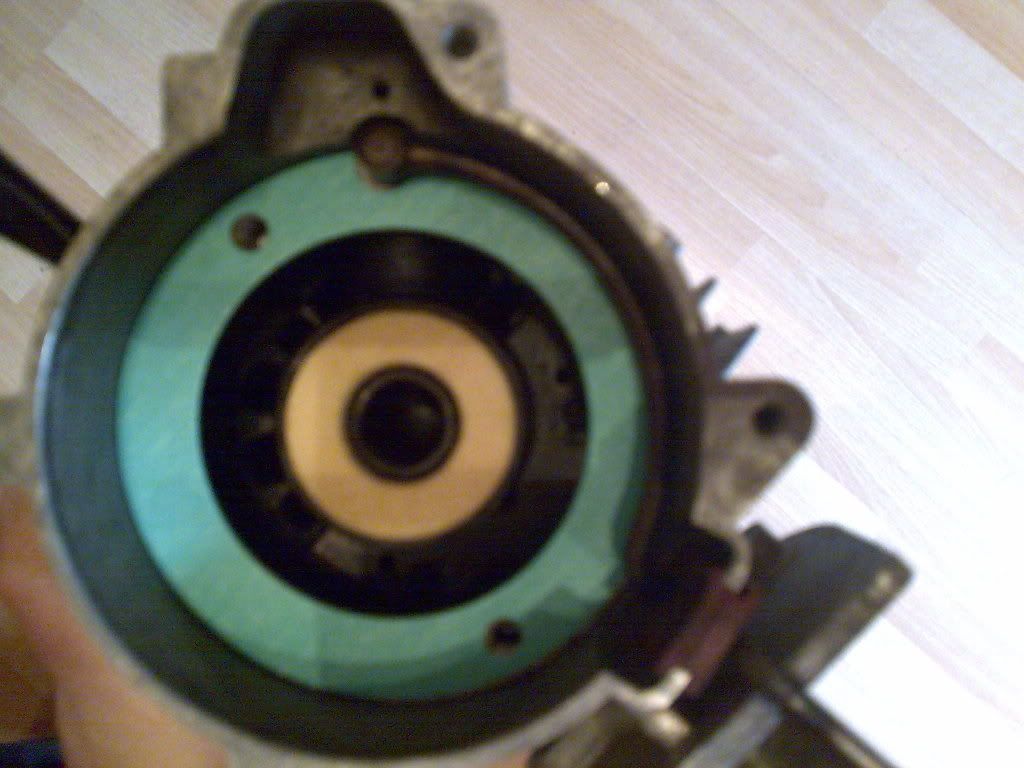
The fan houseing , note the gasket , this needs replaceing
[IMG]http://i201.photobucket.com/albums/aa12 ... age022.jpg[/img]
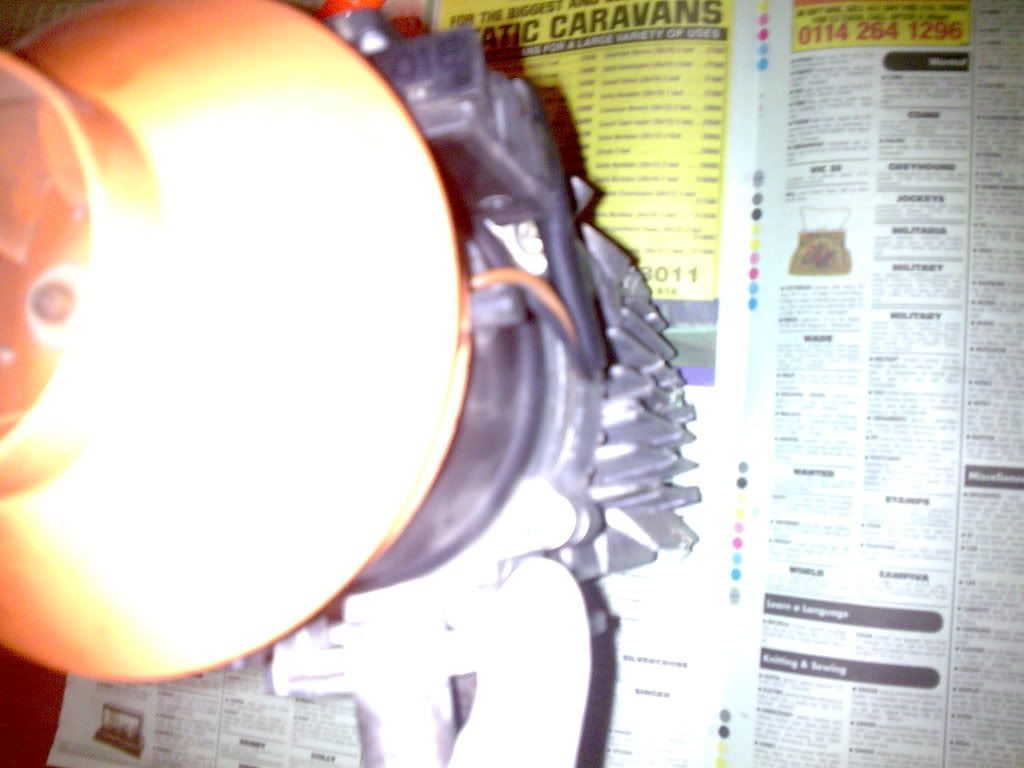
the old gasket
[IMG]http://i201.photobucket.com/albums/aa12 ... age028.jpg[/img]
clean up the fan houseing and then fit the new gasket
[IMG]http://i201.photobucket.com/albums/aa12 ... age036.jpg[/img]
the excess gasket removed
[IMG]http://i201.photobucket.com/albums/aa12 ... age037.jpg[/img]
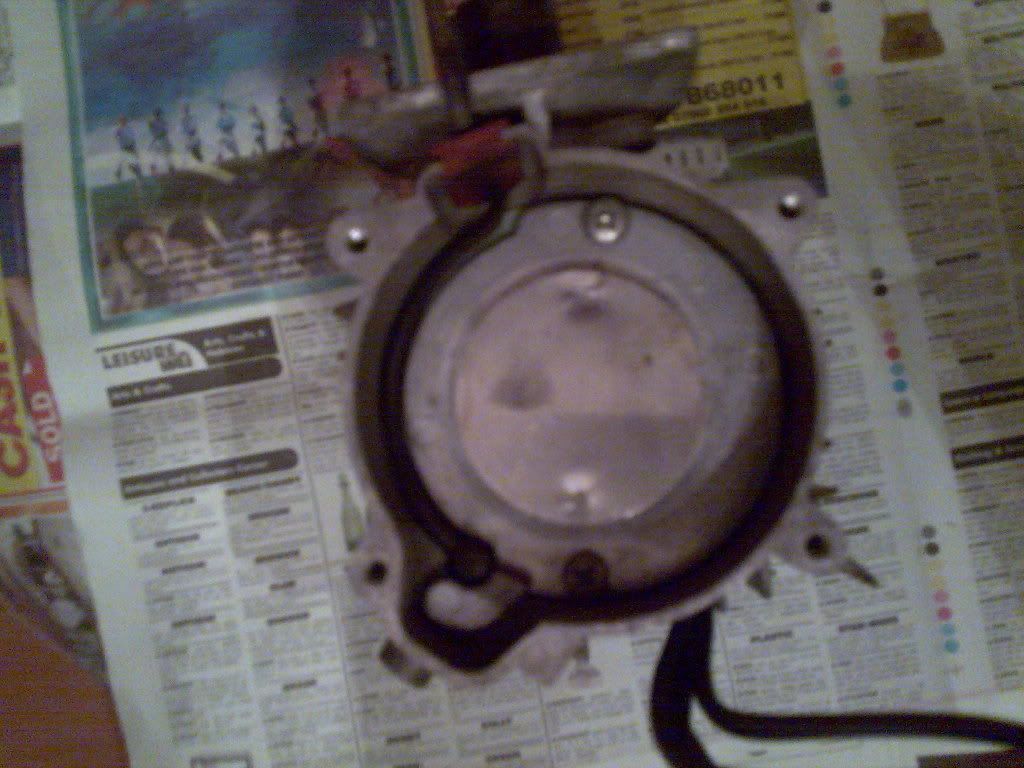
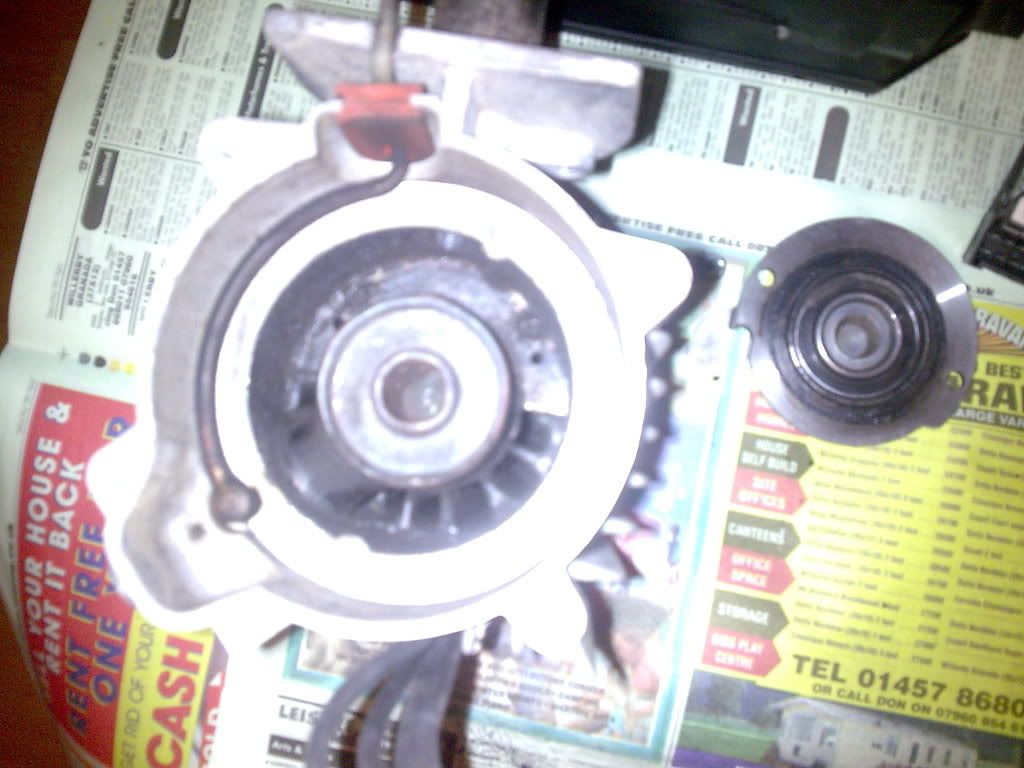
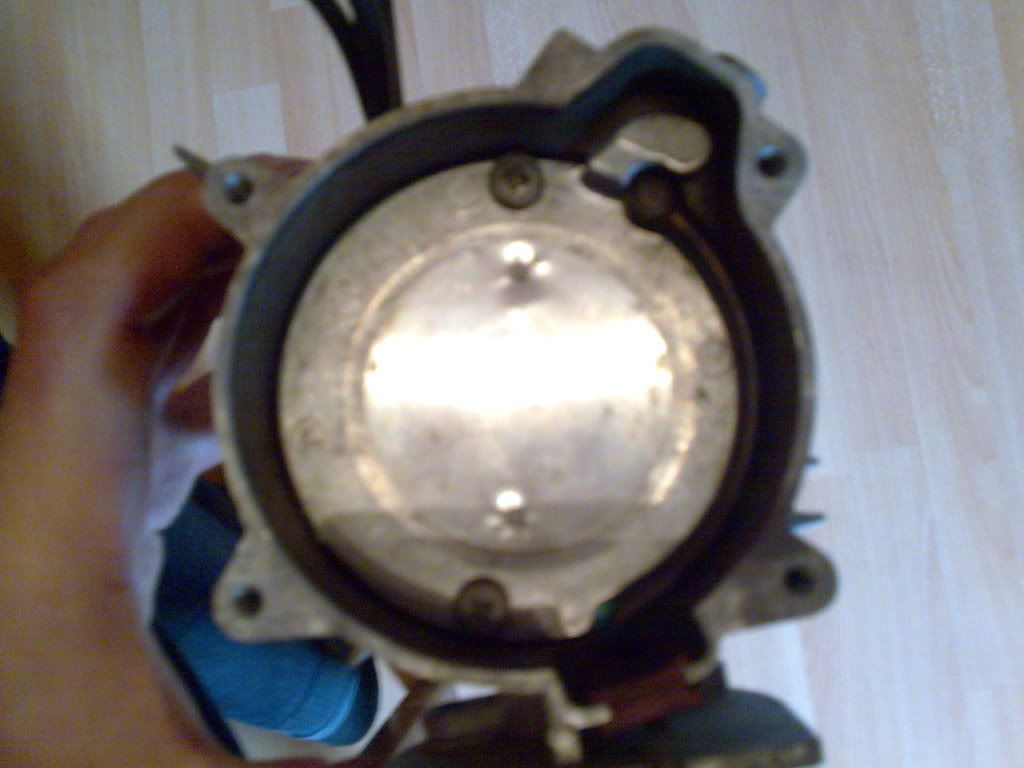
the combustion chamber and cover
[IMG]http://i201.photobucket.com/albums/aa12 ... age023.jpg[/img]
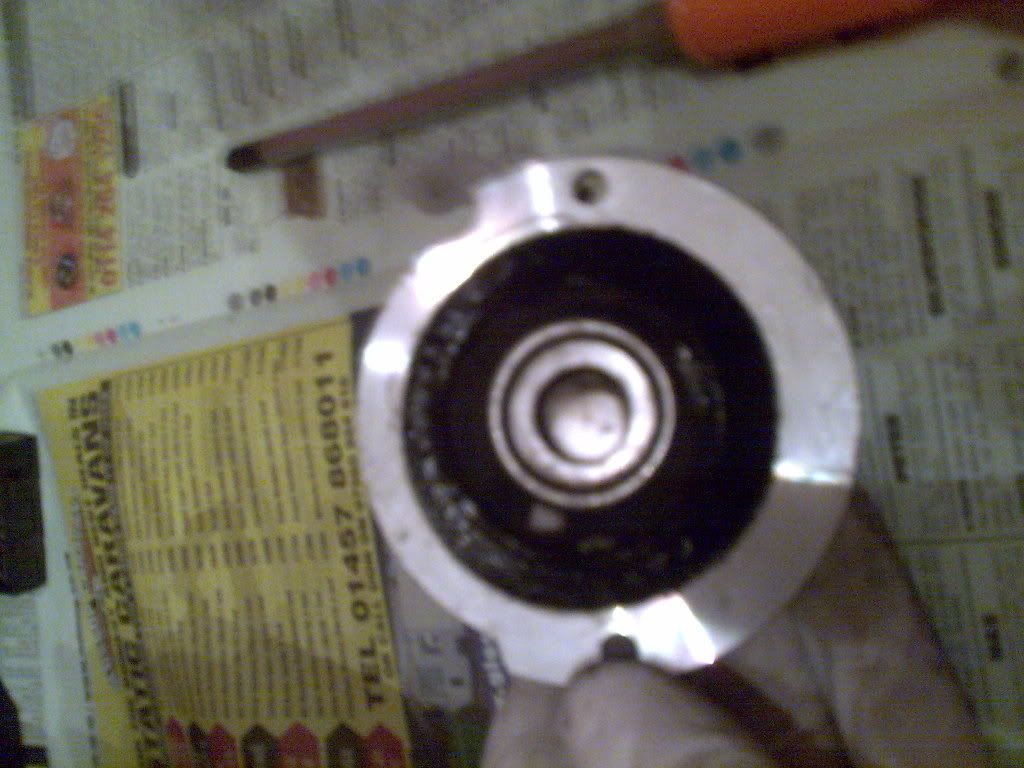
remove the chamber cover 2 cross head screws , the inside of the cover , note the carbon build up
[IMG]http://i201.photobucket.com/albums/aa12 ... age024.jpg[/img]
clean up the cover using wire brush and thinners
[IMG]http://i201.photobucket.com/albums/aa12 ... age029.jpg[/img]
remove the gasket and the seal from the combustion chamber
[IMG]http://i201.photobucket.com/albums/aa12 ... age025.jpg[/img]
[IMG]http://i201.photobucket.com/albums/aa12 ... age026.jpg[/img]
[IMG]http://i201.photobucket.com/albums/aa12 ... age027.jpg[/img]
then comes the fun part , cleaning the chamber , i used a gun cleaner and again thinner , again note the carbon build up
[IMG]http://i201.photobucket.com/albums/aa12 ... age031.jpg[/img]
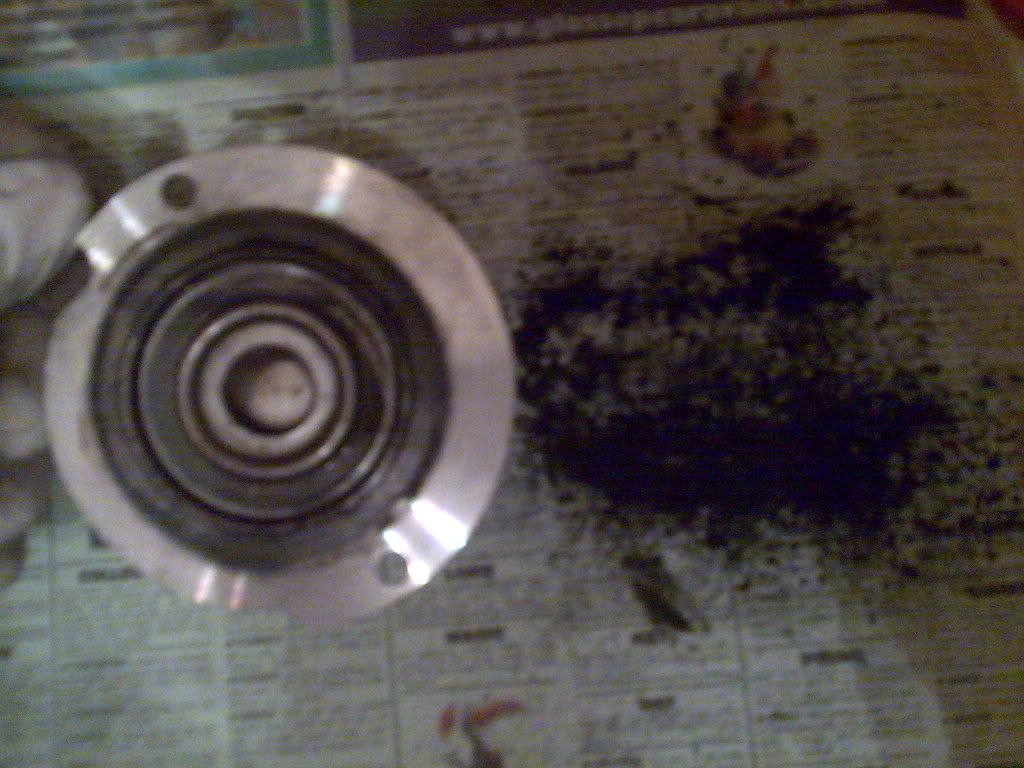
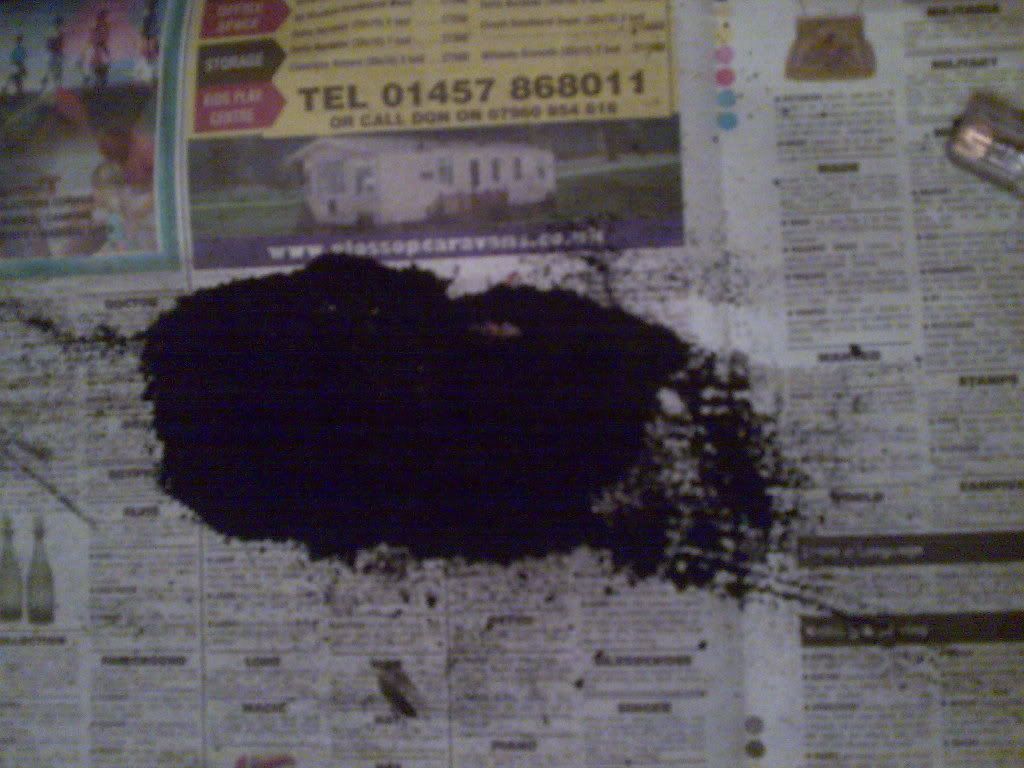
the carbon hehehe
[IMG]http://i201.photobucket.com/albums/aa12 ... age030.jpg[/img]
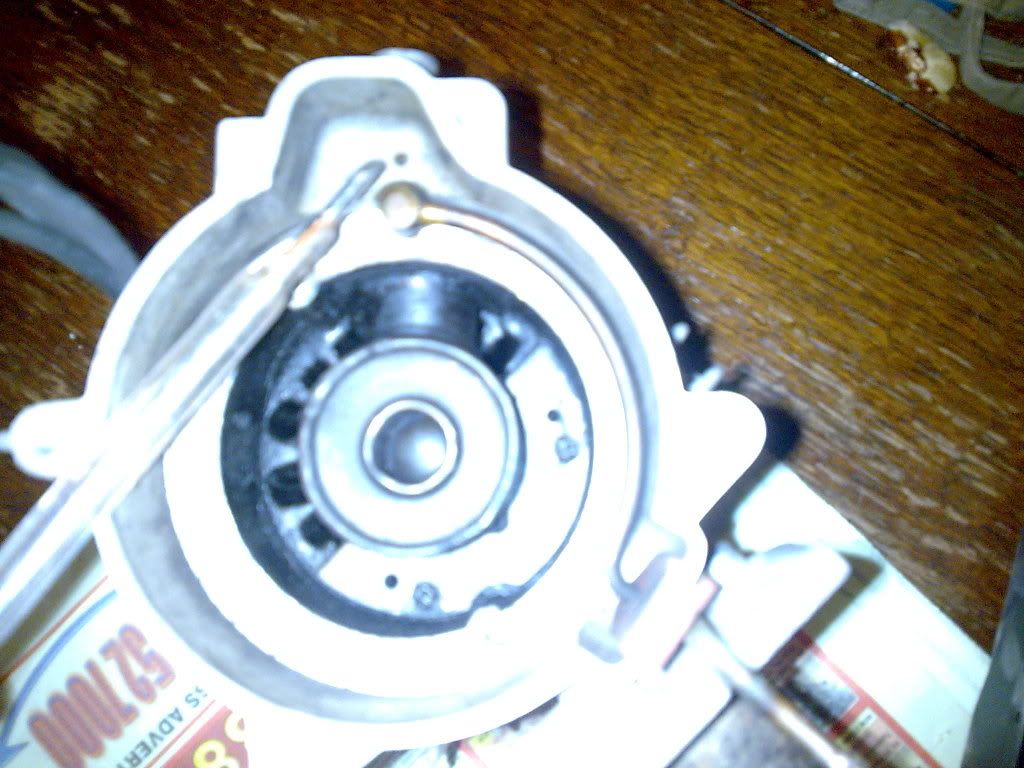
Then check to make sure that the air intake hole is not blocked , this is in the chamber next to the fuel intake pipe
[IMG]http://i201.photobucket.com/albums/aa12 ... age032.jpg[/img]
i cleaned the chamber and left to soak for a few hours before cleaning again and then start on the rebuild
First replace the chambers gasket and seal
[IMG]http://i201.photobucket.com/albums/aa12 ... age034.jpg[/img]
then the chamber's cover ,
[IMG]http://i201.photobucket.com/albums/aa12 ... age035.jpg[/img]
then refit the fan houseing to the chamber taken care with the gasket
[IMG]http://i201.photobucket.com/albums/aa12 ... age038.jpg[/img]
then refit the brains and the wiring
[IMG]http://i201.photobucket.com/albums/aa12 ... age039.jpg[/img]
then the plastic caseings and the 6 plastic rivets , these just push in
[IMG]http://i201.photobucket.com/albums/aa12 ... age040.jpg[/img]
[IMG]http://i201.photobucket.com/albums/aa12 ... age041.jpg[/img]
then its back to the van , refit all the other parts and the fire it up , this may take a few starts and it will smoke for a while ... Job done , and all for 20 quid and a couple of hours
this should be done once a year so the man at ebber told me
here goes
Firstly disconnect the power to the unit , then remove the plastic cover on top of it , no.4 allen key on mine , then remove the little 7mm nut on top of the glow plug and then the plug its self (17mm). then remove the exhaust, the air intake and the fuel line and then the 4 10mm nuts then take off the two end caps .. then remove the unit to a warmer place
[IMG]http://i201.photobucket.com/albums/aa12 ... age016.jpg[/img]
remove the units rubber seal , and then the 6 plastic rivets , push the middle in with a nail , carefully
[IMG]http://i201.photobucket.com/albums/aa12 ... age017.jpg[/img]
remove the three sets of wiring plugs
[IMG]http://i201.photobucket.com/albums/aa12 ... age019.jpg[/img]
and the brains its self
[IMG]http://i201.photobucket.com/albums/aa12 ... age020.jpg[/img]
Then remove the 4 cross head screws the hold the fan housing to the combustion chamber
[IMG]http://i201.photobucket.com/albums/aa12 ... age018.jpg[/img]
that done the unit will now split in two
[IMG]http://i201.photobucket.com/albums/aa12 ... age021.jpg[/img]
The fan houseing , note the gasket , this needs replaceing
[IMG]http://i201.photobucket.com/albums/aa12 ... age022.jpg[/img]
the old gasket
[IMG]http://i201.photobucket.com/albums/aa12 ... age028.jpg[/img]
clean up the fan houseing and then fit the new gasket
[IMG]http://i201.photobucket.com/albums/aa12 ... age036.jpg[/img]
the excess gasket removed
[IMG]http://i201.photobucket.com/albums/aa12 ... age037.jpg[/img]
the combustion chamber and cover
[IMG]http://i201.photobucket.com/albums/aa12 ... age023.jpg[/img]
remove the chamber cover 2 cross head screws , the inside of the cover , note the carbon build up
[IMG]http://i201.photobucket.com/albums/aa12 ... age024.jpg[/img]
clean up the cover using wire brush and thinners
[IMG]http://i201.photobucket.com/albums/aa12 ... age029.jpg[/img]
remove the gasket and the seal from the combustion chamber
[IMG]http://i201.photobucket.com/albums/aa12 ... age025.jpg[/img]
[IMG]http://i201.photobucket.com/albums/aa12 ... age026.jpg[/img]
[IMG]http://i201.photobucket.com/albums/aa12 ... age027.jpg[/img]
then comes the fun part , cleaning the chamber , i used a gun cleaner and again thinner , again note the carbon build up
[IMG]http://i201.photobucket.com/albums/aa12 ... age031.jpg[/img]
the carbon hehehe
[IMG]http://i201.photobucket.com/albums/aa12 ... age030.jpg[/img]
Then check to make sure that the air intake hole is not blocked , this is in the chamber next to the fuel intake pipe
[IMG]http://i201.photobucket.com/albums/aa12 ... age032.jpg[/img]
i cleaned the chamber and left to soak for a few hours before cleaning again and then start on the rebuild
First replace the chambers gasket and seal
[IMG]http://i201.photobucket.com/albums/aa12 ... age034.jpg[/img]
then the chamber's cover ,
[IMG]http://i201.photobucket.com/albums/aa12 ... age035.jpg[/img]
then refit the fan houseing to the chamber taken care with the gasket
[IMG]http://i201.photobucket.com/albums/aa12 ... age038.jpg[/img]
then refit the brains and the wiring
[IMG]http://i201.photobucket.com/albums/aa12 ... age039.jpg[/img]
then the plastic caseings and the 6 plastic rivets , these just push in
[IMG]http://i201.photobucket.com/albums/aa12 ... age040.jpg[/img]
[IMG]http://i201.photobucket.com/albums/aa12 ... age041.jpg[/img]
then its back to the van , refit all the other parts and the fire it up , this may take a few starts and it will smoke for a while ... Job done , and all for 20 quid and a couple of hours
this should be done once a year so the man at ebber told me