Page 1 of 2
Injection tank removal
Posted: 16 Feb 2018, 17:28
by itchyfeet
I can't put this off any longer, it's fine in winter but there is a right old niff in summer while driving, I think fumes are coming into the fridge vents.
made a start today hopefully finish it tomorrow. I have a new piece of hose pipe for the tank to pump to fit also.
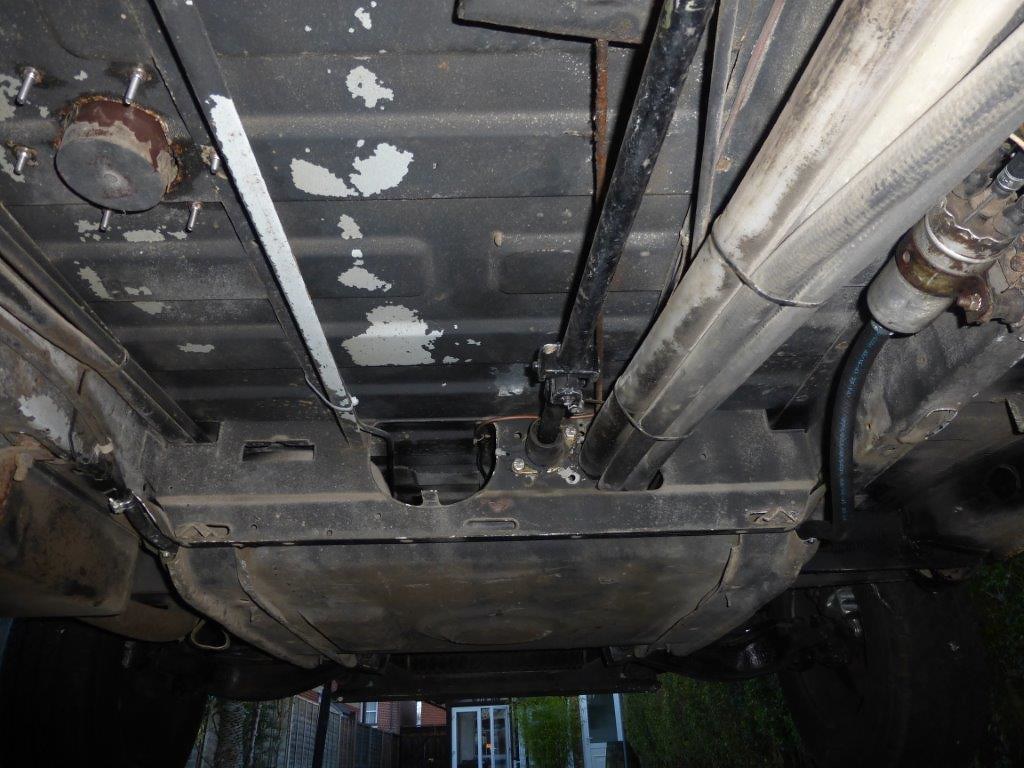
Everything I can see looks in good condition and no major smell outside I think the breather hoses are perished.
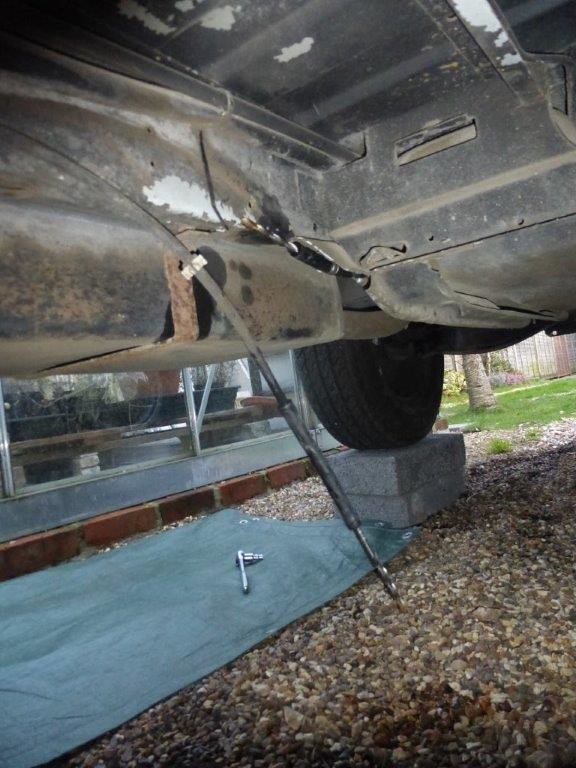
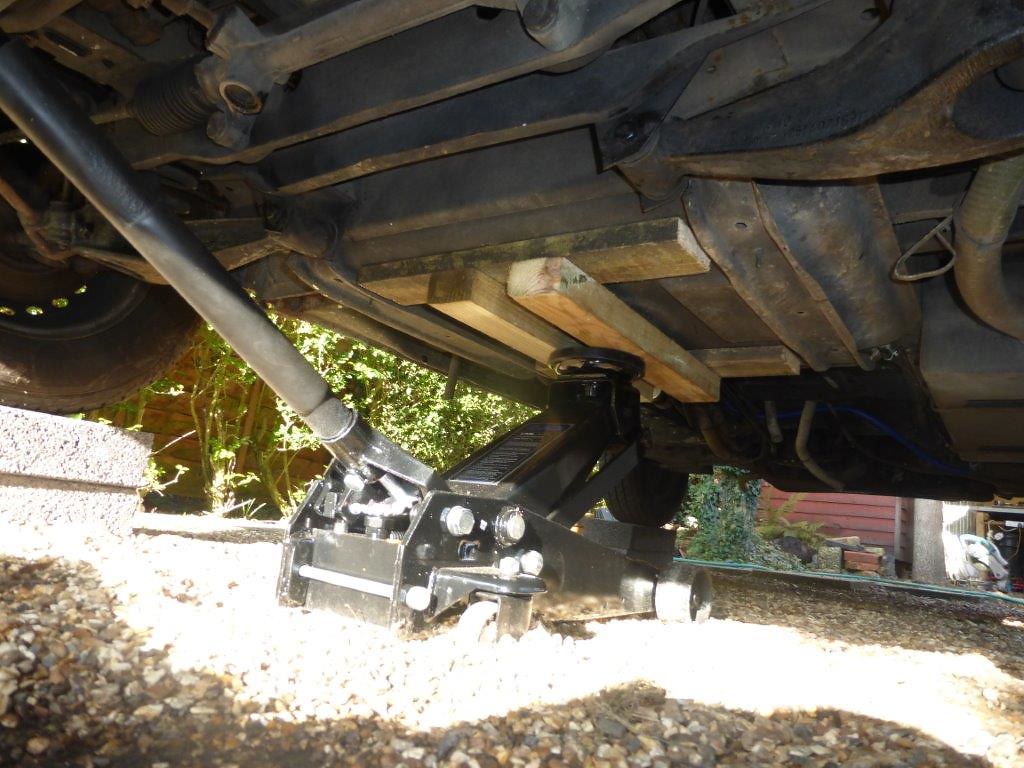
I'm struggling with a shoulder injury so I treated myself to a new Jack to make lifting easier and I have decided to use high density blocks rather than ramps, the ramps are wide so get in the way of the jack and these feel more stable on my drive.
I have had the jacking police giving me a dressing down before so please don't take my method of jacking as a recommendation and please don't bother complaining to me about safety, I'm happy with this.
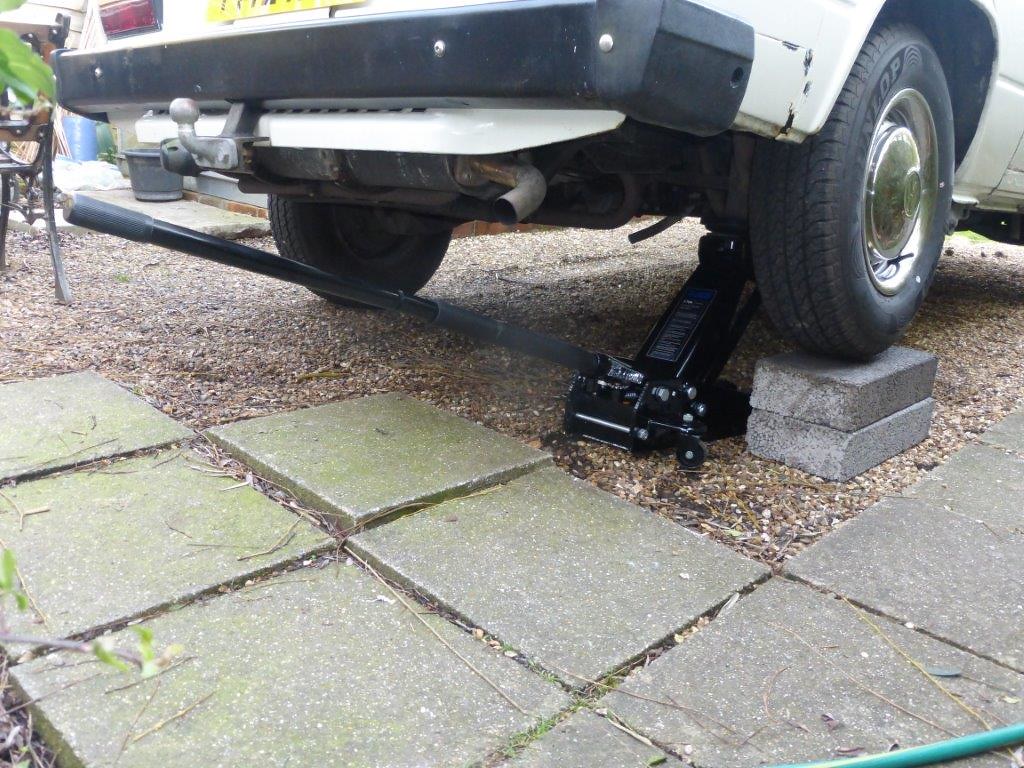 P1090555
 by
Paul_Barr, on Flickr
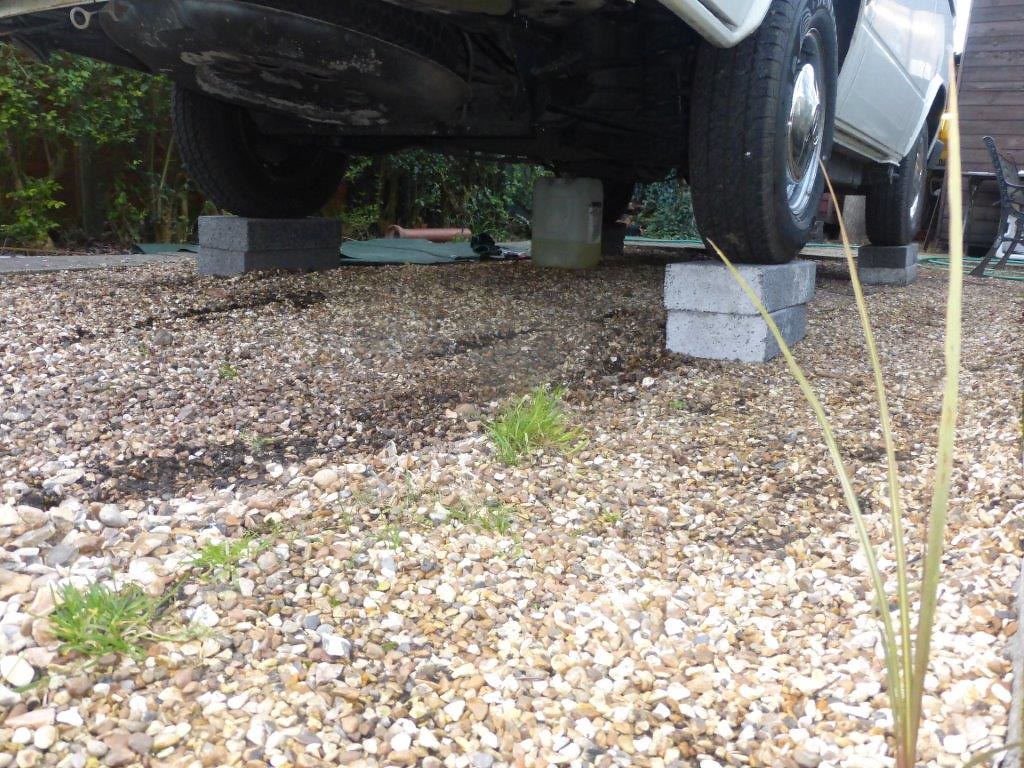 P1090557
 by
Paul_Barr, on Flickr
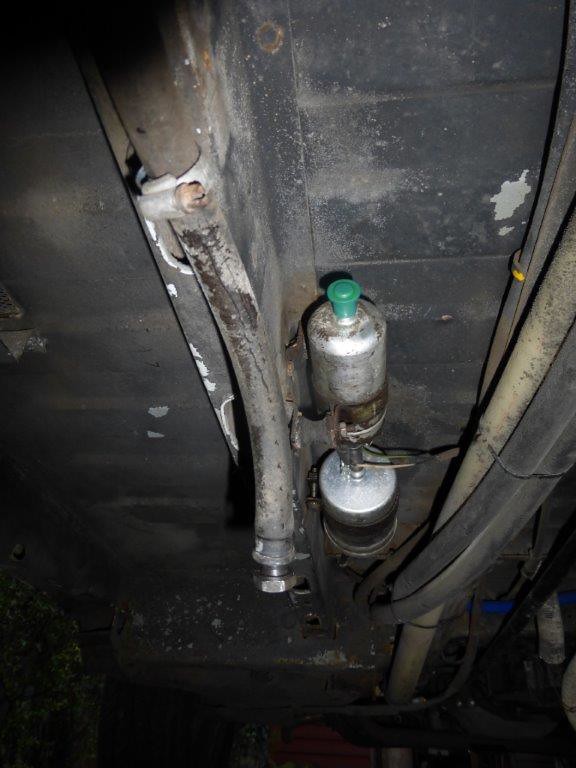
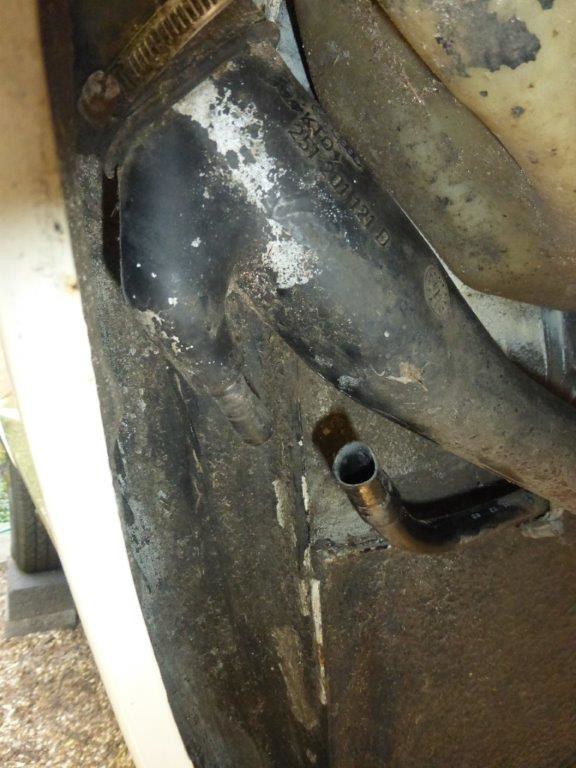
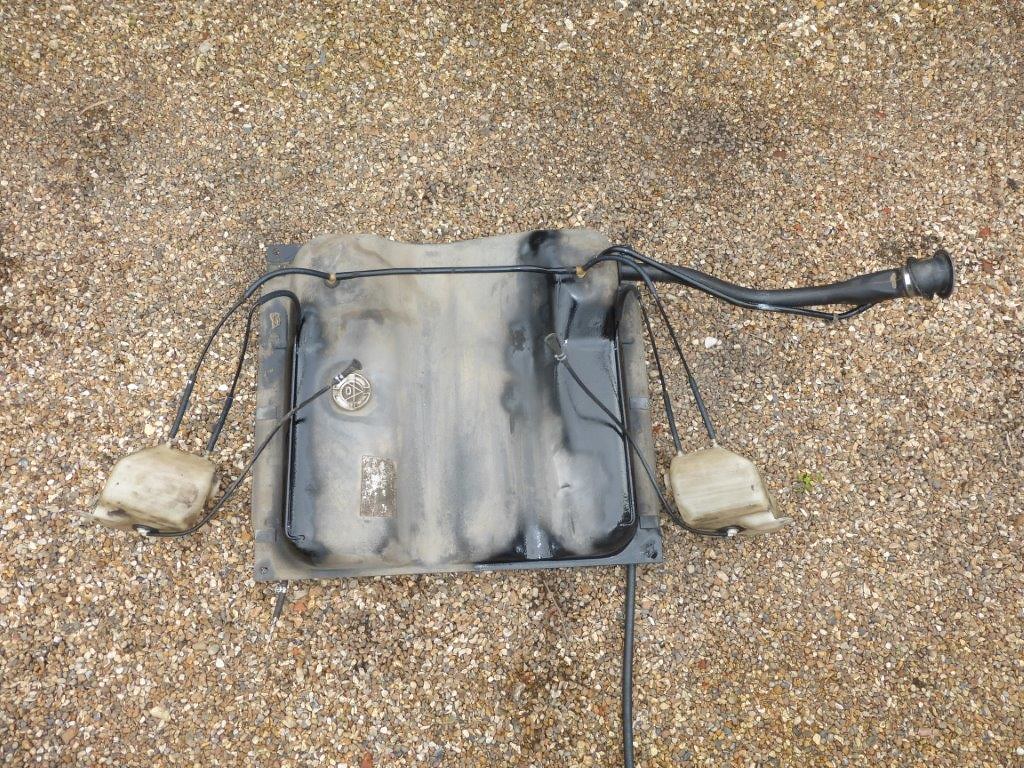
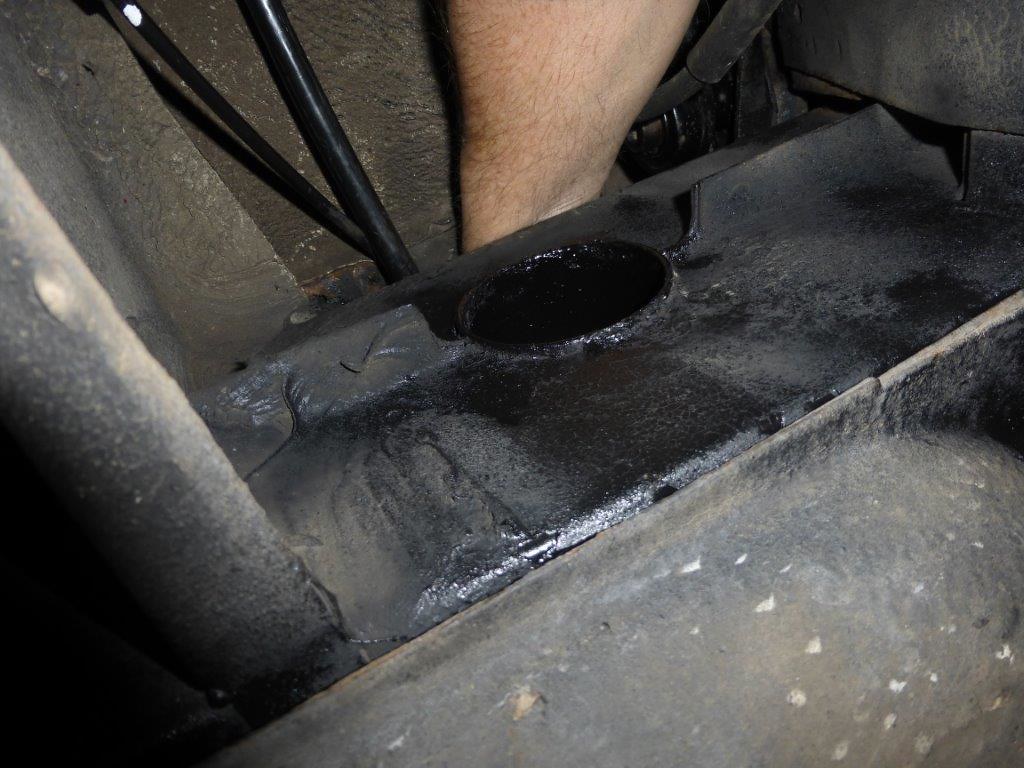
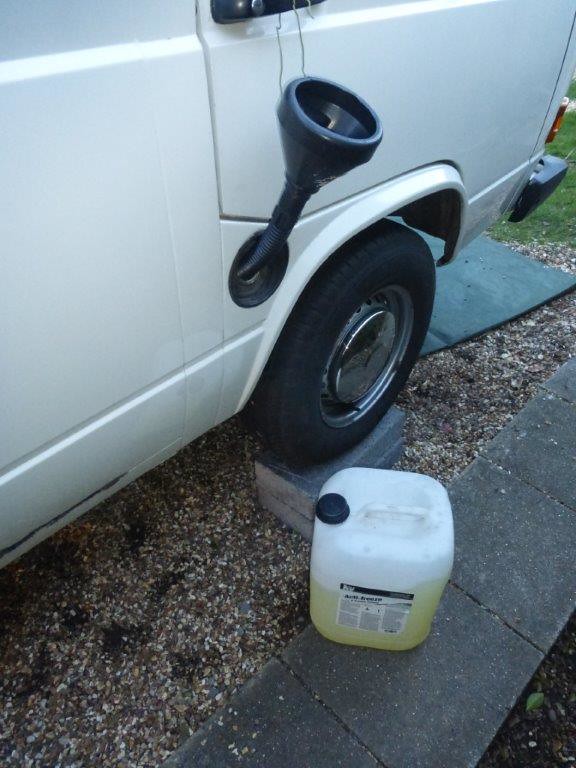
I have run the fuel down but there is probably still 15l in there so I'm using an old 20l antifreeze container cleaned and dried, I have checked it's the same plastic as a fuel container and suitable.
I have a spare fuel pump so I borrowed the sealing cap to seal off the pump, pulled the pipe off and straight into the container
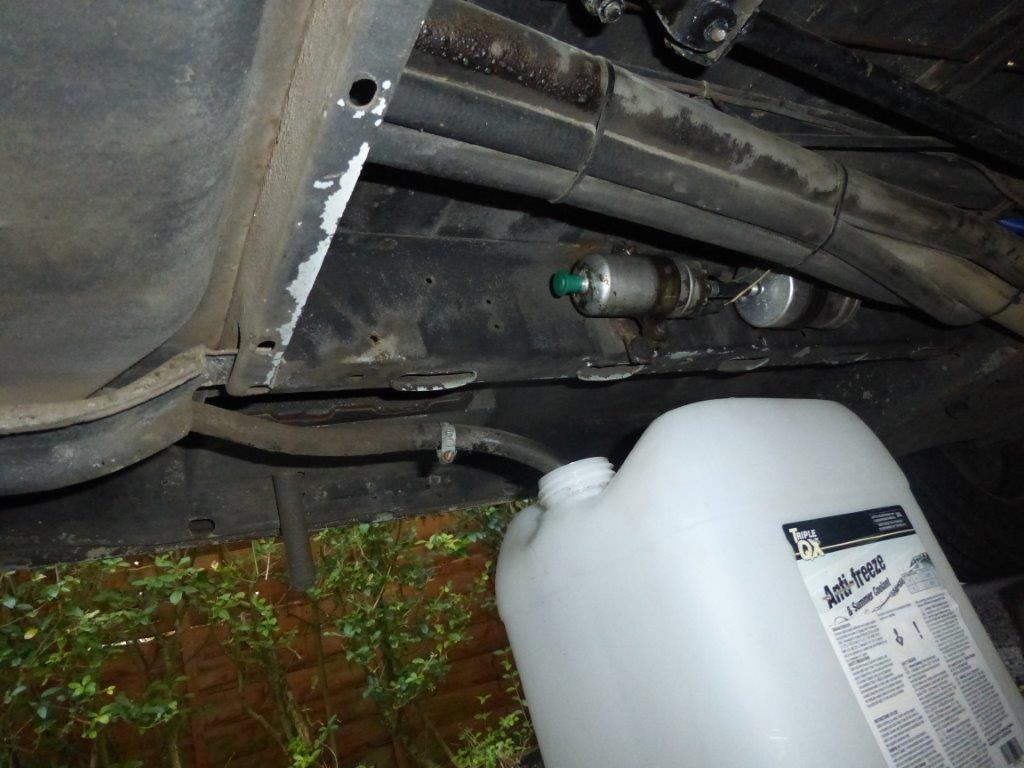 P1090556
 by
Paul_Barr, on Flickr
an old sump plug in the hole to stop any dirt getting in
 P1090558
 by
Paul_Barr, on Flickr
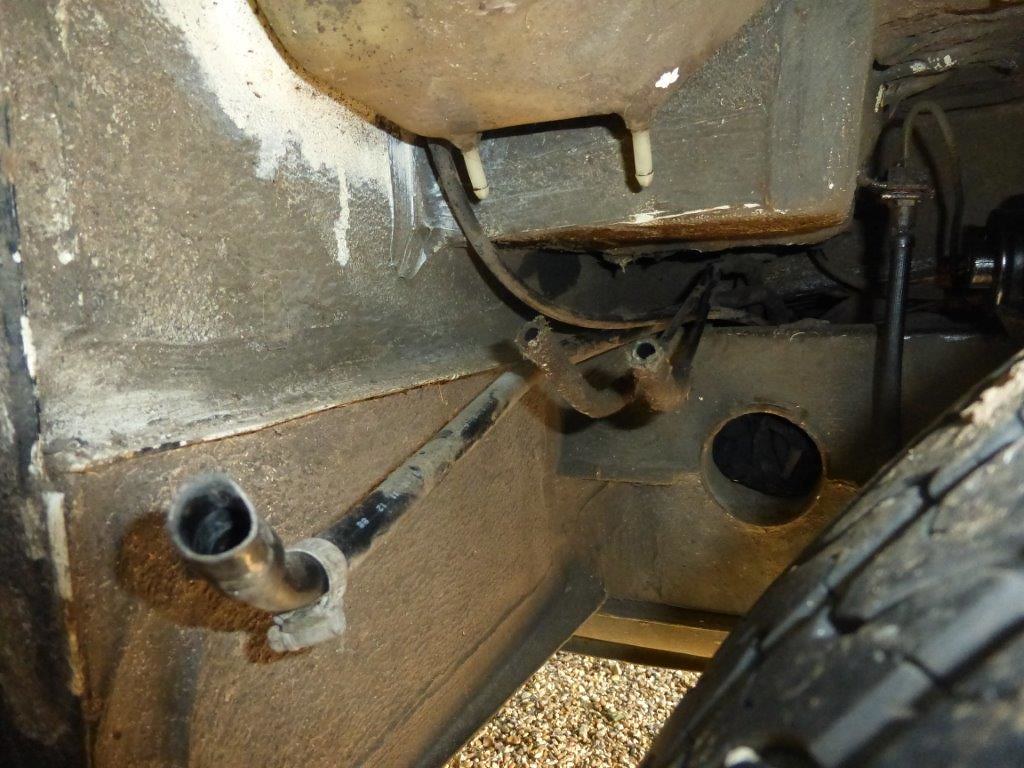
pulled the return off the other side and with an old bit of pipe and a couple of drill bits sealed both pipes off
 P1090559
 by
Paul_Barr, on Flickr
got dark continue tomorrow.
Re: Injection tank removal
Posted: 16 Feb 2018, 18:13
by Oldiebut goodie
I don't waste drill bits - I use cut down round nails. Admittedly it is only 4mm hose that I plug regularly.
Re: Injection tank removal
Posted: 16 Feb 2018, 18:30
by itchyfeet
Oldiebut goodie wrote:I don't waste drill bits - I use cut down round nails. Admittedly it is only 4mm hose that I plug regularly.
How am I wasting them? they will still work when removed

the great thing about drill bit shanks is everybody has a range of sizes readily available
Re: Injection tank removal
Posted: 17 Feb 2018, 17:20
by 937carrera
Indeed, 8mm drill bits make an excellent replacement for many VW special tools.
How did you get on, did you have enough height to fully remove the tank holding brackets, or were you just wanting better access to replace the pipes ?
Re: Injection tank removal
Posted: 17 Feb 2018, 17:29
by 300CE
When the tanks out Paul, give the area a good clean and coating of dynax/waxoyl before refitting
Re: Injection tank removal
Posted: 17 Feb 2018, 17:53
by itchyfeet
Been at this all day

breather off the filler
 P1090564
 by
Paul_Barr, on Flickr
filler neck off and pulled the filler out
 P1090566
 by
Paul_Barr, on Flickr
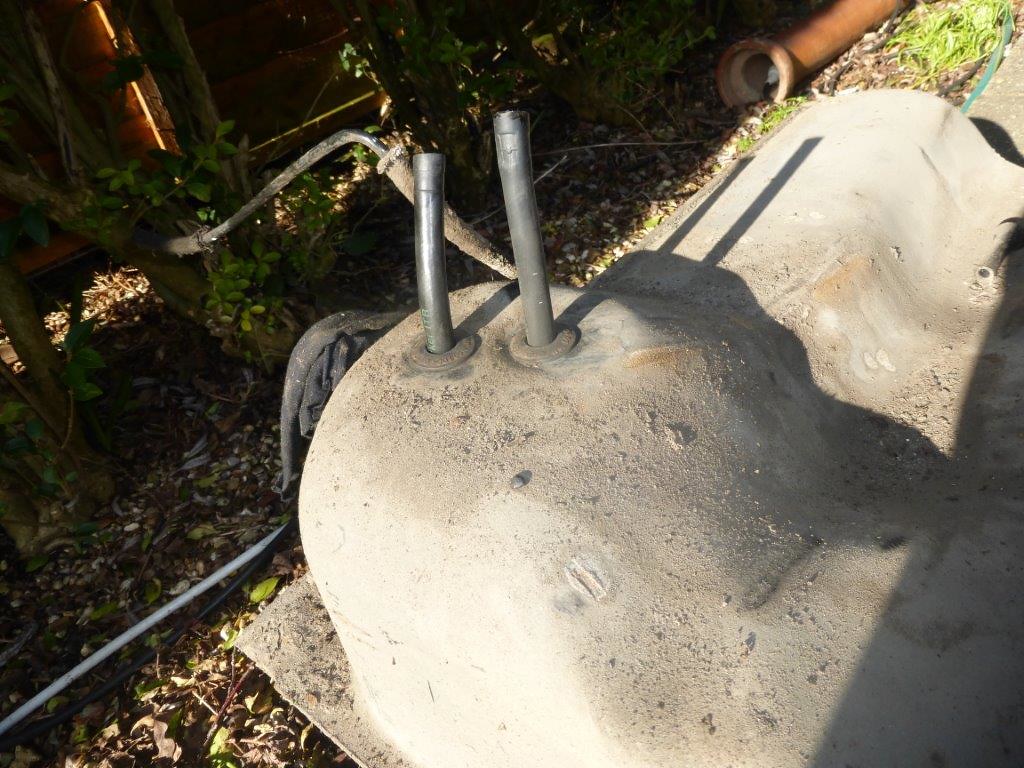
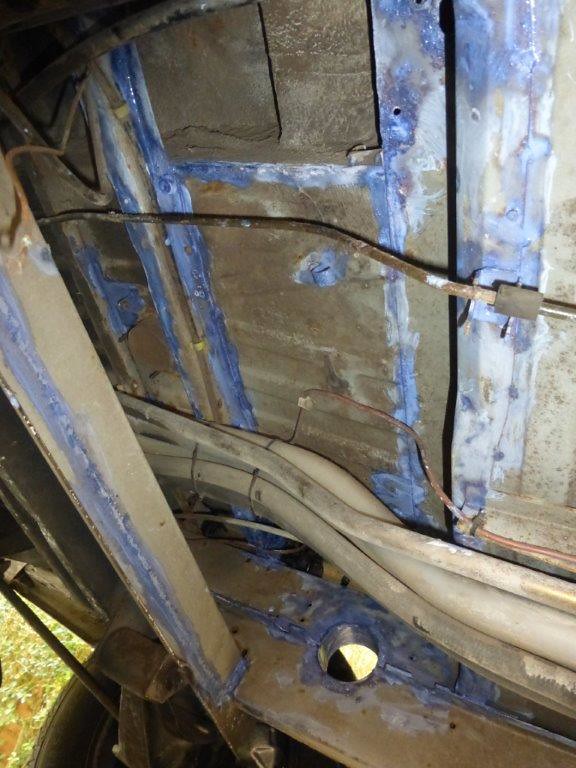
breather pipes off breather tanks
 P1090569
 by
Paul_Barr, on Flickr
pulled tanks out, you don't need to but i want to inspect them.
 P1090571
 by
Paul_Barr, on Flickr
made a support for the tank
 P1090573
 by
Paul_Barr, on Flickr
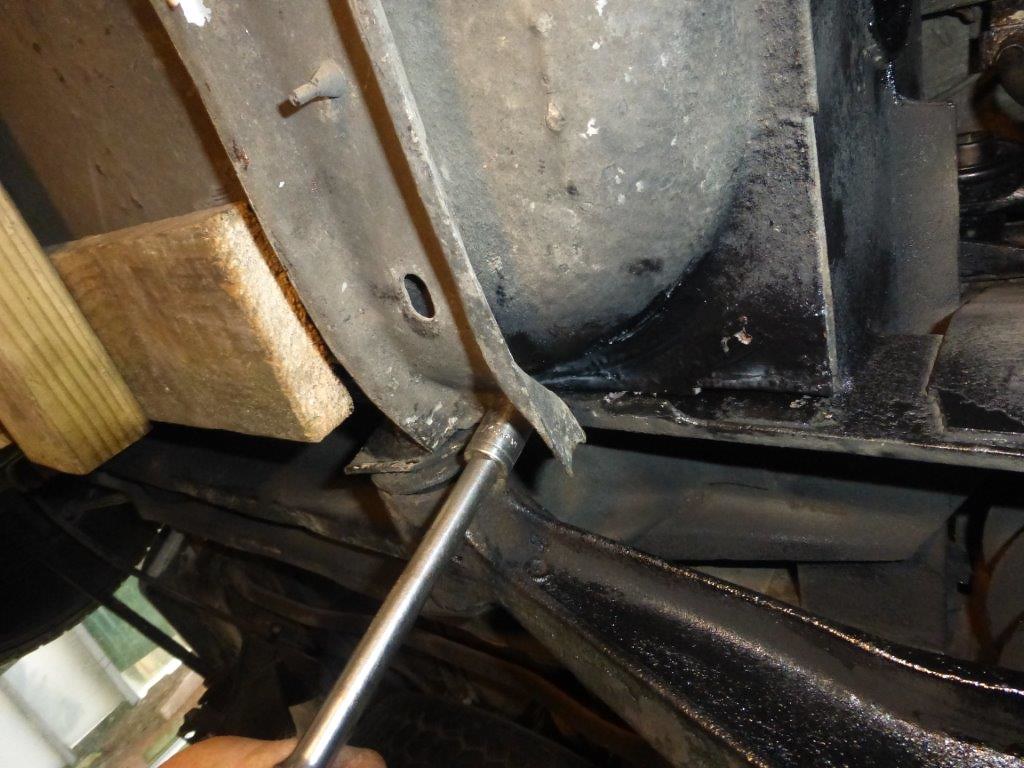
strap bolts off
 P1090575
 by
Paul_Barr, on Flickr
lowered it a bit and all three breathers off tank
 P1090578
 by
Paul_Barr, on Flickr
 P1090584
 by
Paul_Barr, on Flickr
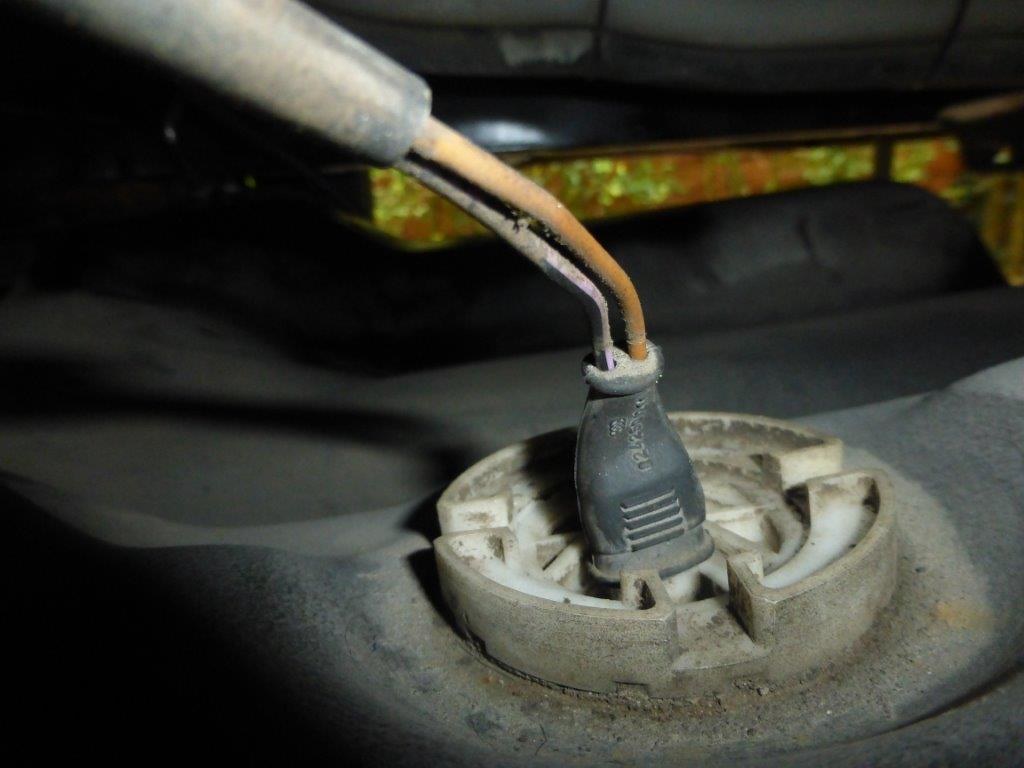
sensor wire off
 P1090583
 by
Paul_Barr, on Flickr
dropped it
 P1090585
 by
Paul_Barr, on Flickr
Re: Injection tank removal
Posted: 17 Feb 2018, 18:00
by itchyfeet
no large rusty holes
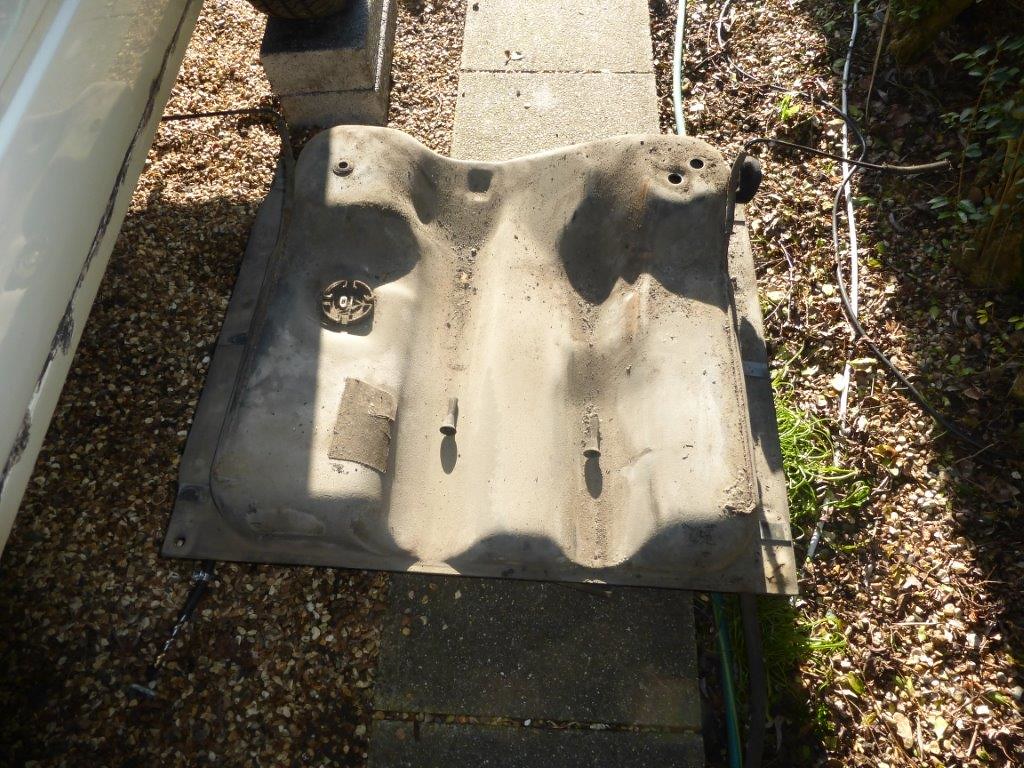 P1090590
 by
Paul_Barr, on Flickr
put the gromets back in with some pipe off cuts to stop dirt going in, rag in the main filler hole and gave it a good brush down
 P1090591
 by
Paul_Barr, on Flickr
this is the worst rust
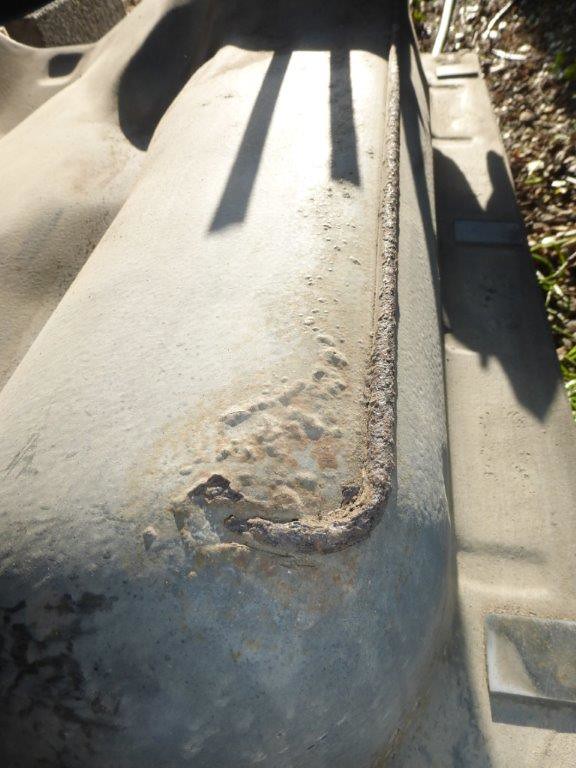 P1090592
 by
Paul_Barr, on Flickr
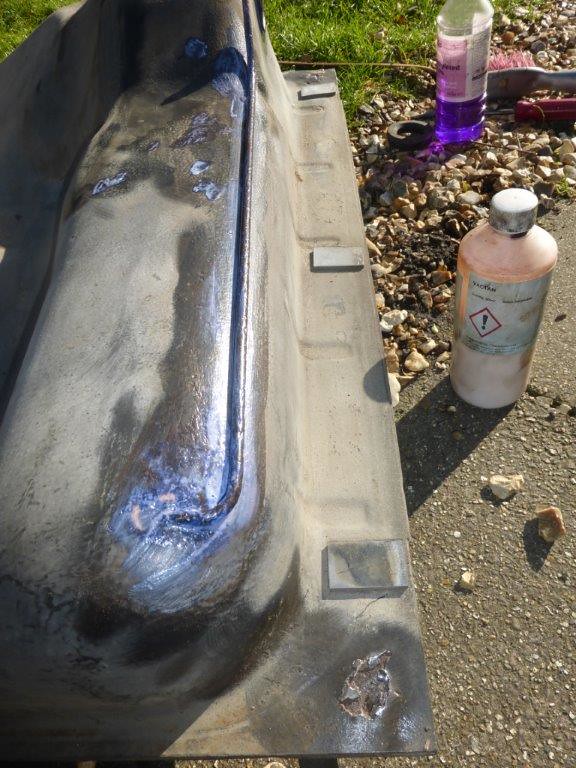
cleaned it and added vactan
 P1090594
 by
Paul_Barr, on Flickr
 P1090596
 by
Paul_Barr, on Flickr
undercoat
 P1090601
 by
Paul_Barr, on Flickr
top coat
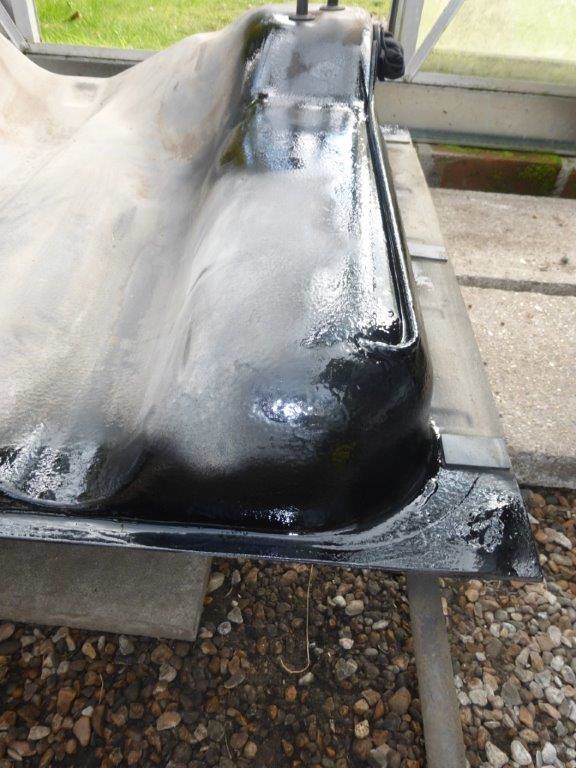 P1090603
 by
Paul_Barr, on Flickr
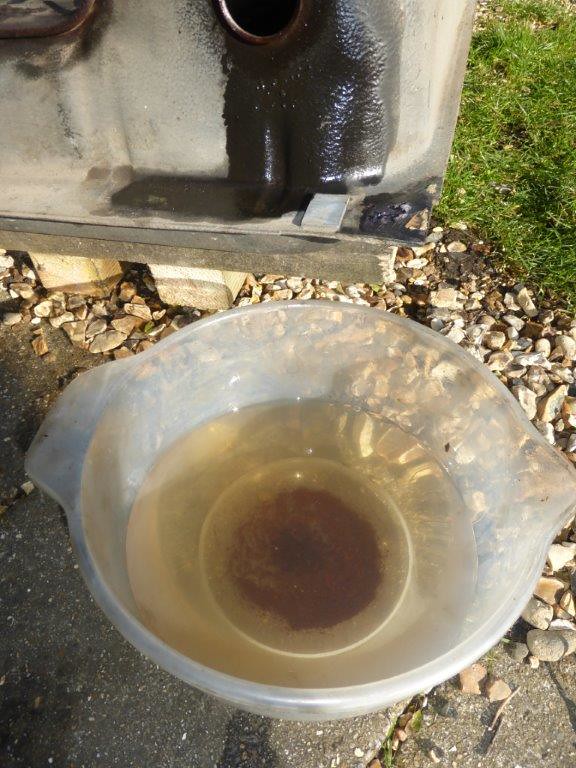
swilled the last bit of petrol aout with the dirt, did this a few times
 P1090600
 by
Paul_Barr, on Flickr
new filler seal in
 P1090599
 by
Paul_Barr, on Flickr
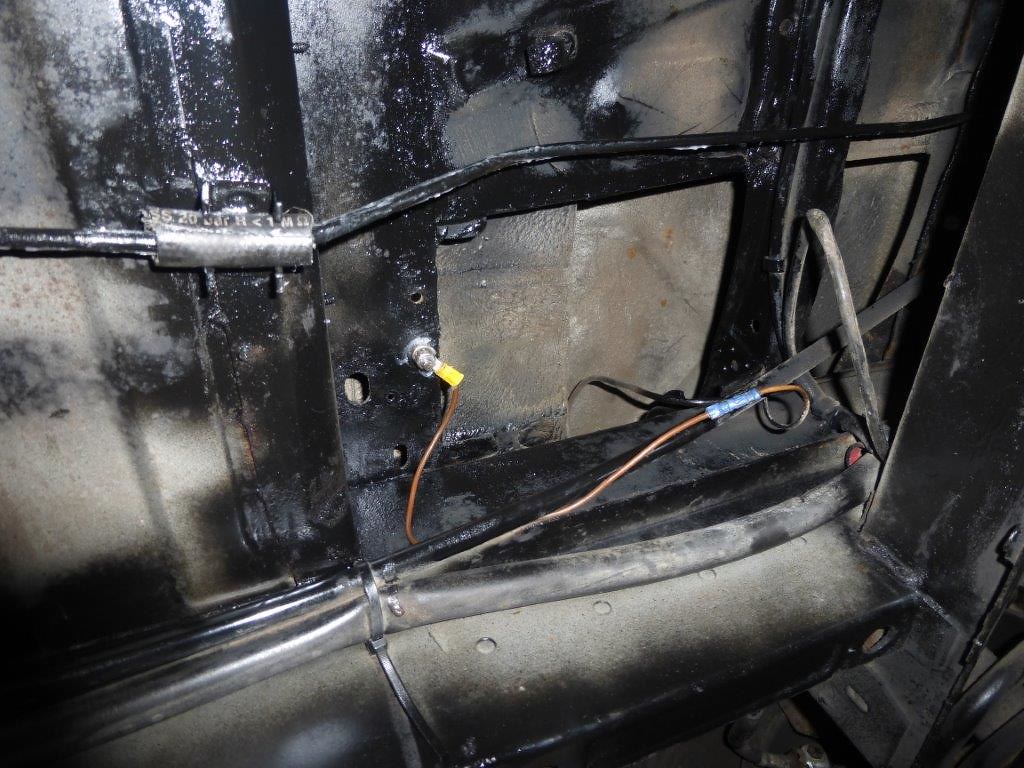
how was this ever a good place for the tank sensor earth?
 P1090602
 by
Paul_Barr, on Flickr
cleaned and treated the rust underneath
 P1090604
 by
Paul_Barr, on Flickr
 P1090606
 by
Paul_Barr, on Flickr
Re: Injection tank removal
Posted: 17 Feb 2018, 18:16
by itchyfeet
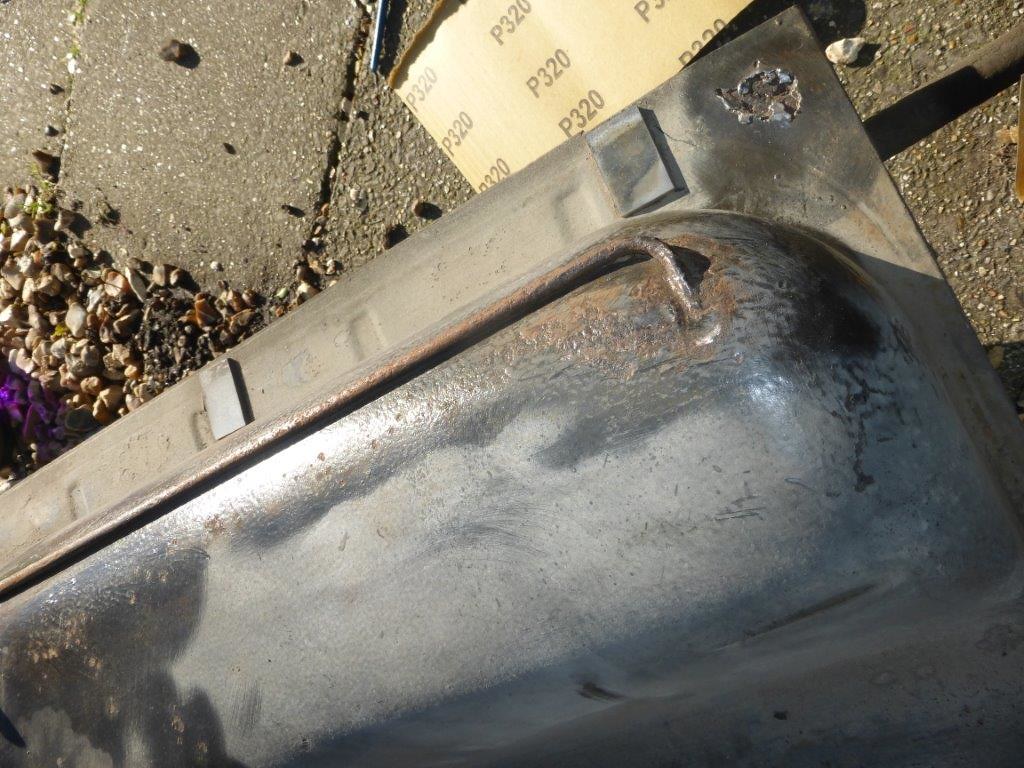
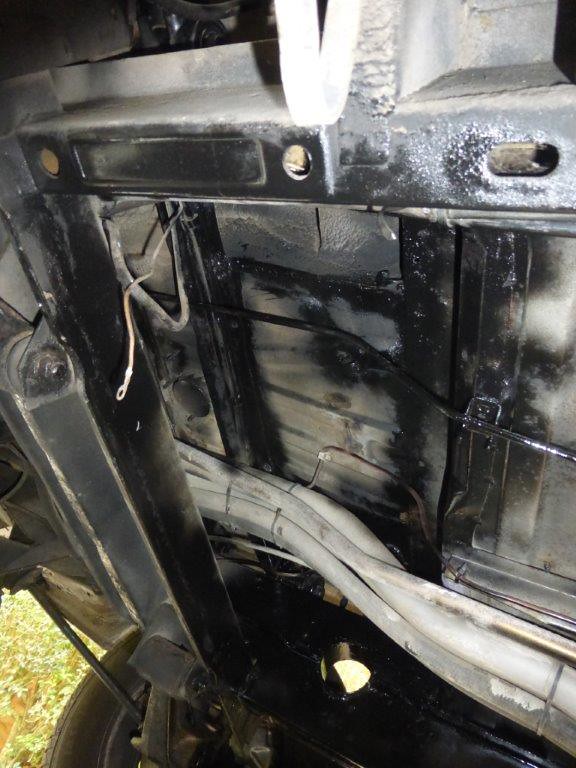
fitted all new rubber pipes , Brickwerks 100% ethanol pipe put it together just for interest to show how it fits
 P1090614
 by
Paul_Barr, on Flickr
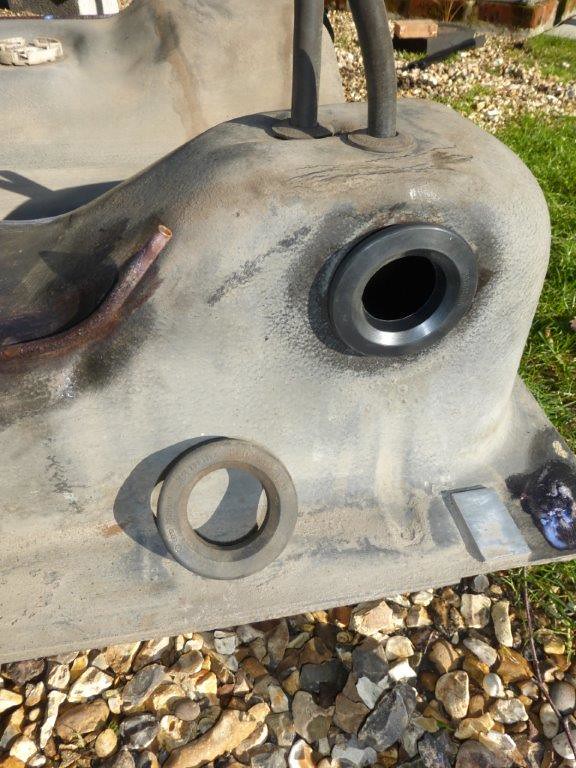
cut the ring off the sensor earth and had to cut it back a way to find good metal
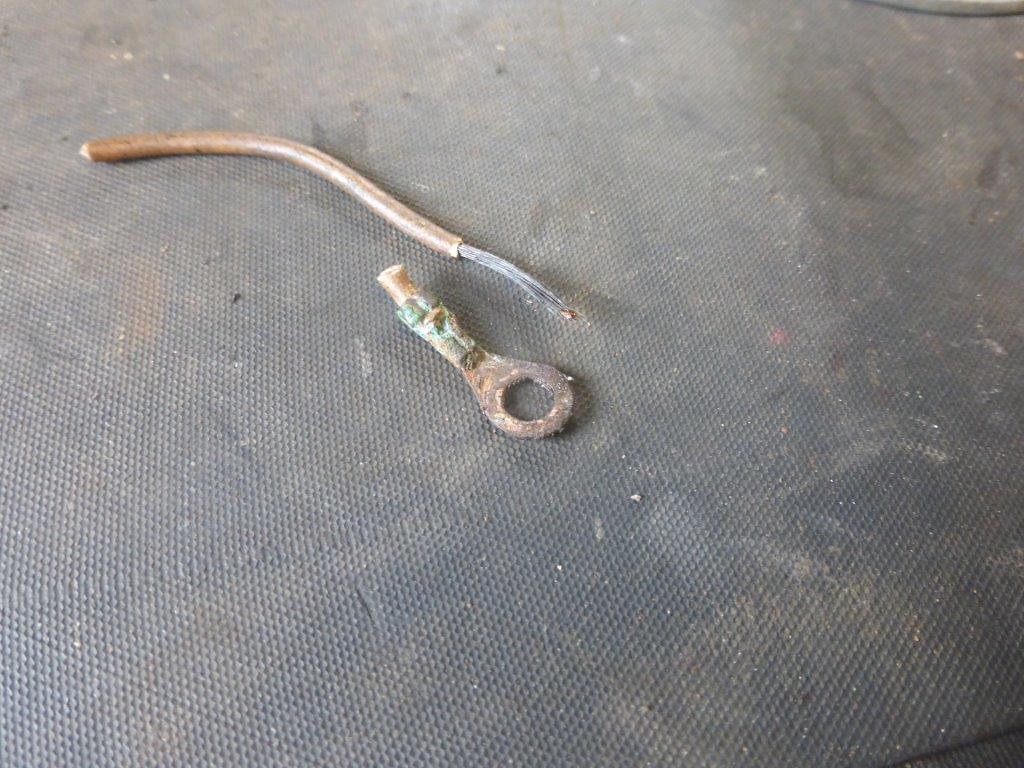 P1090617
 by
Paul_Barr, on Flickr
added a new bolt driled in a new position because the old hole was very rusty and extended the wire
 P1090620
 by
Paul_Barr, on Flickr
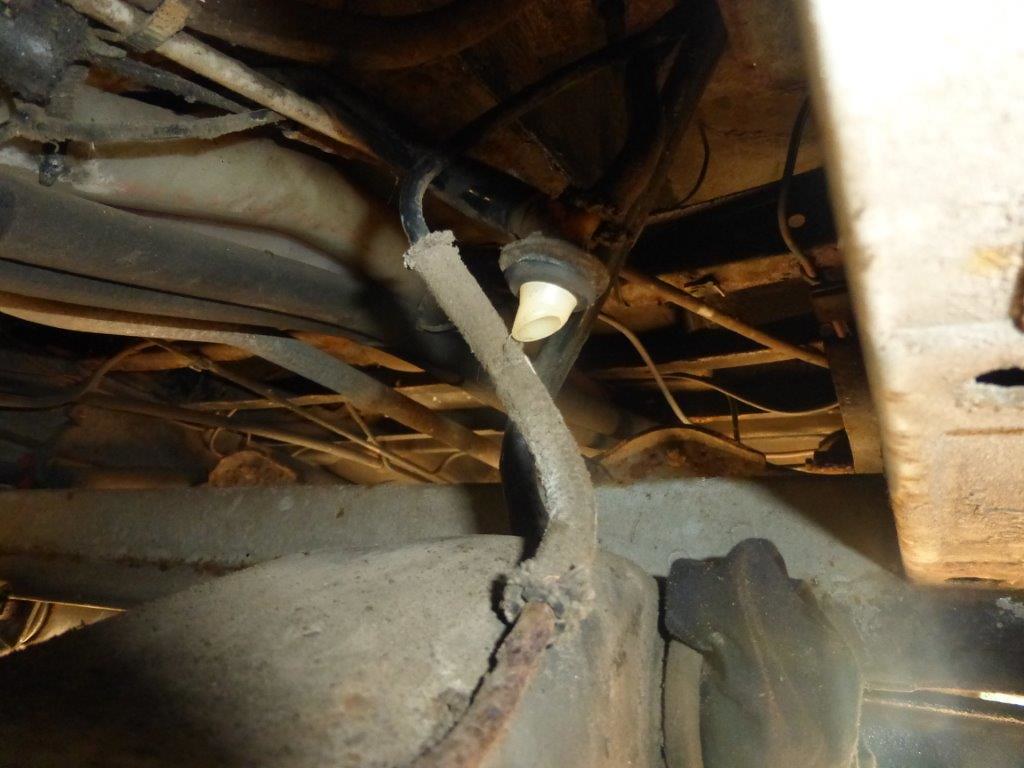
breather pipe back in
 P1090623
 by
Paul_Barr, on Flickr
tank under
 P1090622
 by
Paul_Barr, on Flickr
lifted a bit and sensor connector on
 P1090625
 by
Paul_Barr, on Flickr
put the near side breather on but the offside needed to be done when tank fully up
 P1090633
 by
Paul_Barr, on Flickr
tanks straps on
 P1090635
 by
Paul_Barr, on Flickr
just about to put the tanks back when I found this

 P1090637
 by
Paul_Barr, on Flickr
looks like they was drilled by Richard Holdsworth 30 years ago when something was riveted above, two in both tanks, may well have been the cause of the smell
 P1090640
 by
Paul_Barr, on Flickr
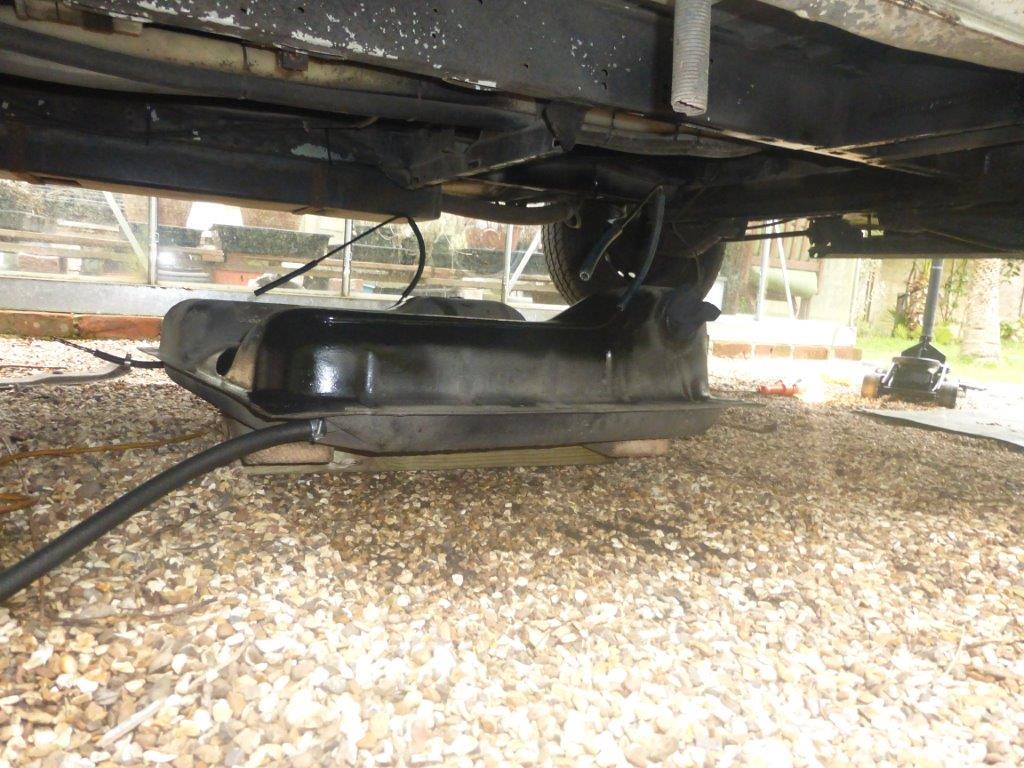
tanks and filler back in
 P1090647
 by
Paul_Barr, on Flickr
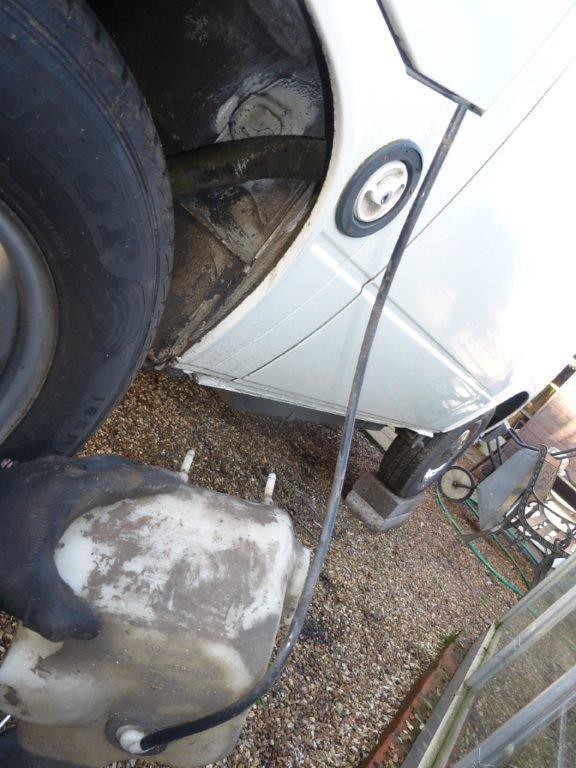
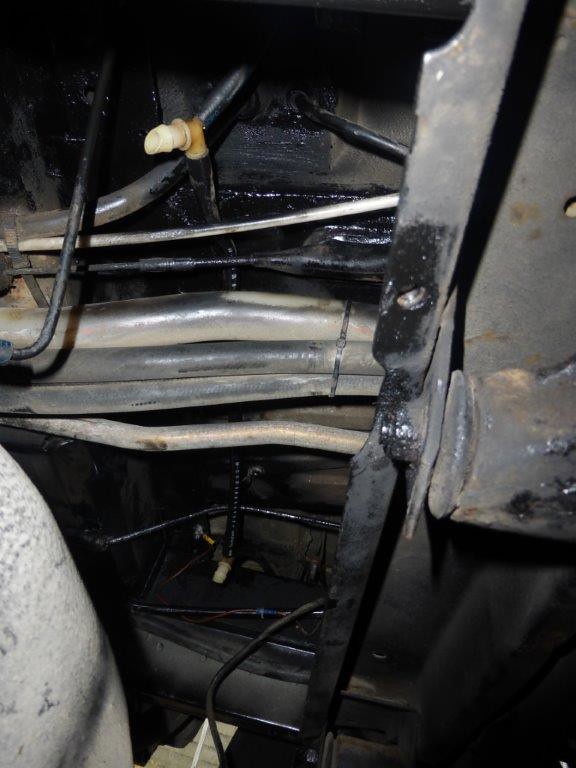
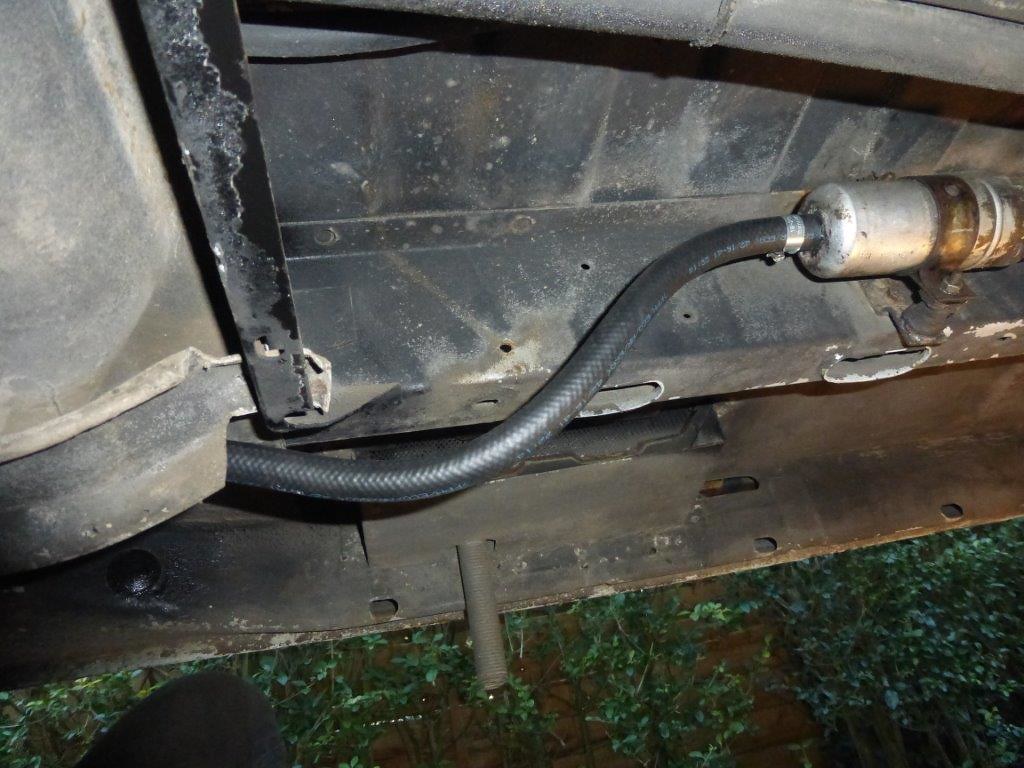
new 11mm pipe to pump on and reconnected return to tank
 P1090650
 by
Paul_Barr, on Flickr
 P1090651
 by
Paul_Barr, on Flickr
filled it up started it . checked for leaks and then lowered it.
 P1090652
 by
Paul_Barr, on Flickr
Re: Injection tank removal
Posted: 17 Feb 2018, 18:17
by 300CE
Looking good sir - did you notice if any of the pipes were perished?
Re: Injection tank removal
Posted: 17 Feb 2018, 18:21
by itchyfeet
300CE wrote:Looking good sir - did you notice if any of the pipes were perished?
yeh the rubber breathers were perished but not holed, I think the holes in the breather tanks may well have been the issue
Re: Injection tank removal
Posted: 17 Feb 2018, 18:31
by 300CE
I’d put money on it being down to those holes. Do you usually fill the tank right up or to 3/4’s.
Re: Injection tank removal
Posted: 17 Feb 2018, 18:45
by Oldiebut goodie
I have never dropped my tank but there must be an alternative way of getting of getting that 2nd breather pipe connection other than finding a dexterous midget. Is there any reason why that cross tank pipe has to be so taut that you can see? If an upward loop is necessary above the pipework it could be schemed with a greater length.
There may well be a reason that I am missing. Just musing as I see your hand disappearing into the bowels there.

Re: Injection tank removal
Posted: 17 Feb 2018, 18:47
by 937carrera
Great pictures as always.
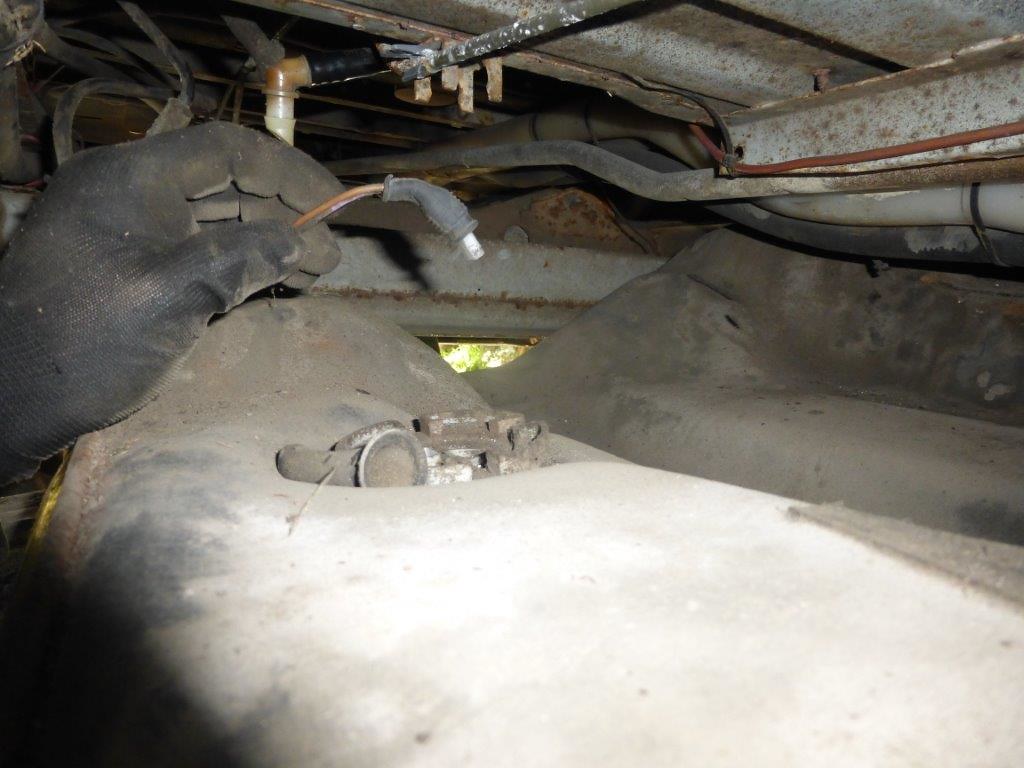
One question - was the crosspipe from the left to the right hand side of the tanks secured to the floor or was it simply free. ? When I did mine there was a P clip, which just seemed an unnecessary inconvenience.
Re: Injection tank removal
Posted: 17 Feb 2018, 18:53
by itchyfeet
937carrera wrote:Indeed, 8mm drill bits make an excellent replacement for many VW special tools.
How did you get on, did you have enough height to fully remove the tank holding brackets, or were you just wanting better access to replace the pipes ?
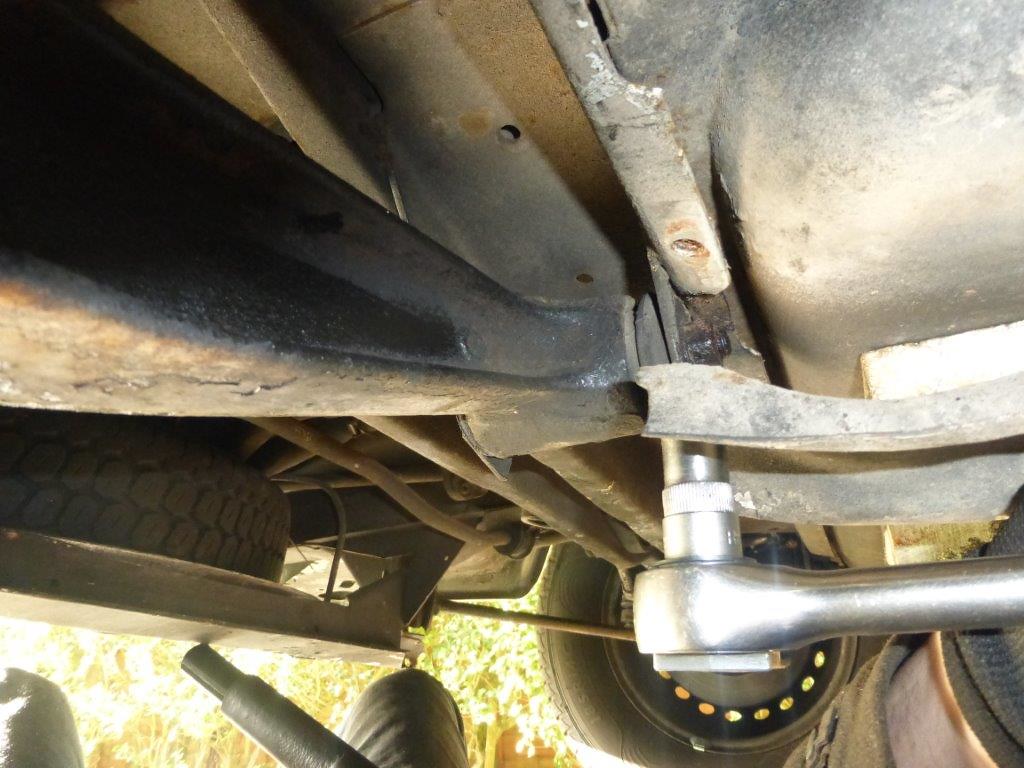
yes with this height the tank straps come off without bending the tabs
Re: Injection tank removal
Posted: 17 Feb 2018, 19:01
by itchyfeet
937carrera wrote:Great pictures as always.
One question - was the crosspipe from the left to the right hand side of the tanks secured to the floor or was it simply free. ? When I did mine there was a P clip, which just seemed an unnecessary inconvenience.
yes there was a clip, dunno if it was in the clip before but I didn't bother putting it back, just see in in this pic
P1090604 by
Paul_Barr, on Flickr