Page 1 of 2
Pierburg 2e3 rebuild
Posted: 02 Jul 2016, 18:11
by Darkhorse
Sunday fun day hopefully! Ive got the rebuild kit ready, photo'd the carb from all angles, tagged and labelled connections and have a nice clear space on the work bench. I've read thread after thread (thanks Itchyfeet and Kevtherev) and am ready to go.
Any last minute pearls of wisdom from carb rebuild Masters greatly appreciated.
Thanks
Grasshopper
Re: Pierburg 2e3 rebuild
Posted: 02 Jul 2016, 18:15
by itchyfeet
Rags in holes
DO NOT LOOSE ANY WASHERS
Re: Pierburg 2e3 rebuild
Posted: 02 Jul 2016, 18:23
by Sir Brixalot
Where do the washers fit on IF?
Re: Pierburg 2e3 rebuild
Posted: 02 Jul 2016, 18:31
by itchyfeet
Sir Brixalot wrote:Where do the washers fir on IF?
eh?
Re: Pierburg 2e3 rebuild
Posted: 02 Jul 2016, 19:25
by Sir Brixalot
fit on. I found two when I took top of the carb off. Wonder if I dropped one
Re: Pierburg 2e3 rebuild
Posted: 02 Jul 2016, 20:29
by itchyfeet
I hope not, a single washer can be deadly to your engine if dropped into the carb or inlet manufold.
https://club8090.co.uk/forum/viewtopic.p ... 5#p8147995" onclick="window.open(this.href);return false;
Re: Pierburg 2e3 rebuild
Posted: 03 Jul 2016, 07:09
by Sir Brixalot
Nothing I can do about it now so not going to worry. I always lifted the carb straight and only inspected outside the engine bay.
Re: Pierburg 2e3 rebuild
Posted: 03 Jul 2016, 07:35
by itchyfeet
On mine there were three washers under the nuts holding the carb on, I threw them away too risky, just use nuts.
If it were my van and I thought I lost a washer I would take the inlet manufold off and see if it's sitting in there, once it's in the engine it's head off time.
Re: Pierburg 2e3 rebuild
Posted: 03 Jul 2016, 09:15
by Sir Brixalot
Done that one. The rebuilt engine before this seized near Bodiam castle. Andrew found a washer wedged in there. Done a few hundred miles since I had the carb off this time. The AA guy also had it off. I'll look to be on the safe side.
Re: Pierburg 2e3 rebuild
Posted: 03 Jul 2016, 13:01
by Darkhorse
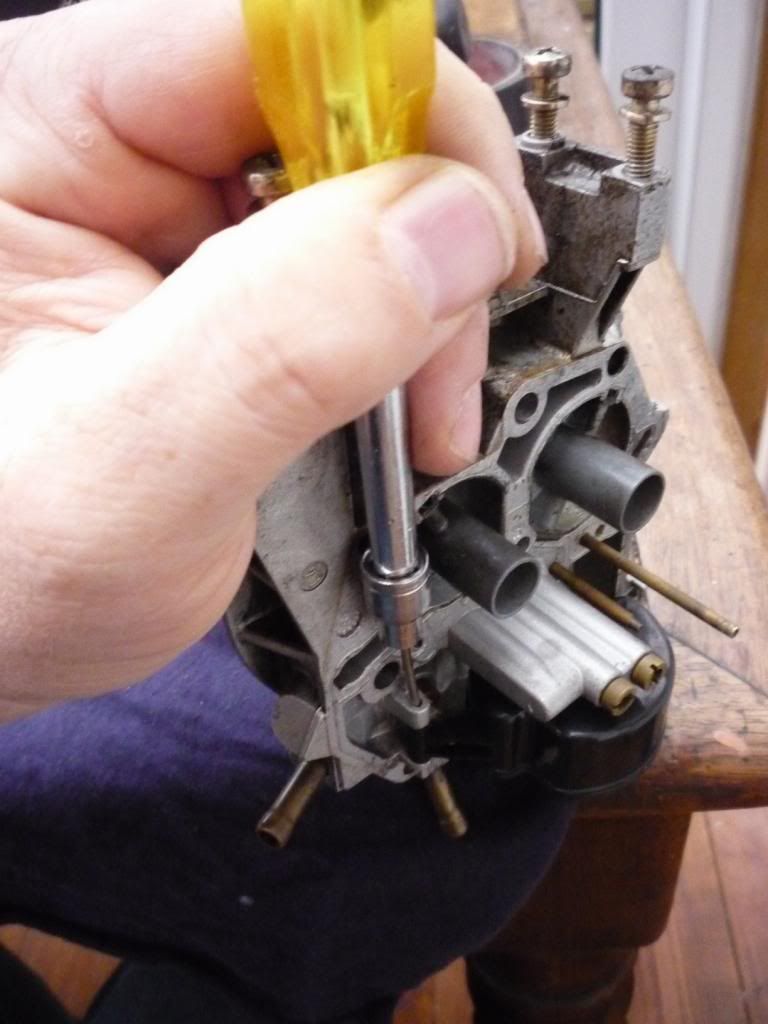
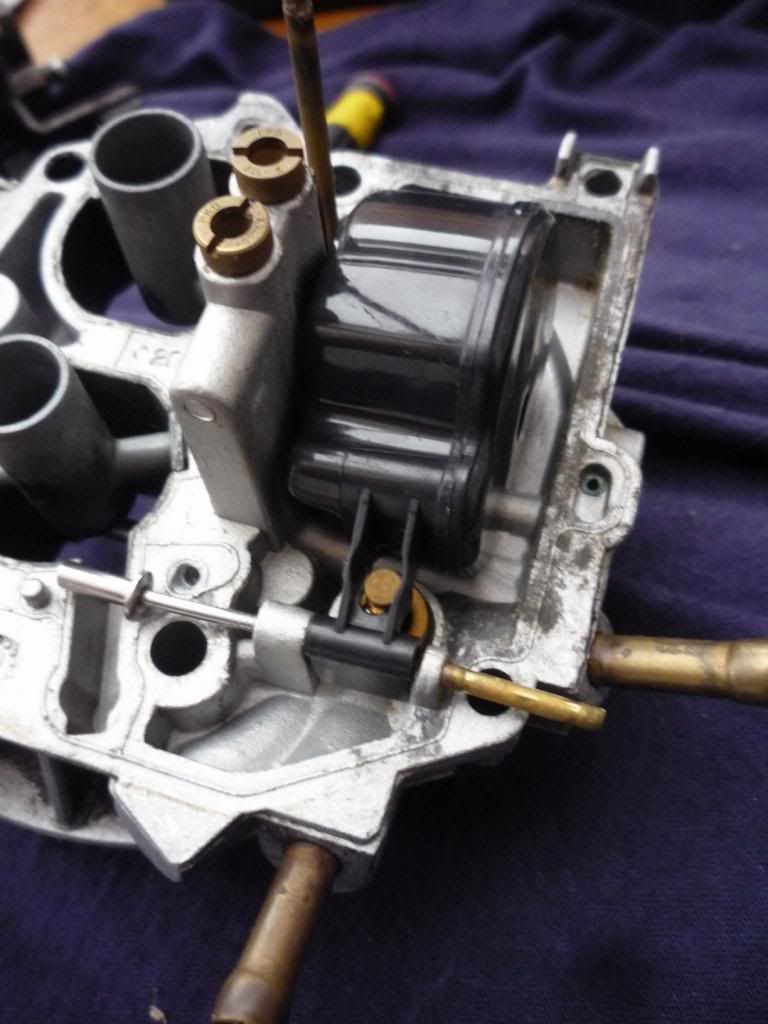
Gents, is it possible to remove the float needle valve without knocking out the retaining pin and removing the float itself? there looks to be a round cutaway at the back of the float bracket that might allow for the brass cap of the needle to be pushed over with a screwdriver and the float eased up. I don't want to force and break something.
Btw the float retaining pin is pretty snug.
Thanks
Re: Pierburg 2e3 rebuild
Posted: 03 Jul 2016, 14:27
by itchyfeet
Not as far as I know
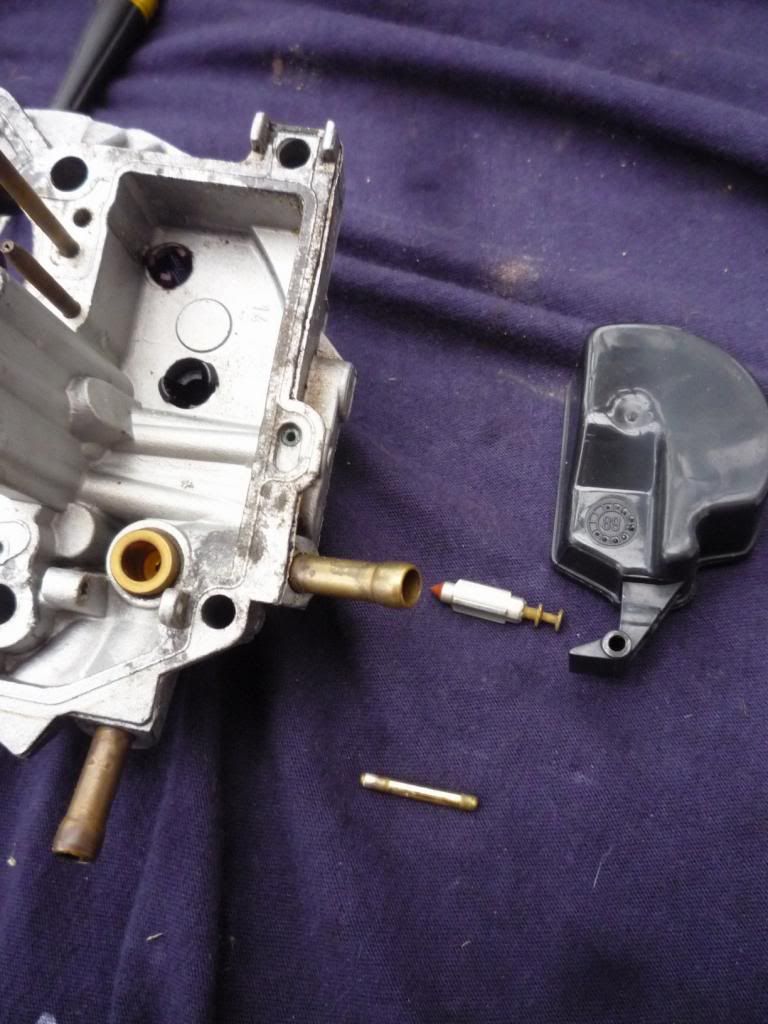
I used a pop rivet in a socket and handle then tap out the pin with a small hammer.
It won't be hard.
more pierburg porn here...
http://s1145.photobucket.com/user/paul_ ... ierburg2e3" onclick="window.open(this.href);return false;
Re: Pierburg 2e3 rebuild
Posted: 03 Jul 2016, 15:10
by Darkhorse
Thanks for the great tip. Pin out in seconds.
Re: Pierburg 2e3 rebuild
Posted: 03 Jul 2016, 20:09
by Sir Brixalot
Bit better than my method-a needle and a hammer!
Re: Pierburg 2e3 rebuild
Posted: 04 Jul 2016, 16:28
by Darkhorse
Almost 3 decades of clag removed, ozone layer a bit thinner over Exeter right now. I knew the choke pull down vacuum was kaput, also discovered the diaphram in the other vacuum unit
had gone and waiting for replacement to be delivered before refitting the carb.
Aside from needing a few more revs when pulling away, I thought the van was running pretty well (MOT passed last week) So what is the downside of driving with both the vacuum units nonfunctional?
Poor mpg?
Thanks
Re: Pierburg 2e3 rebuild
Posted: 04 Jul 2016, 16:38
by itchyfeet
lack of power
choke pull down only affects choke
second barrel will never open if the vacuum units broken, prepare for warp speed


