Repairing black metal bumpers
Posted: 06 Aug 2015, 17:38
I'm in the process of doing my latest project T3 Hi-Top and thought I'd repair the metal bumpers as they were in poor shape, and bent, rusted,etc.
As these are made of decent steel, they lend themselves to the old fashioned repair method of using a hammer, dolly and file technique. This uses no filler, so should you be unfortunate enough to hit the bumper again, at least the filler, if you used it of course, wont crack or split. Each bumper took around 3 hours to repair. The rear one was twisted, and the rear panel underneath was pushed in quite a lot too. It had a tow bar , whicj i've removed and welded & filled the cut-holes in the rear panel. Scotchlocks galore on the tow bar wiring too
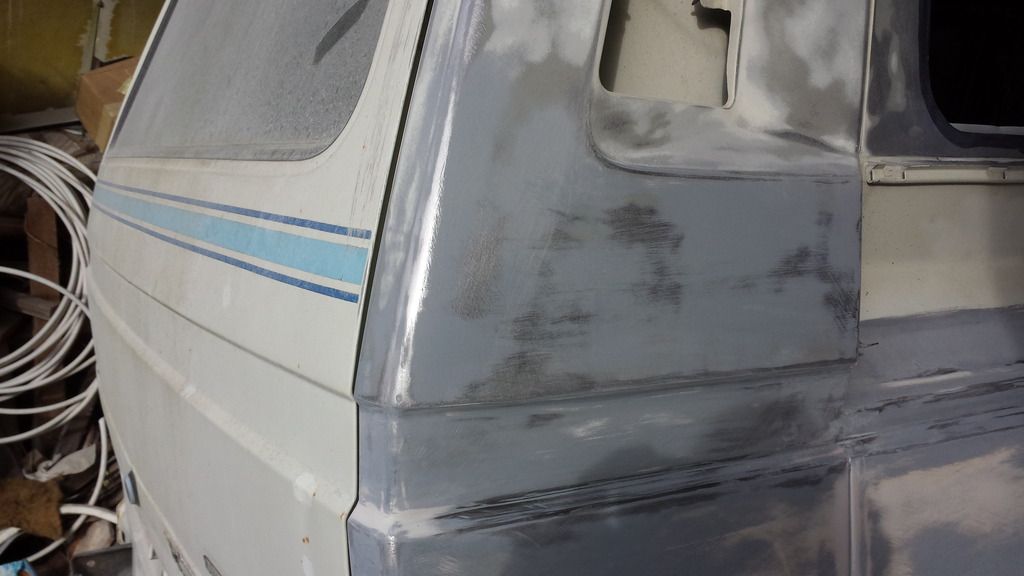
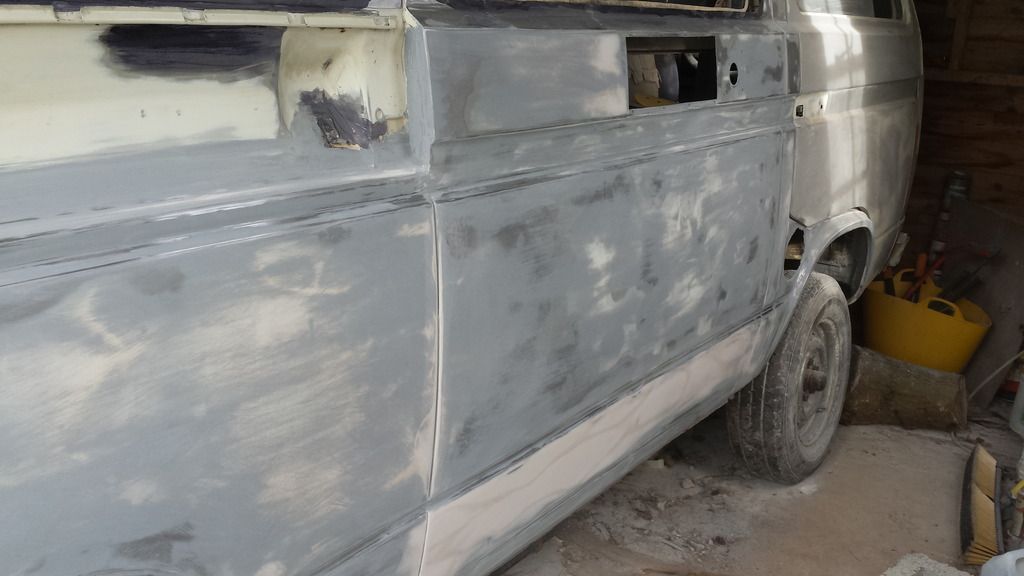
This van's had all the usual stuff done to it, wheelarches, o/s sill, but it must win a prize for the amount of filler that was in the D pillar, under the vent. I only began to sand the paint down in readiness to get it primed-up and next minute, half a ton of filler was removed! Best of all, 95% of the damage was easily repaired, again by hammer, dolly and file. Whoever did it must have taken hours to sand that little lot down and shape it, etc! Lots of old repairs to the bodyside panel to the rear of the drivers door too. The van probably weighs 20 kg less now all the fillers been removed!
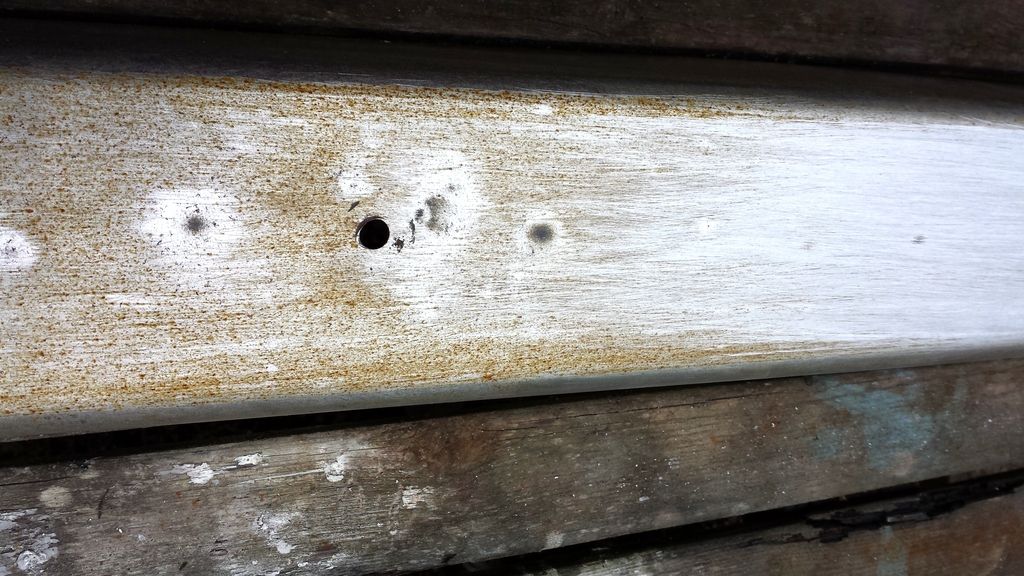
I sanded them back to bright metal, to get started the following day, but it rained and left the rusty film on them but its only a minor irritation and soon comes off. Indeed, the rusty tint helped highlight the low spots [the little black dots visible] whereas I would normally use an aerosol primer to coat the metal before beating and filing it.
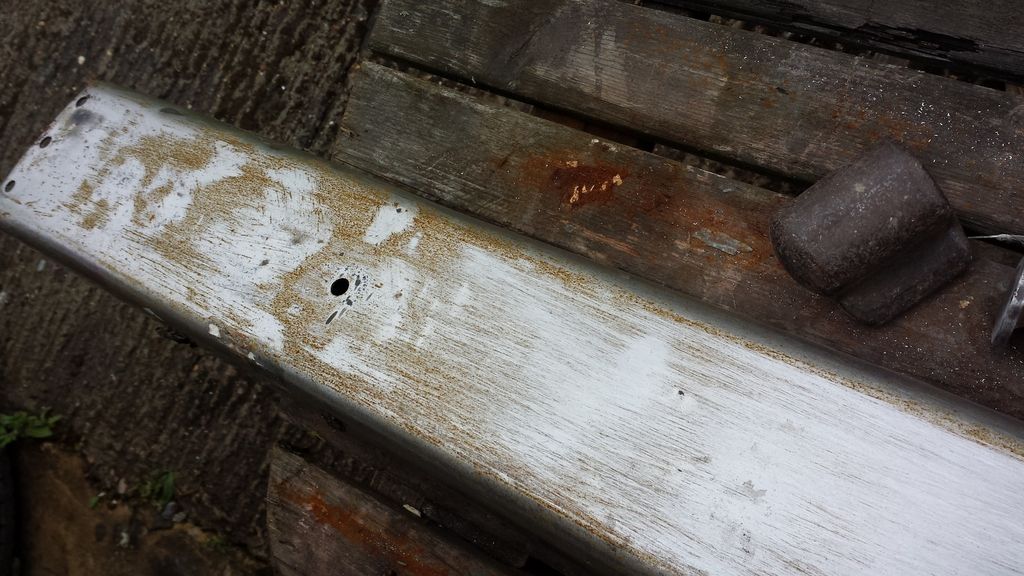
Another view. The end, where the plastic end cap fits onto, was very bent and twisted.
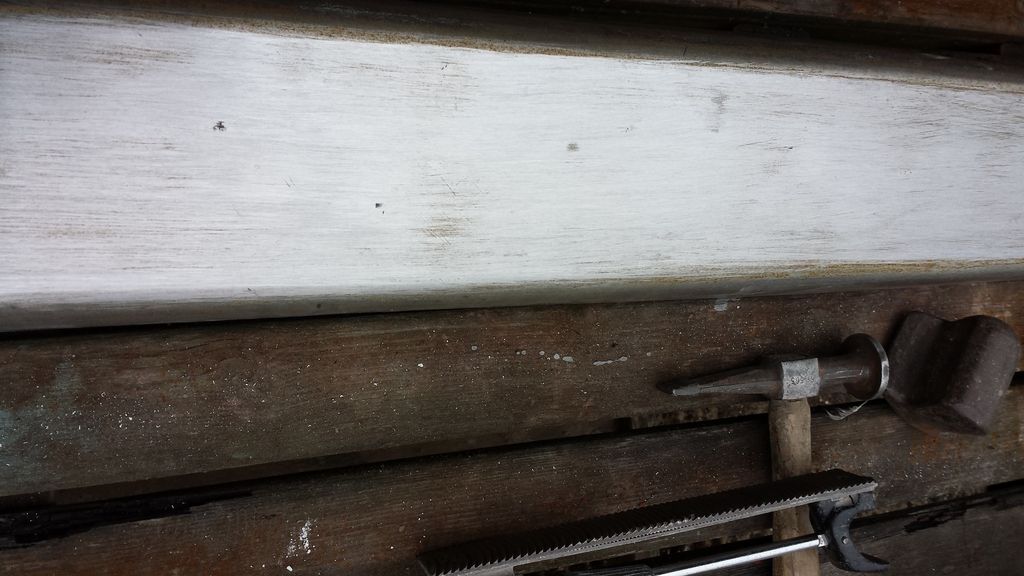
Getting better:
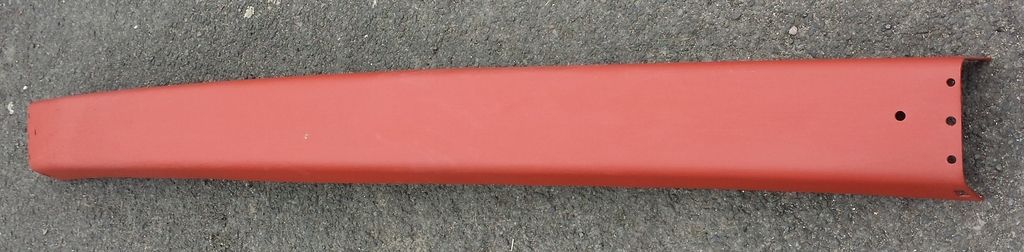
And the finished item, coated in red oxide for the time being until I sand it off and use a 2 pack ETCH primer & 2 pack satin black finish.
One of the rear panel, back to the correct shape:

The repaired D post:
And one of the o/s. Its had a tall wheelarch and lower cill fitted. Its a pity these pattern parts arent of the same stell thickness as the originals
The van will be sprayed back to its original Pastel white, and perhaps some new decals.
As these are made of decent steel, they lend themselves to the old fashioned repair method of using a hammer, dolly and file technique. This uses no filler, so should you be unfortunate enough to hit the bumper again, at least the filler, if you used it of course, wont crack or split. Each bumper took around 3 hours to repair. The rear one was twisted, and the rear panel underneath was pushed in quite a lot too. It had a tow bar , whicj i've removed and welded & filled the cut-holes in the rear panel. Scotchlocks galore on the tow bar wiring too
This van's had all the usual stuff done to it, wheelarches, o/s sill, but it must win a prize for the amount of filler that was in the D pillar, under the vent. I only began to sand the paint down in readiness to get it primed-up and next minute, half a ton of filler was removed! Best of all, 95% of the damage was easily repaired, again by hammer, dolly and file. Whoever did it must have taken hours to sand that little lot down and shape it, etc! Lots of old repairs to the bodyside panel to the rear of the drivers door too. The van probably weighs 20 kg less now all the fillers been removed!
I sanded them back to bright metal, to get started the following day, but it rained and left the rusty film on them but its only a minor irritation and soon comes off. Indeed, the rusty tint helped highlight the low spots [the little black dots visible] whereas I would normally use an aerosol primer to coat the metal before beating and filing it.

Another view. The end, where the plastic end cap fits onto, was very bent and twisted.

Getting better:

And the finished item, coated in red oxide for the time being until I sand it off and use a 2 pack ETCH primer & 2 pack satin black finish.

One of the rear panel, back to the correct shape:

The repaired D post:

And one of the o/s. Its had a tall wheelarch and lower cill fitted. Its a pity these pattern parts arent of the same stell thickness as the originals

The van will be sprayed back to its original Pastel white, and perhaps some new decals.