Page 2 of 6
Re: MBCamper's Restoration
Posted: 09 Mar 2014, 22:03
by Plasticman
aye weld that step part in and dont be tempted to make holes for the stupid mats, just coat them with the rubberised paint
mm
Re: MBCamper's Restoration
Posted: 10 Mar 2014, 14:03
by mbcamper
I have to admit I was temped to make the holes to fit the mat, but it's a fair point about not doing it. I suspect the rot in the panel was caused by the holes in the first place...
Thanks
Mark
Re: MBCamper's Restoration
Posted: 11 Mar 2014, 21:49
by mbcamper
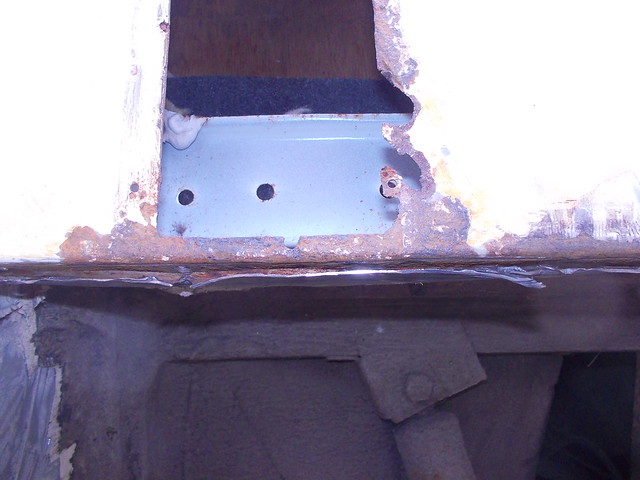
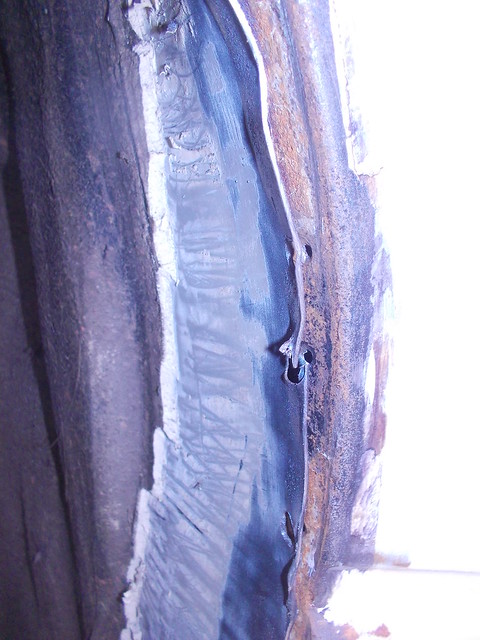
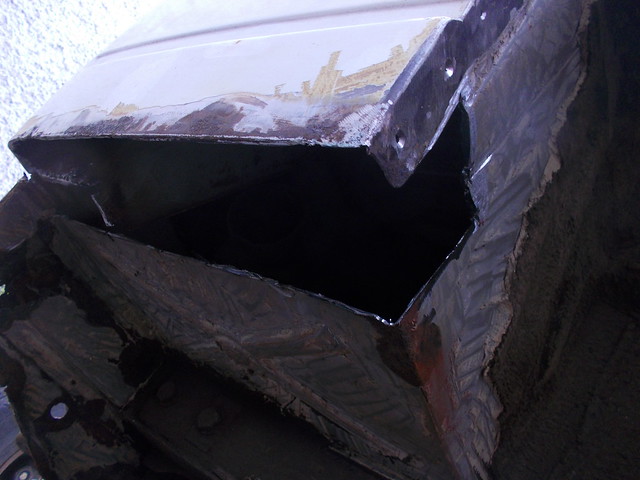
Got out the MIG before work this morning to get the step into place:

Not perfect, but I was getting reasonable penetration to the other side. Welding skills are gradually returning.
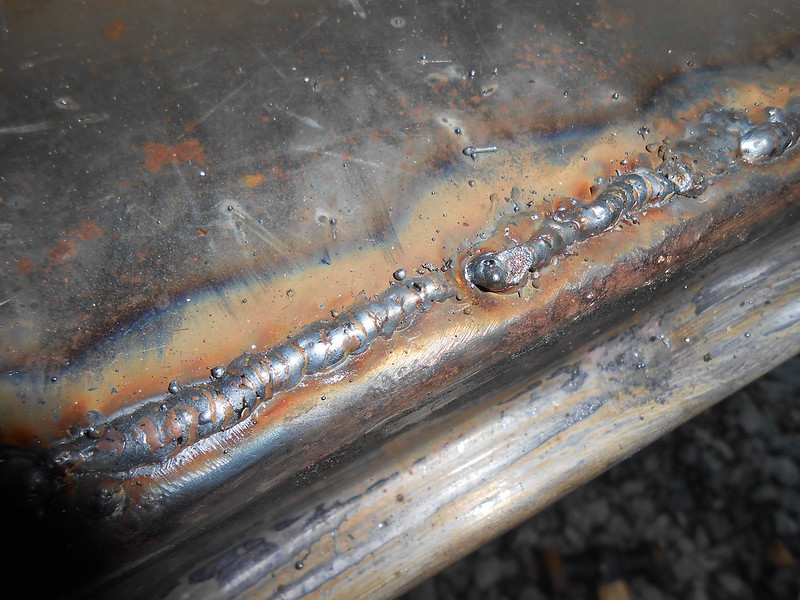
After a spot of angle grinding.

Note there are no holes for the mats as suggested.
Such a nice day it was almost a shame to go to work.

Re: MBCamper's Restoration
Posted: 11 Mar 2014, 22:13
by Plasticman
rubberised coating now and it will be sorted
mm
Re: MBCamper's Restoration
Posted: 11 Mar 2014, 22:20
by Plasticman
bottom of page
http://forum.club8090.co.uk/viewtopic.p ... &start=195" onclick="window.open(this.href);return false;
mm
Re: MBCamper's Restoration
Posted: 12 Mar 2014, 19:29
by 300CE
That coating looks superb Mike, a great alternative

Re: MBCamper's Restoration
Posted: 12 Mar 2014, 21:36
by Plasticman
Yep,and its 1 pack and overcoatable and very flexible
Re: MBCamper's Restoration
Posted: 12 Mar 2014, 21:52
by mbcamper
I like this idea. Is this the kind of stuff?
http://www.amazon.co.uk/Ronseal-ILR750- ... uctDetails" onclick="window.open(this.href);return false;
Re: MBCamper's Restoration
Posted: 14 Mar 2014, 22:01
by mbcamper
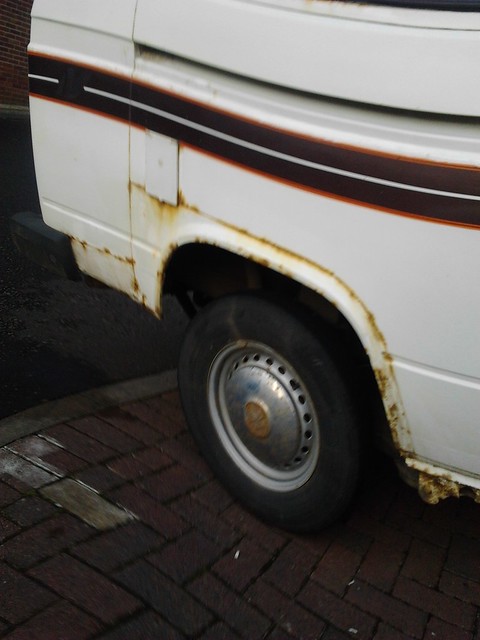
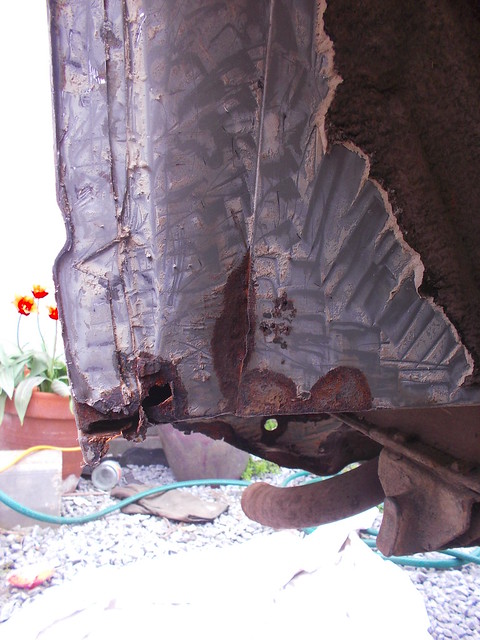
Just received a very large box from JK consisting of a couple of rear wings. There is more metal on them than I had expected.
Now I had envisaged the job of replacing the rear arches as cutting next to the seam to remove the arch and picking out the remaining arch panel along the seam which would be about 3/4" around the entre arch. I'd convinced myself it was as easy job...
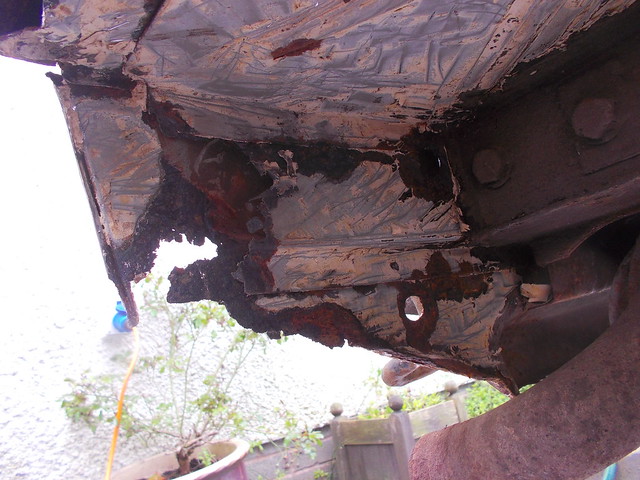
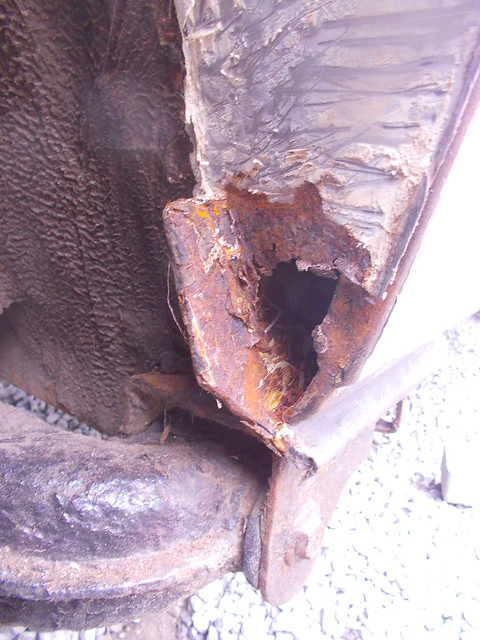
This looks to be the case on the rear of the arch:
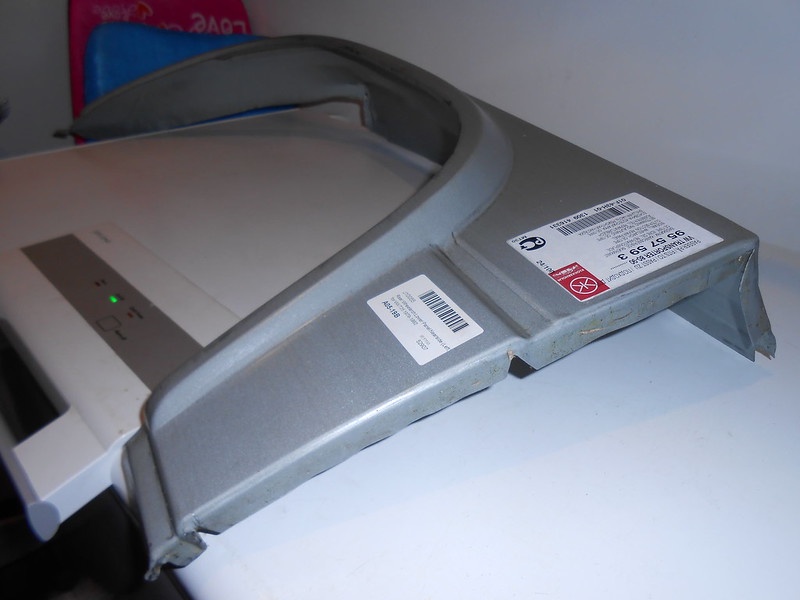
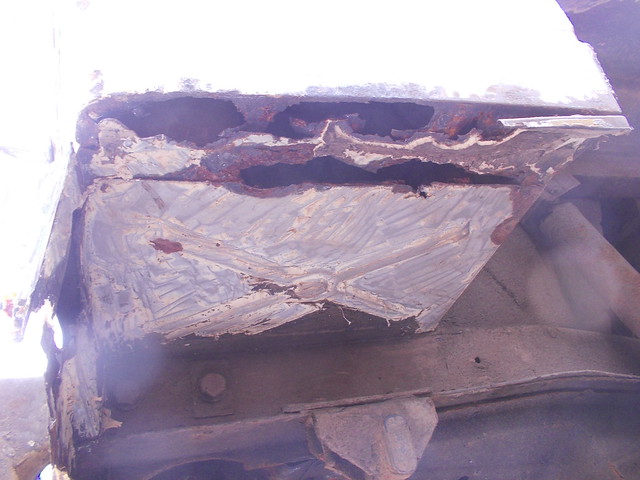
But on the front edge the repair panel goes right into the arch:
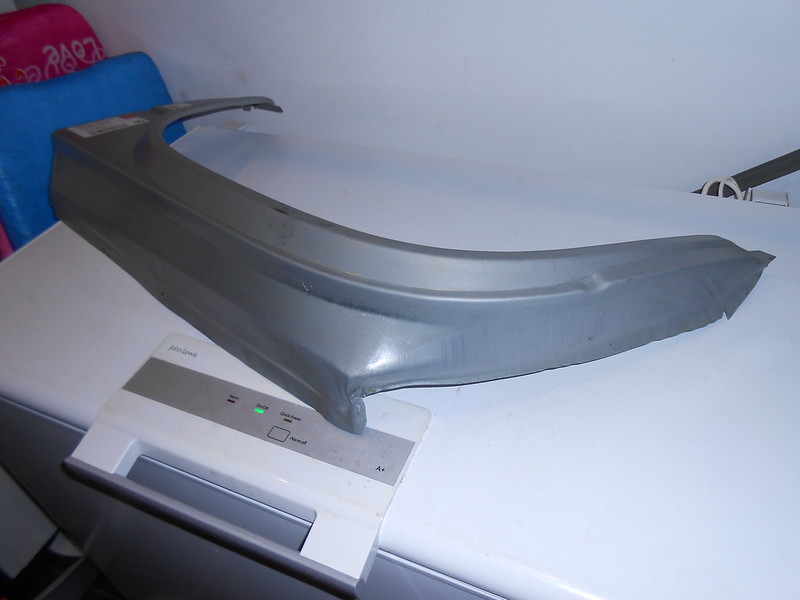
Am I really going to be cutting out all this? The job suddenly looks a lot more involved...
Re: MBCamper's Restoration
Posted: 14 Mar 2014, 23:19
by Plasticman
Nope , it wears off etc
mm
Re: MBCamper's Restoration
Posted: 14 Mar 2014, 23:25
by Plasticman
no you sepparate the seams , look have a look at the xrisvagon or some of the others , i think i have been explicit with the info ??
mm
Re: MBCamper's Restoration
Posted: 15 Mar 2014, 21:02
by mbcamper
Okay got it:
http://forum.club8090.co.uk/viewtopic.p ... n&start=45" onclick="window.open(this.href);return false;
and
http://forum.club8090.co.uk/viewtopic.p ... n&start=75" onclick="window.open(this.href);return false;
These postings are really useful!
So depending on what I find when I remove the arch, my new panel is likely to need pruning as shown:

So my Ronseal roof sealant wasn't the right stuff, MM: What is the product you use for the steps?
Thanks
Mark
Re: MBCamper's Restoration
Posted: 15 Mar 2014, 22:38
by Plasticman
in a minute.but

this way you end up with the new panel sandwiched between the old inner and the upper wing, this gives a seam that will be the same as factory, too often you see folk just grind away the old stuff and stick it to whats left and gob it up ,nasty and shows.there are reasons for cutting twice as i do so ask if you need
mm
Re: MBCamper's Restoration
Posted: 16 Mar 2014, 21:25
by mbcamper
Thanks for these diagrams - this is much appreciated and very clear.
I just need to pluck up the courage to get in there with the cutting disc

maybe in a couple of weeks...
Mark
Re: MBCamper's Restoration
Posted: 03 May 2014, 19:18
by mbcamper