Page 1 of 1
Part Identification Please, Diagram Provided
Posted: 07 Oct 2013, 21:23
by Iridium
Hello, I took all the parts except for 1, 2 and 3 in the diagram below off of my needy syncro about 6 months ago. I put them back together today and have a part left over, no.11. From the diagram (vagcat) the obvious place for it to go is around part no.2, but I didn't take no.2 off because it looks like a nightmare to put back. Being 6 months ago I'm not sure if part no.11 does go there. I'd be forever grateful if someone could give us a definitive on this.
Regards,
Iridium

Re: Part Identification Please, Diagram Provided
Posted: 09 Oct 2013, 12:12
by garyd
If I'm reading this correctly, part 11 will be a heavy rubber ring?
That being so, it fits around the bottom elbow, part number 6. It goes diagonally around the centre of the elbow and I think it is to stop it knocking on the bodyshell. It also holds the drain hole clear of the panel.
Re: Part Identification Please, Diagram Provided
Posted: 09 Oct 2013, 13:44
by ctange
I think 1 and 2 are easy to take out, easier than one might think.


Re: Part Identification Please, Diagram Provided
Posted: 09 Oct 2013, 15:53
by Iridium
Hello,
thanks garyd and ctange, yep heavy rubber ring is exactly the bit left over and I can see where is now goes. Thanks fellas for info and pictures, top job.
Just to add, my syncro has had some modifications in that area and the ducting can't be removed/replaced easily. The fabricators have fitted a metal box with some generator sockets up against the ducting in that rear corner. It's a bit like a camping hook-up but on steroids, it fills the whole vent void up to the snorkel.
Once again ta for solving that one.
Iridium
Re: Part Identification Please, Diagram Provided
Posted: 09 Oct 2013, 15:56
by lloydy
garyd wrote:If I'm reading this correctly, part 11 will be a heavy rubber ring?
That being so, it fits around the bottom elbow, part number 6. It goes diagonally around the centre of the elbow and I think it is to stop it knocking on the bodyshell. It also holds the drain hole clear of the panel.
i concur

fitted like this
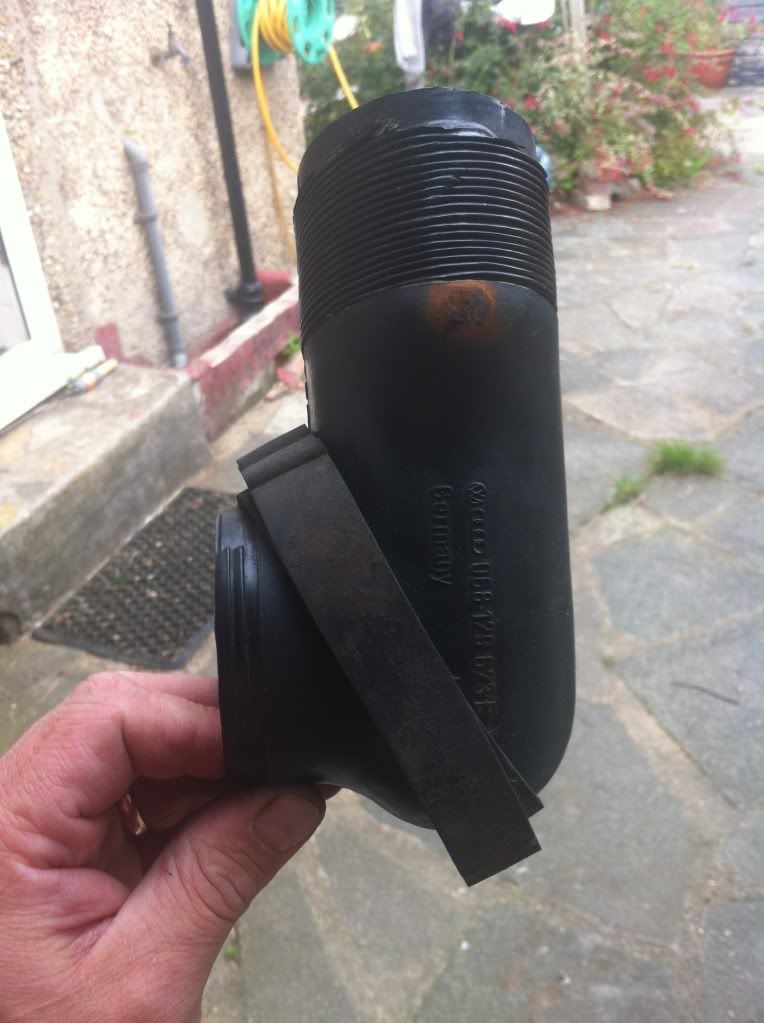
Re: Part Identification Please, Diagram Provided
Posted: 10 Oct 2013, 13:15
by Iridium
Cheers lloydy,
was gonna try both those positions and weren't looking forward to trying to fit the rubber ring half way up the ducting, (ooh matron).
thanks for the pic, will have less of a 'mare fitting the ring there. In fact remembering back to when I took all those gubbins out that ring was (I think) just laying at the bottom and not connected to anything.
Iridium
