Page 1 of 2
Old journeys end, new journeys begin. 1981 Poptop Resto
Posted: 25 Jun 2012, 12:57
by MrMet
So, to start at the beginning of this great adventure, last summer I bought Busta and then spent 3 months travelling Europe (well France, Spain, and Italy).
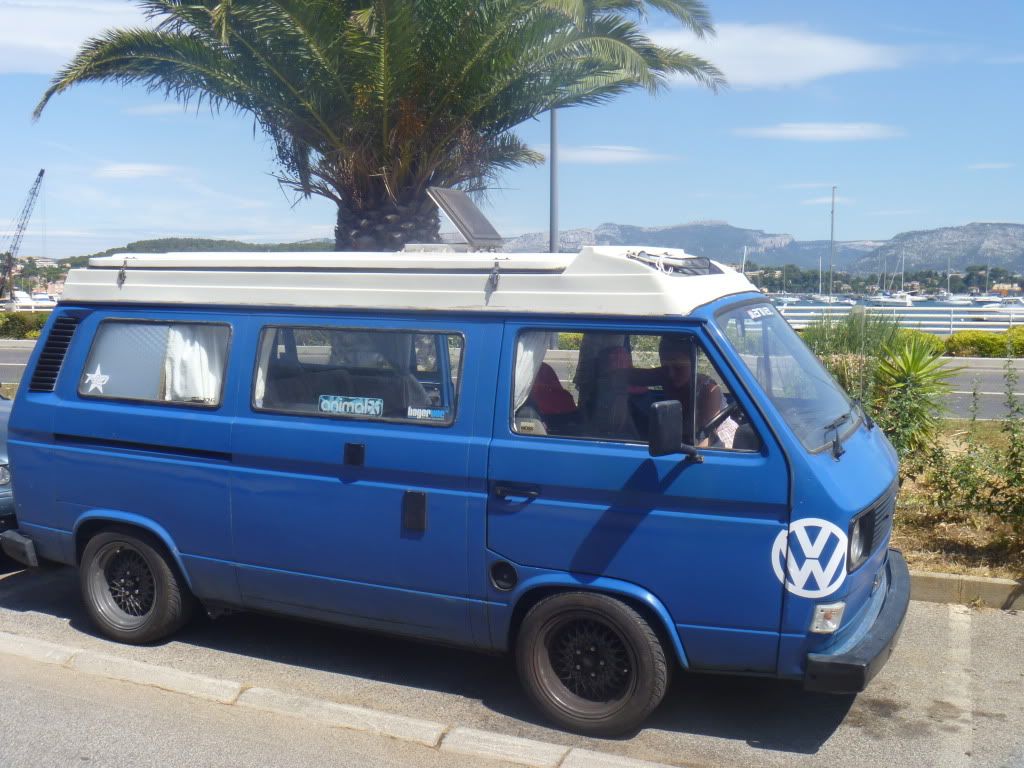
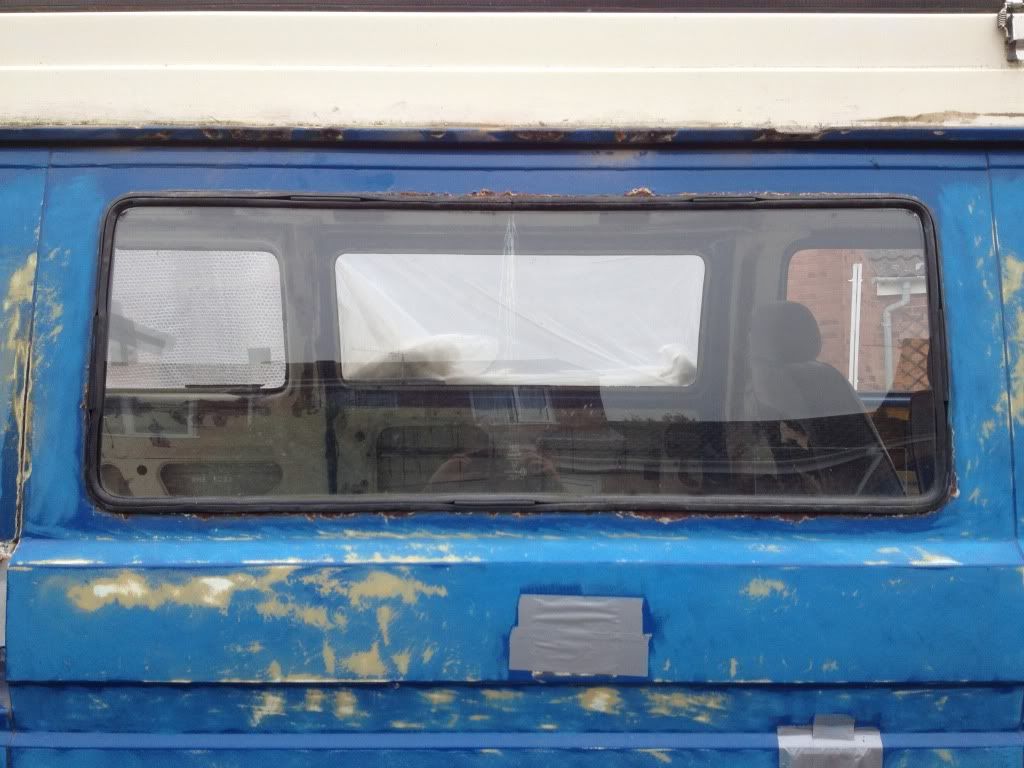
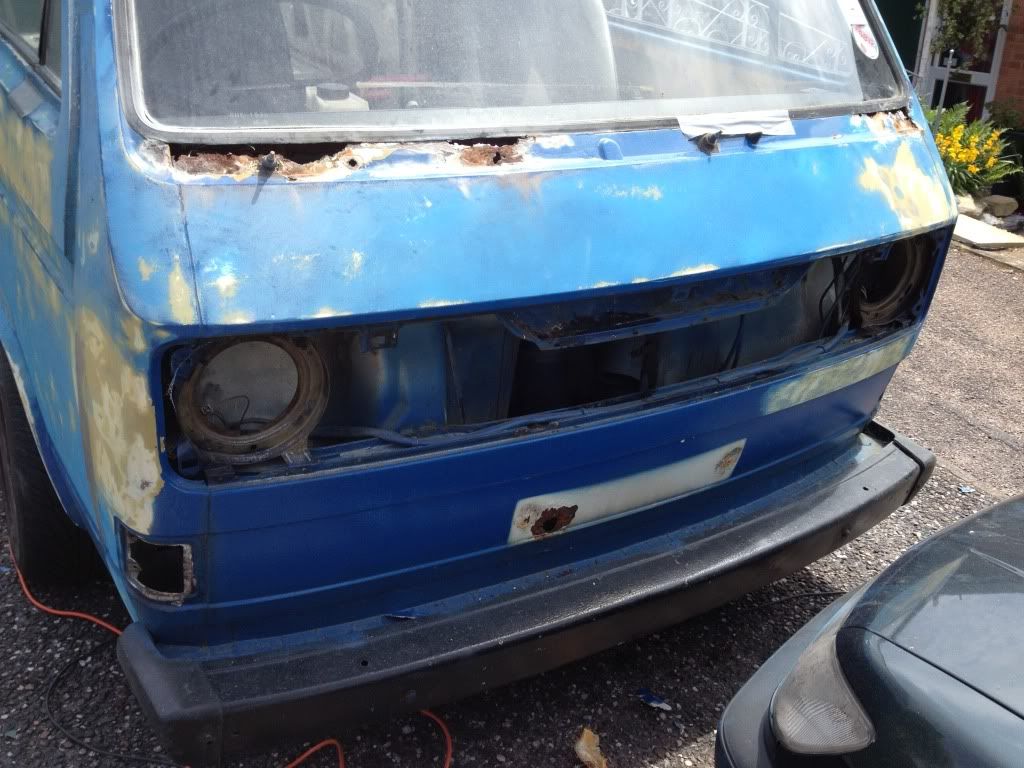
In this picture he still looks in quite good condition, but even when I bought him, he had his fair share of problems, bubbling up around the windows, rusting away at the bottom of the doors, plus a whole array of hidden issues that I would later find out about.
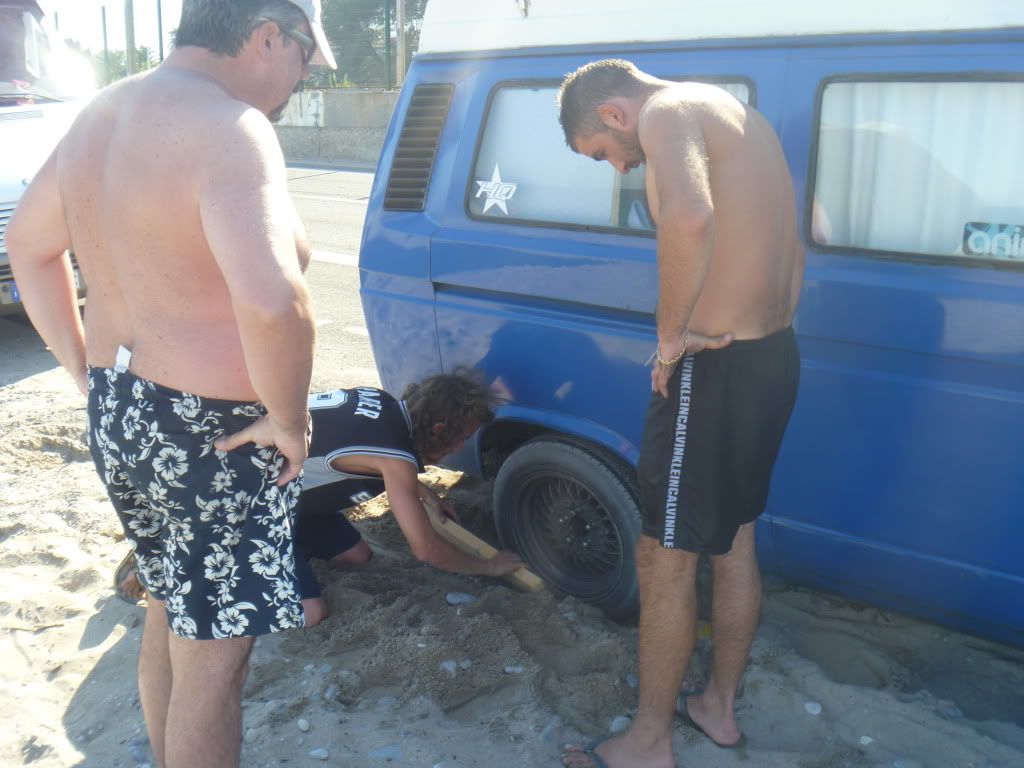
We had a few problems along the way, but most were my own doing, such as getting stuck in the sand on this stretch on beach near Biot in the south of France!!! However, we only broke down once and that was a simple case that the cable to the starter motor had slipped loose. That's not bad going at all on a 4500 mile round trip!

We even made some friends along the way

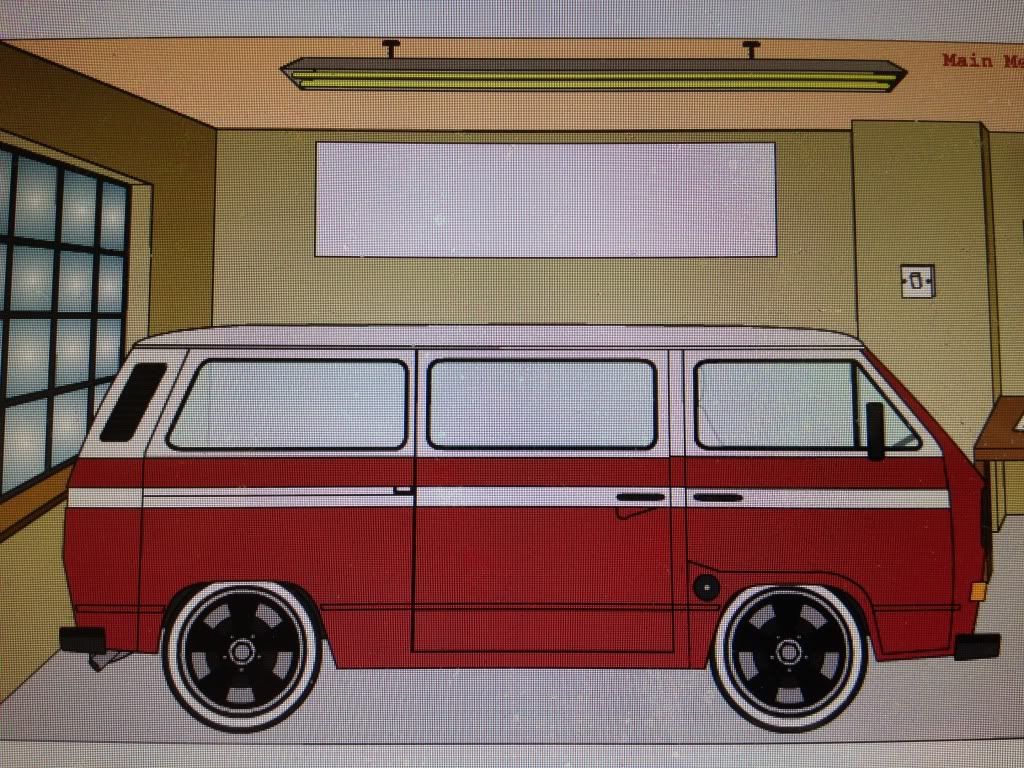
However, after a winter of being left on the driveway whilst I enjoyed a season snowboarding, things had gone from bad to worse and so i've decided it was time for a full makeover.
I've been checking the forum for a while now, getting all the information together to give me the confidence to tackle this project (I've very little experience on doing anything on vehicles before) and people have been so helpful with posting up their accounts of work they've done that I thought I'd share my trials and tribulations along the way too. Hopefully this will help others in the long run too, learning from my mistakes! Of course it's not an entirely selfless act though and i will be asking plenty of questions along the way too (as like i said before, this is all pretty new to me), but having lurked on the forum silently for a month or so, i have no doubt people will be there to help.
Re: Old journeys end, new journeys begin
Posted: 25 Jun 2012, 12:58
by MrMet
Re: Old journeys end, new journeys begin
Posted: 25 Jun 2012, 12:59
by MrMet
Re: Old journeys end, new journeys begin
Posted: 25 Jun 2012, 13:03
by Canaldrifter
MrMet wrote:
How long did the huge pineapple on your roof last you?
Tone
Re: Old journeys end, new journeys begin
Posted: 25 Jun 2012, 13:10
by MrMet
Hahaha!!! Not long actually, I love pineapple! Plus it made it really awkward getting the pop top to stay up too!
Re: Old journeys end, new journeys begin
Posted: 25 Jun 2012, 13:34
by Mickyfin
Great news on your tour, and oh boy, it looks like you have some work ahead of you, and seeing as you have no experience in tackling those rusted areas, Im sure many great members on here can help, advise, assist you along the way.
Looking forward to your progress!

Re: Old journeys end, new journeys begin
Posted: 25 Jun 2012, 14:30
by Dazco
Youve got some work there mate. good luck and try not to do too much at once . pick an area and sort it then move on, i worked that one out early on, you can soon get bogged down by doing too much.
Daz
Re: Old journeys end, new journeys begin
Posted: 25 Jun 2012, 16:16
by MrMet
Cheers for the support
I have a feeling i'm going to need it!
Every time I take something else off the van, i find more rust hiding behind it! Either that, or more bits that were botched in previous work.
At the moment, I'm still waiting on some money to come through that will allow me to get the bits and pieces I really need to get going with it all. I should be getting paid that in the next week or so though, so I can start to make some progress at last.
At least it's given me time to look around on the forum more and get some more knowledge and wisdom from people who know what they're doing.
And cheers for the advice on doing it a bit at a time. I've seen that a lot on here and i think it really will make a difference. At the moment I've been going at it like a bull in a china shop while i've only had limited funds and not been able to start the main body of work, but once I do, I'll definitely try and be more methodical!
Re: Old journeys end, new journeys begin
Posted: 25 Jun 2012, 16:51
by Mickyfin
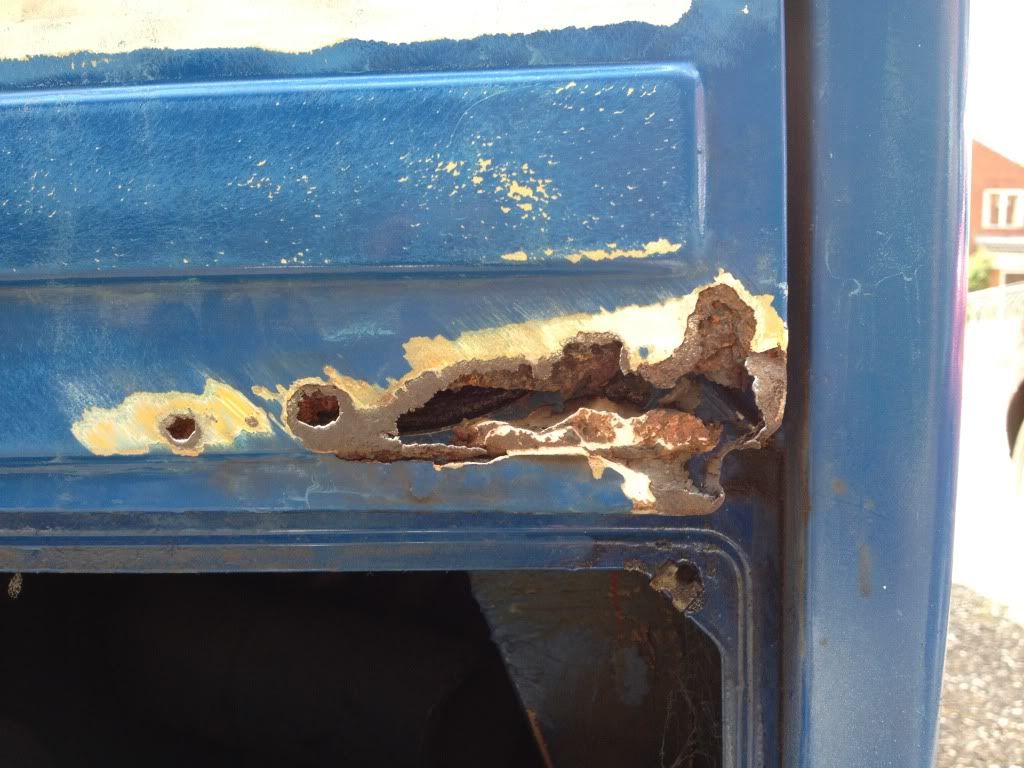
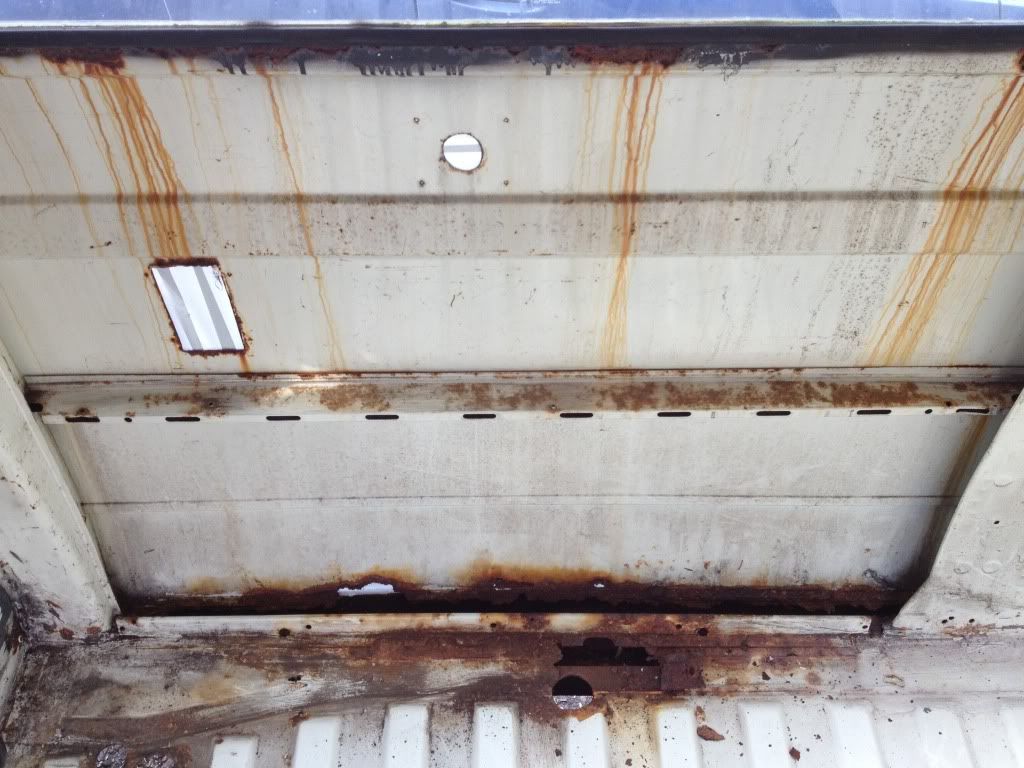
Sometimes its easier to replace certain panels than repairing, what I mean is, if you plan on keeping your bus, then its best to do things right. That rot for example on your rear door, personally I would look for a later more solid door as the inner and outer skins look well gone.
Re: Old journeys end, new journeys begin
Posted: 26 Jun 2012, 20:09
by MrMet
Mickyfin wrote:Sometimes its easier to replace certain panels than repairing, what I mean is, if you plan on keeping your bus, then its best to do things right. That rot for example on your rear door, personally I would look for a later more solid door as the inner and outer skins look well gone.
Cheers for the advice. I'll be keeping my eyes peeled for a replacement rear door

It's been raining heavily today, so spent the day sorting out the garage. It's amazing how much space everything from the inside of the van takes up. There's no way I'd believe it had all come out of the one van if i hadn't taken it all out myself!
Trying to price up bits and pieces now to see how to budget the work as I go and what order to do things in at the moment.
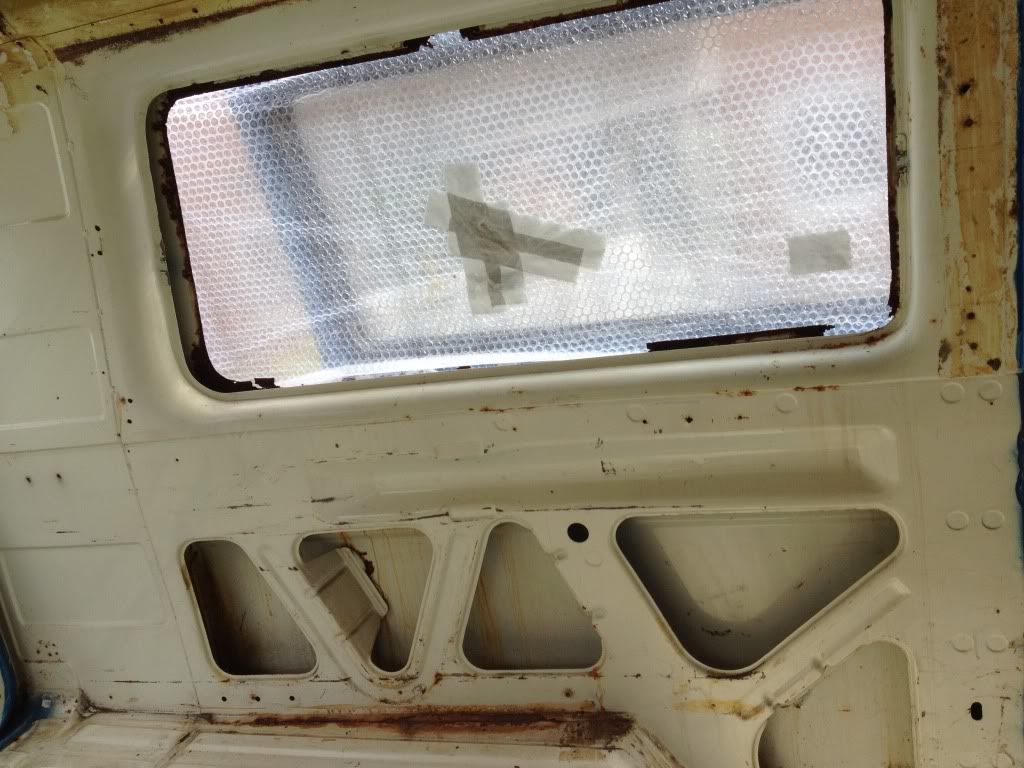
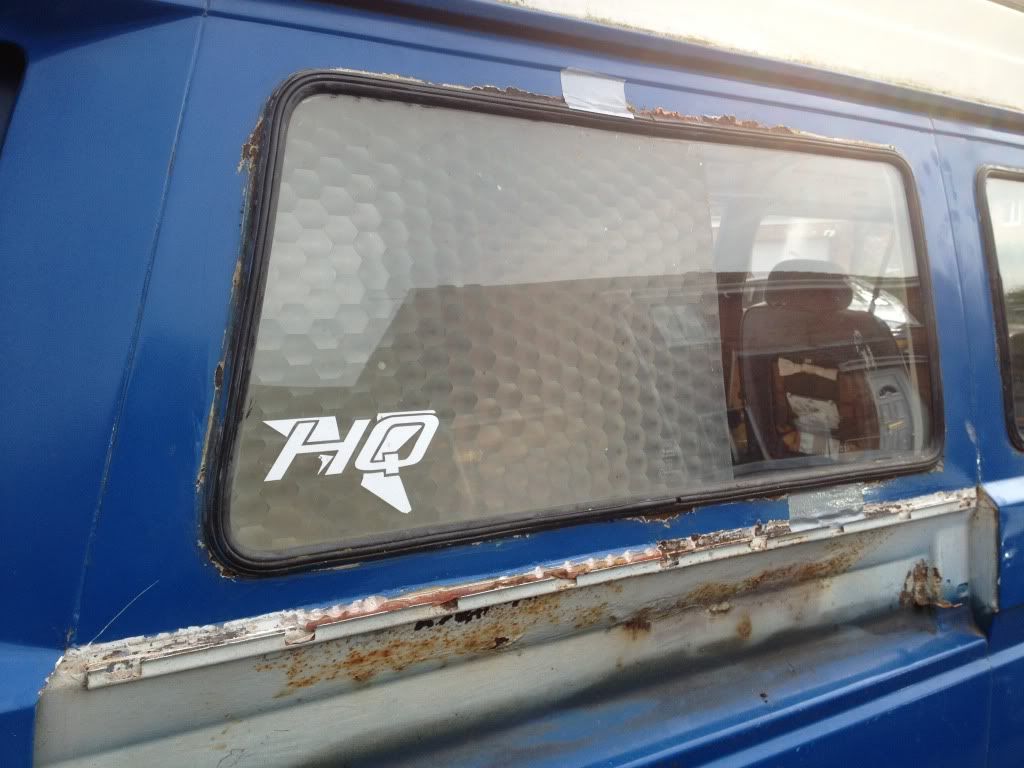
Can anyone help me out with the window seals? What I mean by this is I've read on the forum about factory fitted windows or panel van conversions, but I've not seen how you tell the difference, so I don't know what seals I'm looking to buy. Could someone please give me the heads up on what my vans windows are and how you tell the difference?
Cheers
Re: Old journeys end, new journeys begin
Posted: 26 Jun 2012, 22:16
by Doogs
Try metalmickey for window seals, good quality and price
Re: Old journeys end, new journeys begin. 1981 Poptop Resto
Posted: 02 Jul 2012, 22:55
by MrMet
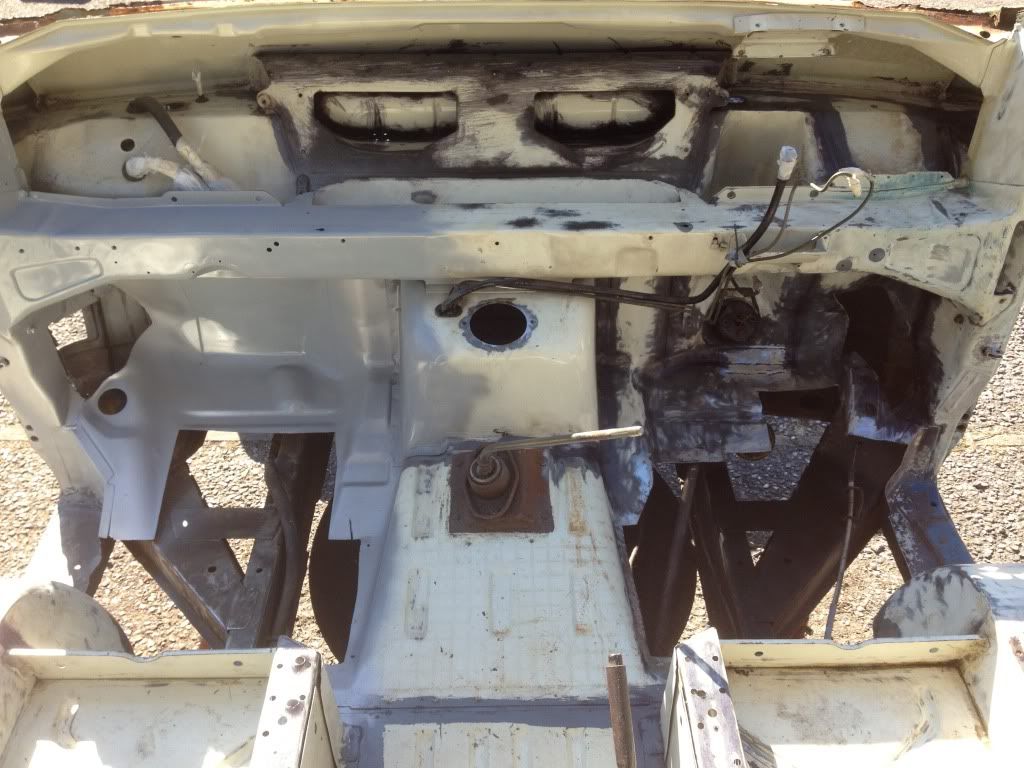
After spending the weekend ordering various bits and pieces so I can get on with the work, today i thought i'd do some cleaning up inside. Thankfully it cleared up ok, which is more than can be said for the weather...it was tipping it down outside...so much for summer!
They both looked like the drivers side when I started, but now they both look like the passengers. Now just waiting for the primer to arrive so I can get the bare metal covered to stop the surface rust coming back. There's still a bit of cleaning up i need to do on them, but it felt good to feel like something was getting to a point where it was looking tidyish!
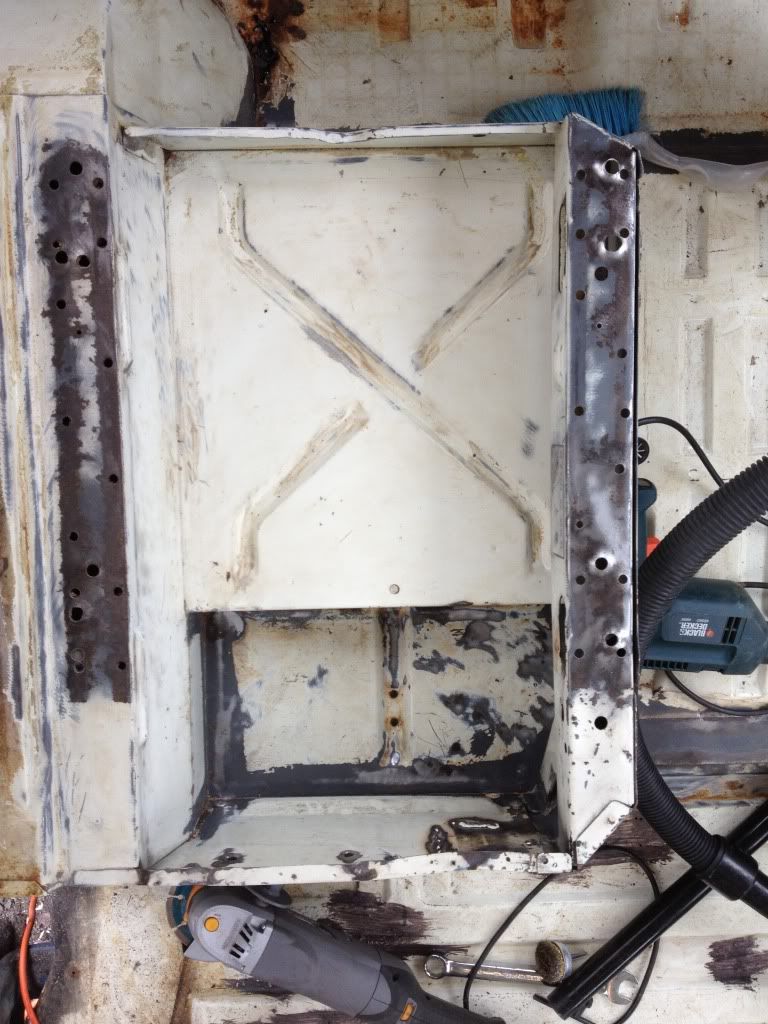
There was a lot of rust in the corners, but it has polished up ok in the end. I took off the fixings that had been put in for the buddy seat too, as I won't be using them anymore when i refit the interior.
Then it was time to tackle the driver side to discover what the state of the sill was underneath all this rust
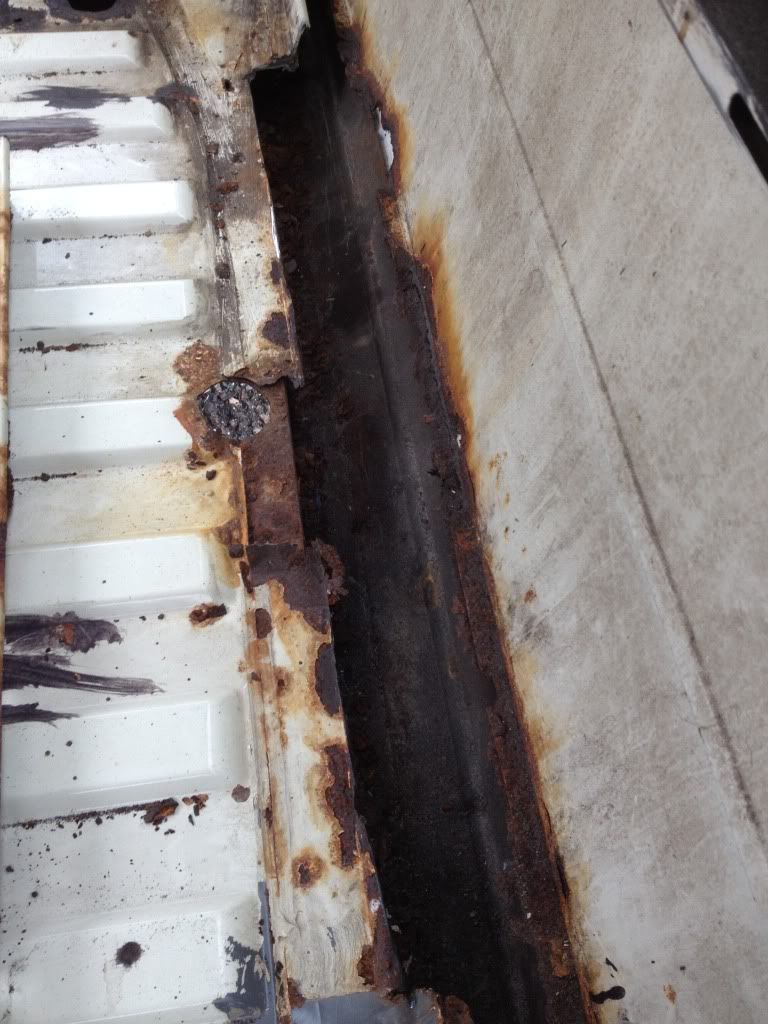
Thankfully, the inner sill itself isn't as bad as I was expecting it could be, but I'm obviously going to be buying a new outer sill and lower panel. I've got some degreaser on order too, so i'll be able have a better clean and really assess the state of the inner sill.
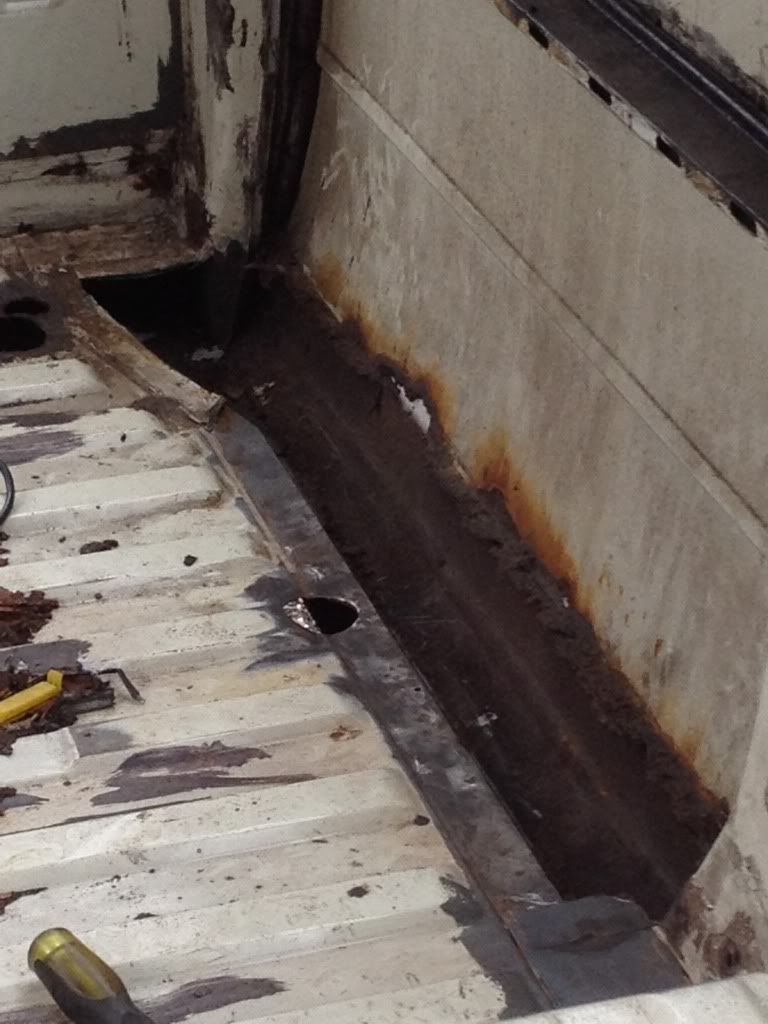
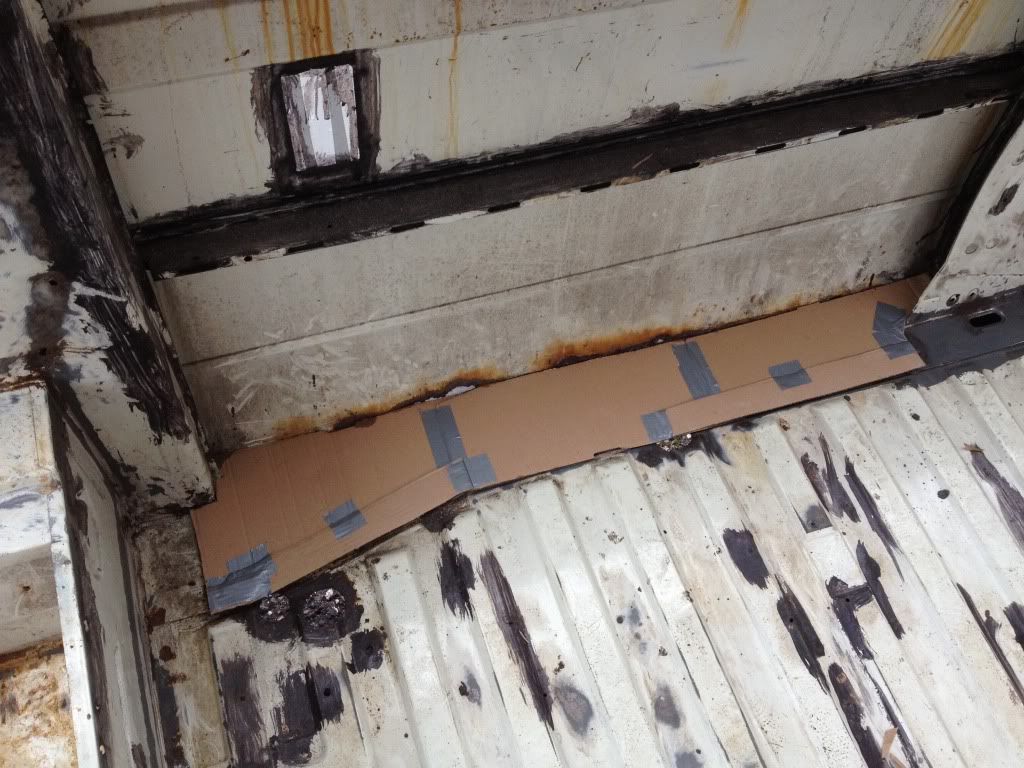
With a bit of grinding I was able to get the top back to metal again and I've got some sheet metal on order, so made a template for the replacement patch ready for when that arrives. Still need to cut a bit more back, but at least i was able to get some stuff done today, even though it was raining outside. Doesn't look like it's due to get better all week either!
Re: Old journeys end, new journeys begin. 1981 Poptop Resto
Posted: 25 Jul 2012, 20:08
by MrMet
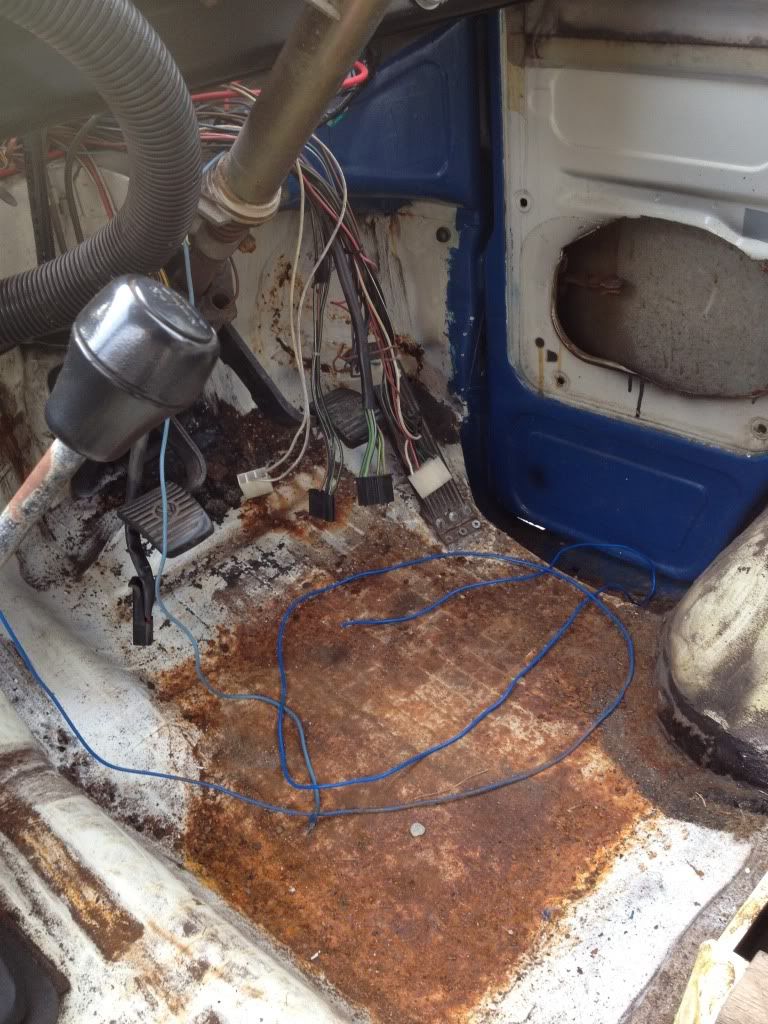
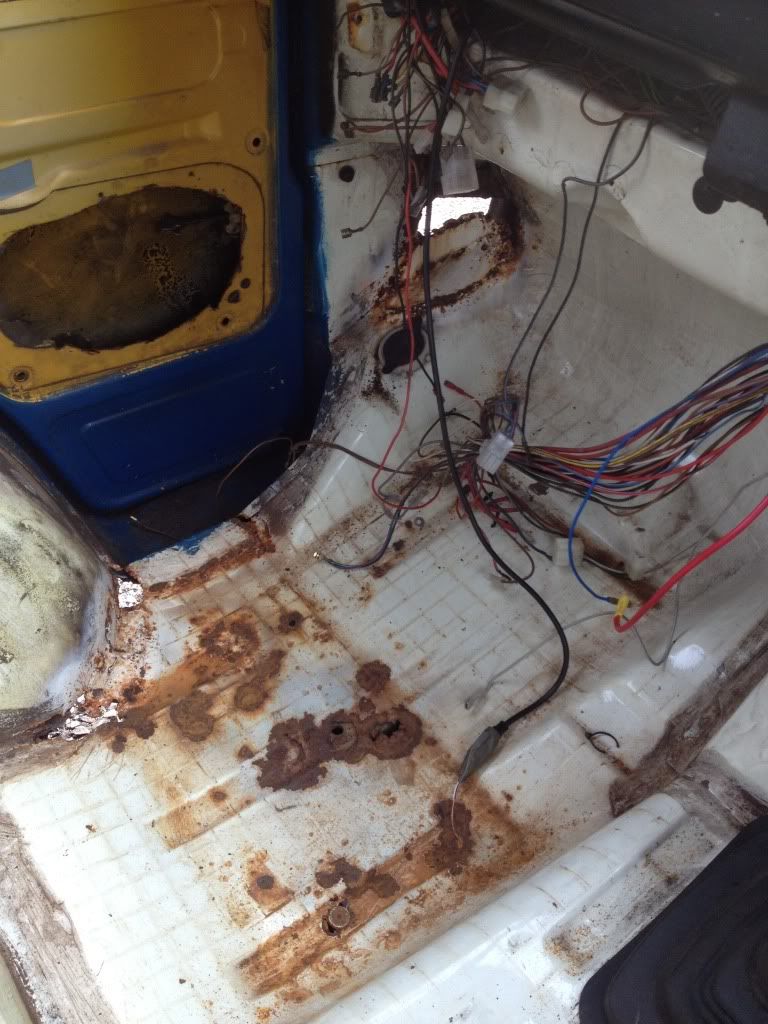
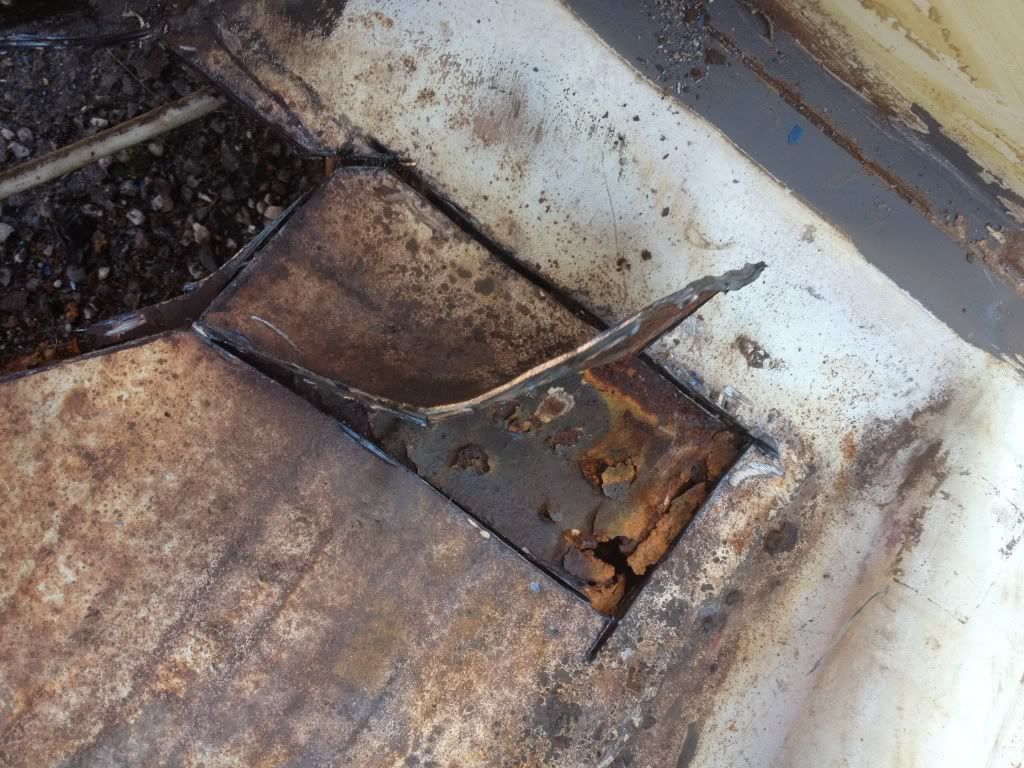
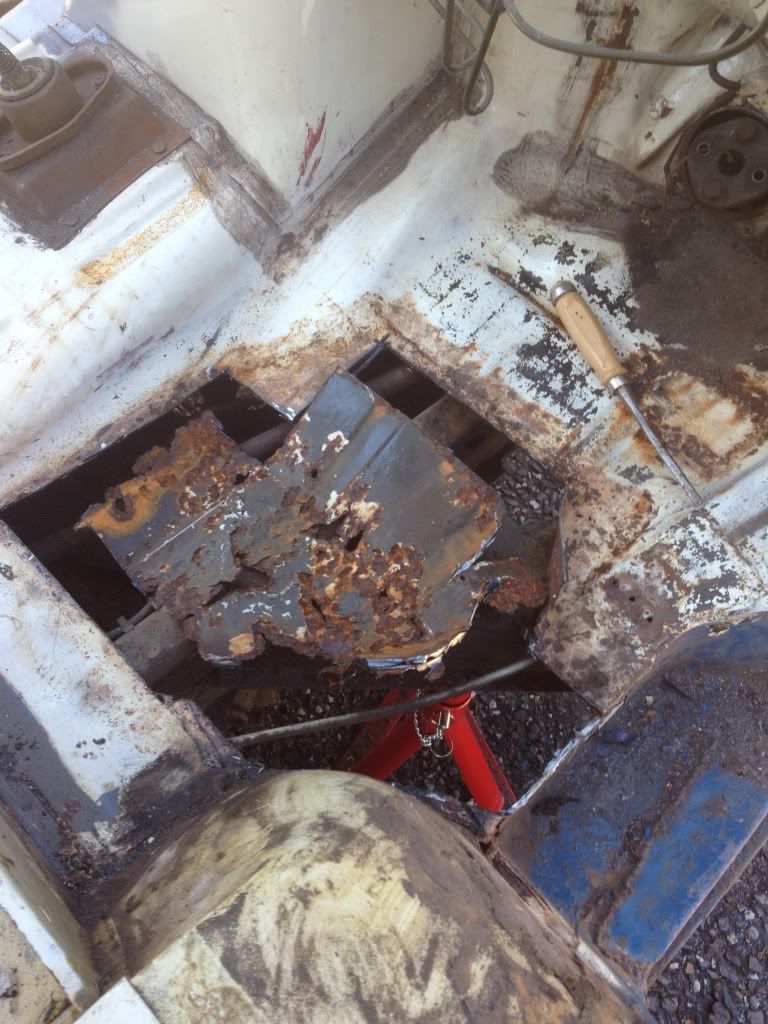
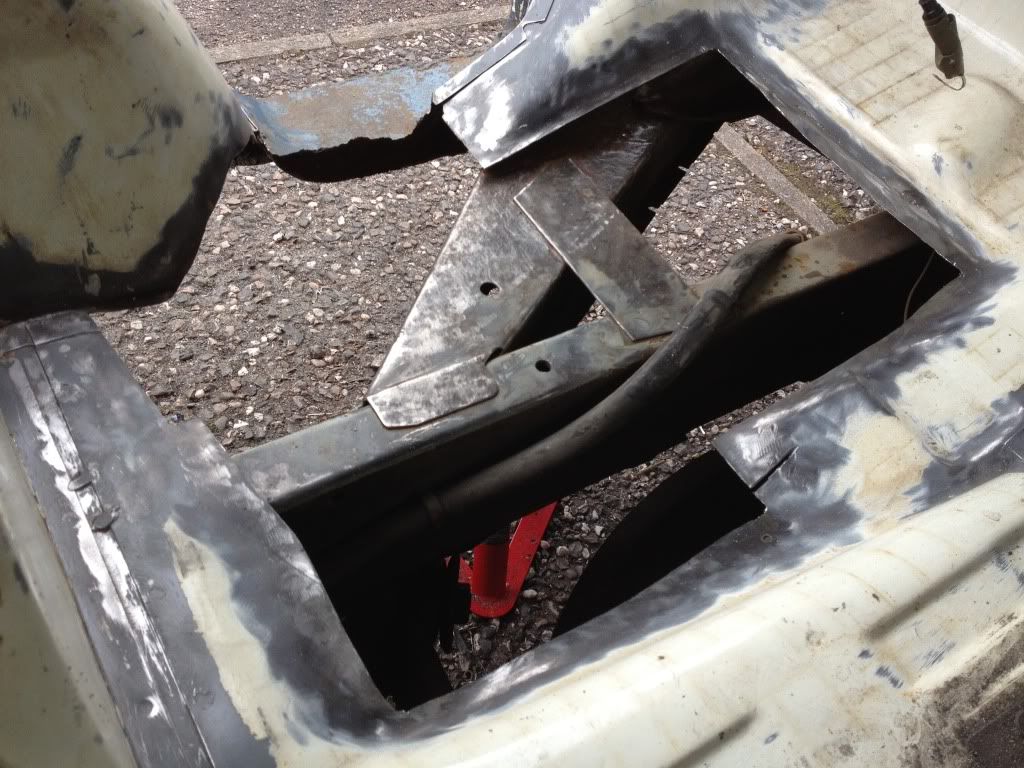
Ok, so it's been a while since I updated this, but that doesn't mean that no works been getting done, quite the opposite! While I get to grips with my welder, i've decided to cut out the rust ready to start patching him up. As you can see, the driver footwell is not in a good way. It'd been patched up before, but it is all rusting through. Cutting through the floor, I also found that the previous patch had just been put over the already rusting floor, so as I cut through the top layer, I was faced with an even more flimsy and holey layer below

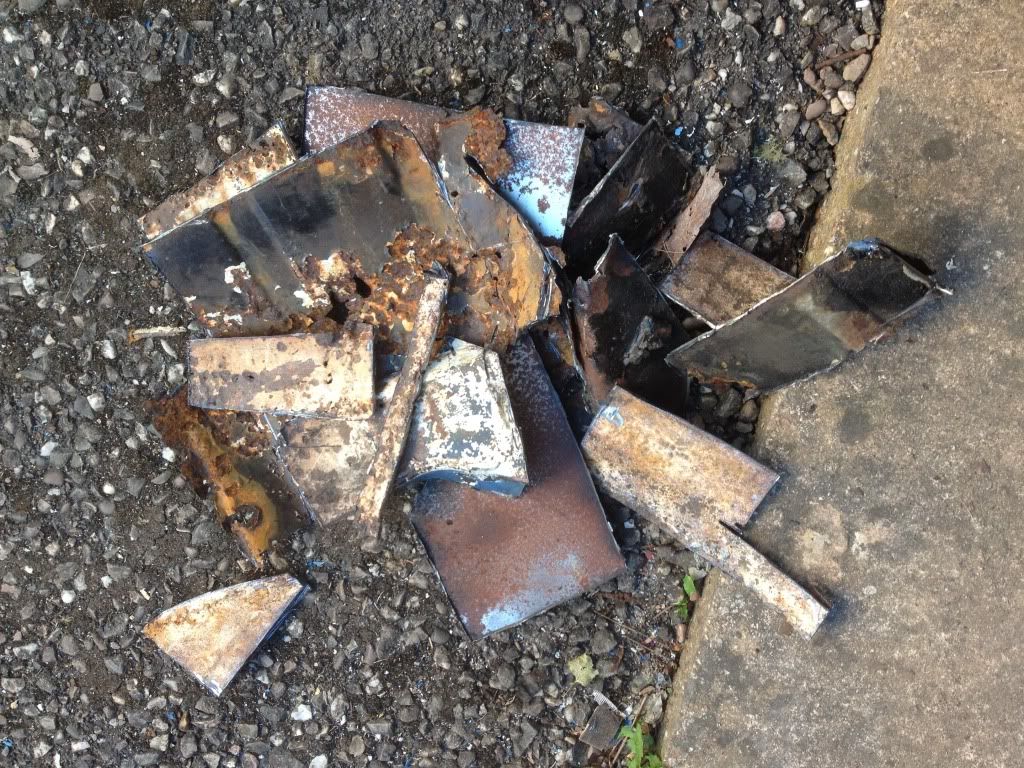
Still, I kept on chopping and a big pile of rusty metal later, this is what I'm left with now, rust free and ready to be patched up properly this time.
Re: Old journeys end, new journeys begin. 1981 Poptop Resto
Posted: 25 Jul 2012, 20:20
by MrMet
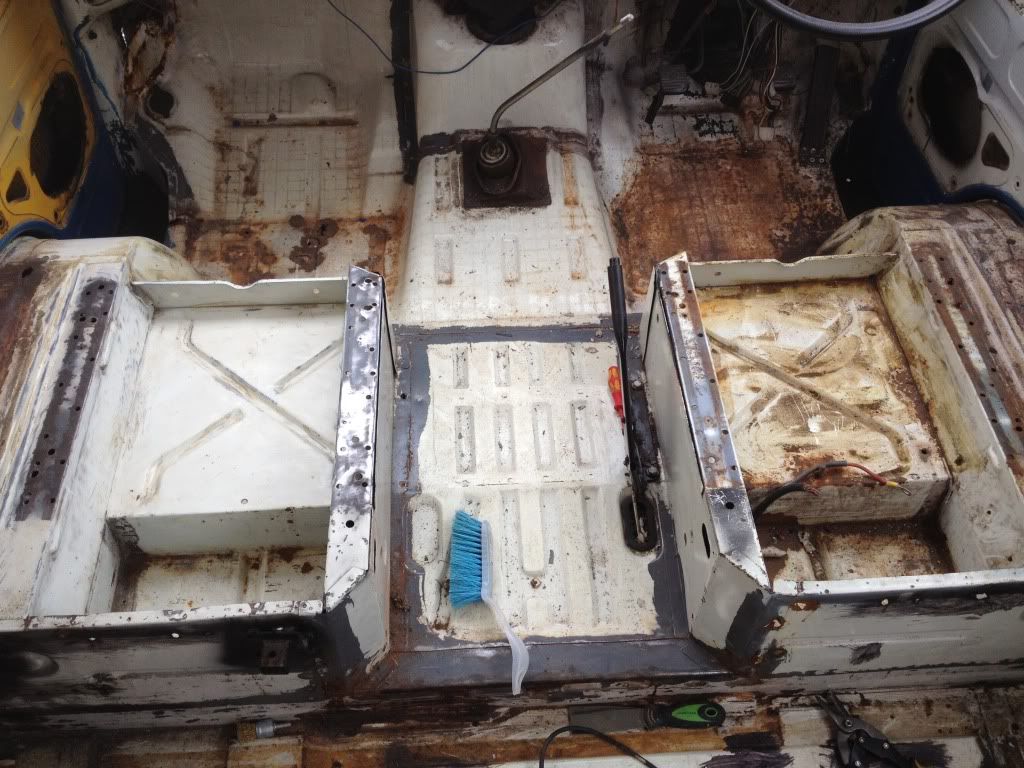
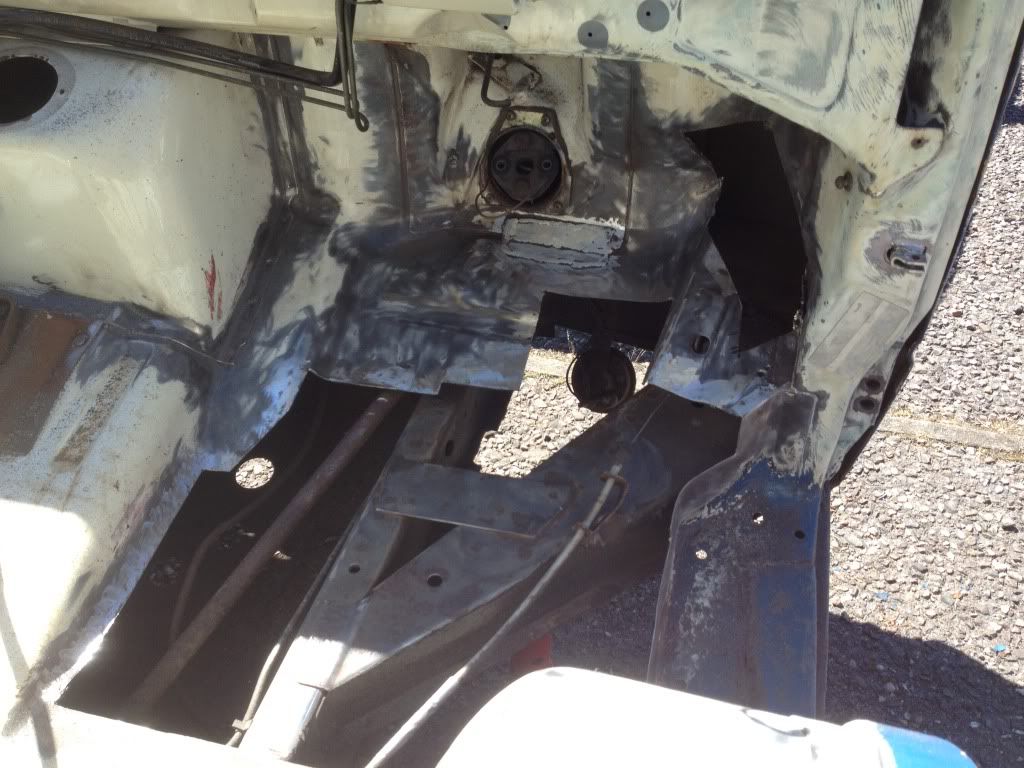
I've also done the same on the passenger side too. I marked out where the things are underneath, so that I knew where I had to be careful and so I didn't chop through anything!
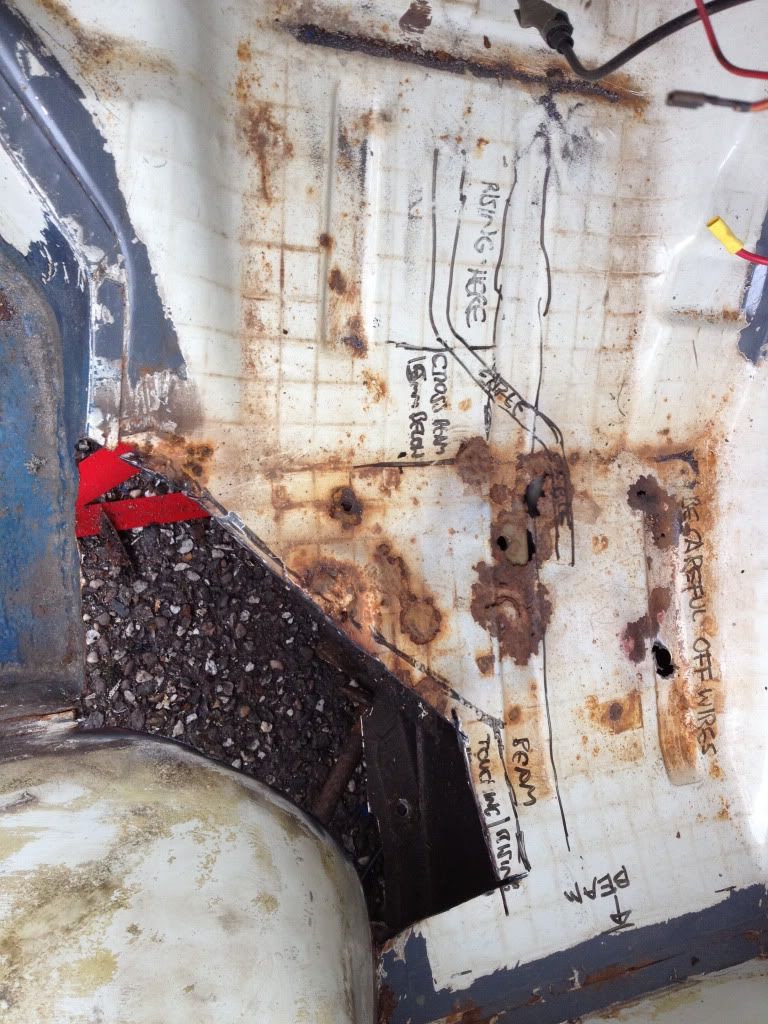
I also given the passenger side a spray with undercoat, so that I can see what it will look like when it's sorted and to keep any more rust from getting in before I get round to welding it. The edges where I'm going to weld the patches in have been done with zinc weld through primer, so I shouldn't have to take it back to metal again. Does anyone have any experience with this stuff? Will it really be ok to weld through it? I guess i should give it a go on a practice patch first really to see what it's like.
Re: Old journeys end, new journeys begin. 1981 Poptop Resto
Posted: 25 Jul 2012, 20:31
by boatbuilder
You'll get nicer welds if you remove the primer at the edges. There won;t be as much spitting etc.
A bit of cellulose thinners on a rag should dissolve it. Its really only intended to be used on overlapped panels where you can't paint in between after welding. Are you going to butt weld or overlap the new panels?
If you're plug welding, you can just remove the bit of primer through the hole you've drilled for the weld. I use a rag dipped in thinners on the end of a flat bladed screwdriver to scrape/dissolve it.
Looks like you have your work cut out there but it looks great so far!