Page 1 of 1
Wet weather grinding
Posted: 06 Jun 2012, 09:50
by DaveandMarion
Made a start yesterday - you know, waited for the nice dry weather to clear first before tackling anything which required being outdoors with electricity.

That's the good side. I really would recommend people inspect theirs as underseal and other similar gloopy black gunk may cover rusty bits, but it's really not very good at supporting the weight of the van.
Took an hour of continued abuse to get the old bushes out. Next job to clean up and paint the trailing arm, insert new bushes and weld in the brackets. Oh, and do the same with other side. Just need to wait for more wind and rain

Re: Wet weather grinding
Posted: 06 Jun 2012, 13:35
by DavidPallister
I bet there's a lot more rust lurking in there than you think. I'd bet the inner sill above the JP and the C poat base and stiffener are all shot too. Mine were, and the JP wasn't anywhere near as bad as that.
Dave
Re: Wet weather grinding
Posted: 06 Jun 2012, 14:25
by DaveandMarion
Oh I'm confident it'll all be knackered! It's all good fun mind (when it's sunny!!) I'm lucky as the trailing arm was in good nick. May sound funny but my worst fear is when I come to re-connect brake lines.
Re: Wet weather grinding
Posted: 31 Aug 2012, 19:14
by DaveandMarion
An update!
Sorry it's not any sort of 'how to' but I'm just glad I've got to this point, and I'm sure this has already been covered. As mentioned above - the rot was worse than it initially looked, but it was quite isolated and I was able to save the sill and associated parts above it. All I can say from my experience is that these brackets if original are worth a check and even if they look ok or just a little crusty on the surface, I can confirm that they're probably knackered, and given what an important job they so it's worth getting them replaced - to be fair though, mine are strangely worse than others for some reason.
It's one of those jobs that isn't too technical, but it has to be treated one bit at a time or you'll go nuts!
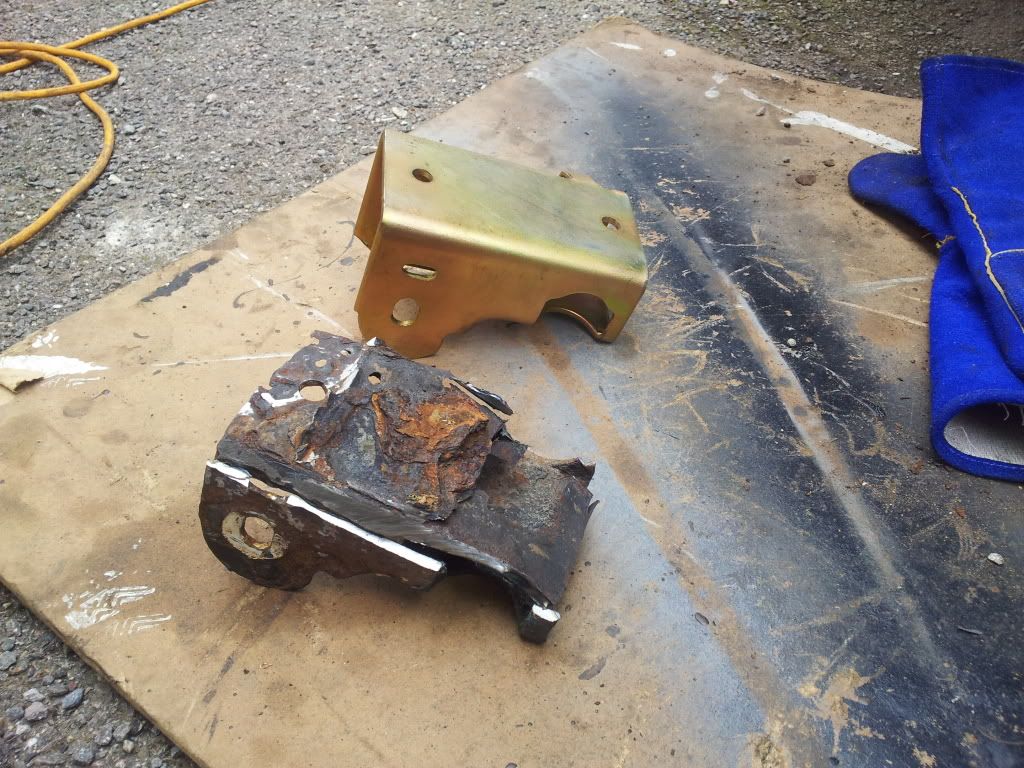
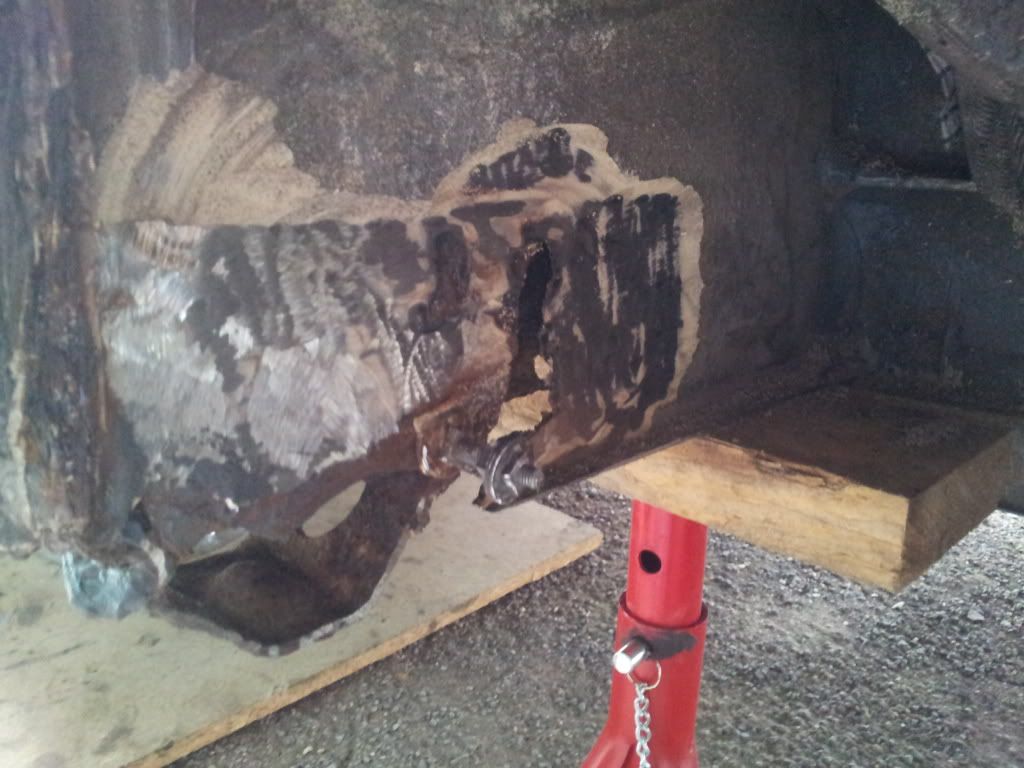
Firstly off cam the trailing arms. I removed these with the drive shafts attached. The first hurdle being the out mount bolts. They were basically fused to the inner part of the bushes so were ground away. Once the inner bolts were removed (which came out a lot easier than the outer ones) it was clear how worn the outer brackets were.
Fairly standard looking 'old' bracket.

Not looking too great from the inside

Off with the trailing arms

After much bashing I was left with this
Oh dear...

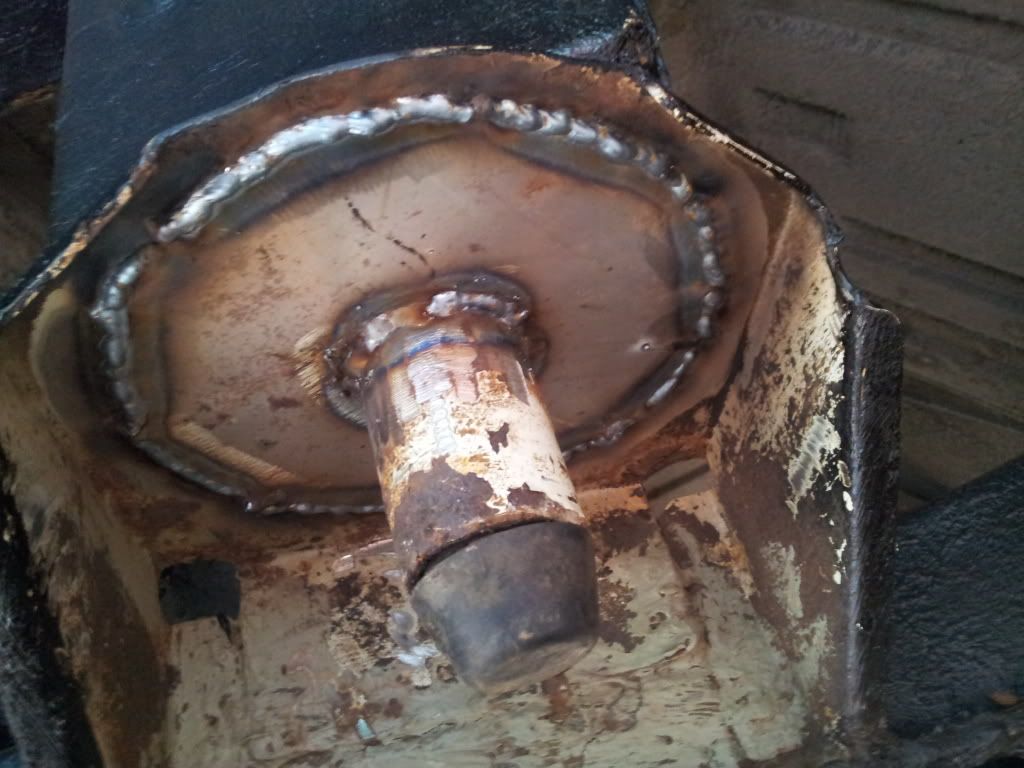
After another couple of hours of banging and grinding I was left with this (see replacement for comparison) -
At this point, whilst cleaning up the wheel arch and spring mount I noticed how bad and corroded the upper section was. No pic here I'm afraid but here's how it looked after about an hour of grinding and welding. I totally cut out the 'nobbly' bit and attached it to new metal before offering it up.
Anyway, on with attaching the new brackets...
Offered up prior to tacking in place (worth noting that a lot of measuring and referencing as done before this bit! And that a mobile phone "spirit level" app came in really handy for measurements)
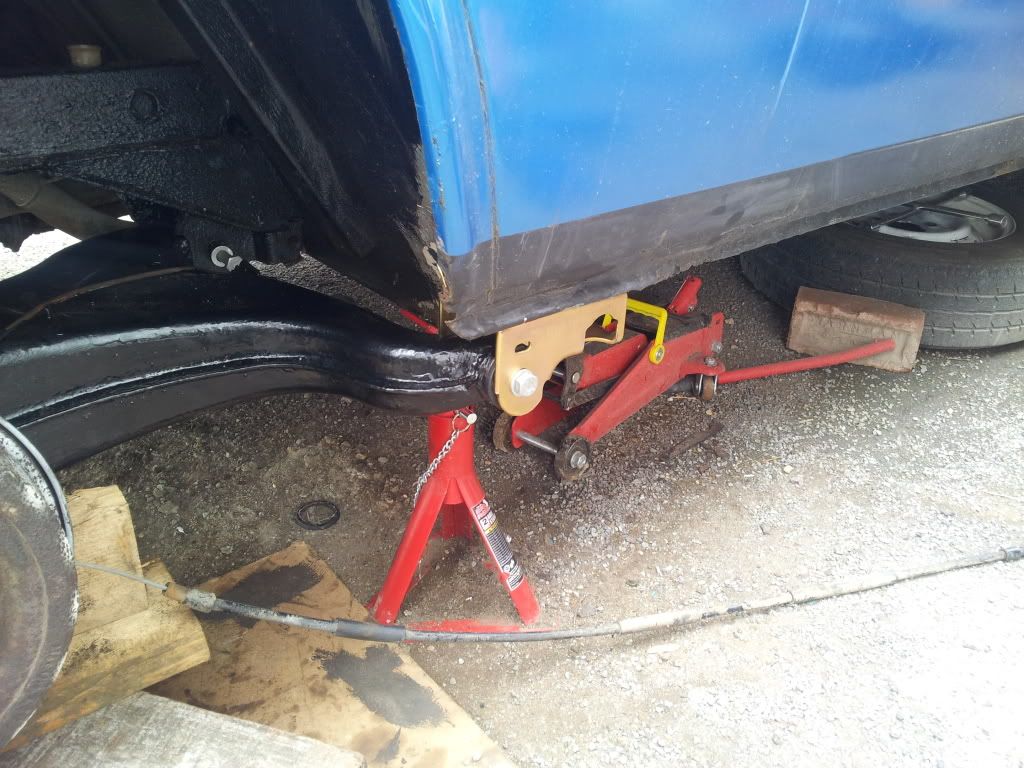
Time to weld then... and get some really good penetration

And don't forget the other side...

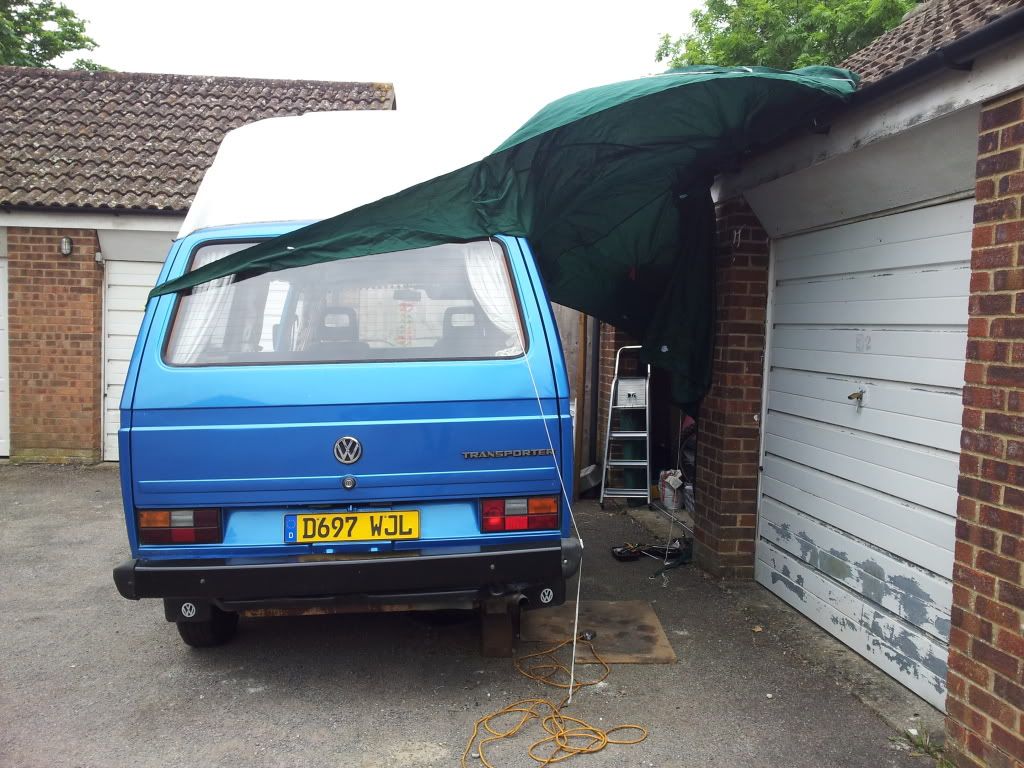
The workshop...
Re: Wet weather grinding
Posted: 31 Aug 2012, 22:11
by Jonnyb416
Hi Dave,
Feel free to put as many pictures and write ups as you want

I think this will be my very next job. What you have done so far has already helped me. It's the trailing arm removal I'm worried about, my welder will be handling the bracket should it come to that. Good luck.
Jon.
Re: Wet weather grinding
Posted: 01 Sep 2012, 07:12
by DaveandMarion
Thanks Jon. One thing I'd suggest about the trailing arm removal is if you decide to replace the bushes use proper ones from Brickwerks! I originally bought some cheaper ones off ebay and they didn't fit and were made out of the wrong kind of rubber meaning fitting them was a nightmare. I spent twice as much time on them removing them to then insert the Brickwerks bushes which took me about 30 minutes and a tub of vaseline. They'e expensive but worth it.
Dave
Re: Wet weather grinding
Posted: 01 Sep 2012, 07:42
by Jonnyb416
Cheers Dave, any info like that, throw it my way. Are you working on the van this weekend? Jon.
Re: Wet weather grinding
Posted: 02 Sep 2012, 19:39
by DaveandMarion
Yep. Spent yesterday and this morning waxoiling the underside, Managed to get both trailing arms back on today and the van back on 4 wheels with nothing falling off. So far so good...
Need to book an MOT as soon as I'm happy with it - Front end up in the air next to check for squeaks and broken rubber gaiters.
Re: Wet weather grinding
Posted: 02 Sep 2012, 20:24
by Jonnyb416
I can't help with a picture just yet sorry, hopefully someone can. Have you got a seal in there yet? I discovered I had bits missing from the top runner that effected the door closure. I can still see light from inside down one of the gaps.

Jon.
Re: Wet weather grinding
Posted: 06 Sep 2012, 08:30
by annavr6@vwheritage
this is eexactly what im doing to my van. one side on mine isnt even attached to the van yet the MOT had jsut run out!!
Re: Wet weather grinding
Posted: 11 Sep 2012, 19:57
by DaveandMarion
Good luck
Our MOT ran out last month... Really can't wait to get out and camp ASAP!
Have the front end up in the air at the moment - need to sort out the front sill/jacking points before I can move onto the slightly easier bits (track rods etc)
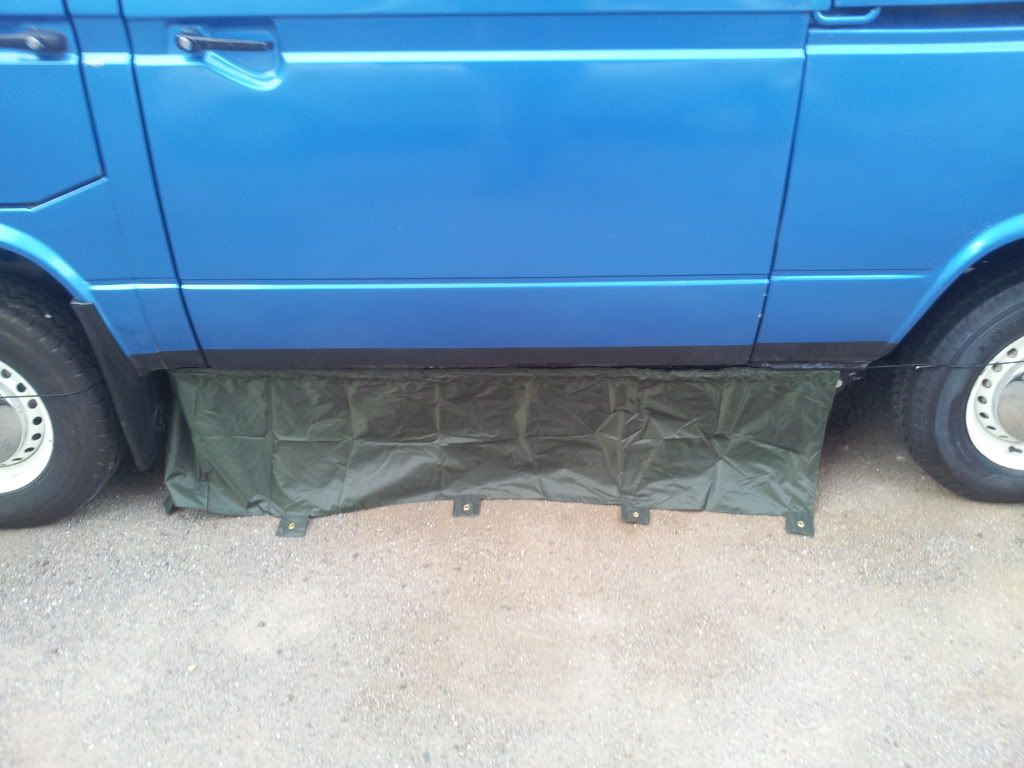
Got this delivered today. Wasn't convinced JK was telling the truth about it fitting a T25, but they were! No more draughty posh dinners for us (well, once the awning's attached as well

)
Dave