Page 7 of 8
Re: Gunther's Body Makeover Commences
Posted: 05 Jan 2013, 23:58
by Plasticman
wondered where youd gone,,, sort of ,
,
,
,
,
,
,
,
,
,
missed you

mm

Re: Gunther's Body Makeover Commences
Posted: 06 Jan 2013, 00:01
by mm289
LOL, still looking for a rear n/s glass for an Autosleeper

So when you did the roof cut on Kev's did you replace down to the gutter or did you leave the original gutter on and cut along the side of the roof above gutter then offer up and weld?
Cheers,
MM
Re: Gunther's Body Makeover Commences
Posted: 06 Jan 2013, 00:07
by Plasticman
fortunately on Kevs it was one of the few good bits up front
so i left that part of gutter and seamed the new cut to it, it helped that it was under the high top , still had to be neat though but if it was to be visible then i suppose in that instance i would have doen that particular join the same. can you do a bit more of a distant shot as well when you get a mo as it will out it into perpective more
mm
Re: Gunther's Body Makeover Commences
Posted: 06 Jan 2013, 00:08
by mm289
Will do on the pics. Mine will be under the hightop as well and it is almost impossible to unstitch the gutter without twisting etc so my preference is to cut above the gutter and seam as you say.
MM
Re: Gunther's Body Makeover Commences
Posted: 06 Jan 2013, 00:38
by Plasticman
Oh you can unpick the gutters, its a pain and fiddly but there isnt realy a need is there
mm
Re: Gunther's Body Makeover Commences
Posted: 06 Jan 2013, 22:25
by mm289
Re: Gunther's Body Makeover Commences
Posted: 06 Jan 2013, 23:35
by Plasticman
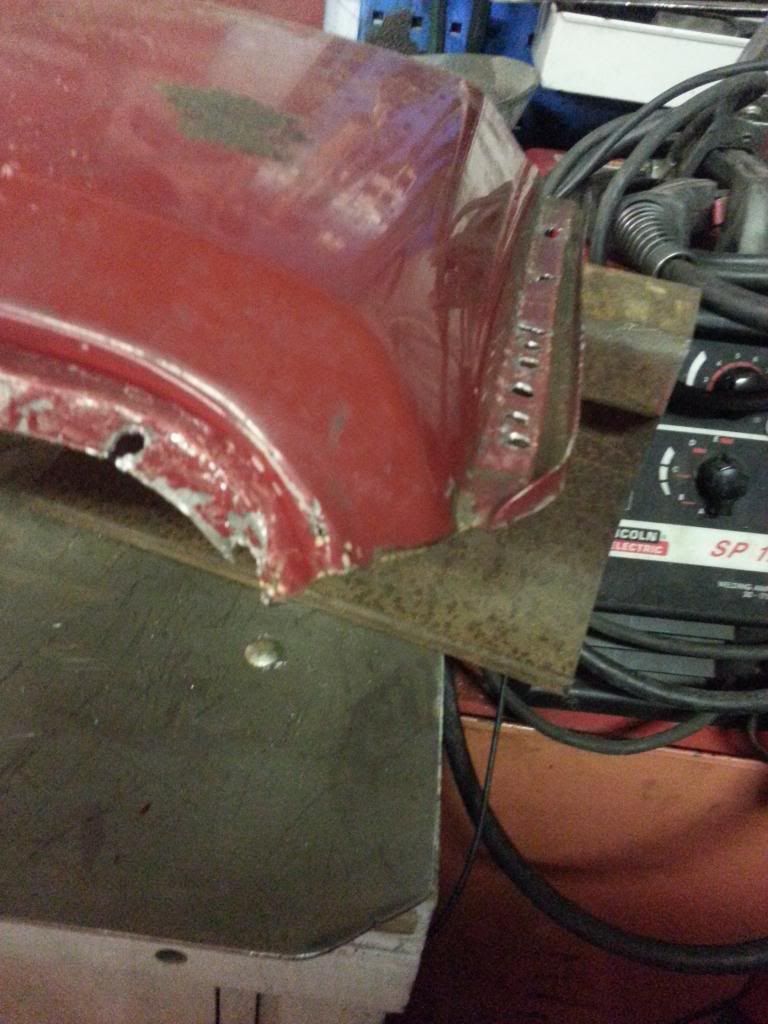
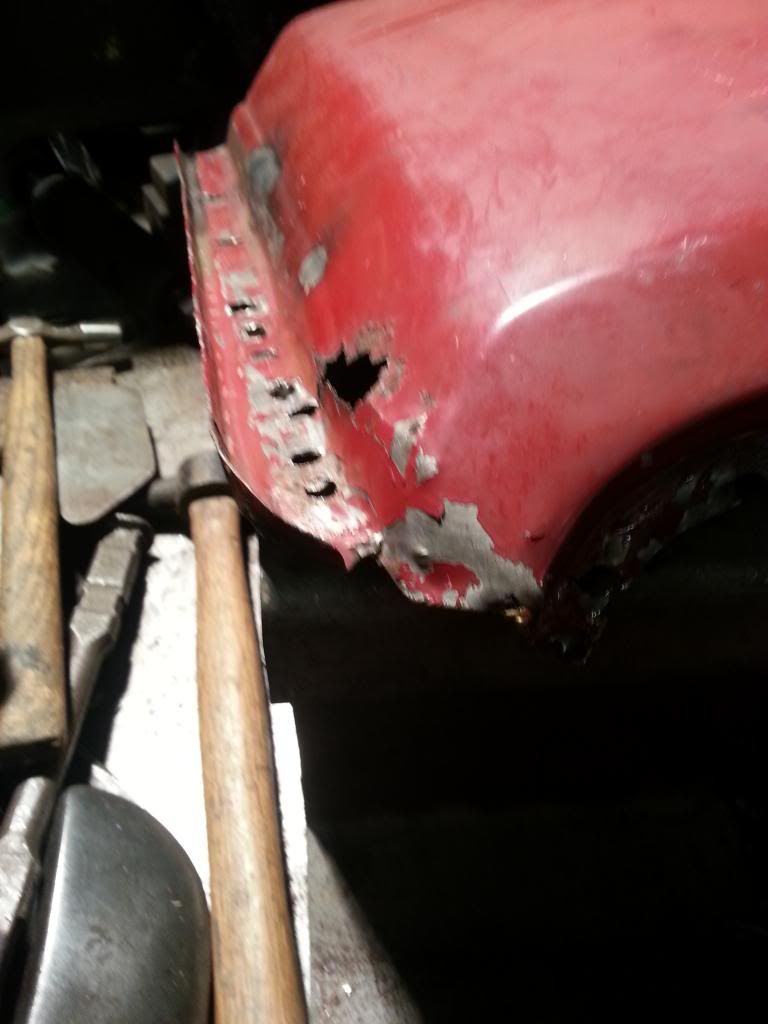
did you butcher it off like that

its a bummer about the bit of rust at the front, u still got loads of the grit i assume? whats th eroof of the van like up there
on the bench, whats that thing on top of the hammer looks like a hoover end
mm
Re: Gunther's Body Makeover Commences
Posted: 12 Jan 2013, 00:09
by mm289
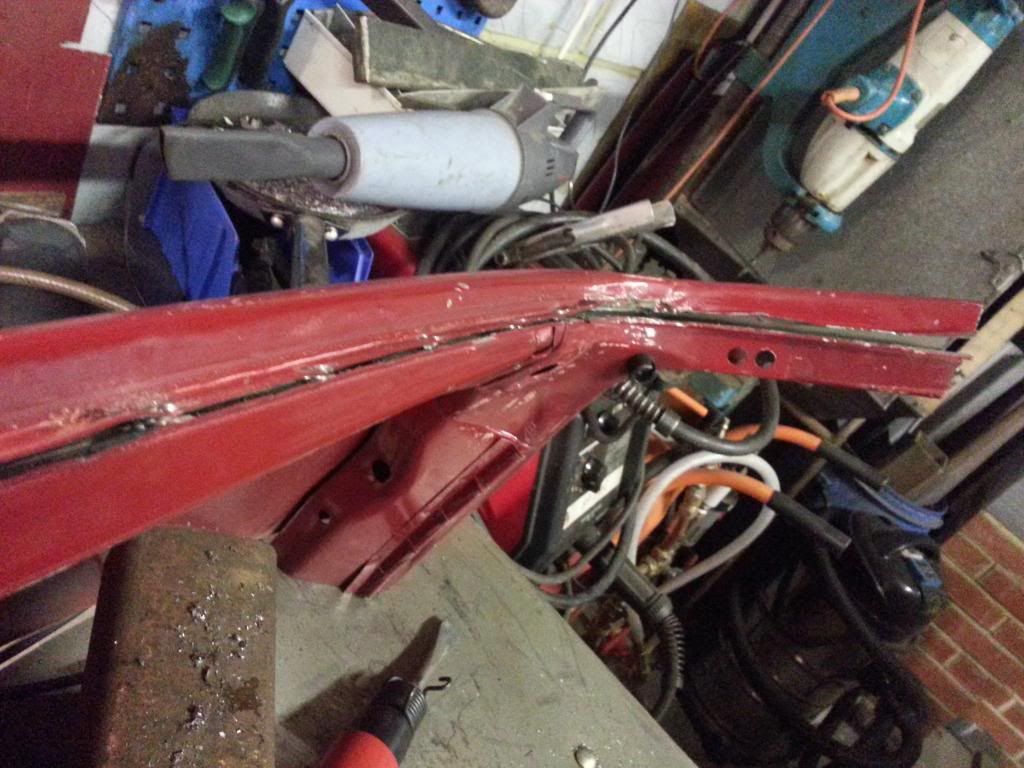
Got out to do a bit more tonight, bit crispy outside mind!
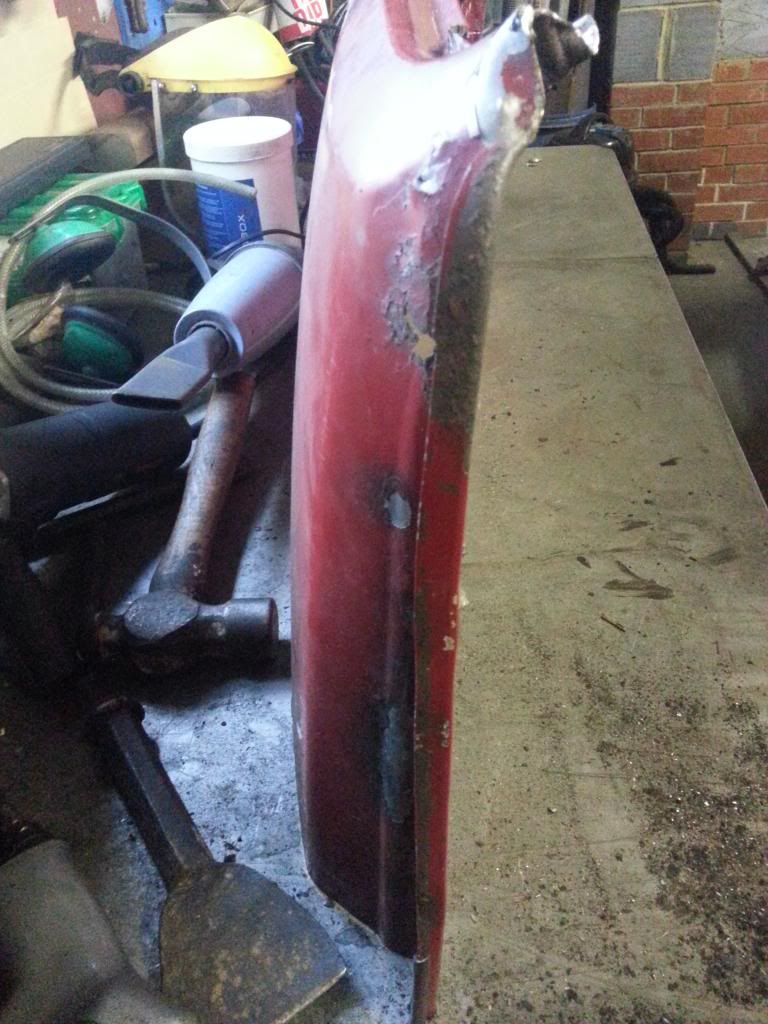
Worked on unpicking the rest of the front roof panel of the body cut.
The bracing around the top of the A pillar makes it really hard to get the panel of in this area - this is a pic with the screen top brace cut away at the A pillar end

Drilled out the spot welds along the top of the screen rail and then separated the panels with an air chisel (used carefully i find it causes less damage than a hammer and chisel)
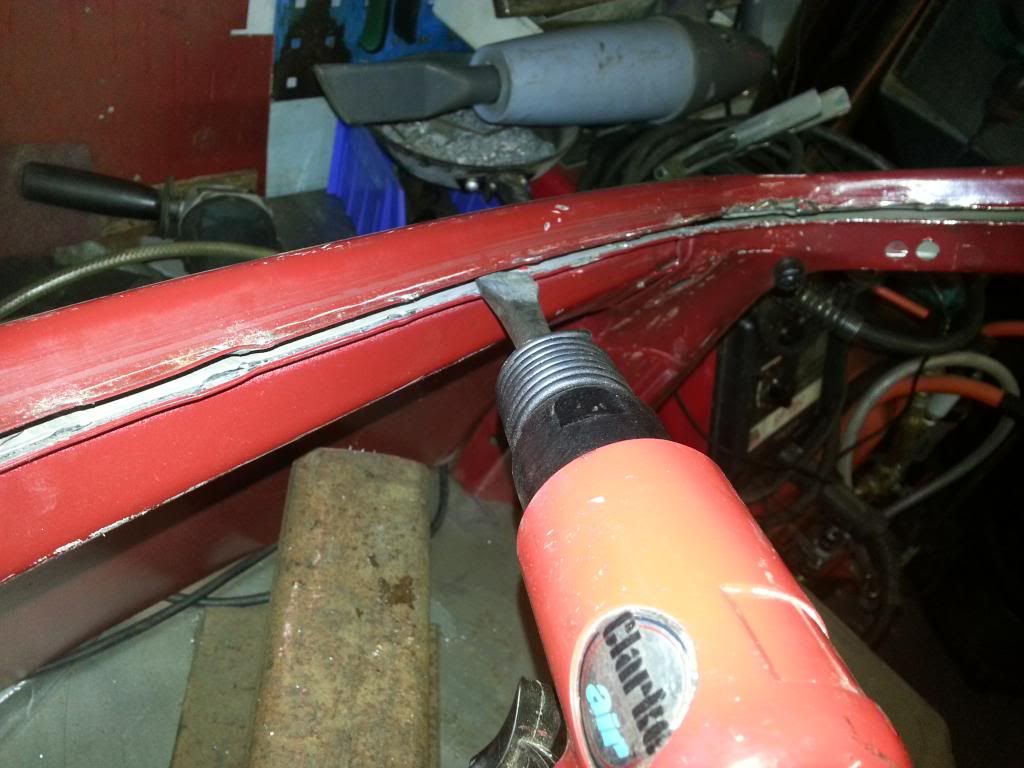
Complete top rail is now separated
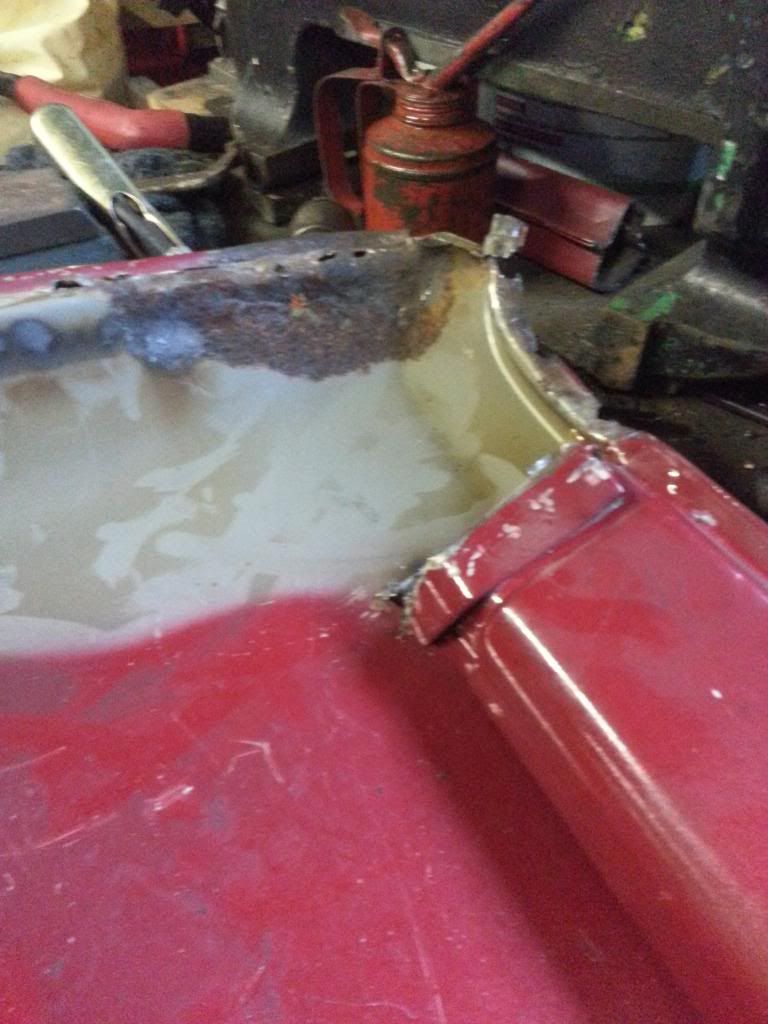
This is a close up of the "seam" visible at the top of the A post, it is 2 or 3 sections all brazed together and is really strong/hard to separate.
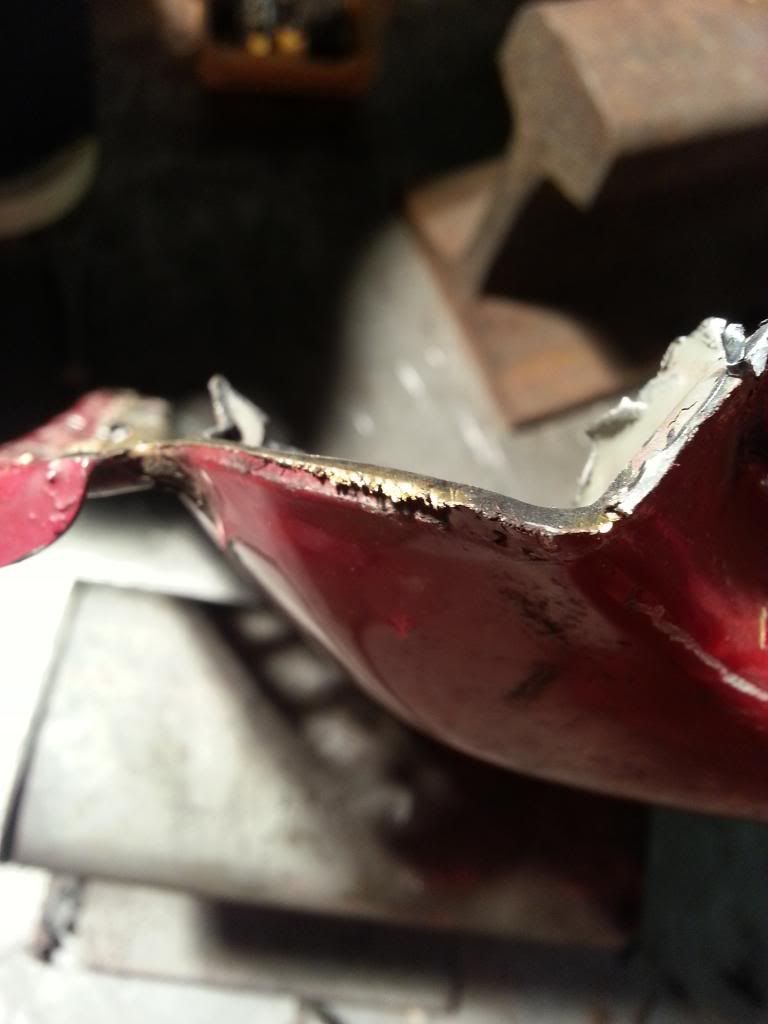
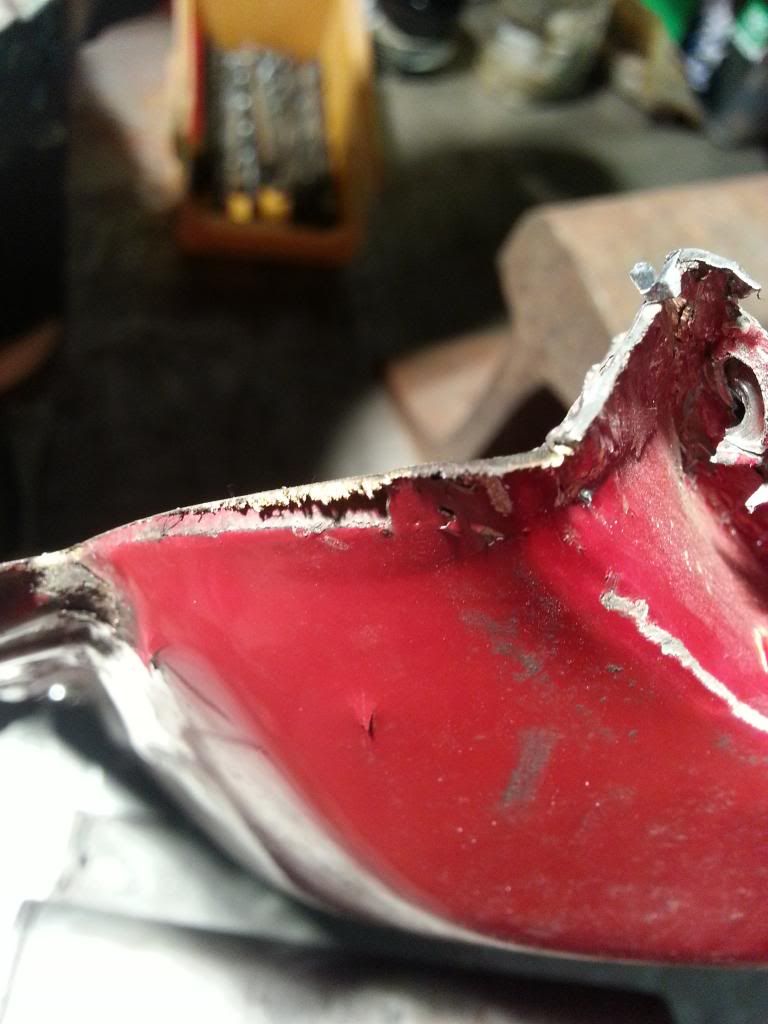
If you look really carefully you can see the gold colour of the braze.
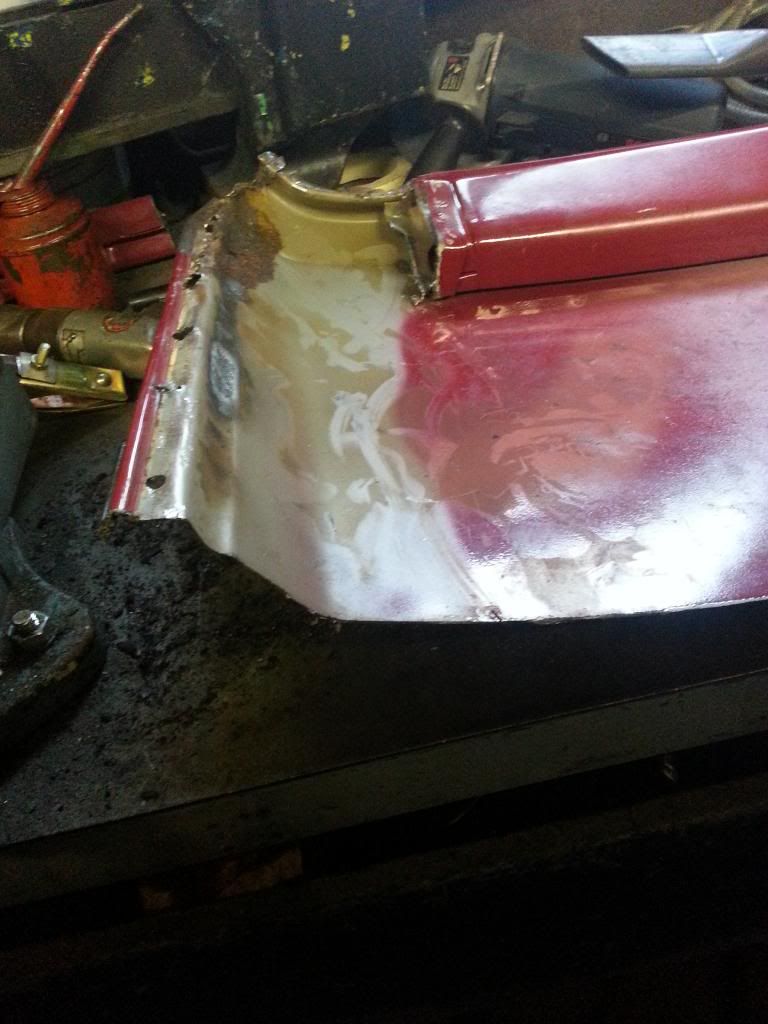
Finally got the whole section separated
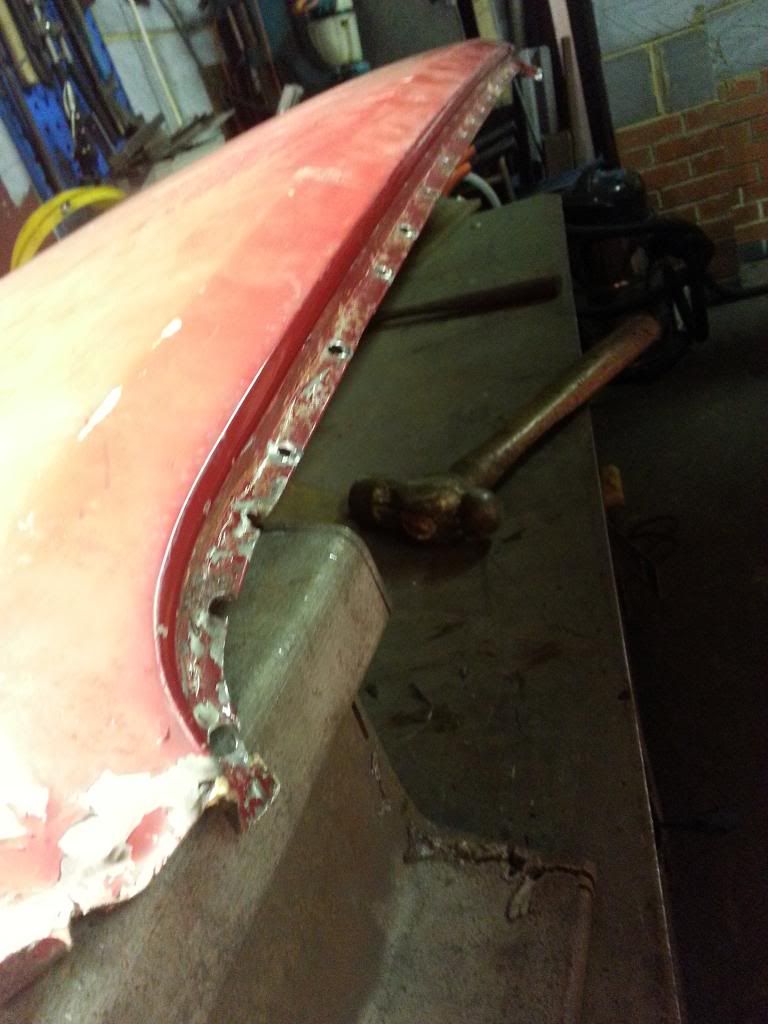
And tidied up the gutters and flange to redress the effects of my "butchering" (thanks Mike

)
And then trial fitted to Gunther 0 still lots to do to dress Gunther first, including deciding whether to retain Gunthers drip rails or fit the replacement roof section complete with drip rails - that's the next job!
Also need to repair the rust danage to the replacement roof, got loads of grit left Mike, haven't use any yet!! Also just spent some of my Christmas pressie money to order a localised grit blast gun for doing this sort of stuff rather than use my main blast pot - hopefully a lot less mess!
And just for Mike - can you spot the re-appearance of the bench hoover
MM
Re: Gunther's Body Makeover Commences
Posted: 12 Jan 2013, 00:18
by Plasticman
ah well now then.when your unpicking the roof for instance you first decide if any of it is not required as in it scrap surplus to requirements and hence sacrifical, so sod the spot drill , just pilot and go through the lot, then from the not wanted (underside) slit the panal 1/4" eitherside of the spots and peel it away like a fray bentos tin also if you get a brick bolster and cut it back to 2" wide and then spend somne time thinning it and then sharpeneing it you will find it cuts like magic, good fun though isnt it, and the brazing is good , i get the torch out and melt it and hit it with a wire brush...steady way and dont catch your death out there
mm
Re: Gunther's Body Makeover Commences
Posted: 12 Jan 2013, 00:27
by mm289
Gee your quick on the post
I did think about hitting the braze with gas but i only have MAPP not OA and I didn't think it would be hot enough.
Decided to peel the whole thing off and then offer up to existing roof to see where I wanted to cut, probably take longer but as this is my first one allows more room for error

This was a bit of a learning curve in terms of how the roof/layers of tin were constructed so I would know what I was doing when I start to unpick Gunthers roof edges.
Back in the warm now and climbing into a couple of tall glasses of Moscow Mules.....


MM
Re: Gunther's Body Makeover Commences
Posted: 12 Jan 2013, 00:34
by Plasticman
no thst makes sense , i think map is hot enough, might buy one as they are handy for all sorts, I can send you some brazing rods and a bit of flux if you want to have a go with it
mm
Re: Gunther's Body Makeover Commences
Posted: 12 Jan 2013, 00:44
by mm289
That would be cool, I use it a lot as it is convenient for heating bolts etc. also use it on a wider flame for the leading. i Bought a Rothenburg igniter thing as well so it is just squeeze and go.
Would be interested in having a go at brazing if you can send a few bits down, will save me trying to figure out what to buy!!
Cheers,
MM
Re: Gunther's Body Makeover Commences
Posted: 12 Jan 2013, 00:47
by Plasticman
pm me your addy again
mm
Re: Gunther's Body Makeover Commences
Posted: 20 Jan 2013, 22:53
by mm289
Got myself a late Christmas present

Much easier to do small areas of clean up, like the rust spots on the replacement roof sections, from this

to this
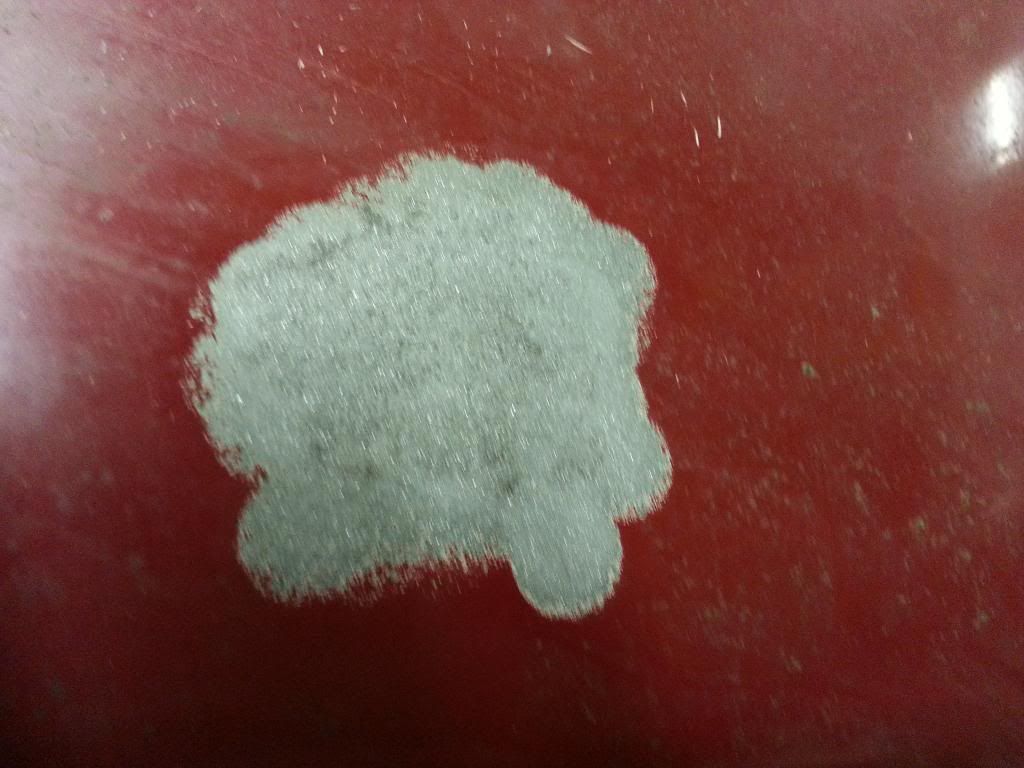
Makes life much easier than firing up the pot blaster and no mess
MM
Re: Gunther's Body Makeover Commences
Posted: 20 Jan 2013, 23:17
by mm289
But then I started to feel sorry for the pot blaster so decided to give it some attention as well.
If you have one of the 20 gallon pot blasters from Sealey/e-bay you may find that getting a steady flow of material in the air jet is a right pain. Apart from the normal gremlins of moisture, lumps etc the shape of the pot doesn't help itself. Basically it has a pretty flat bottom so the blast media can easily just sit in the bottom of the pot and not flow through the feed valve.

So, there is a simple modification you can do to help the flow. Basically it involves making a feed pipe with holes in it that goes inside the pot and allows media to flow down into the feed valve from a variety of heights in the pot.
Start with the 3/8th nipple that goes into the bottom of the pot. Get a 12.5mm or 13mm drill and drill out one end, make sure the drill is centred

Next get a length of 10mm pipe (copper or steel) and drill a series of opposing holes,

The 10mm pipe has an OD of just over 12mm so now the pipe can be dropped in the reamed out 3/8th nipple. You can either use glue (epoxy or similar) or braze the rod into situ.

The completed unit can then be refitted to the blast pot and you will find the media will flow much more consistently

Have fun
MM