Page 36 of 43
Re: The GASWAGON (act III)
Posted: 03 Jul 2014, 05:44
by lloydy
the seams look lovely

Your right with the jp, black i reckon. Paint looks real nice too, like glass. thanks for spraying all that dinotrol around too.
Re: The GASWAGON (act III)
Posted: 03 Jul 2014, 21:24
by Plasticman
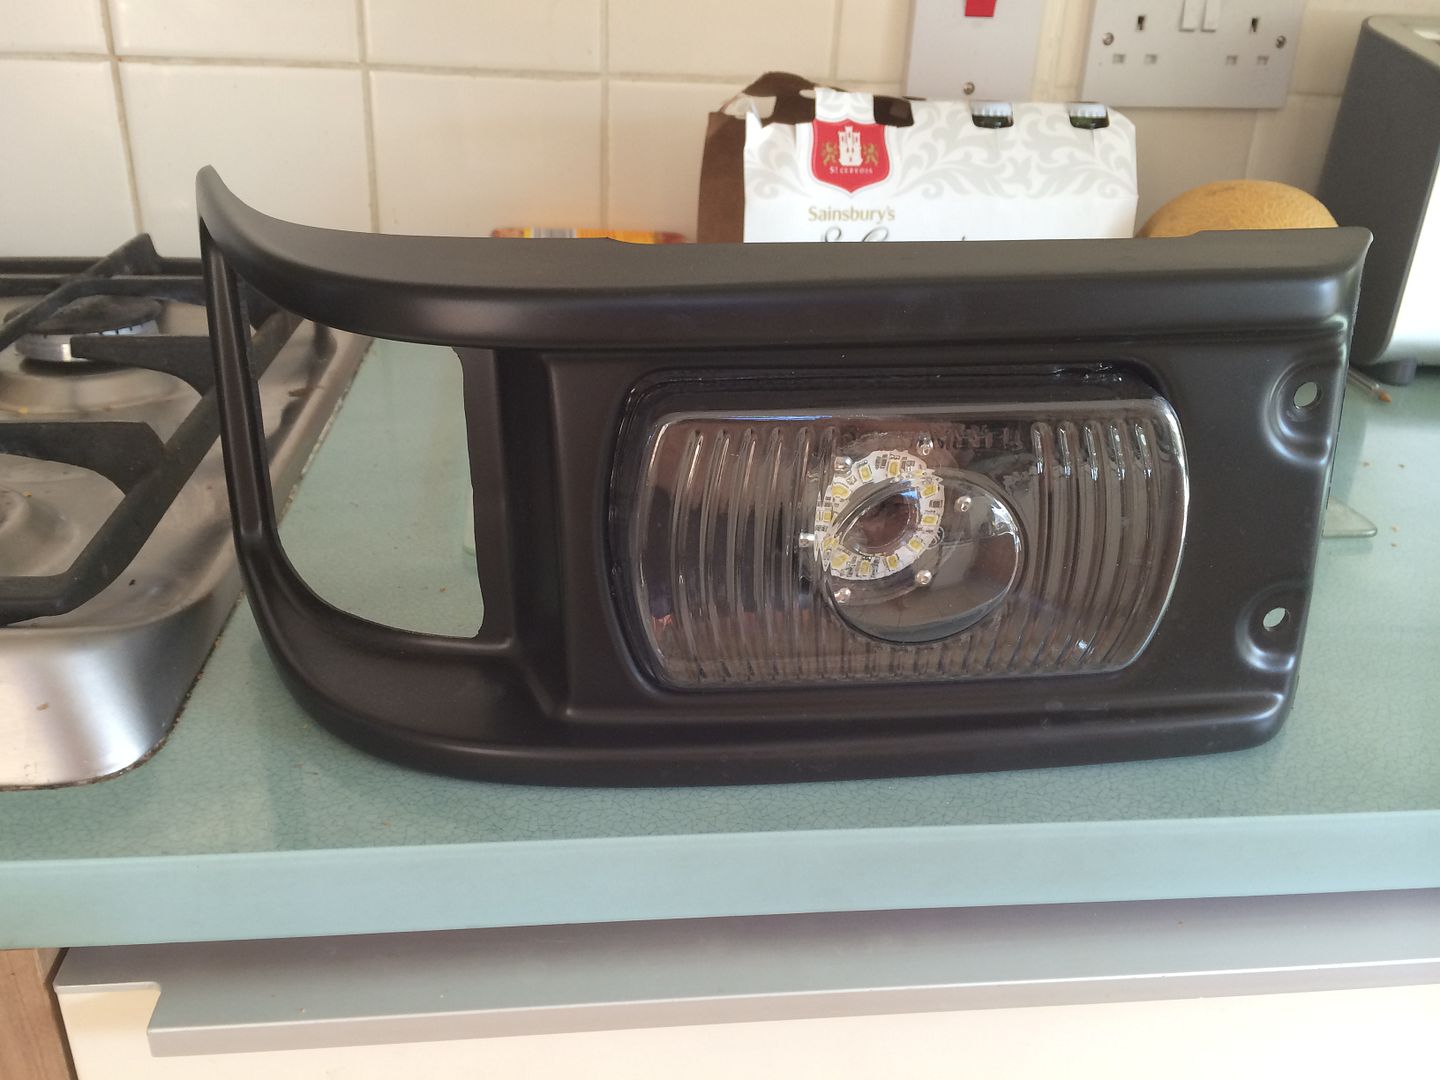
Well cleaned up a grill and fitted it

together with the smoked indicator

van is defo black and blue theme with a touch of discreet bling
filler tube back in place and prior to fitting the cover etc will dose with wax

vents back in , need some grommets for the top lugs though

the 3 chrome fixings to rivet back

the all important westie logo(snobbery)


is nice though especially with the new seal

tomoz it gets raised and the underside gets treated and the inner sills,b posts etc,it has to be away to the fitters on tuesday to install the new engine that has kindly and carefully been assembled so back to me after to finish the detail stuff as no point rushing and spoiling the job
mm
Re: The GASWAGON (act III)
Posted: 03 Jul 2014, 21:45
by lloydy
Blue/black is the theme for sure, got the smoked projekt zwo's to go on as well

Re: The GASWAGON (act III)
Posted: 03 Jul 2014, 22:06
by Plasticman
oh

where are they hiding
Re: The GASWAGON (act III)
Posted: 03 Jul 2014, 22:08
by Plasticman
satin blacked the "new" rear bumper and same to the front one,so they match at least,used the uc dinitrol on the backs of them as well
Re: The GASWAGON (act III)
Posted: 04 Jul 2014, 06:56
by lloydy
metalmick8y wrote:oh
where are they hiding
Right here on my kitchen work surface
Re: The GASWAGON (act III)
Posted: 04 Jul 2014, 06:58
by lloydy
that dg window looks really shiny too, did you clean it or something?
Re: The GASWAGON (act III)
Posted: 04 Jul 2014, 07:27
by Plasticman
nice... everything gets cleaned
Re: The GASWAGON (act III)
Posted: 04 Jul 2014, 21:51
by Plasticman
Well a good and very very messy day,,

seam sealed the joins then dinitrol UC

and

jp area

i have left the small area behind this as there is a very sm,all bit of welding to do later
logo riveted on

front part of roof we scrubbed and cleaned and then color washed, whited in the bracket securing bolds, added studs to the spare holes in it and colored these as well , all in all much nice, still got the main pop to do later

nice clean lines now

wasnt going to paint the roof at the front but after removing the top we found a hole and rust etc so best do it

across the rear part

and the gutter

indicator is lit
thankfully no sign of the join in the panel


seam clean

dinitrol creeping everywhere

that will have to do for now, most of the cavities have been done , van is away after the weekend to the fitters for the new engine and is being trailored so no need to rush and spoil stuff so can finish the mass of small jobs on its return and polish it as it will be well hard by then, allso some stuff to move in the eng bay, im also leaving the bumpers and rear flap off as this will give a bit more room to work on the removal etc,
glass due to all go back in in the morning
mm
Re: The GASWAGON (act III)
Posted: 04 Jul 2014, 22:19
by lloydy
That looks bloody lovely!
Re: The GASWAGON (act III)
Posted: 04 Jul 2014, 22:21
by lloydy
and this is my new favorite photo
Re: The GASWAGON (act III)
Posted: 04 Jul 2014, 22:27
by Plasticman
I'm just bonding the two parts of the mar window together as I forgot lol
Re: The GASWAGON (act III)
Posted: 04 Jul 2014, 22:58
by Plasticman

no rest unlike for some
Re: The GASWAGON (act III)
Posted: 05 Jul 2014, 06:17
by ninja.turtle007
It's looks amazing!

Re: The GASWAGON (act III)
Posted: 05 Jul 2014, 07:15
by lloydy
metalmick8y wrote:
no rest unlike for some
I don't recognise that, mar window?. Rest...... Just think of my working day like a tin of condensed soup


