Page 30 of 33
Re: Kevtherevagon
Posted: 23 Mar 2012, 19:02
by AdrianC
metalmick8y wrote:easy enough , stitch a couple of loops as per the original , slot wires in fix to plastic receptacles, then tuck under lips
mm
Is there any end to your talents, Mike?
Re: Kevtherevagon
Posted: 23 Mar 2012, 19:09
by Plasticman
hah, if I can find any picks.. I dont /didnt do seats but did proper carpets with my own piping, did headcloths with west of england wool and fitted in older classics, they were easy cos they were all hand made and you fit tacking strips etc moderrn stuff is harder. and wood is the devils choice hate it hate with a vengence.
mm
Re: Kevtherevagon
Posted: 24 Mar 2012, 07:41
by New Kentish Campers
boatbuilder wrote:Just wondering if there is a cab headliner kit available anywhere or will it have to be made up from a roll of vinyl?
Looks like the left, right and rear edges of the headliner are held on with some kind of heavy cardboard strip on the edges and the front is wrapped around the window lip. I can imagine it being very tricky to re-create the cardboard edge strips.
I put a headliner in a Karmann Ghia a couple of years ago and it wasn't that difficult.
https://club8090.co.uk/forum/viewtopic.php?f=38&t=93651
Re: Kevtherevagon
Posted: 24 Mar 2012, 07:47
by kevtherev
Cheers for that...search over.

Re: Kevtherevagon
Posted: 24 Mar 2012, 07:51
by New Kentish Campers
Re: Kevtherevagon
Posted: 24 Mar 2012, 07:58
by kevtherev
Just one thing....does the screen have to be removed?
Re: Kevtherevagon
Posted: 24 Mar 2012, 17:25
by kevtherev
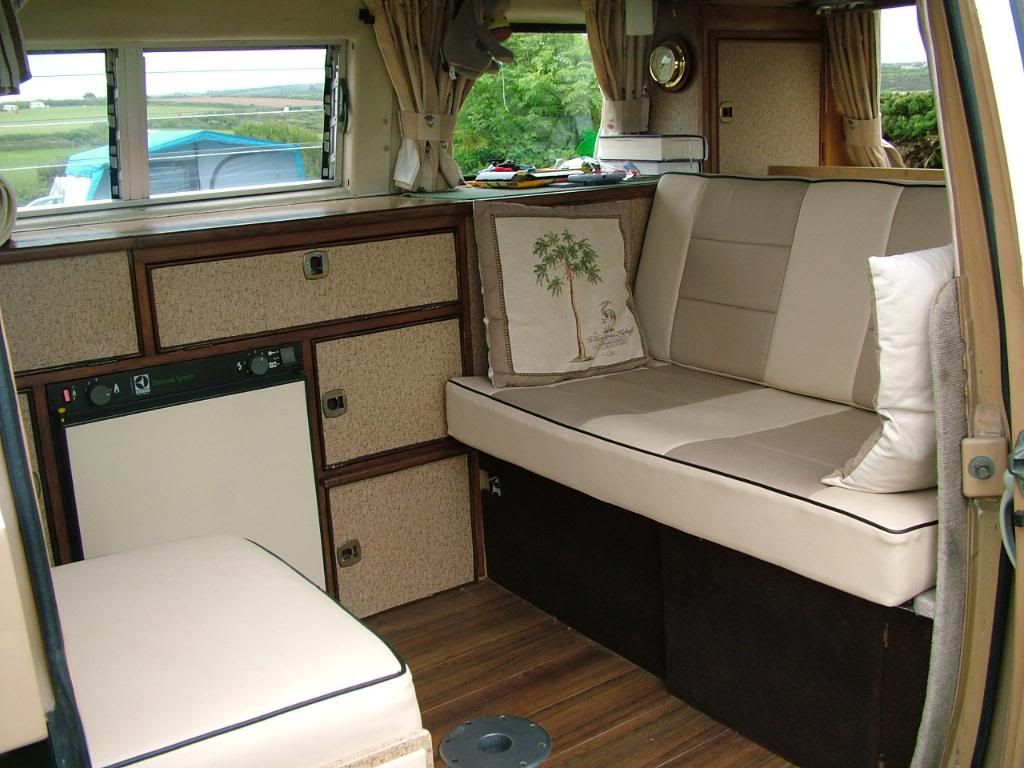
Well it's amazing what a little help and a good day at the camper brings
First the wardrobe

then the rest fell into place very quickly


then it was down to the Jazz's shop for some refreshment.

So apart from a few items such as the head lining and a little tidying... it's a done thing.
We go camping next weekend to Malvern, where a table is booked for 12 at the Marlbank Inn.
With some very good friends, we'll be toasting another ten years of utter fun.....
Thank you all for your very kind comments, your suggestions, advice, observations and most of all your interest.
Mike, you made the future of our van concrete, set in stone, I can't thank you enough for your expertise and enthusiasm for this project, I can absolutely recommend Mikes work to any member of this club. Truly a diamond in the 80-90 crown.
...............gone camping
Re: Kevtherevagon
Posted: 24 Mar 2012, 17:30
by kevtherev
Re: Kevtherevagon
Posted: 24 Mar 2012, 18:36
by dirtygertie
Carols looking fabulous Kev, well done
Re: Kevtherevagon
Posted: 24 Mar 2012, 19:10
by windysurfer
Looks great Kev
What about before and after picture from outside

Re: Kevtherevagon
Posted: 24 Mar 2012, 19:45
by New Kentish Campers
kevtherev wrote:Just one thing....does the screen have to be removed?
No, but it makes life a bit easier. Mine was out as I had to replace a lot of the lower metalwork as it had rusted and I was respraying the van anyway.
But you could carefully just pull the rubber lip back [Mike fitted a new screen rubber I believe, so I will be nice and supple] and tuck the new headlining back in, after applying some adhesive to the back beforehand. An old wide bladed flat screwdriver that's lost its sharp edges and that's been bent into an L shape to the tip is a useful tool to try the job with. Just like the little tool thing that used to come in with a bicycle tyre repair kit in fact.
I can't remember if the original is still in or not, but if it's still there, experiment a bit beforehand to get the 'feel' of the job and away you go.
Re: Kevtherevagon
Posted: 24 Mar 2012, 20:20
by Plasticman
As kentish says. the idea is that its first secured to the front screen lip and then you work your way back tensioning as you go, its maybe an idea to say apply adhesive to the area just above the rubber and maybe a touch on the lining as well then when touch dry mate them

then trim the bit that hangs down to say 1/4" and tuck this behind the rubber as said ^^^^, oh and maybe have the lining hung from the first (front) wire this way its kept up and will save 6 pairs of hands, when secured under the rubber then easy enough to work your way back.
anyhow its looking really classy inside , has come together nice and as youve found each time you add a bit correctly it inspires further work
whats the occasion at Malvern ?
mm
Re: Kevtherevagon
Posted: 24 Mar 2012, 20:31
by kevtherev
No real occasion Mike. It's just a get together before the madness of the coming years shows and holidays.
We'll be turning the electrics and gas on tomorrow, I am expecting a few issues.

Re: Kevtherevagon
Posted: 24 Mar 2012, 21:22
by VAN with a PLAN
Looking really, really nice. Well done.
Re: Kevtherevagon
Posted: 25 Mar 2012, 08:24
by wragster
Fab job there,well jealous!