Page 3 of 3
Re: Blunderbus
Posted: 26 Nov 2011, 13:50
by Cyrus
I fear that my windscreen is in just as bad condition. I will tackle it next yr when it warms up and days are longer.
I've missed your updates.

Re: Blunderbus
Posted: 27 Nov 2011, 14:45
by jimpainter
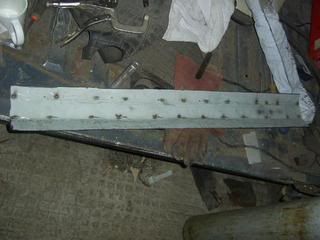
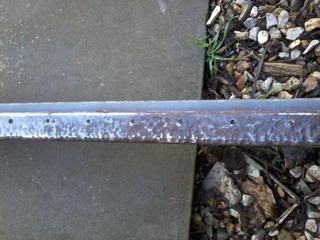
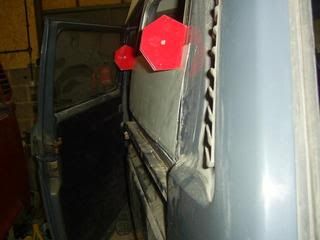
And another few pics, of the rear window frame this time.
There really wasnt a bottom to the window frame, It was built up with expander foam and filler

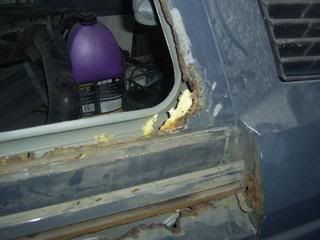

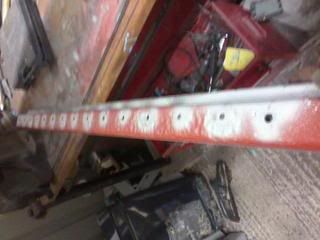
And the extent of expander foam. This was what was left after the window had been removed and pulled chunks out with it.

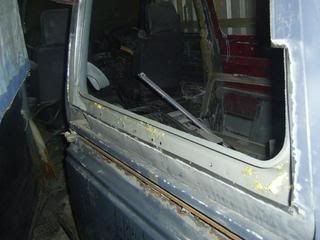
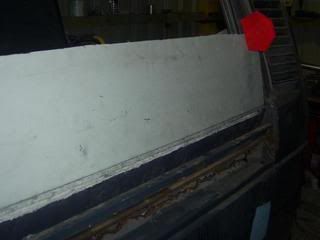
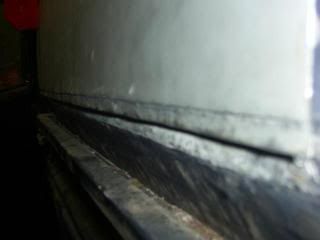
And here we are with the panel being cleaned up. I have already wire brushed it and it is in the process of being blasted to clean it up some more.
I am fabricating the window frame surround and also have to make the swage line that goes across under the window. Its time consuming making it as i havent invested in a swager jet. Maybe I should soon.

Re: Blunderbus
Posted: 28 Nov 2011, 22:28
by jimpainter
Another quick update.
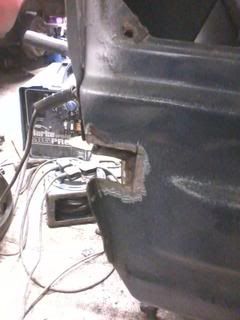
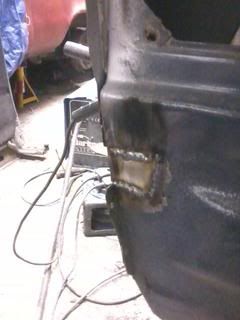
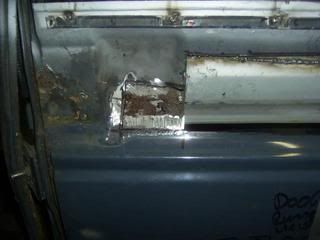
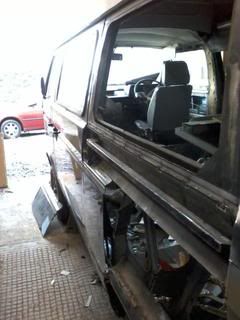
This is how much i have had to remove from the window frame to ensure its rot free
Inside the window frame apature. There is going to be some panel work required on the inside panel
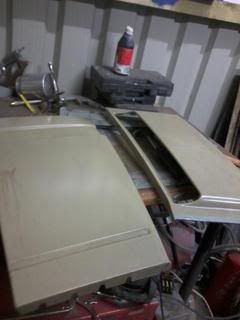
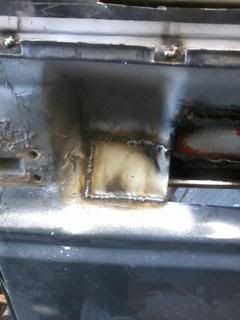
And just a couple of the panel being fabbed up
Re: Blunderbus
Posted: 29 Nov 2011, 09:38
by Cyrus
How is the metal behind you sliding door guide?
Mine has gone the as the water has leaked through the rear window and sat on the inside panel behind the guide rusting from inside to out also the water has run down to the inner arch rusting through there. When the better weather comes I'll repair the slid
i
ng door guided and fit a new long arch panel too.
16vmini has had the same problem on his westy, if you check out his thread you'll see what I'm on about.
https://club8090.co.uk/forum/viewtopic.p ... &start=105
Good work
Re: Blunderbus
Posted: 29 Nov 2011, 10:10
by jimpainter
Cyrus wrote:How is the metal behind you sliding door guide?
Mine has gone the as the water has leaked through the rear window and sat on the inside panel behind the guide rusting from inside to out also the water has run down to the inner arch rusting through there. When the better weather comes I'll repair the slid
i
ng door guided and fit a new long arch panel too.
16vmini has had the same problem on his westy, if you check out his thread you'll see what I'm on about.
https://club8090.co.uk/forum/viewtopic.p ... &start=105
Good work
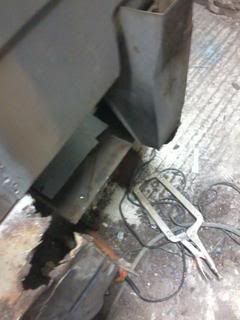
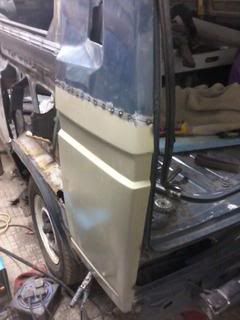
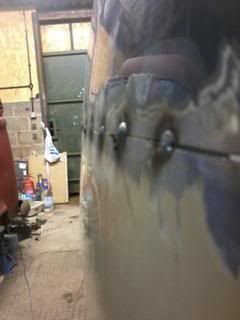
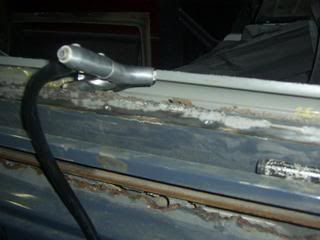
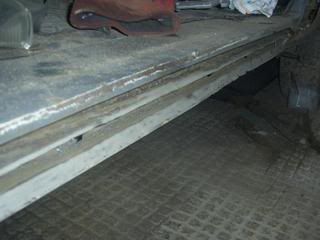
Have a look at the 9th pic up. It is a pic of the window frame but you can see the door runner and just under it you can see the inner panel, so yes its pretty rotten

The door runner is pretty much falling off as it is.
Re: Blunderbus
Posted: 29 Nov 2011, 14:52
by Cyrus
I'll be watching how you tackle it as mine is just as bad, surprised my door hasn't fallen off yet!
Re: Blunderbus
Posted: 29 Nov 2011, 16:38
by jimpainter
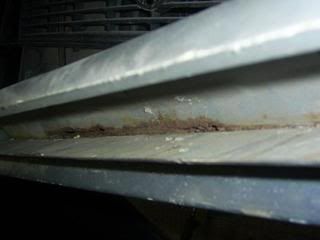
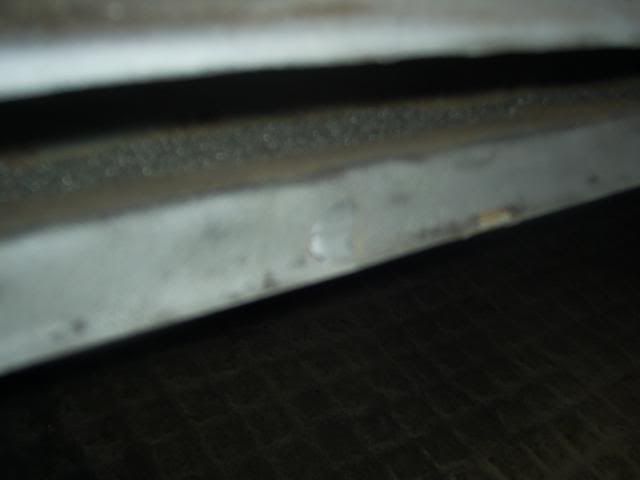
If you look on top of the runner there are a couple of welds along the top. One at the front and one towards the back. I think thats all thats holding the runner on this bus.
Re: Blunderbus
Posted: 29 Nov 2011, 18:30
by kevtherev
great pictures jim
some good work there.
Re: Blunderbus
Posted: 04 Feb 2012, 20:08
by jimpainter
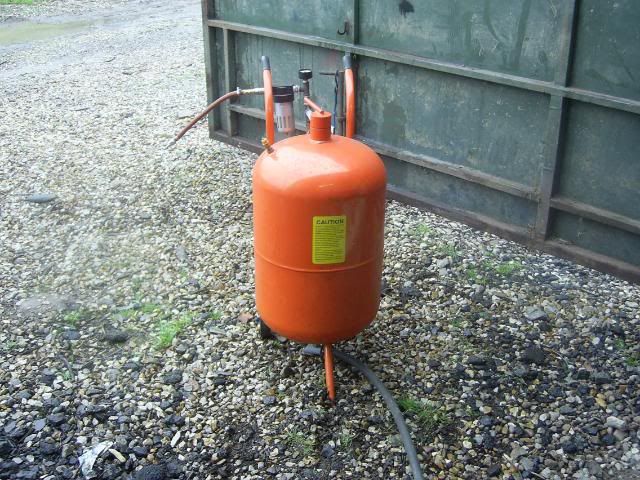
Well I have a new toy, I have always had the small version of a blaster but I picked this up and it works great.
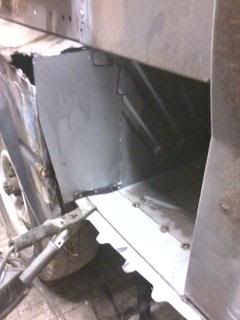
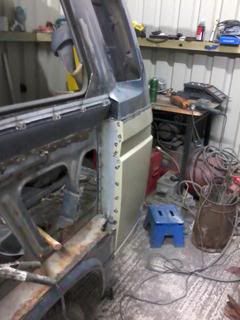
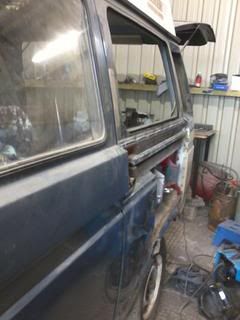
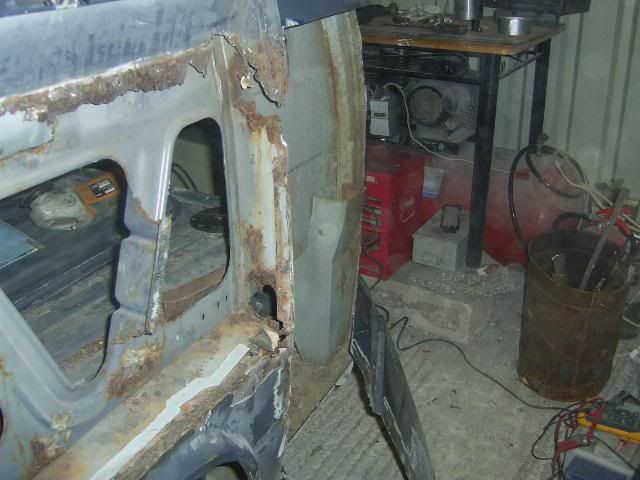
Right so I have removed the outer sill on the sliding door side

The way I did this was to chop most of the verticle out, I then ground back carefully to the top radius ouf the outer. This would leave me the start of the rad to weld the top of the new panel too. The lower piece of sill was drilled with a spot weld bit and removed, I then got a wire brush on it and blasted it. It will also be treated.
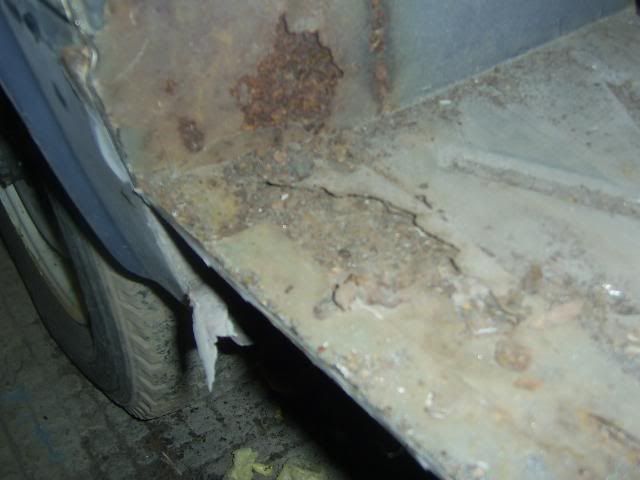
The inner sill is just tacked on, although the bottom isnt as I am waiting to get the rear arch/quarter panel fitted to get the lines

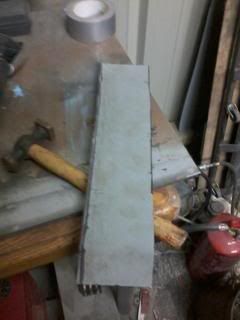
This turned up

This is a cracking panel, although it is for a south african van, so the vent is totally different but the top piece wont be used anyway. The top of the tape is the cut mark.
The rear corner has been removed but I have some bits to repair first.
Re: Blunderbus
Posted: 04 Feb 2012, 21:01
by jimpainter