Page 3 of 5
Re: The project begins... welding worries
Posted: 03 Nov 2010, 23:34
by New Kentish Campers
No,because both products are 2 pack, they will cure ok [all a low bake oven does is to accelerate the drying; all 2 packs will cure without undue printing in hours if the ambient temperature is good, say 20 degrees]
You should only thin water based paints with the manufacturers water; tap water will contain,depending which area you live in, limescale, chlorine etc and will contaminate the paint.
Most body shops, under the then 2 ton solvent emission laws [EPA] went over to water based paint. The limit has reduced more now though so most shops will have to use water-based paints. In 2005, which was when I got out of the trade, it was only the surface colours that were WB, the laquer coating on top was still solvent based, meaning that 2 coat pearlescents, metallics, and SCB [solid colour basecoats] all had a solvent 2 pack laquer put on top.
Most 'solid' colour vehicles now use SCB formats, which mean they are easier to match and blend, particularly reds and orange colours because they are metameric; they look fine in daylight but completely different under a streetlamp.
When I restore my van, I might well do it in a SCB 2 tone colour scheme. Yes, its more expensive, but the final finish can really be very nice.
Re: The project begins... welding worries
Posted: 03 Nov 2010, 23:40
by Plasticman
Me thinks that dependant on the product whilst most will cure in ambient the hardness for want of a better word is increased with a bake of say 72' IMHO
Sorry for dragging you along
mike
Re: The project begins... welding worries
Posted: 03 Nov 2010, 23:53
by New Kentish Campers
Yes, it will be cured enough after say a 30 minute bake and be nigh on ready to DA sand straight away, especially if you used a very fast hardener. Even so, I would not try to polish a very fresh paint film until the next day because it might get spoilt; we often painted cars in the booths onthe usual spray cycle last thing before closing and left them in the booth to air-dry overnight and they were always ready for a final flat and polish first thing in the morning. [We used to do a lot of prestige vehicles so the finish needed to be 100%] For what its worth, we often used 1500 grit dry in a DA or superfine wet, and then Farecla G3 on a slow foam headed mop; these gave excellent results.
Re: The project begins... welding worries
Posted: 04 Nov 2010, 00:21
by Plasticman
I used imron elite on mine as opposed to the water based ,no need for buffing out, we shine out the gun
viewtopic.php?f=38&t=68856&start=105
cheers mike
Re: The project begins... welding worries
Posted: 20 Nov 2010, 12:10
by Donald360
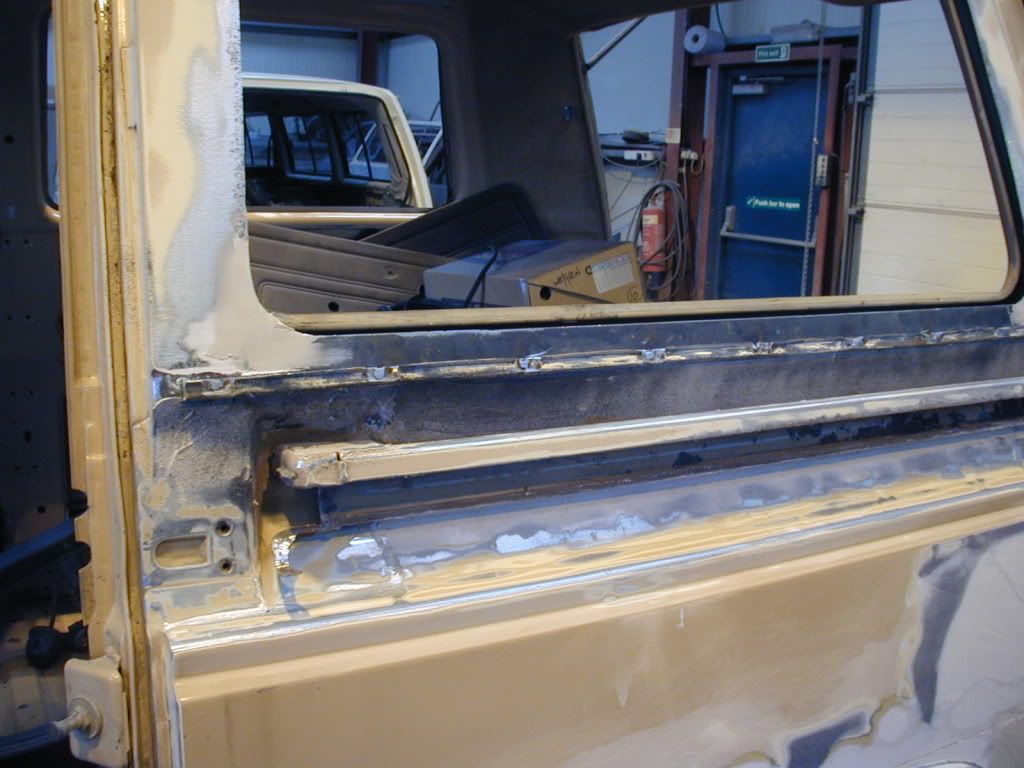
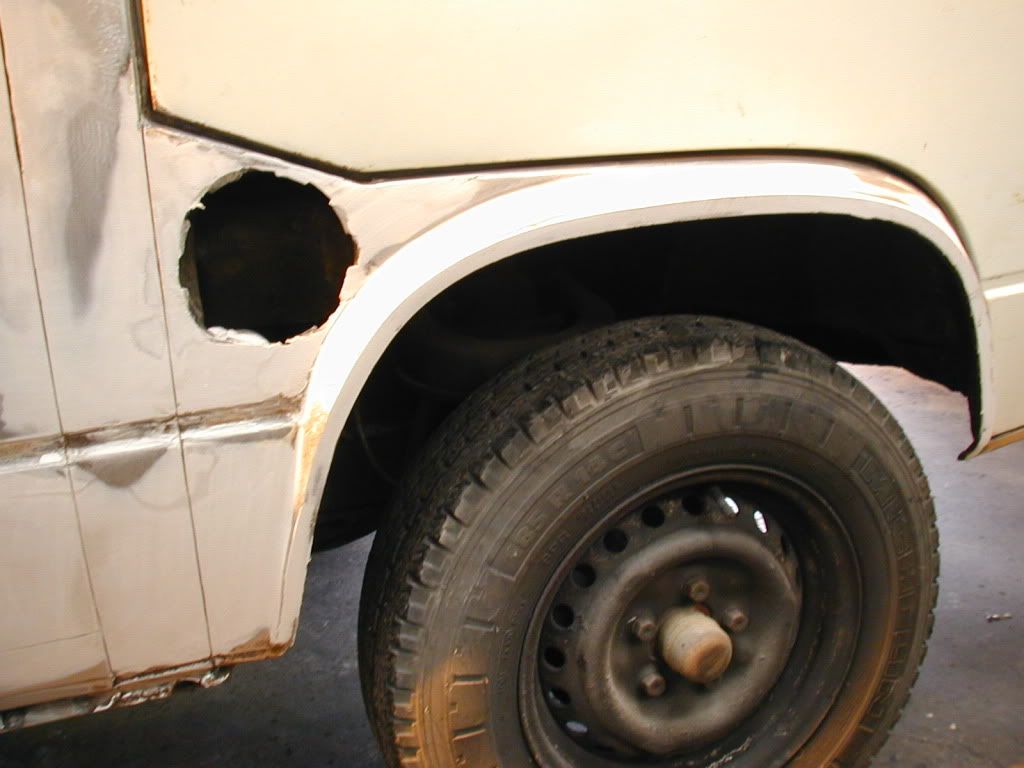
More photos of progress so far. I asked Russell about the existing seams and he confirmed that after blasting them as clean as possible, they are then treated with acid before being sealed and filled (not with lead).
The track for the sliding door has been cleaned up and a new strip for attaching the cover panel.
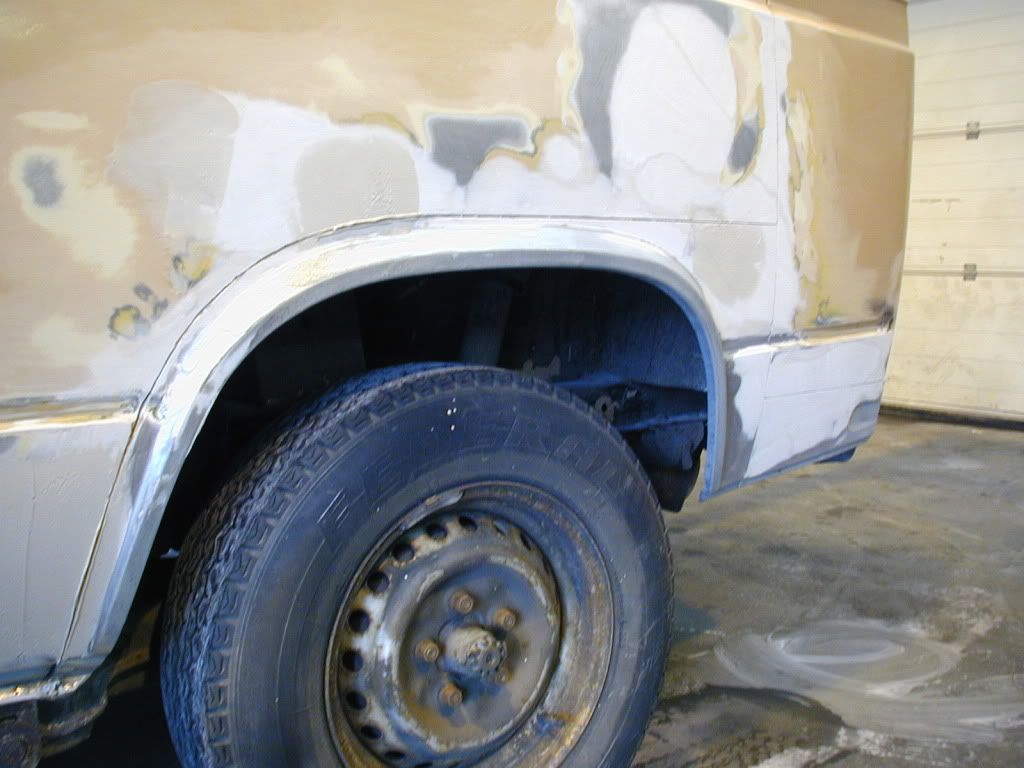
New wheel arch.
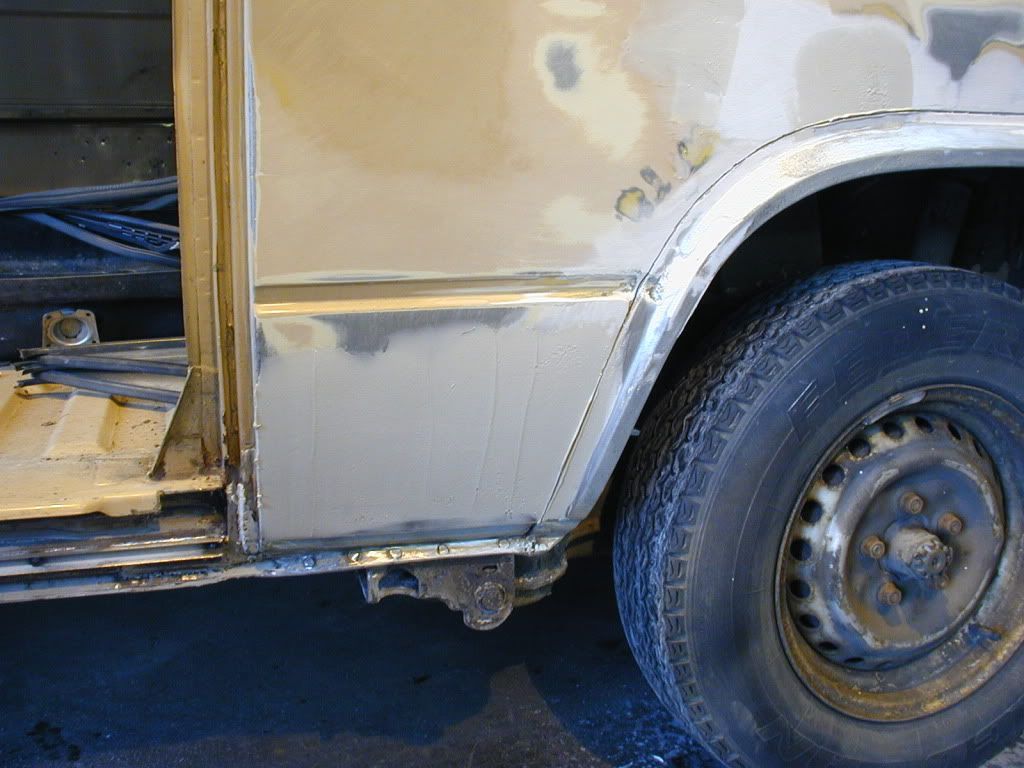
n/s sill needed a wee repair and some beefing up behind for the jacking point. All the sills etc have been Waxoyled as well.
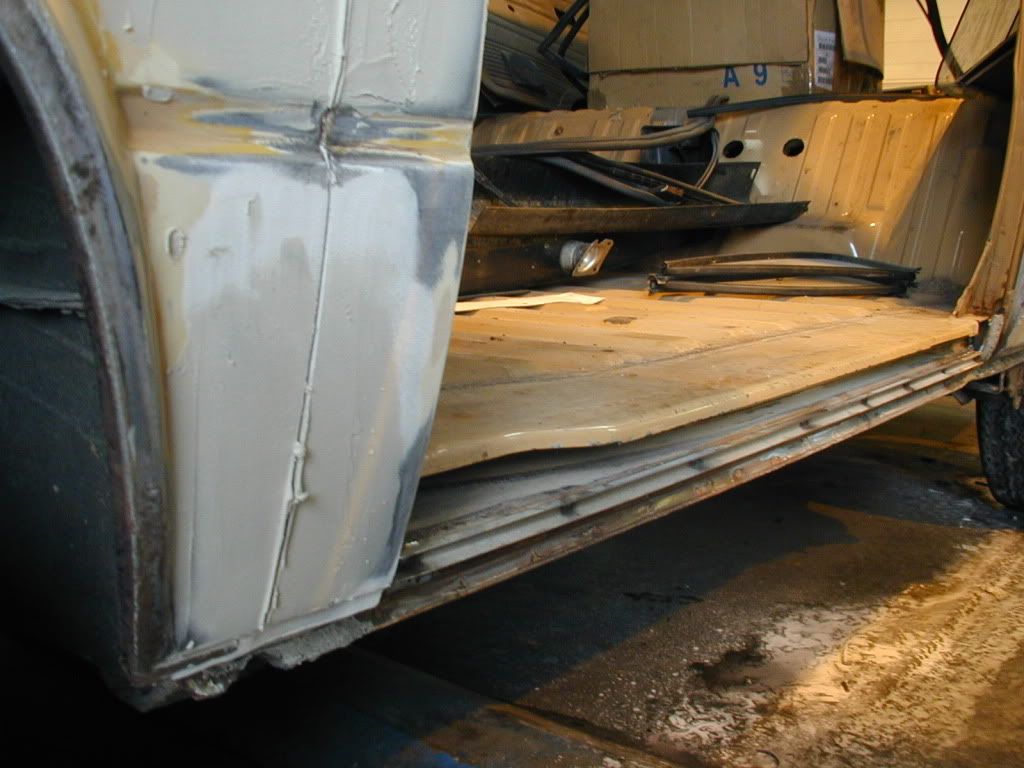
The lower door track was replaced.
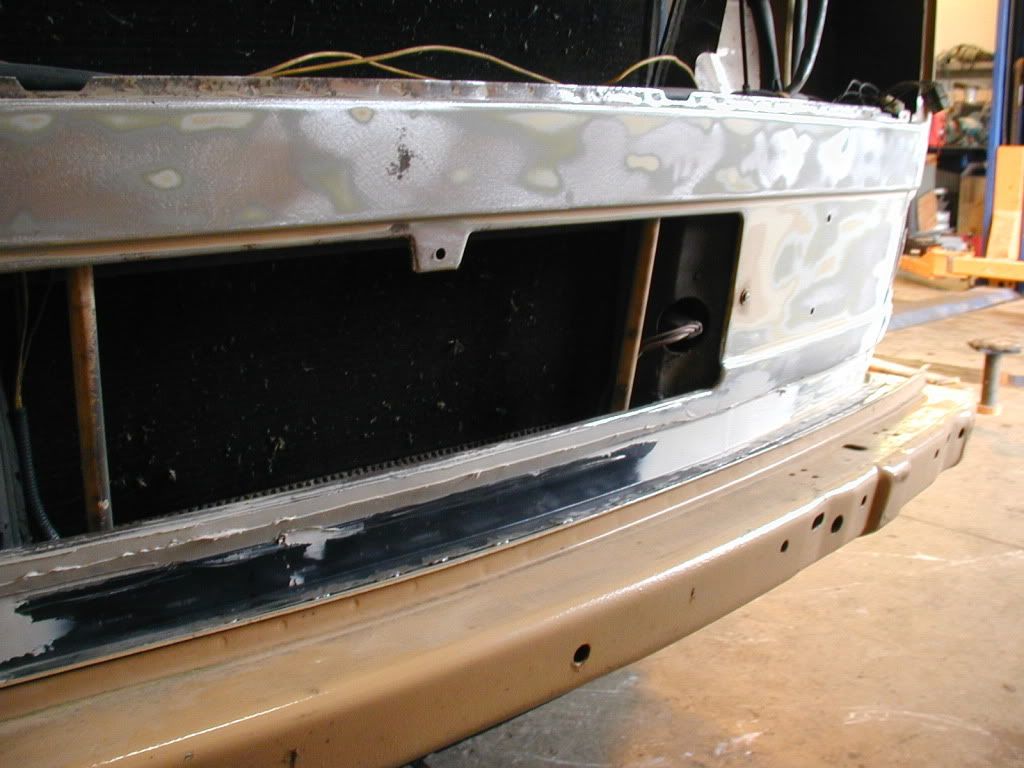
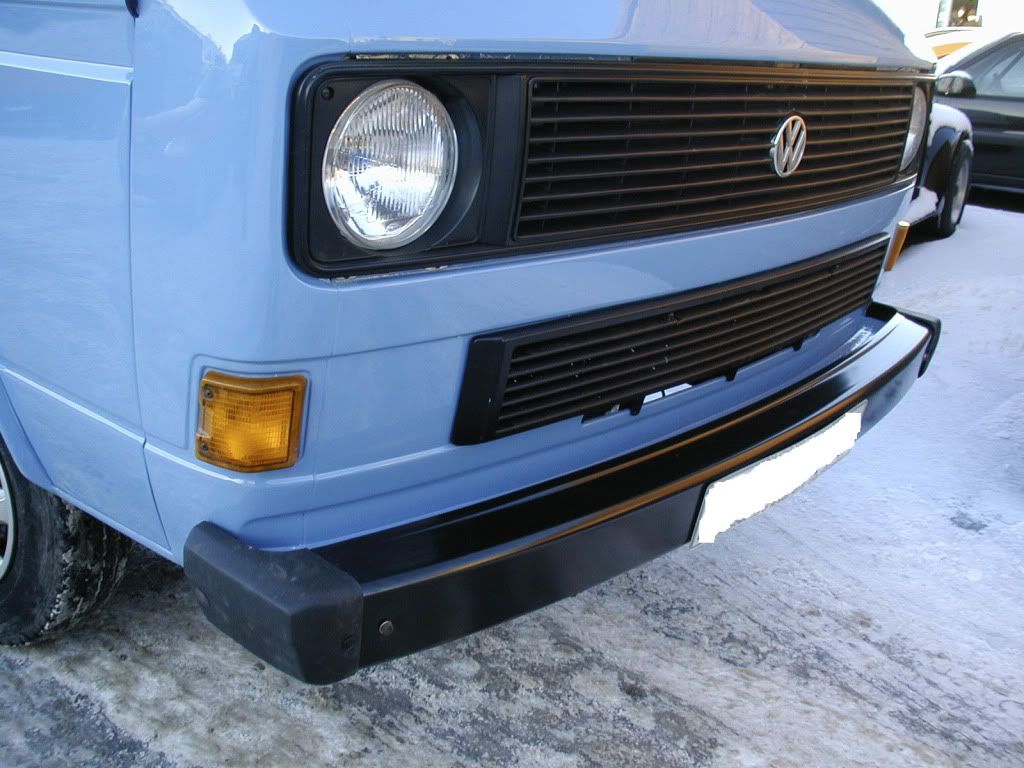
The panel behind the bumper was replaced as well - a typical rusty spot I'v been told.
The filler cap panel was surprisingly solid and only needed cleaned up a bit.
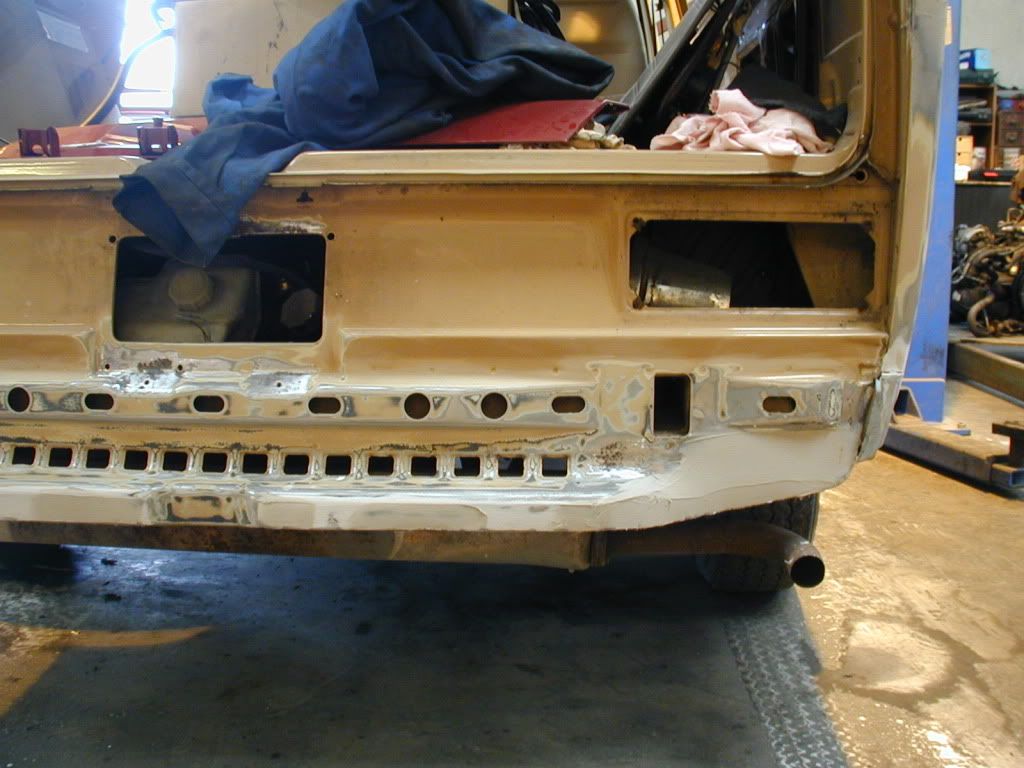
The old exhaust was non standard and looked weird, so its been replaced with a second hand one and the rear panel put back to its proper shape.
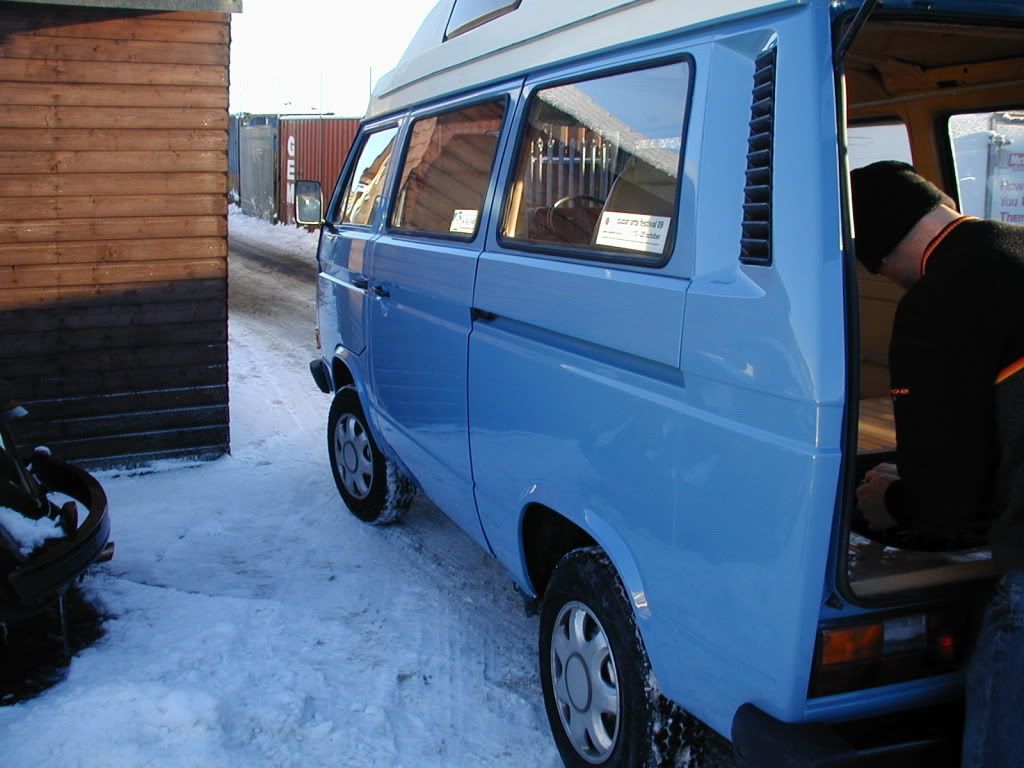
The van will soon be resprayed in cornflower blue (Karen's choice - shae always hated the beige) and then more fun and games putting at all back together again. Looking forward to it.
Cheers
Donald.
Re: The project begins... welding worries
Posted: 20 Nov 2010, 22:33
by Plasticman
They've cut some nice straight lines in the filler in the seams,
mike
Re: The project begins... welding worries
Posted: 28 Dec 2010, 16:03
by Donald360
Re: The project begins... welding worries
Posted: 28 Dec 2010, 16:15
by scottbott
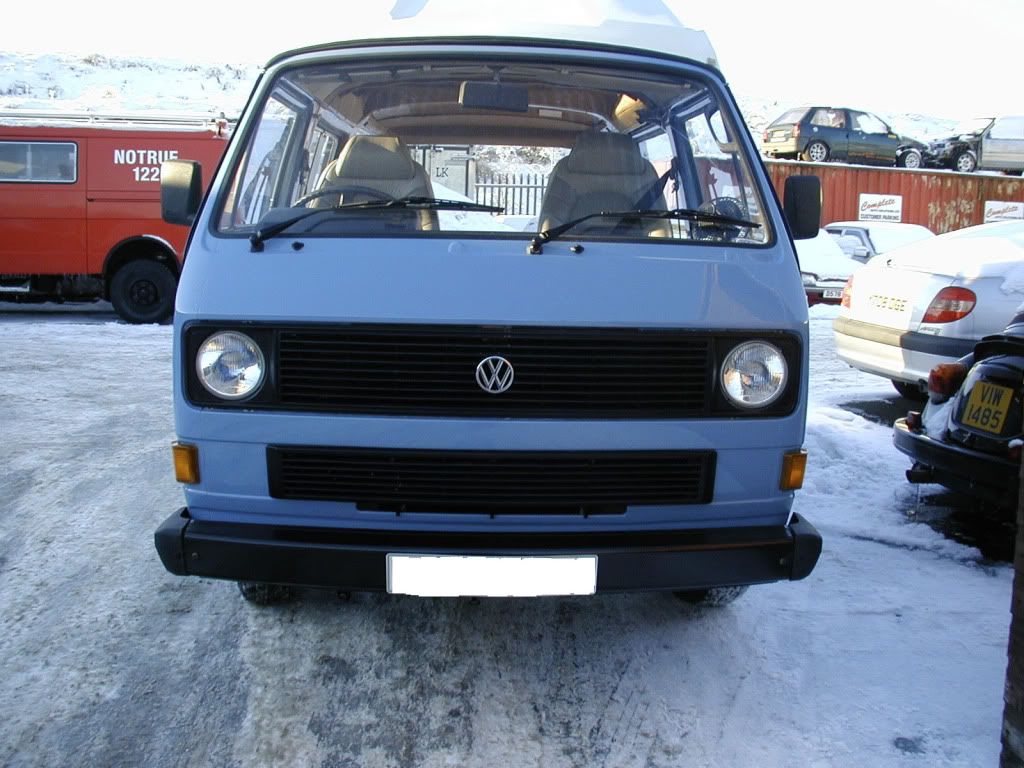
looks good,nice paint job
Re: The project begins... welding worries
Posted: 28 Dec 2010, 17:36
by fullsunian
Like the way they have painted in the door shuts, nothing worse than opening a door to see the original colour jump out at you
Re: The project begins... welding worries
Posted: 28 Dec 2010, 20:38
by dugcati
WHS ^^
Also - if your getting petrol leaks check your fuel tank for holes and check the breather pipes/boxes are connected
Re: The project begins... welding worries
Posted: 28 Dec 2010, 21:30
by Cazz
Looking good, very interesting to follow.
Re: The project begins... welding worries
Posted: 29 Dec 2010, 11:57
by New Kentish Campers
That's a nice looking paint job .
What's the colour called, or do you have the paint code?
Reason being, I plan to two-tone my van with a light blue lower colour and your colour looks the part.
Doug.
Re: The project begins... welding worries
Posted: 29 Dec 2010, 22:43
by elmo makaroy
looks brilliant, dnt mean to be rude but would you mind telling us how much this cost you??
Re: The project begins... welding worries
Posted: 30 Dec 2010, 16:58
by ..lee..
good colour that.............
Re: The project begins... welding worries
Posted: 31 Dec 2010, 11:33
by Donald360
The colour is Cornflower Blue - but I don't know the code for it. Rus told me it was a bona fide VW colour so should be easy to track down.