Time for an update again, after all the bodywork I've just been using it and slowly putting in the interior. It's no where near finished but it's starting to come together. I don't need a camping interior and had decided from the start what I wanted was multivan interior but a personalised one. The same but different if you like, as it had no interior when I bought it I have been slowly buying bits off ebay for it and making stuff as I go along. Lots of pics again and its far from finished yet!
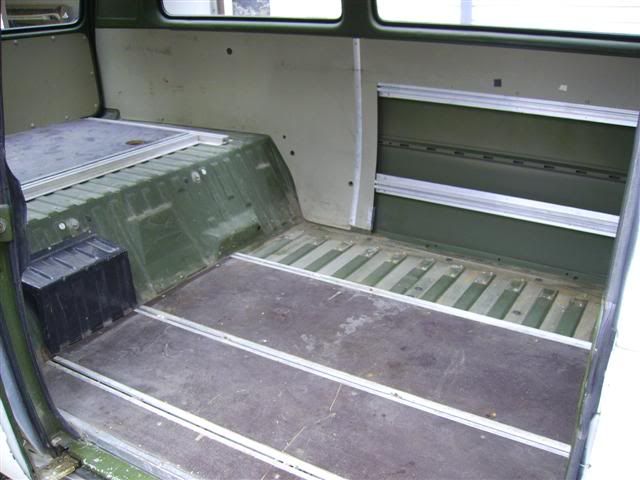
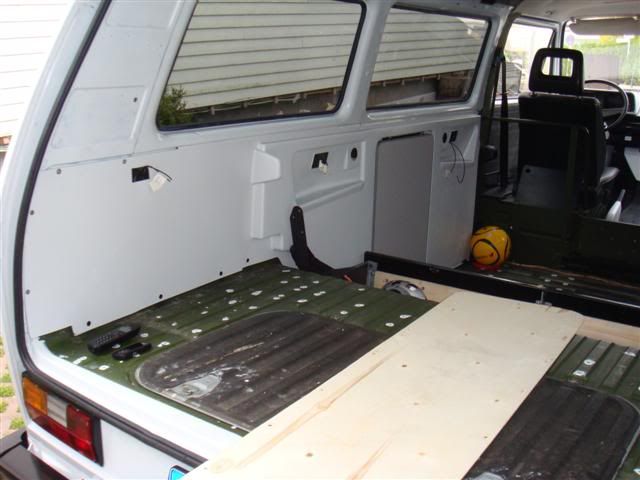
Here is what the interior looked like, just basic panels.
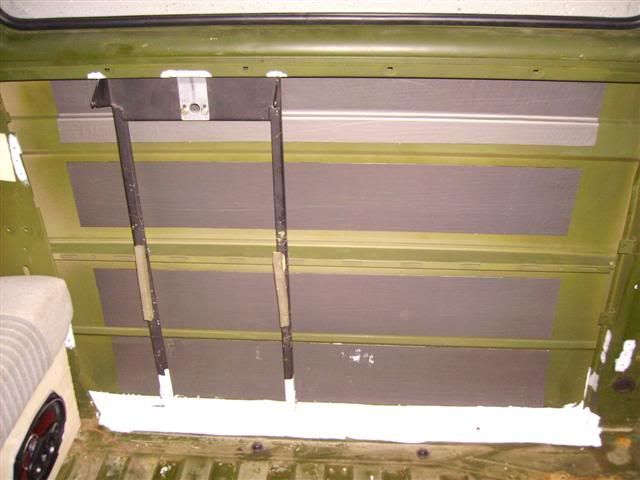
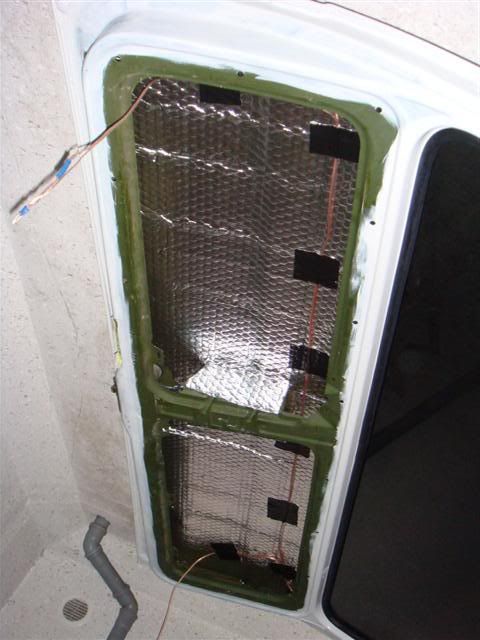
Stripped it all out and started by putting in flash banding to dull down the drumming a little and fitted some of the parts for the multivan panels.
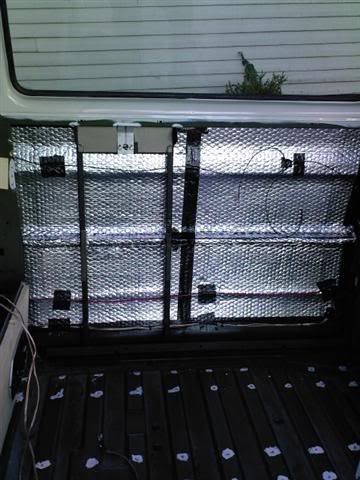
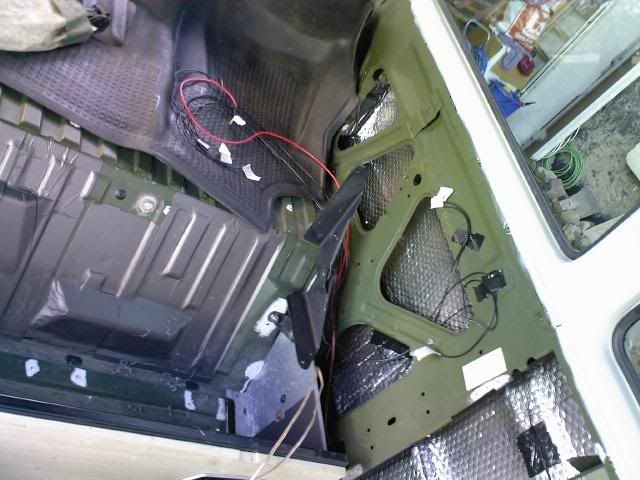
Then put in the insulation and the wiring for the stereo and sockets etc Iam going to fit.
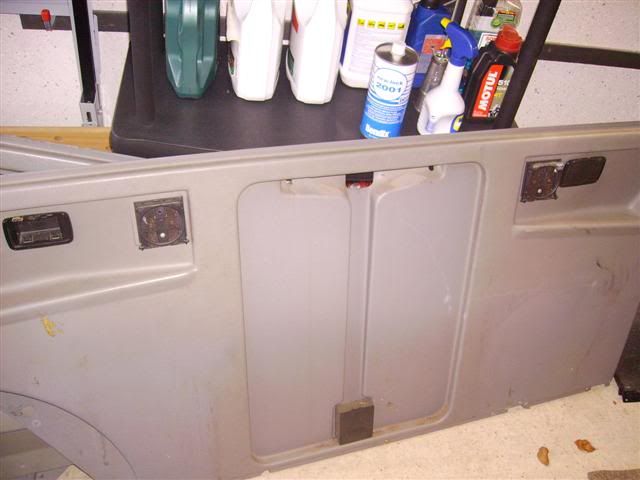
Here is a pic of the multivan panels as I got them, not in very good condition but they were cheap! I got pretty much the entire multivan interior except for the buddy seat (still have to get one) for 100 euros.

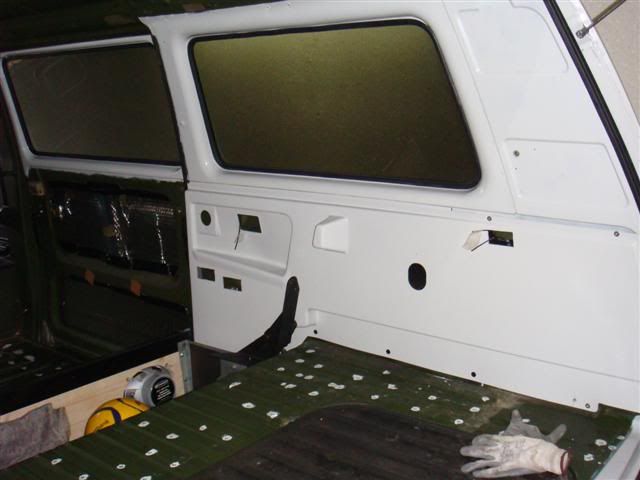
The panels have been cleaned up, and painted the same colour as the exterior (RAL 7035) as I want the interior to be quite bright looking. Here is pics of the side panels now fitted.
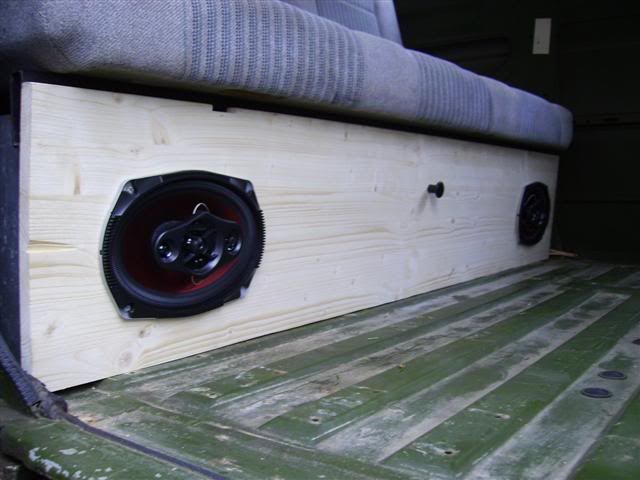
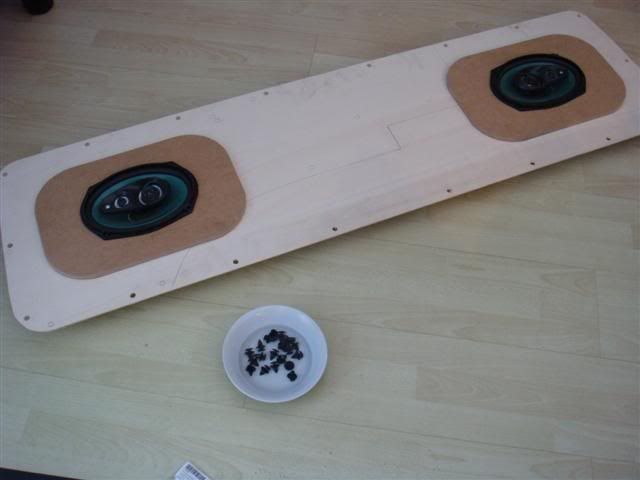
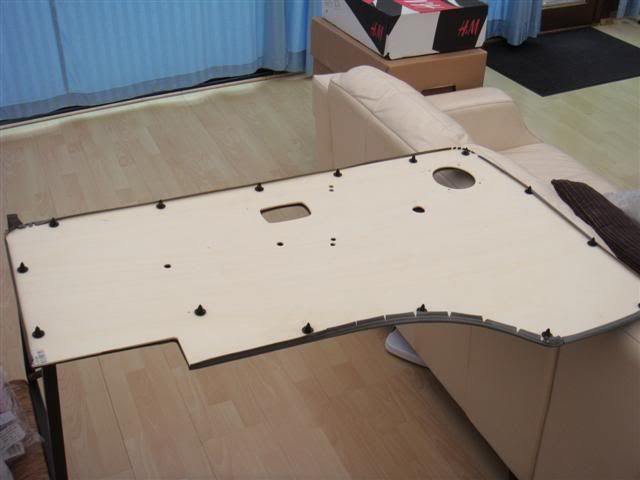
I have also made panels for under the rock n roll seat, the tailgate and I got another set of door trims, again in poor condition but I carefully removed the covers and made up new boards with 4mm ply and stuck the original covers back on them, the reason for this is I decided I wanted only one speaker in the door in the original position and I had pretty much destroyed my original door trims attempting a seperates install in the doors. It looked horrible and didn't sound that good either... never mind.


I had a problem with the JK sourced new door trim clips, trying to put them in I broke 3 on the trot as they are fairly brittle so I had an idea to put then in boiling water to soften them a little... works a treat! Fitted them all after that without breaking a single one!

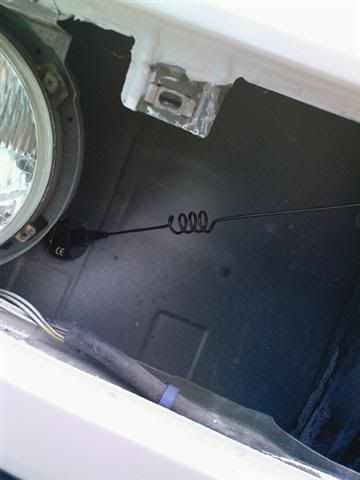
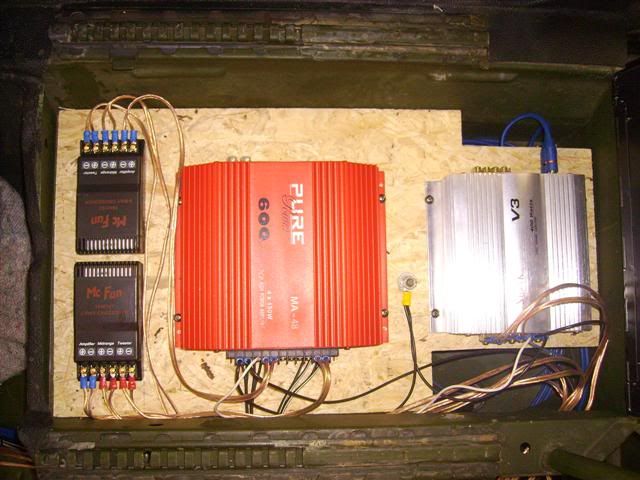
I have hidden the ariel for the radio behind the grill as I didn't want to drill a hole in the bodywork. It works fine positioned there. I have put the amps etc under the passenger seat, this is just a rough version and will be made tidy.
I have also colour coded some of the dash, not too sure if I like this yet and the instrument binicle now reflects into the windscreen so I think this will be repainted black again. The entire stereo system works off the red switch you can see on the center panel coming from the leisure battery, the other switch is a secret


That's it for now, the plan is where the original multivan panels had ashtrays I am going to fit usb and normal 12v sockets, light switches etc. Wiring wise the whole of the rear of the van will be from a fusebox under the rock n roll seat and have a main switch on the panel beside the table that shuts the lot off. Again all of this is from the leisure battery, there is already another fusebox beside the leisure battery that has all the stereo and front power sockets coming off of it.
Still lots to do!
