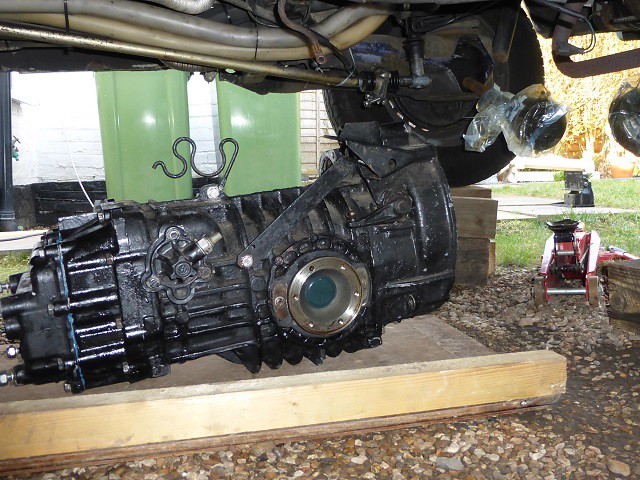
push the box home with your feet and fit lower Nuts to engine studs.
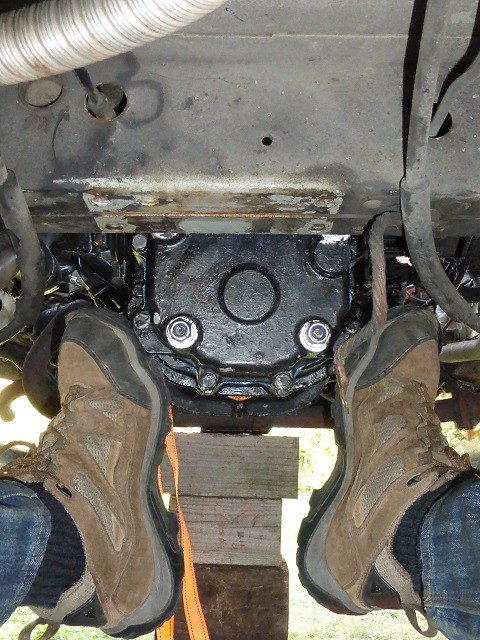 P1020958
 by
Paul_Barr, on Flickr
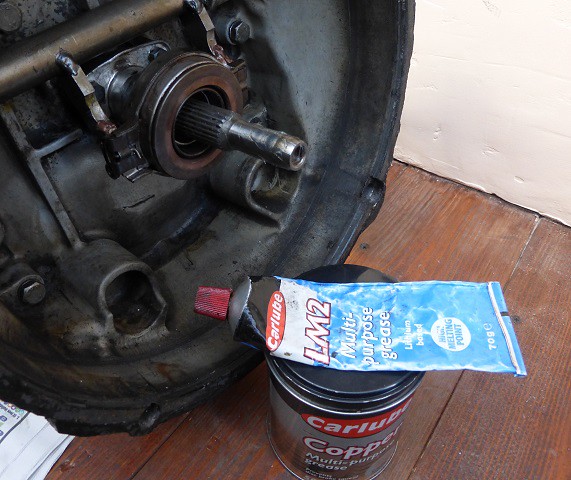
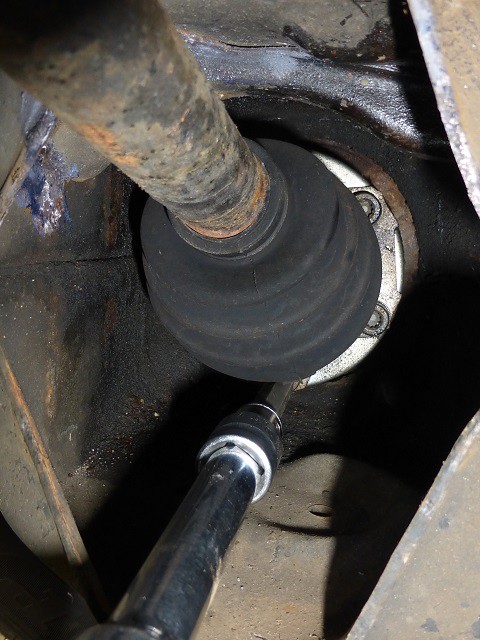
fit gearbox mount and remove jack, clean bolts new washers if possible and fit drive shafts, torque to 45Nm, don't try and torque if the bit is not square, if you can't get a torque wrench on square rotate the wheel.
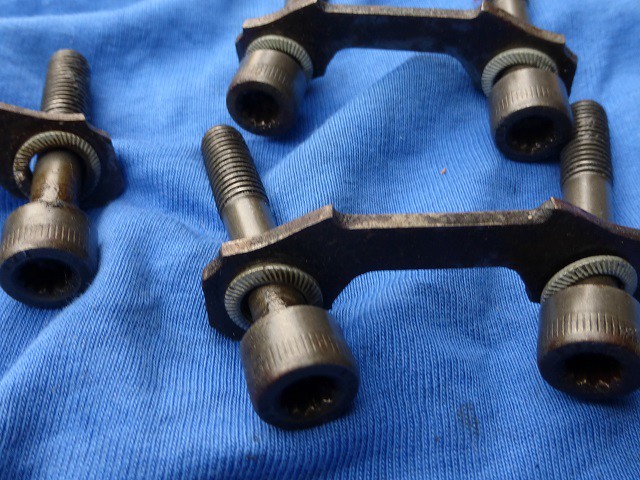 P1020964
 by
Paul_Barr, on Flickr
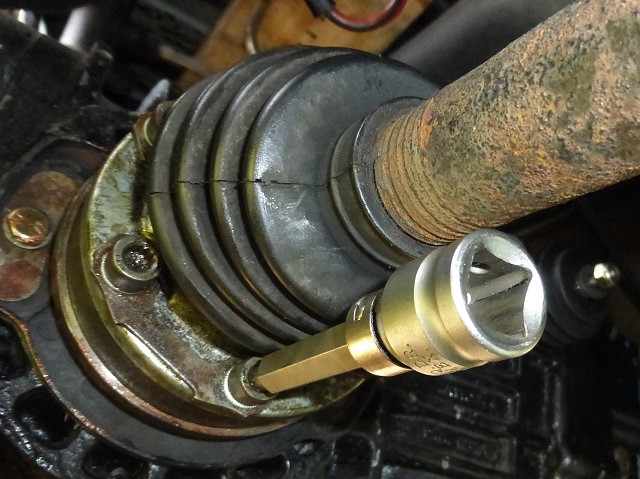 P1020966
 by
Paul_Barr, on Flickr
starter motor back with both top bolts, gear linkage back, make sure the bush plate is to the front of the vehicle and make sure the relay leave is home on the spines before tightening or it will slip and damage the lever
 P1020967
 by
Paul_Barr, on Flickr
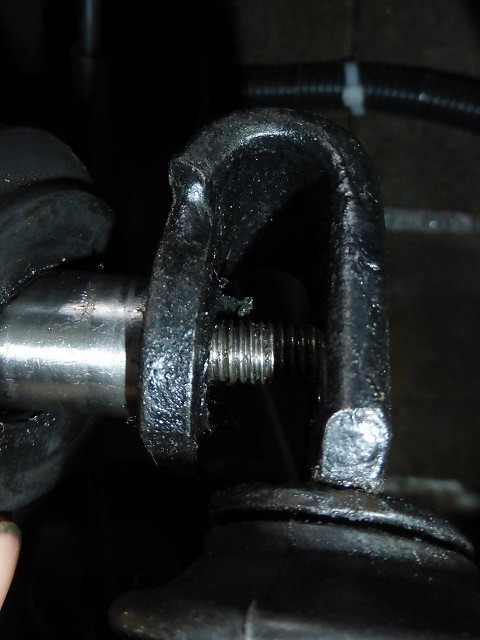
slave cylinder on, a thin square of plastic or beer can hold the tricky rear bolt in place while you fit the nut, best to bleed clutch, it's self bleeding, just open the nipple ( preferably add a pipe to the nipple so the fluid does not run down the gearbox) and watch/ top up the reservoir.
 P1020969
 by
Paul_Barr, on Flickr
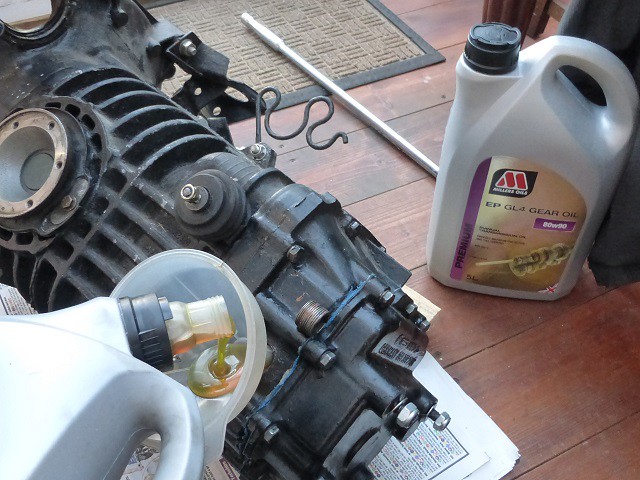
coolant pipes back in the clip on top of gearbox, reverse light switch connected, battery reconnected, test drive Job done.
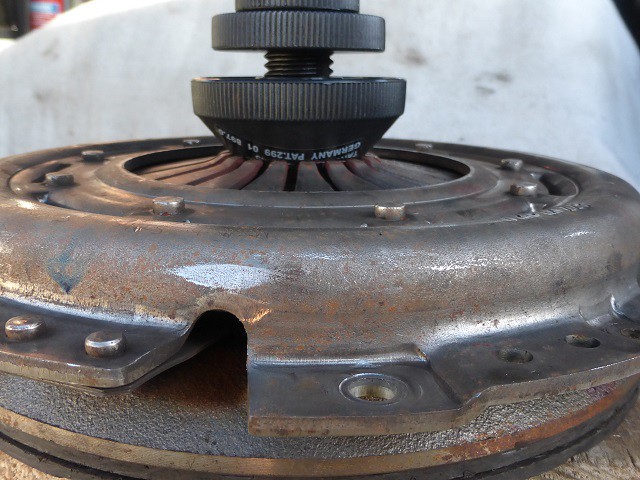
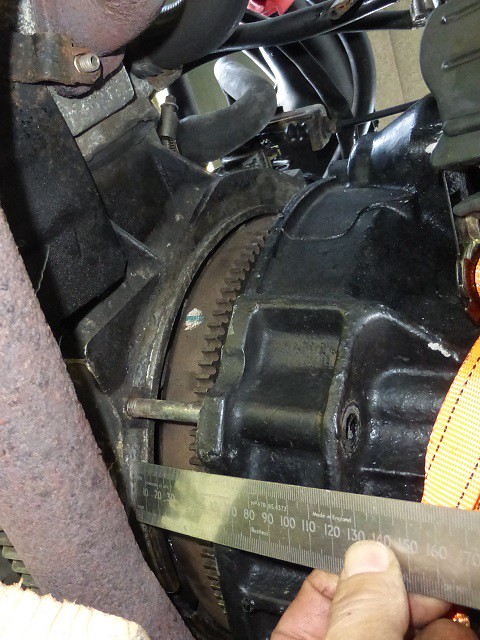
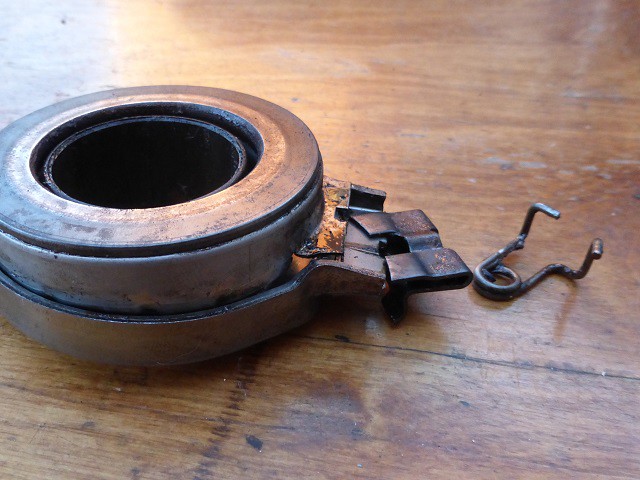
This was the point I found out the clutch release bearing was not fitted right, one press of the clutch a thud and the lever was stuck bearing clip/spring had come off.
I think what happened is I accidently moved the release arm while raising the box (I was working from the other side so would not have noticed) and that pushed the bearing too far forward and off the forks, when the box was pushed on the bearing and lever were pushed back but one spring came off.
So take care not to move the lever, maybe tie it up.
So 3.5 hours later box off again, bearing replaced and box refitted, grrrrr
Job done
 P1030002
 by
Paul_Barr, on Flickr