OK, starting to put it all together now

Have I said before about cleaning everything really well before you re-assemble

I also clean the stud and head caps threads with a tap/die before re-assembly to make it easier for the next poor soul who has to remove the head (in this case me!). Whilst your prepping, if you are re-using your original push rod tubes you need to gently expand the compression rings till the distance from one end of the rings to the other is > 194mm and fit new push rod tube seals. (Some builders will fit 2 piece expanding tubes at this stage to make removal/refitting possible without taking the heads off)
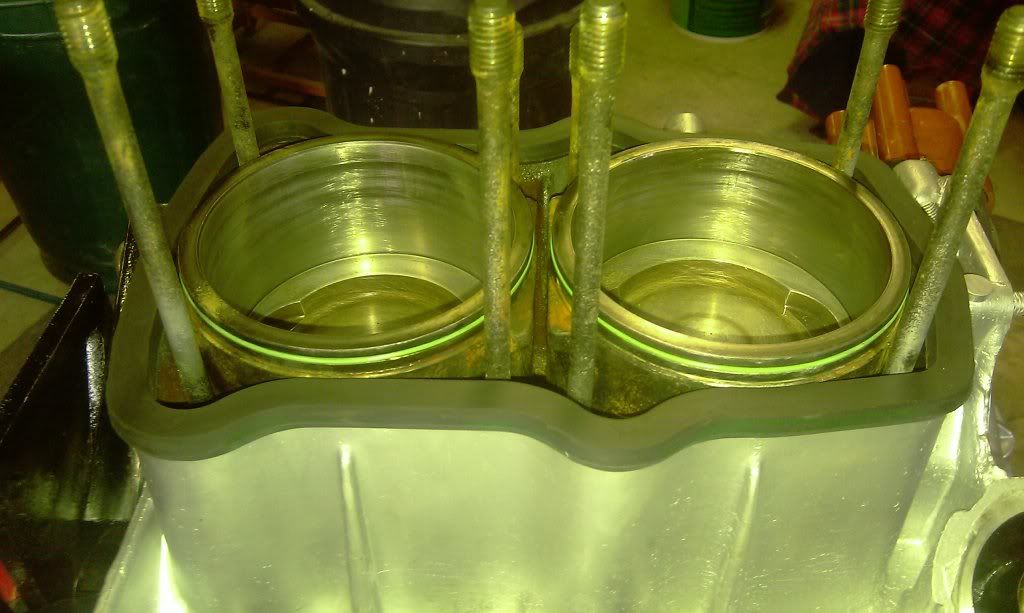
So, starting with the liner nearest the flywheel pop on the black (bottom) and green (top) o-rings. I just use a bit of light oil as lubrication and no sealant on either o-ring (some use sealant on the top (green) ring apparantly), Also clean the area where the liner will seat in the case being careful not to drop any rubbish into the sump! Then raise the rod and drop the combined liner/piston into the case having already fitted the circlip nearest the flywheel (when fitting circlips use a this screwdriver or small allen key in the eye of the circlip and rotate it both ways to make sure it is seated properly.
You should then be able to line up the rod/piston and slide the wrist/gudgeon pin in. It is quite fiddly but persevere and you will win - and this is where having cleaned up the wrist pin earlier will pay HUGE dividends. Once the pin is fully in fit the second circlip, being real careful not to drop it! You should then look something like this:

Then follow the same process for the second liner/piston on the same side, bit less room to work in but it's not too bad.
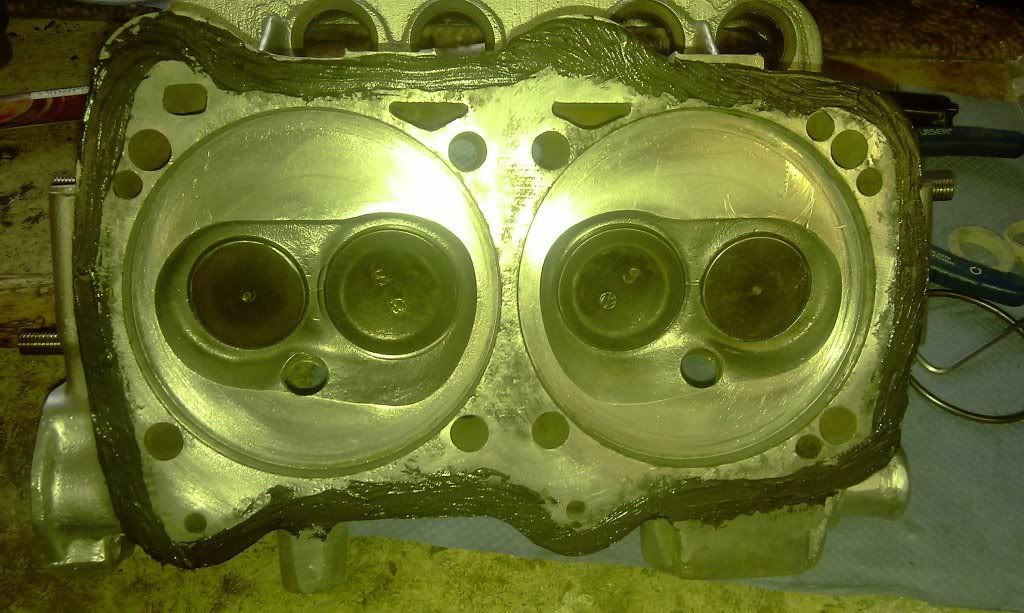
We can then fit the water jacket seal. In your gasket set you will probably have 2 tubes of sealant. The larger tube (black) is for the water jacket and will work on most other sealing surfaces on the engine. In a Victor reinz kit this is "Reinzosil" and can be bought seperately (other builders also use Elring sealants in the Curil and Dirko range). The little tube of yellow sealant is for putting under the head bolt caps and sealing to the head to stop water escaping up through the bolt holes.
I place a 2mm bead of sealant in the channel of the water jacket and then fit this to the case:
I then put a 2mm bead on the sealing surface of the head and smooth it out slightly, this helps to fill the slight pitting in the head and is better than relying just on the compression of the seal to do this in my view. The head then looks like this:
Once this is done you can put the pushrod tubes roughly in place (this is where an engine stand helps as you can position the engine "vertically" so stuff doesn't keep falling out) then lower the head carefully over the studs. The head won't seat fully as the expanded pushrod tubes will hold it up.
Check the tubes are properly seated (Bentley also says thaht the seam on the tube should be facing up - not sure why) and then sloooowly torque down the head following the sequence in the manual. I start of with an inital torque off 10 lb ft and gradually increase until I hit the recommended 37 lb ft.
You can then drop the push rods back in their right tubes (hopefully we remembered to number them at the beginning) and bolt on the rocker shaft (18 lb ft). It is really easy to get a pushrod that doesn't drop into the seat of the hydraulic tappet/follower so be careful how you put them in. As a check turn the crank until all valves would be in their "closed" position and the pushrods should all be at the same height. If one is higher than the others then odds on it hasn't seated properly.
It is a good idea to check the rocker/valve adjustment at this stage - won't cover it here but it is in the wiki here
https://club8090.co.uk/wiki/Hy ... _explained
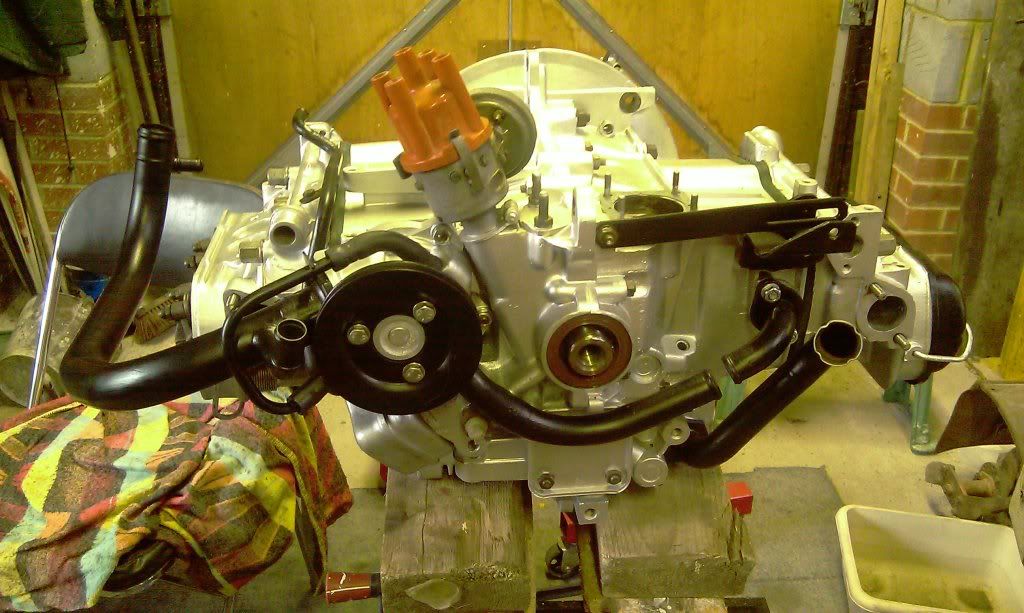
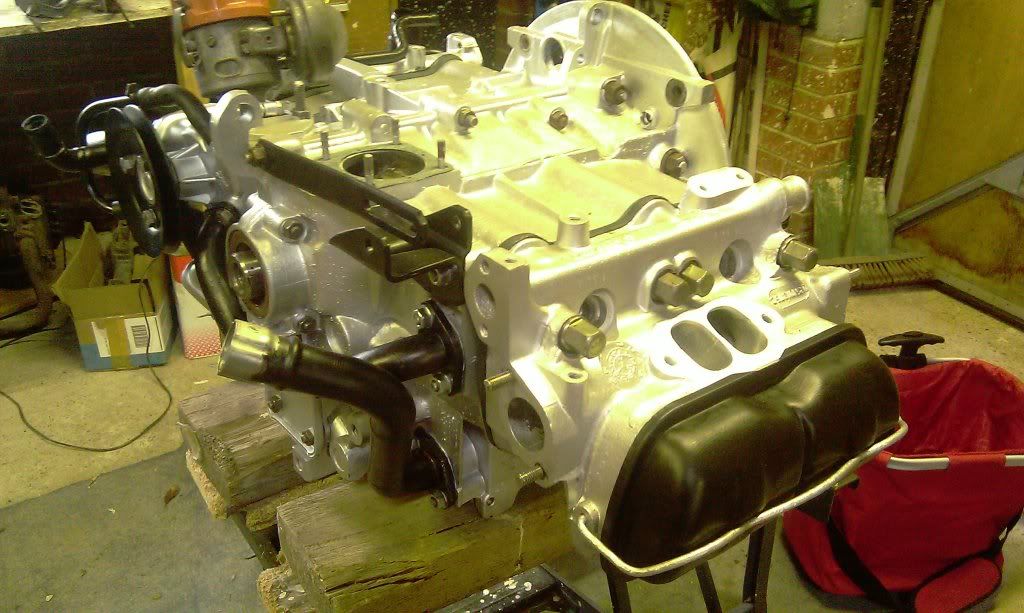
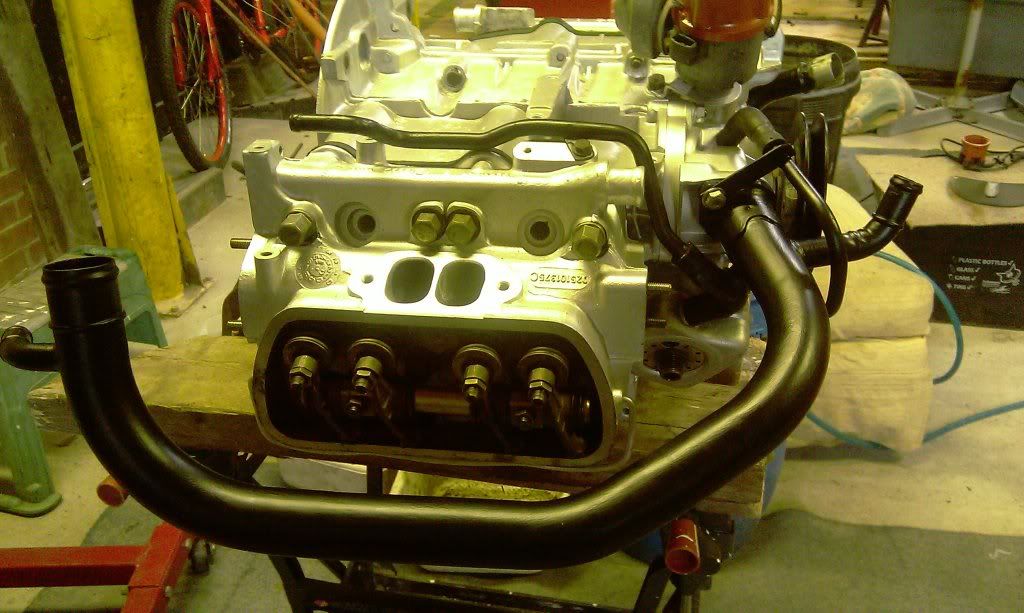
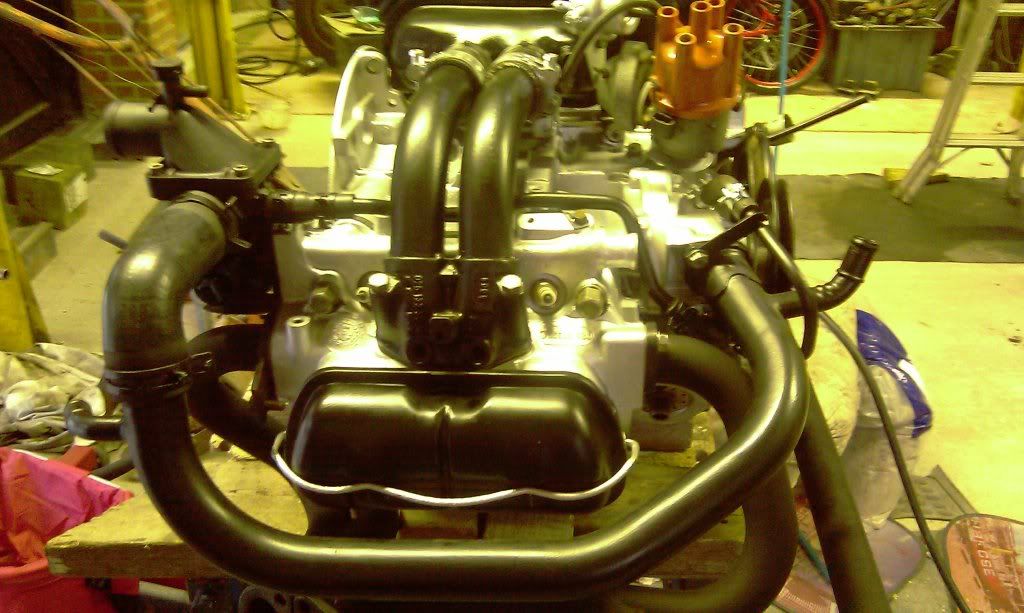
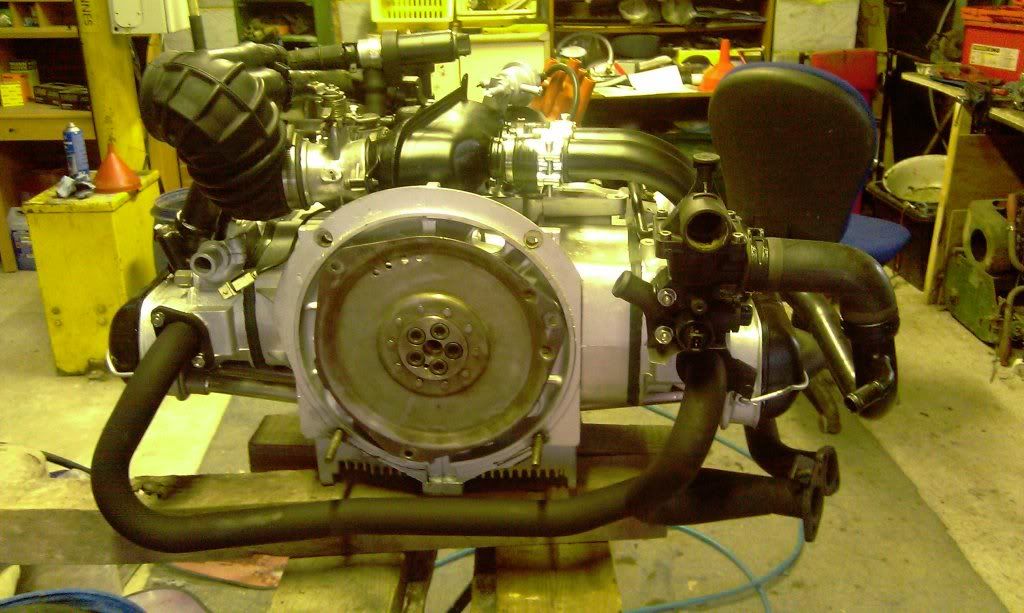
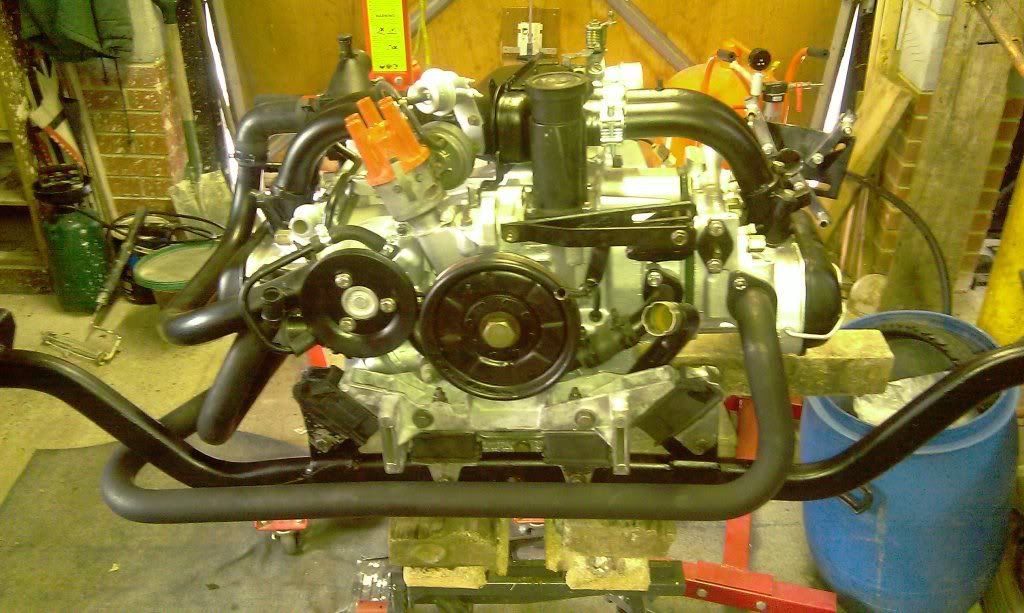
When all is bolted down,(and assuming you have taken the effort to clean and re-paint your engine

) you should end up with something that looks like this
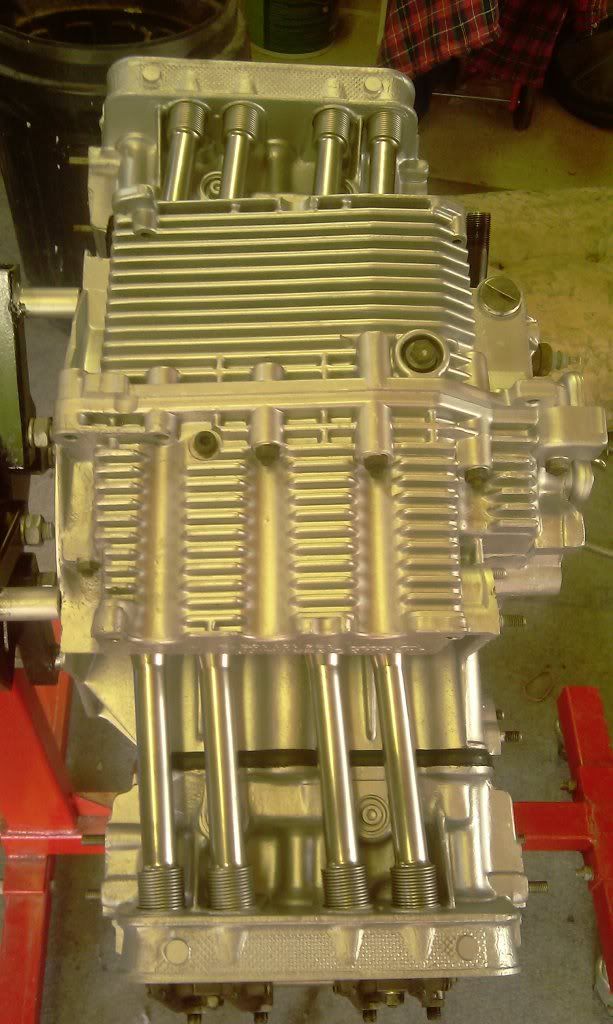
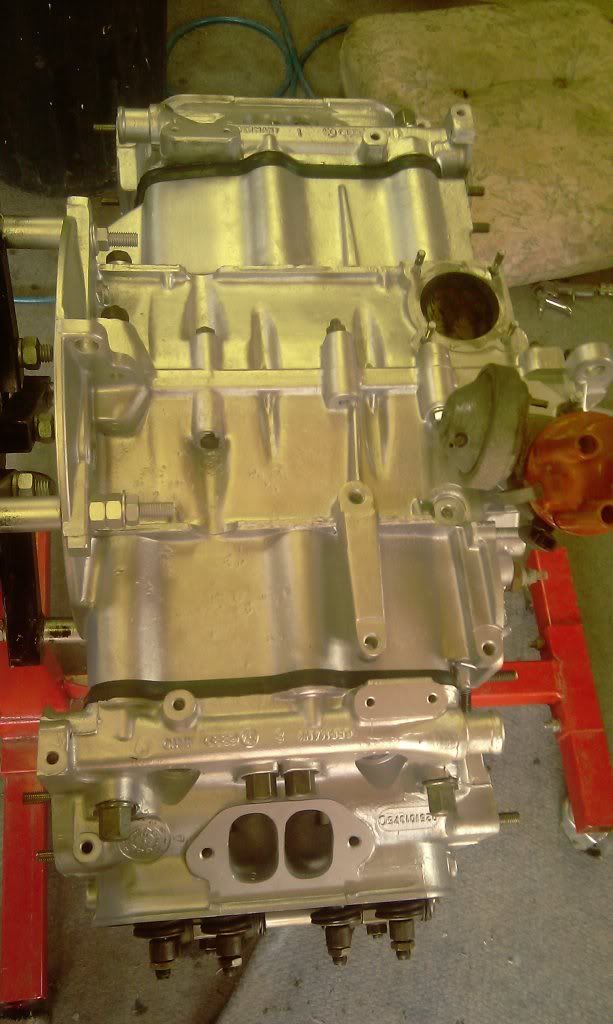
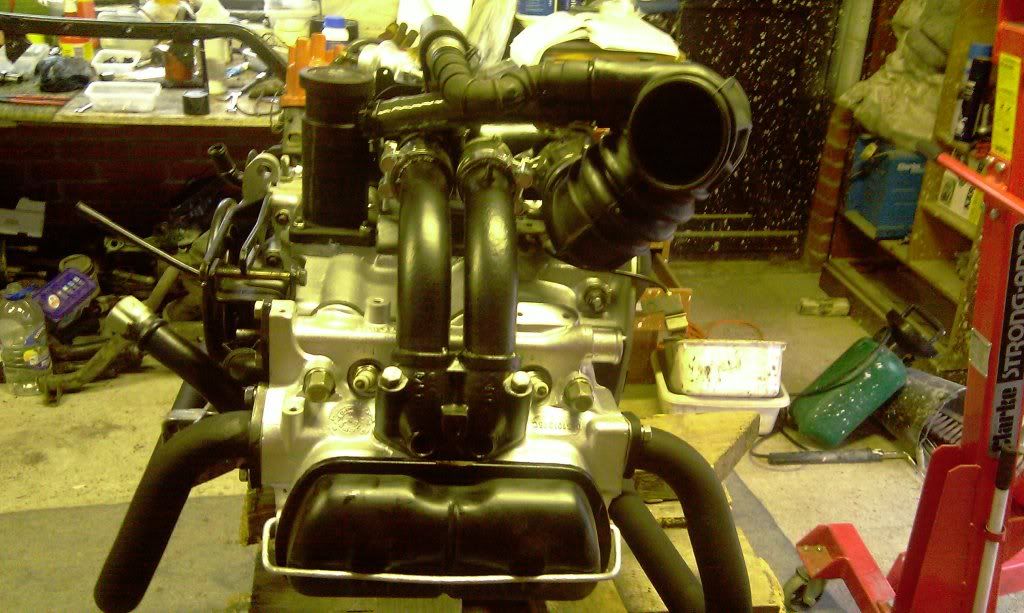
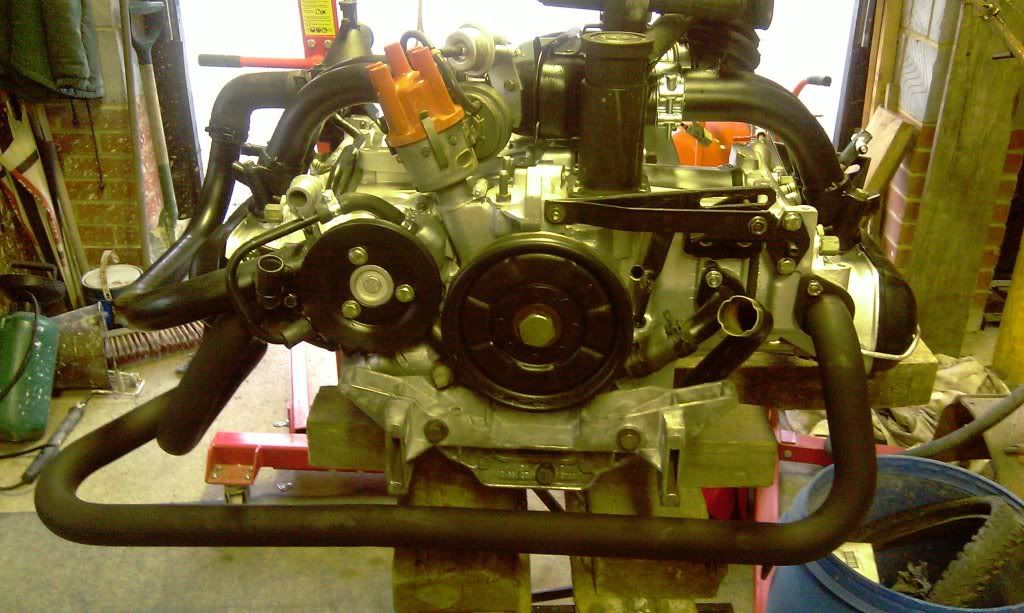
There you go, some more engine porn to keep ya going, hope it was worth the wait

Next up, more cleaning and painting
then re-assembly
MM