Page 2 of 9
Re: Total beginner just bought this from my neighbour!
Posted: 11 May 2011, 12:11
by mearnsy
pmoc_2001 wrote:Hello All,
1. Buy a welder
2. Buy a grinder - done
3. Buy disks fro the grinder
3. Buy some anti rust treatment for little spots of rust here and there.
4. Buy some Acid etch and epoxy primer
5. Buy some time
pmoc
I am in a similar situation so ill keep an eye on this thread and wish you luck

Re: Total beginner just bought this from my neighbour!
Posted: 14 May 2011, 19:12
by pmoc_2001
Hi,
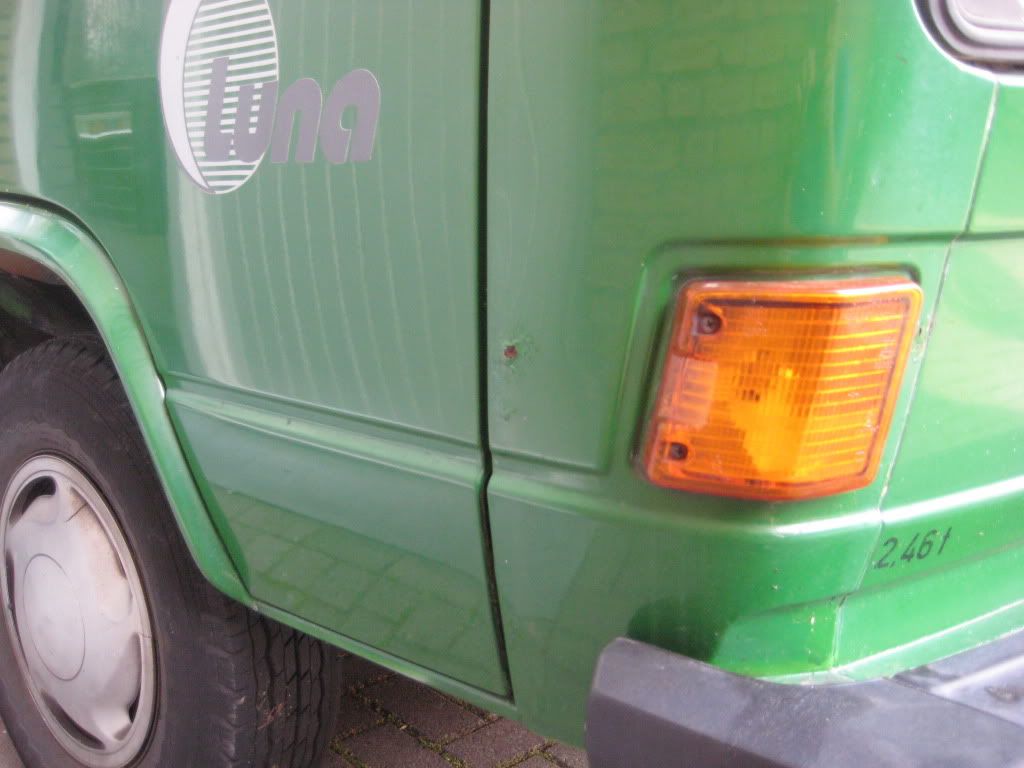
Despite the FA Cup and son's football this morning some pictures of behind of the fridge unit.
So here is the unit ready to be removed.
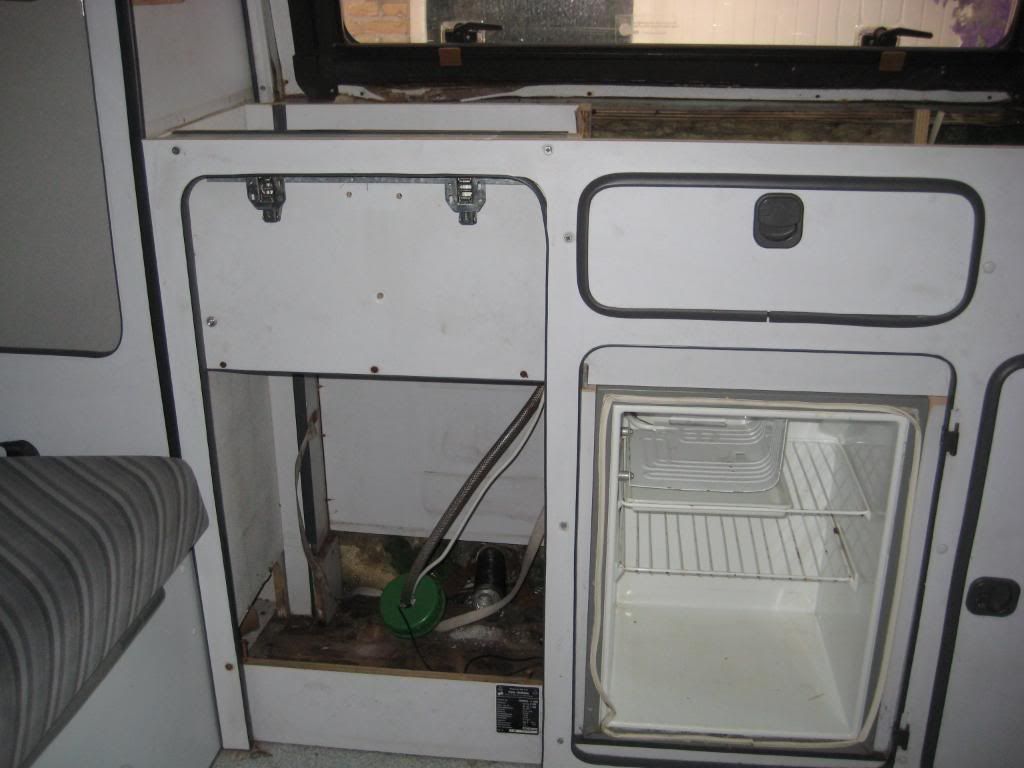
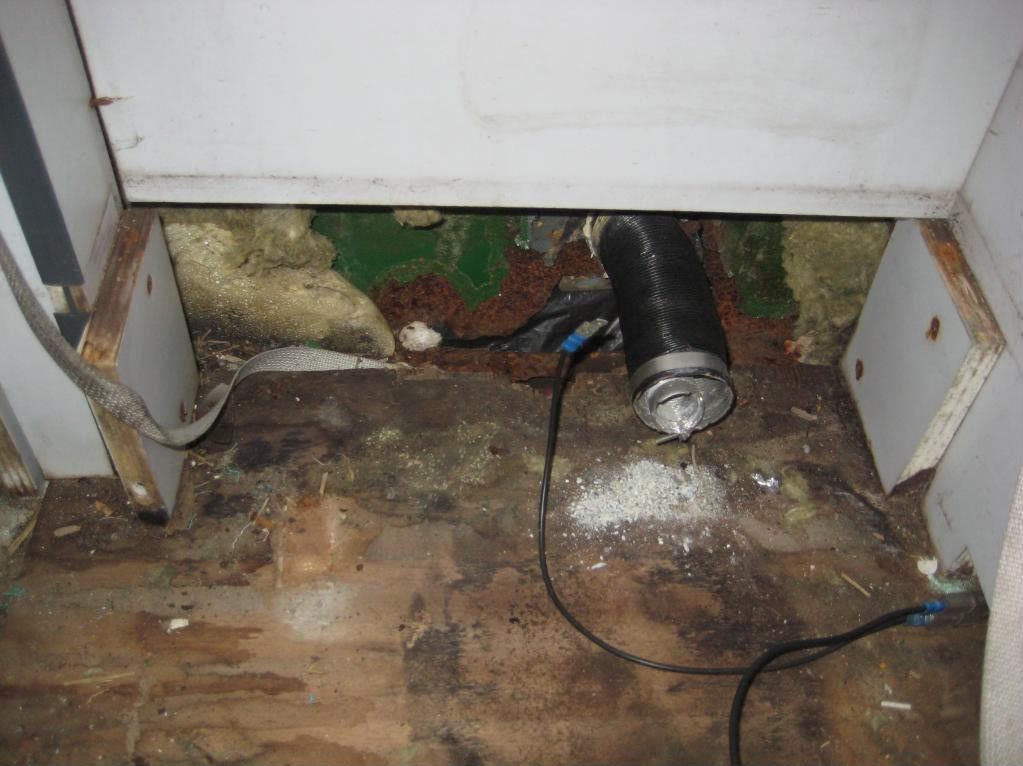
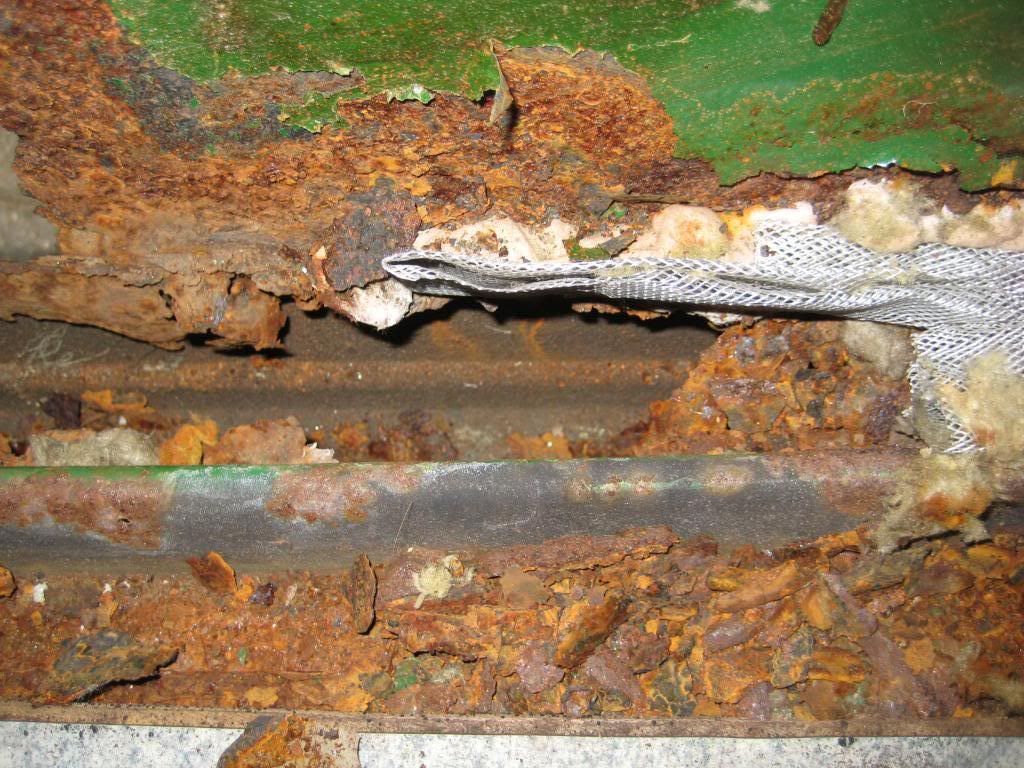
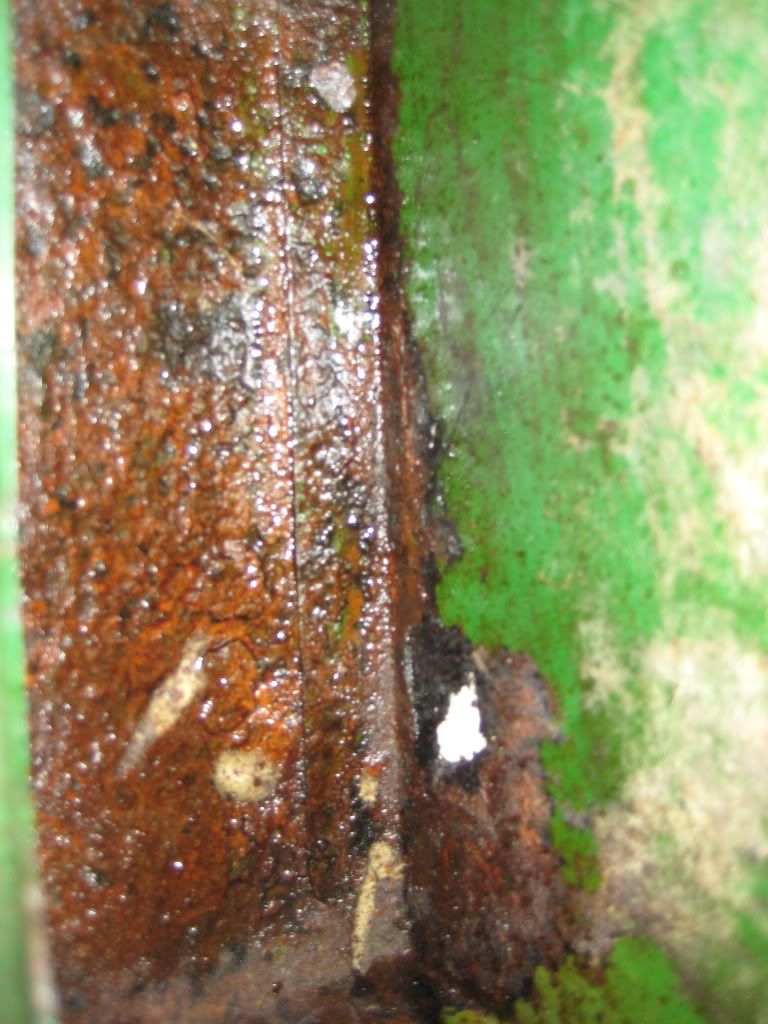
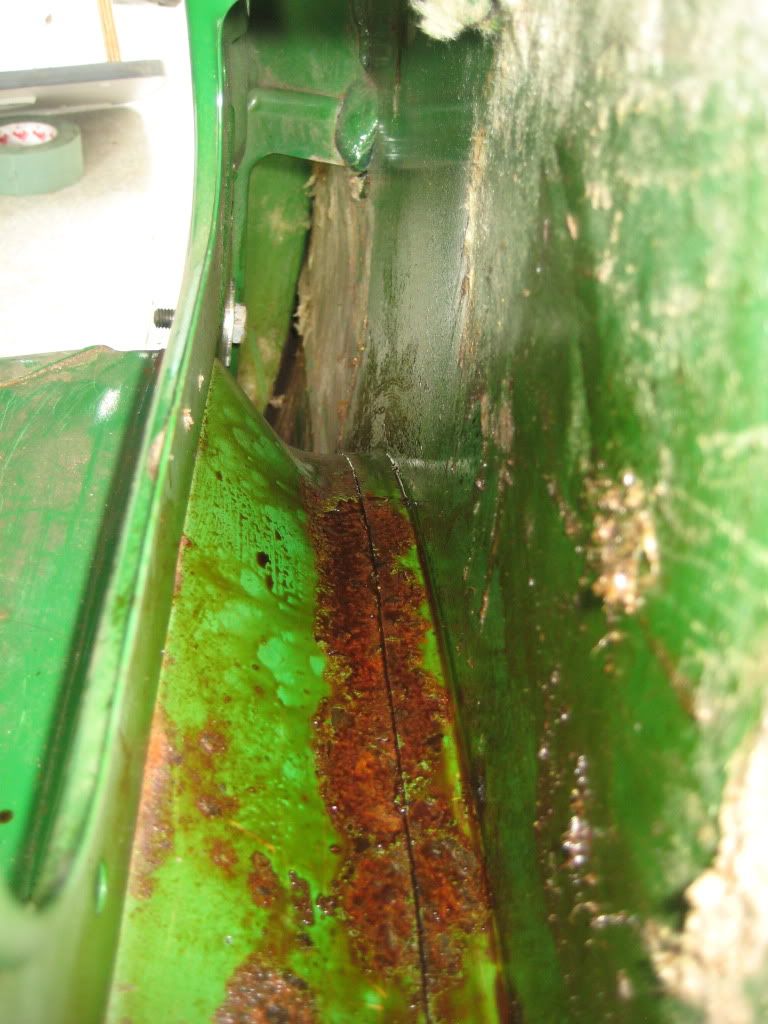
This where I believe the rot started.
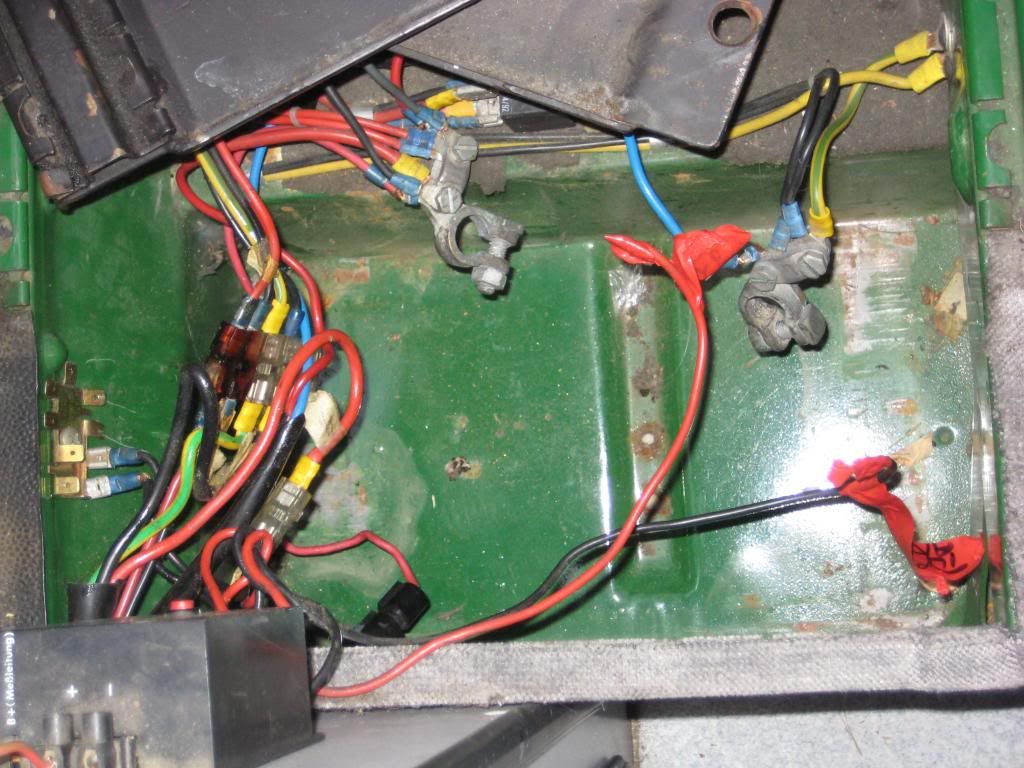
The electrics behind the drivers seat. Wise to label each wire 1-1, 2-2, 3-3 etc. with tape.
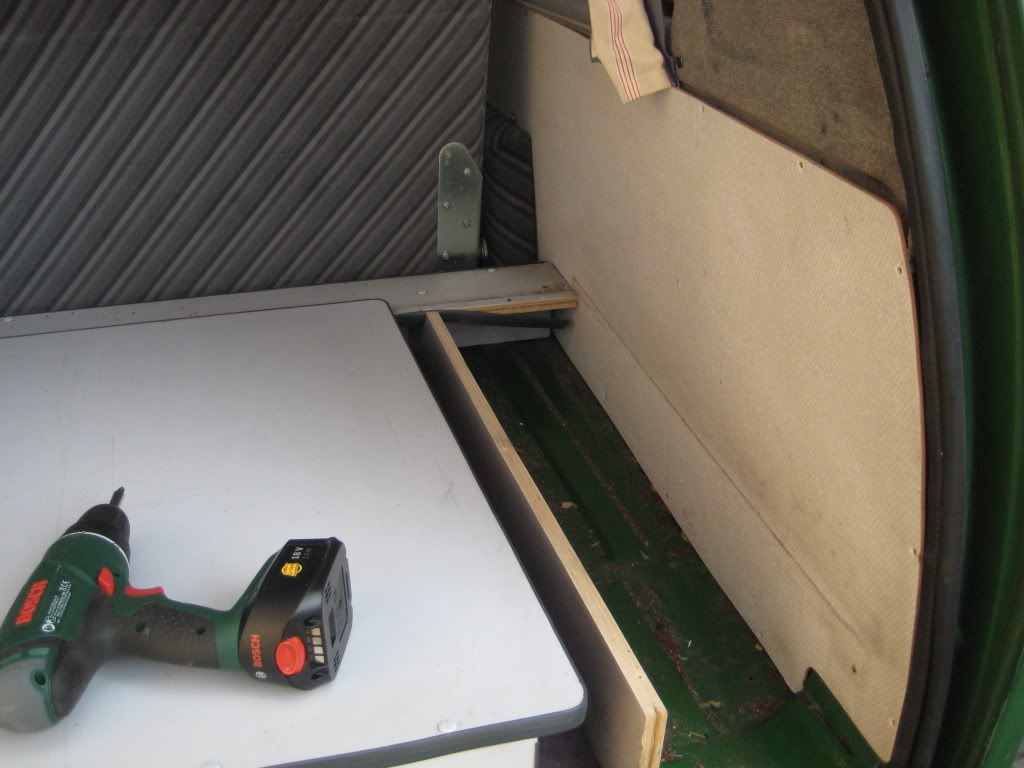
Inside the middle panel. Not to difficult to remove the unit. Simply undo gas and electrics. I have also removed the rock wool.

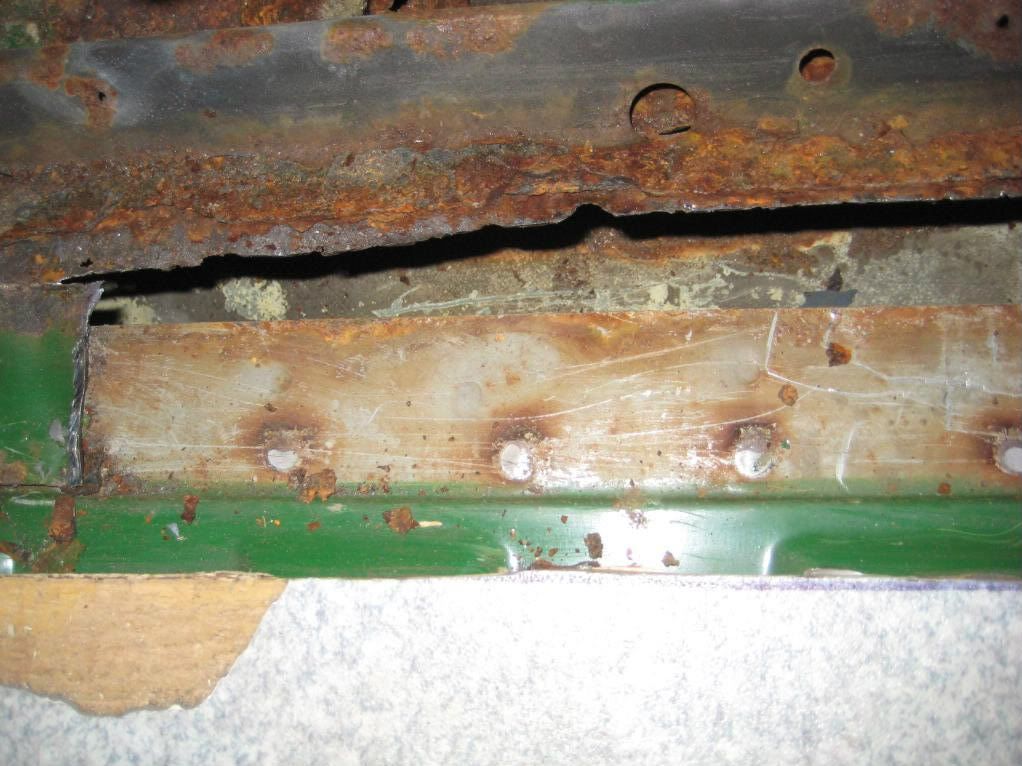
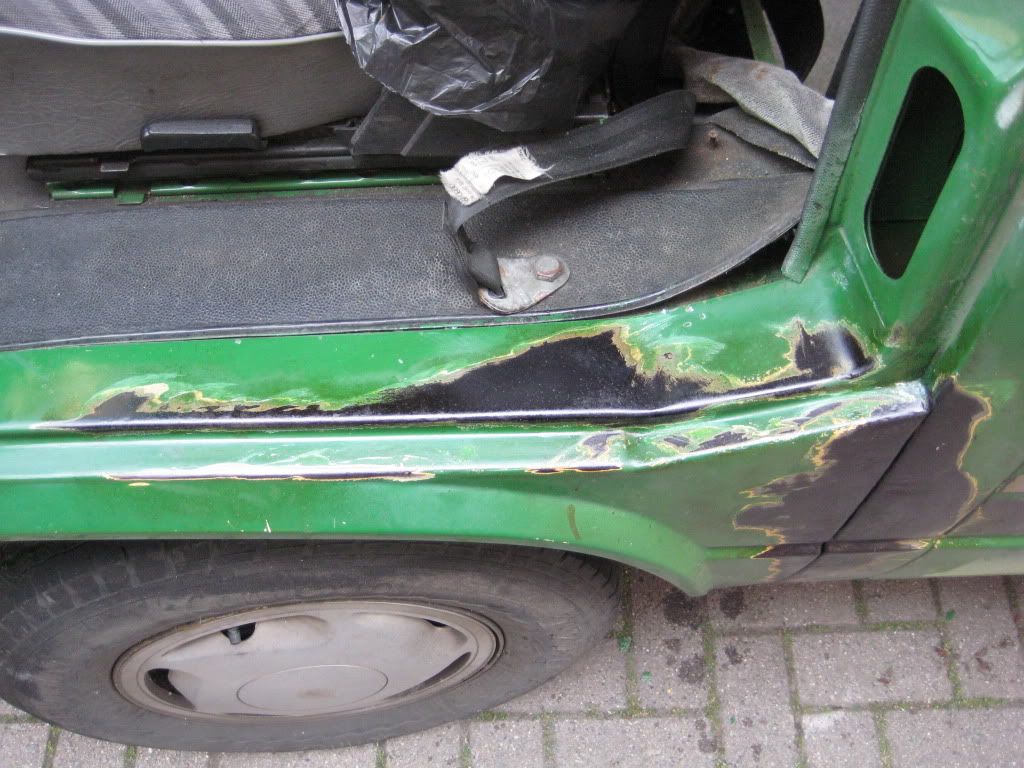
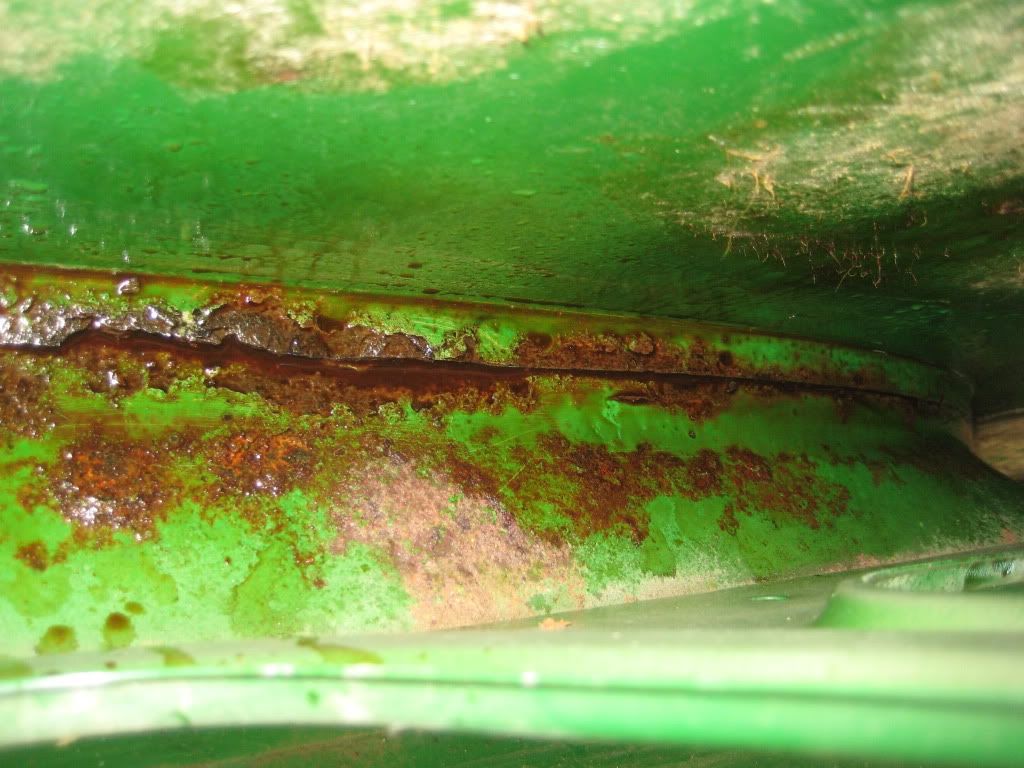
Filler and rust
I only cut the wooden floor as far back as needed.

The rust has stopped at the seam.
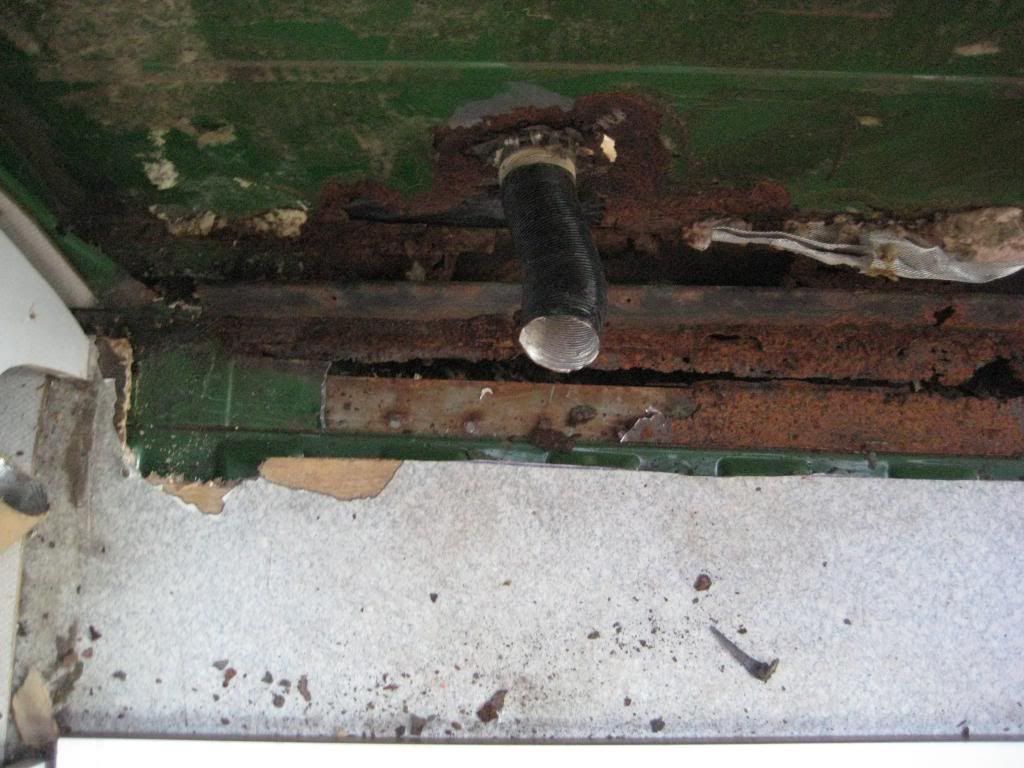
Wider view.
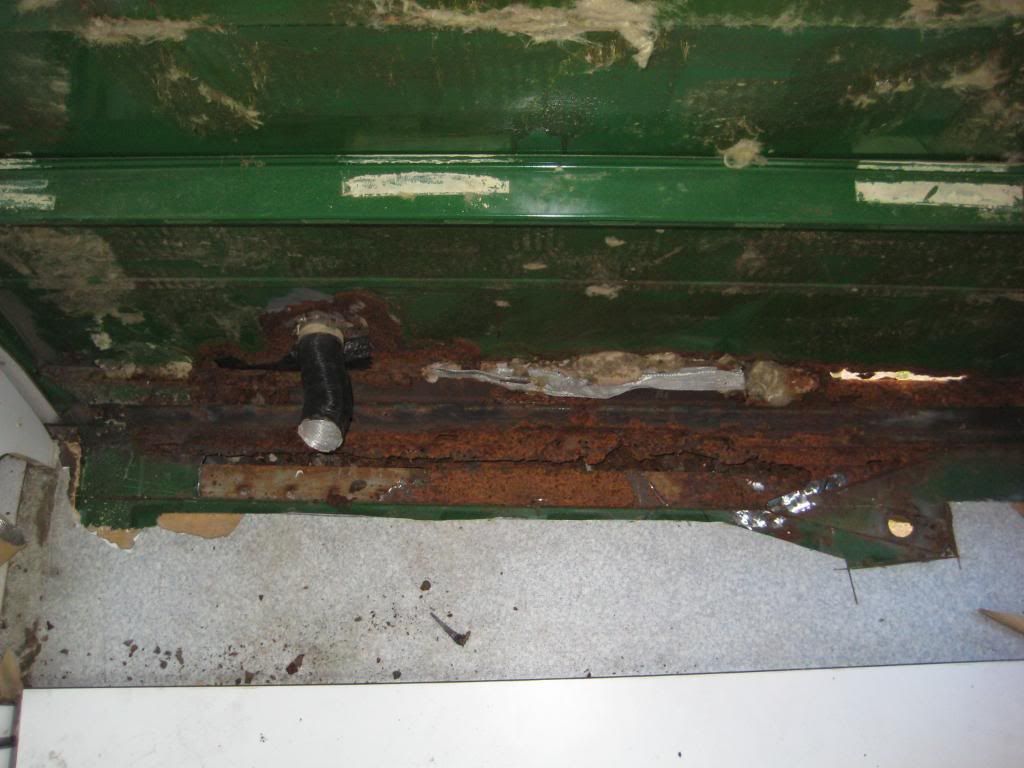
Started the clean up a little
I think I need to buy an inner sill and outer sill to complete this repair. I also need some metal to patch up the side panel (unless anyone thinks different). I will be ordering the bodywork as soon as I can from VW-classics and Schofield. I was on the verge of buying some Dinitrol RC800 and RC900 and some self etch primer, however frosts (after I paid) do not deliver to BFPO (British Forces Post Office). My local auto shop here in the Netherlands has fertan. Need to read up on this product.
Cheers
pmoc
Re: Total beginner just bought this from my neighbour!
Posted: 14 May 2011, 21:28
by Cyrus
The guys in here swear by vactan can be bought of fleabay.

Re: Total beginner just bought this from my neighbour!
Posted: 14 May 2011, 21:35
by Plasticman
Fertan is much the same ,boating folk use it and they can be a er well, particular bunch

still lots of cutting out to do but hey ho it makes the world go round
mike
Re: Total beginner just bought this from my neighbour!
Posted: 15 May 2011, 16:40
by Cyrus
metalmick8y wrote:Fertan is much the same ,boating folk.......
Cool, didnt know that
Re: Total beginner just bought this from my neighbour!
Posted: 17 May 2011, 20:59
by pmoc_2001
Got home from work and wanted to remove a little bit of rust that was bothering me. I figure that I can do jobs like this while I wait for my welder and body panels to arrive.
Like a little pimple.
Up close. This will be gone in no time.
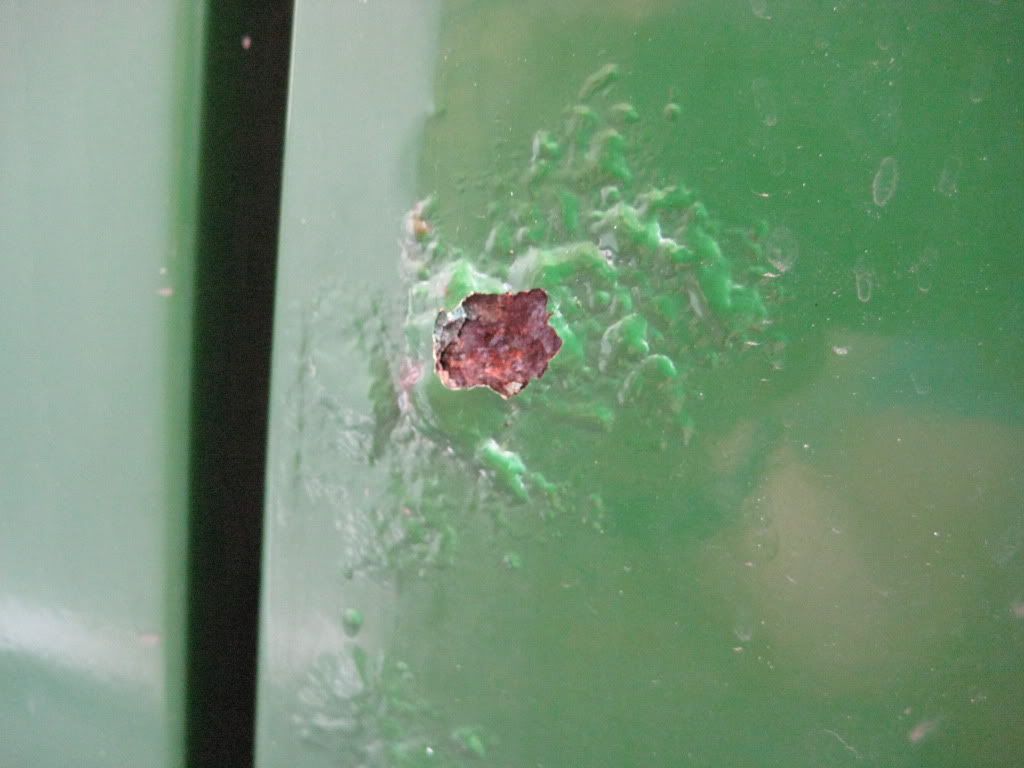
Mask off the area. Not sure why but I read some where on 8090 that it would be a good idea.
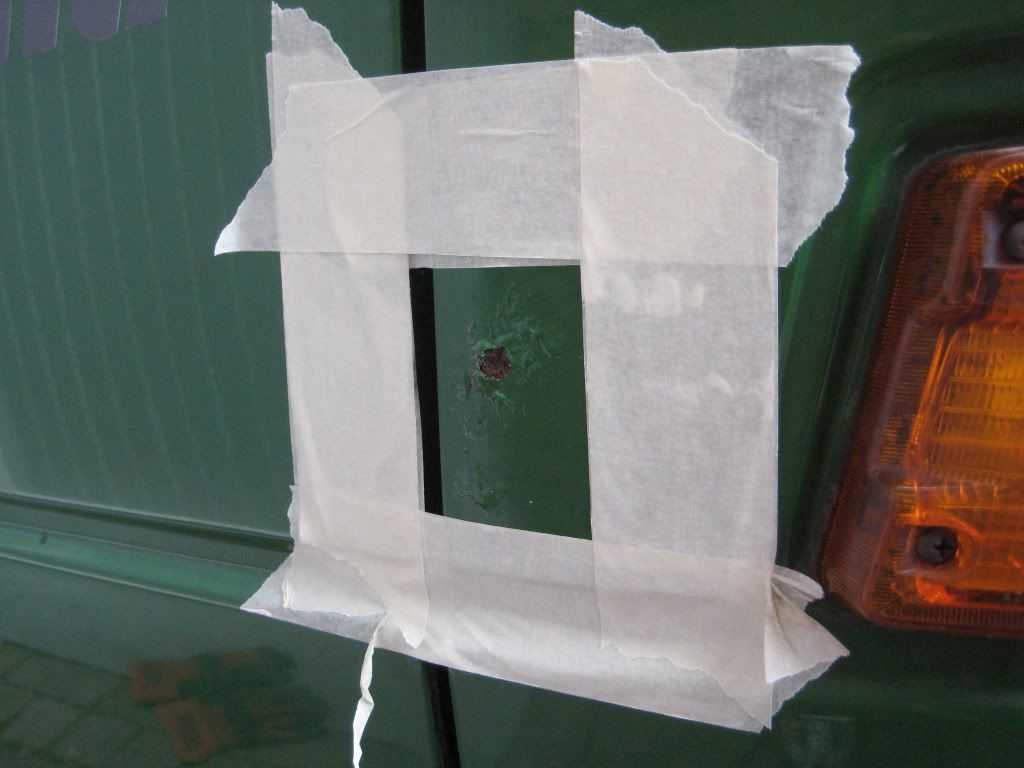
Urm... s**t thats a bit deeper than it looked.
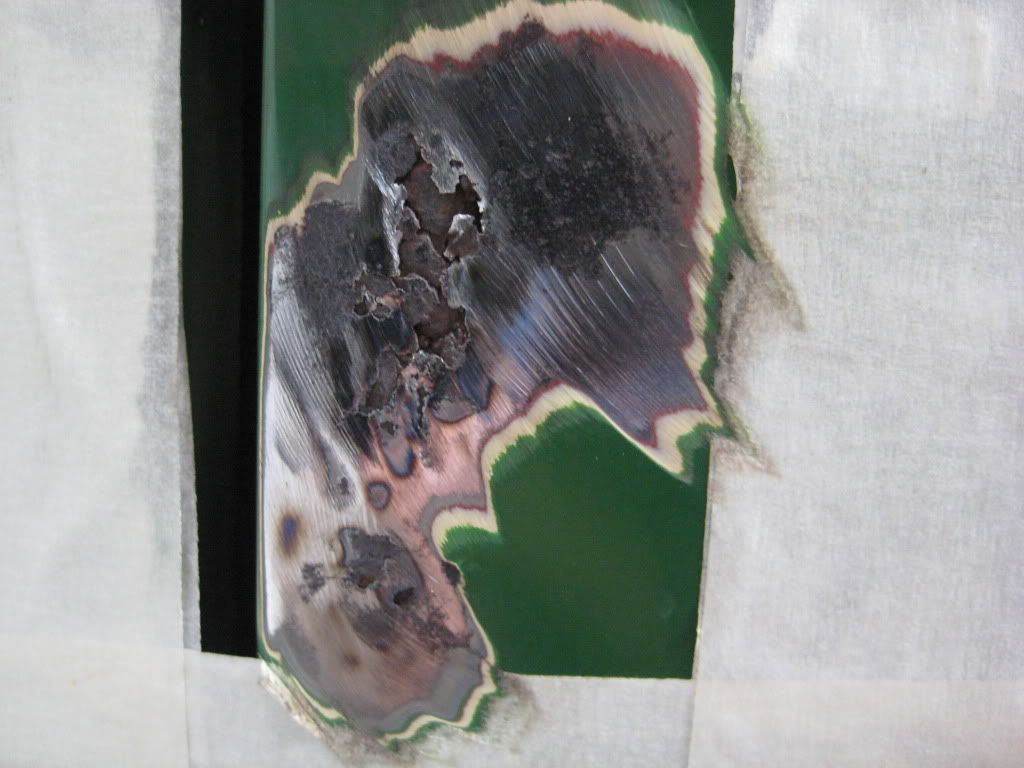
Somewhere else I read that I should cut out all the rust with a grinder. So I did.
Applied fertan to the area and wiil spray epoxy primer on that. Add filler to my shopping list
Re: Green Luna Camper Project!
Posted: 21 May 2011, 20:31
by pmoc_2001
Hello,
Still waiting for my welder and a few other bits to arrive in the post. As I mentioned, I intended to try and find and fix other areas of the van while I waited, more of a first aid attempt than anything. The list of other fixes is getting longer by the day.
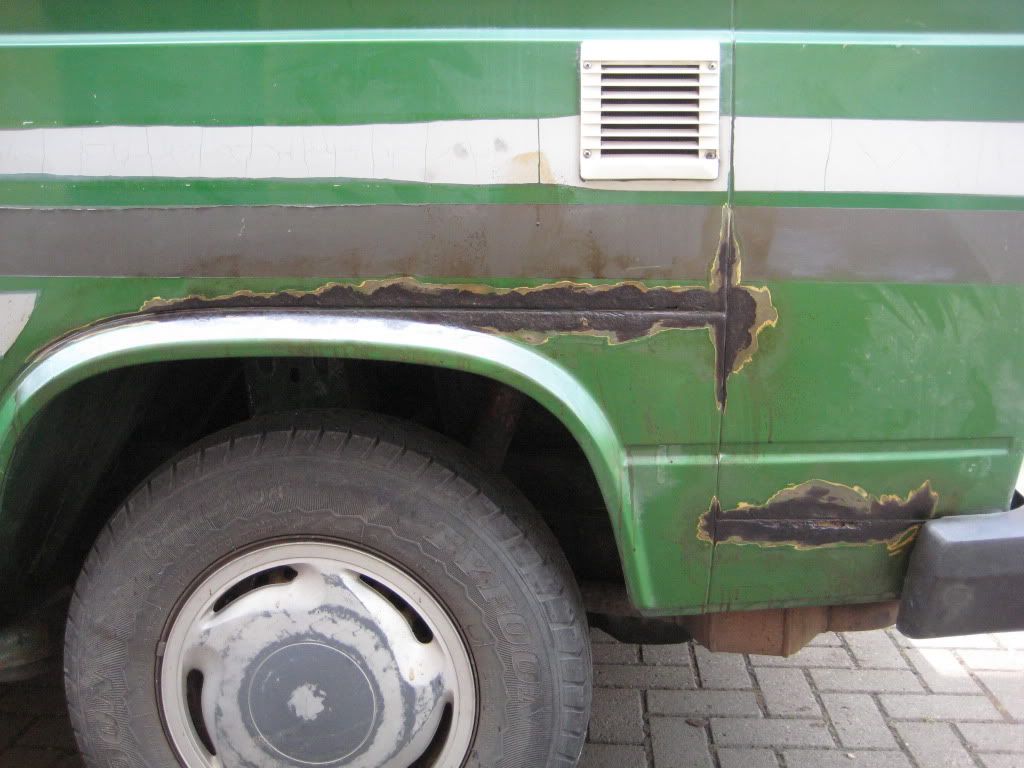
Here are some pics of what I have been doing over the last few days. I have noticed that condensation trapped in rock wool has been the main cause of rust over the rear arches (Both sides). Also, the area directly below the air intake as on previous images is looking rough - more so on the fridge side. I am using Fertan as a rust inhibitor and it seems to work quite well.
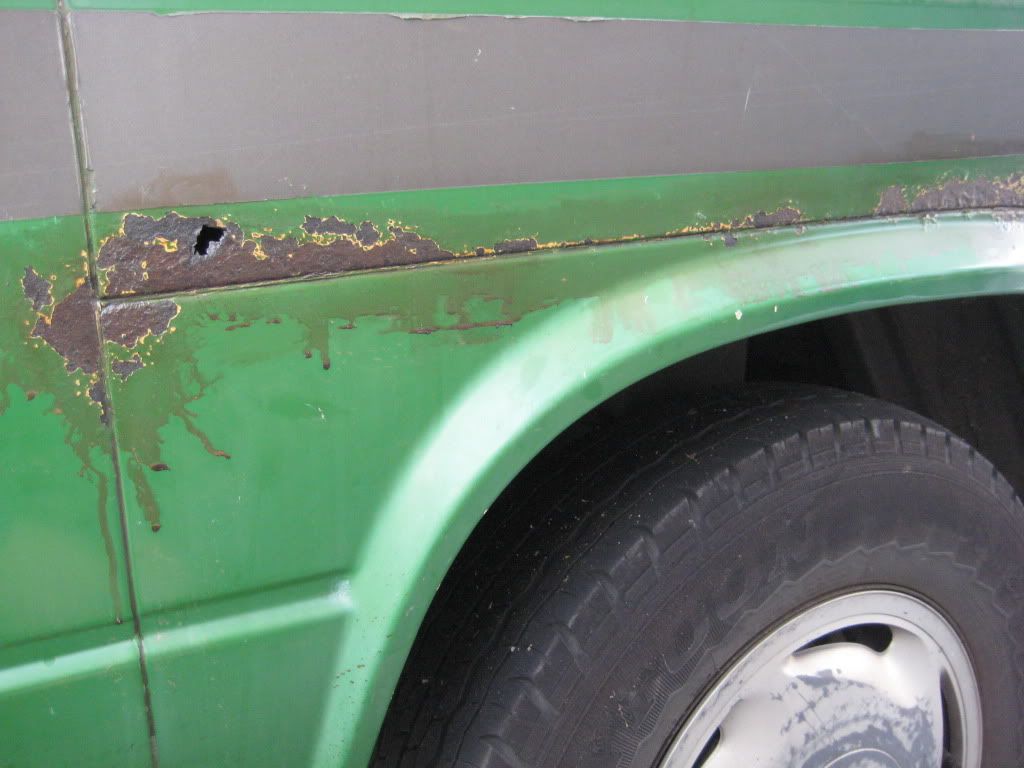
Hopefully I can save this front arch.
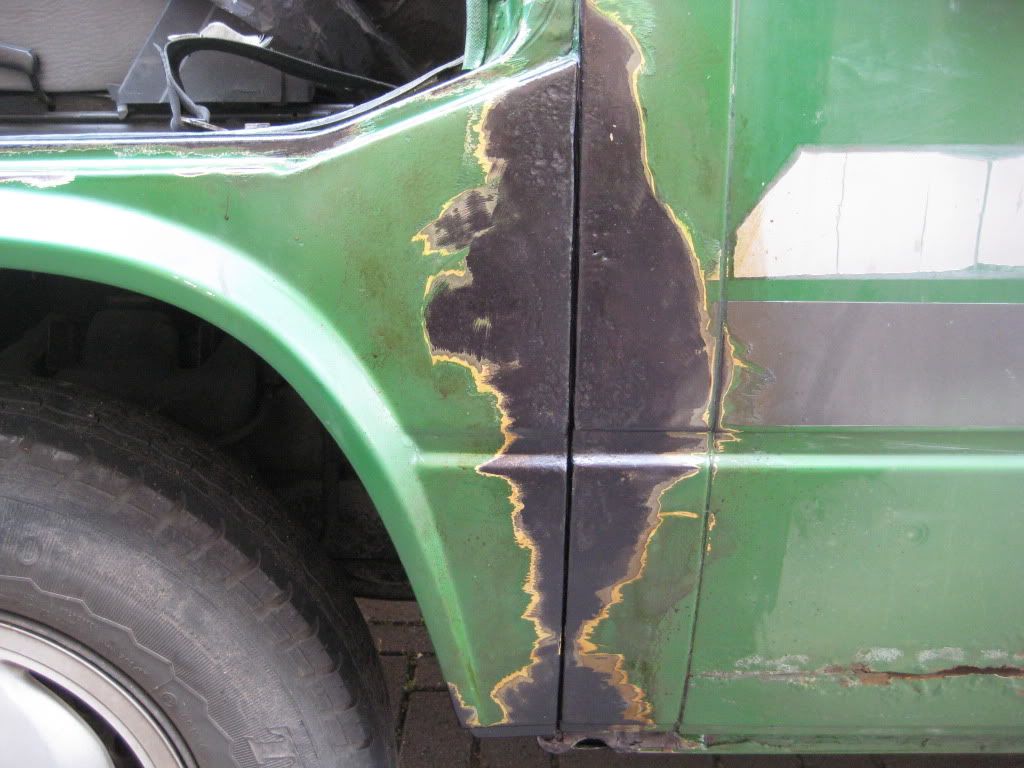
This arch and rear wing is beyond repair I think.
The investigation starts.
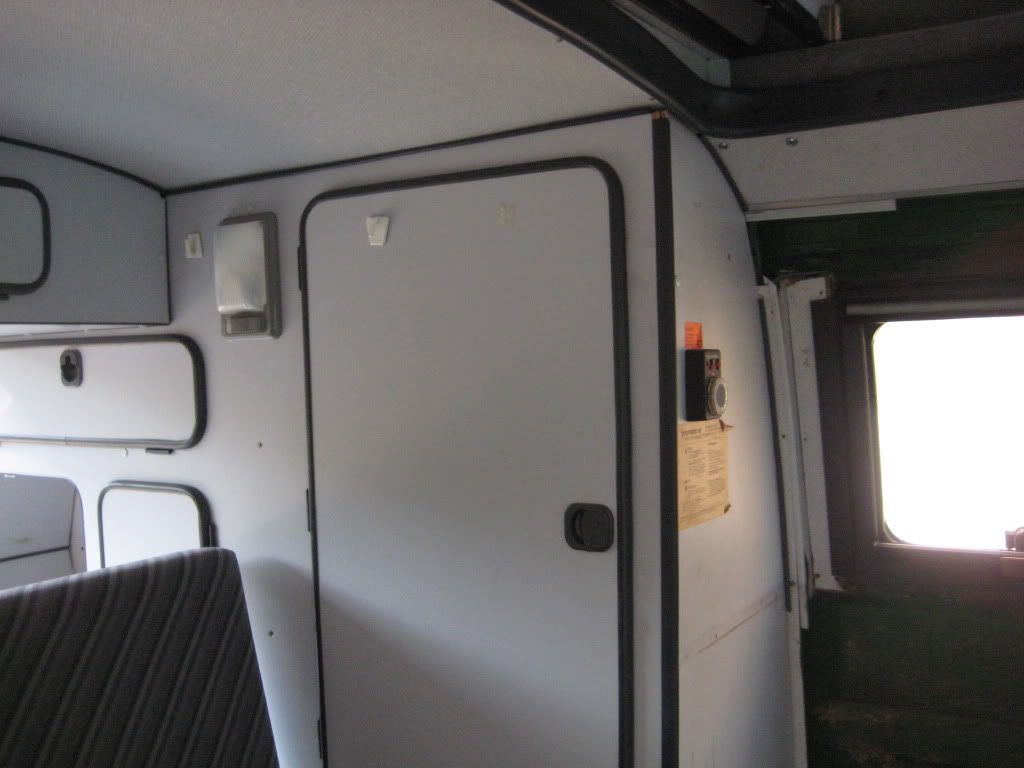
All the furniture came out quite easily. I really thought it would be harder.
The rock wool. I intend to replace this with a modern insulator like xps
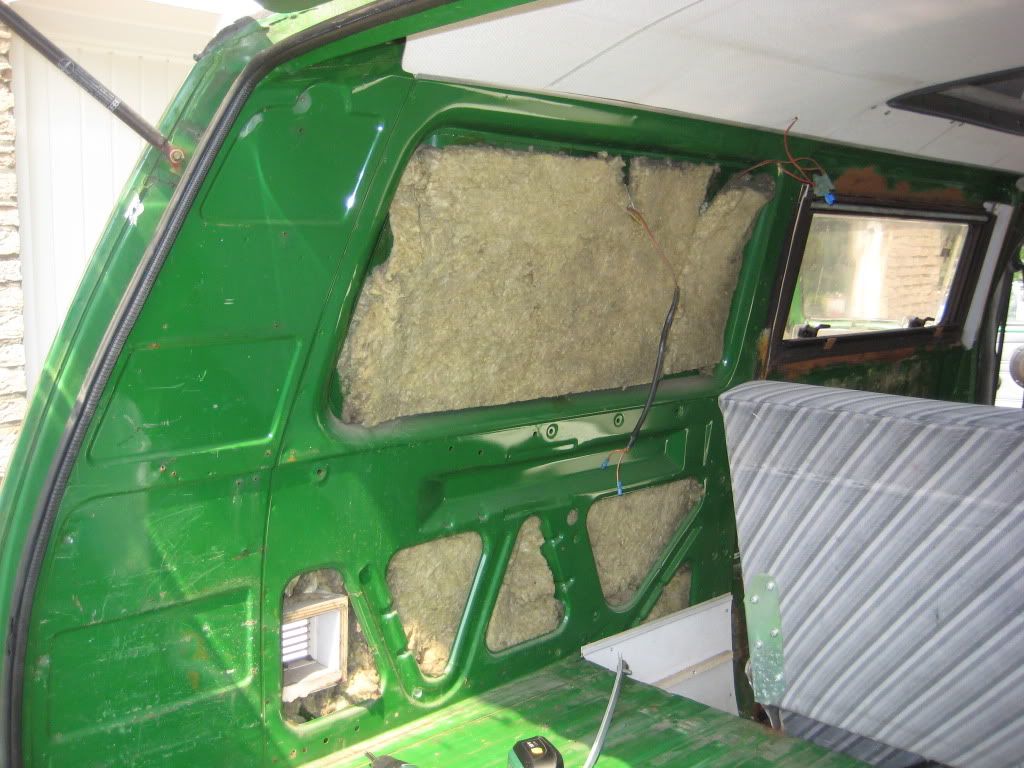
and hopefully avoid a repeat of this
Re: Green Luna Camper Project!
Posted: 22 May 2011, 16:30
by jimpainter
plenty of work to be done there
The front arch doesnt look too bad but it does depend on how pitted the metal is. If its too bad you may need to replace the rear of the arch. Also check behind the front arch at the lowest point. Another common rot spot as all the dirt and crap gets stuck there.
jim
Re: Green Luna Camper Project!
Posted: 22 May 2011, 16:52
by New Kentish Campers
Umm, from looking at your image, that panel is quite bad and well pitted. Might be a good idea to just fit the heavily corroded part of the arch with a new piece to make absolutely sure that the rust cant get back again! Its your call, obviously...

I say this because the same arch on my van didn't look anywhere near as bad as yours and I discovered more dubious rust bits under what looked to be good paintwork, so I took the plunge and cut the whole lot off! And, I'm pleased that I did now because I have peace of mind in that theres no way that any rust will return
Only my opinion though...

Re: Green Luna Camper Project!
Posted: 23 May 2011, 19:45
by pmoc_2001
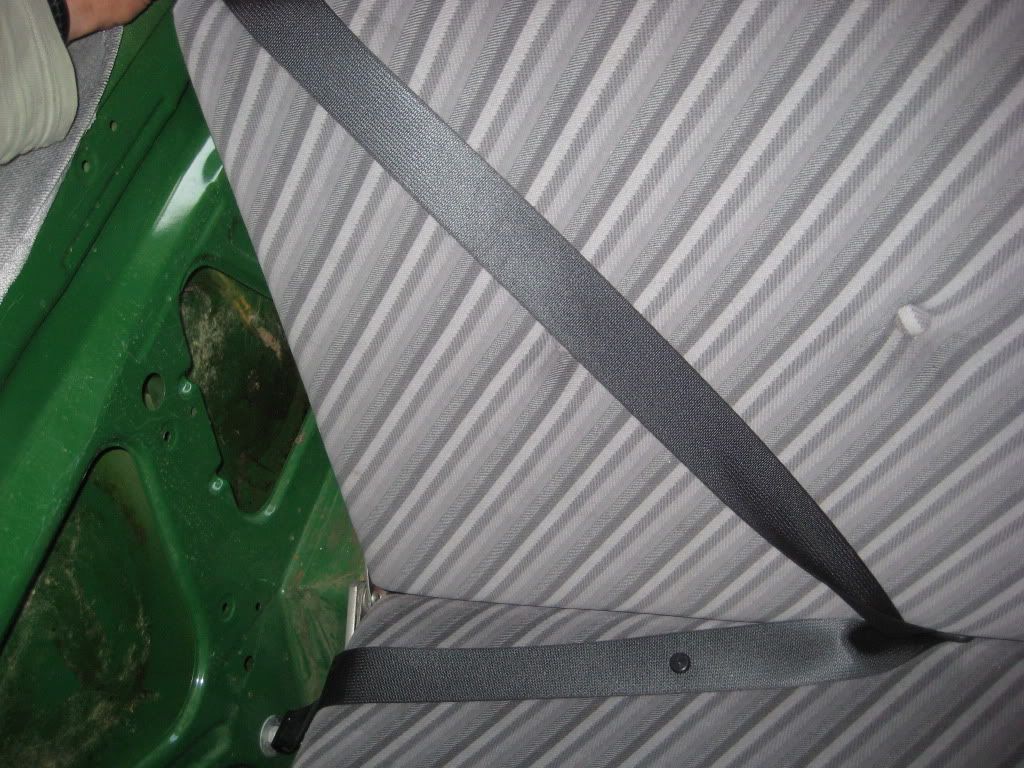
Mrs pmoc wants me to fit some "proper" seat belts. I Had this spare (sent wrong part by scrappy) after the dog bit through a rear seat belt in the other car.
Its Just an idea at the moment.
I intend to weld a nut onto the body for the bolt attached to this plastic feeder to attach to. It would probably look neater if I cut out a segment, welded a nut to the underside and then welded the segment back in.
The spool or what ever it's called, sits very snug in the recess of the body panel. I need to make a bracket to keep it tight (Either weld or bolt).
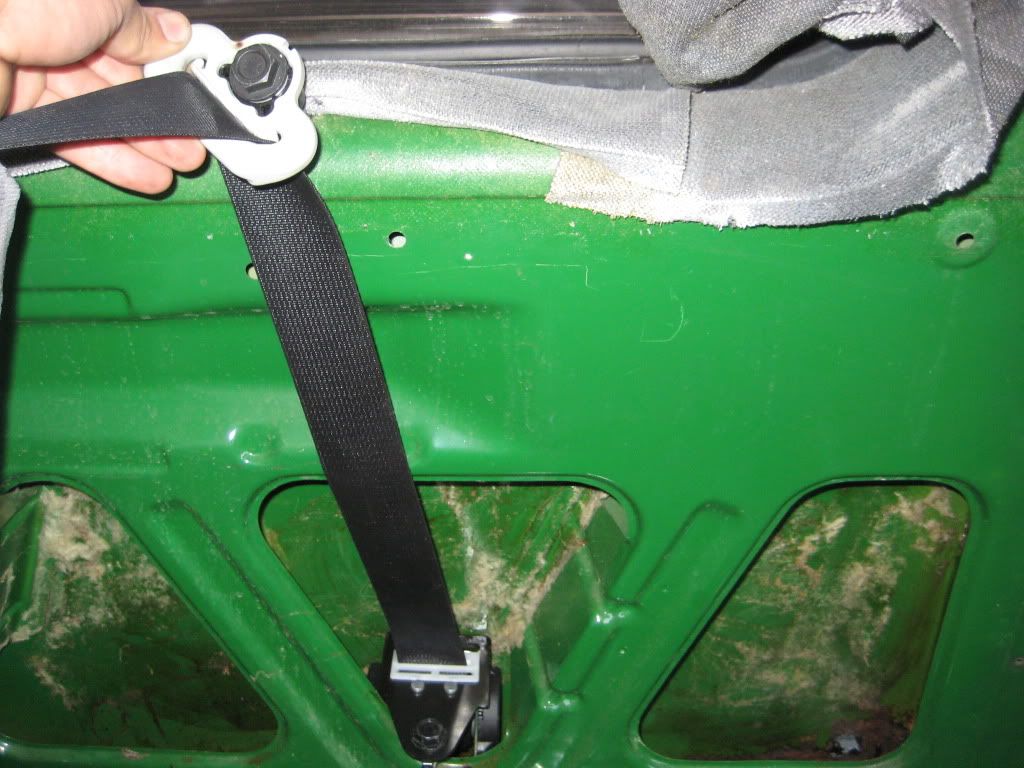
I had Mrs pmoc sit in the seat and she liked this angle best.
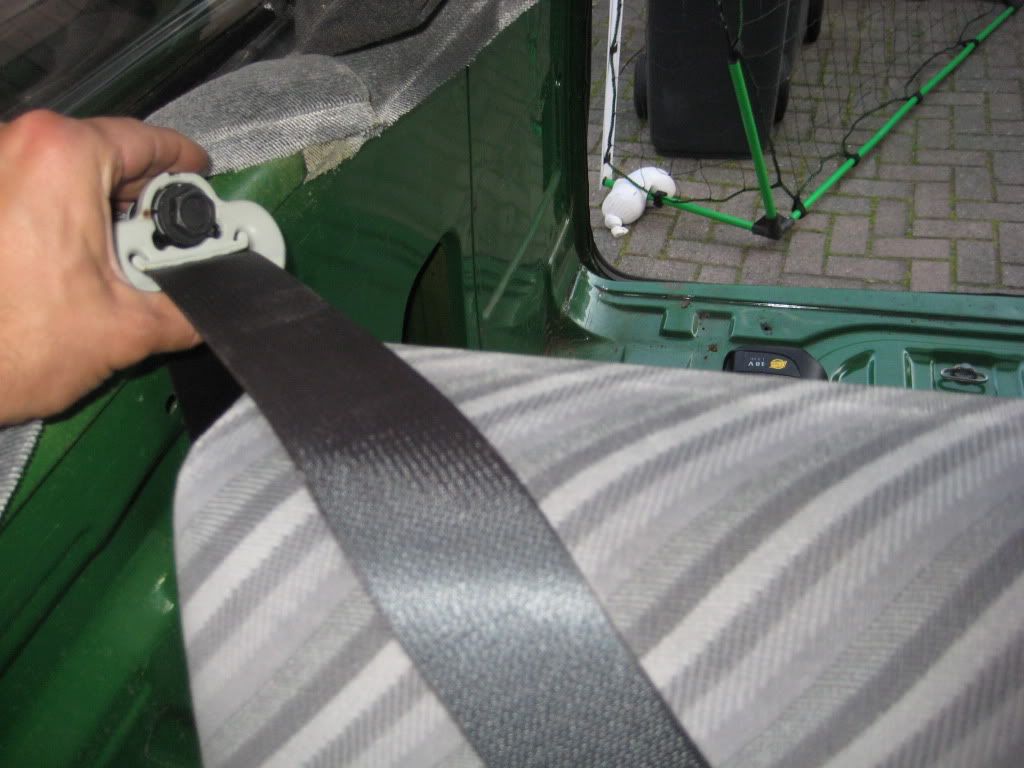
Bottom of belt will fit to the original anchor point.
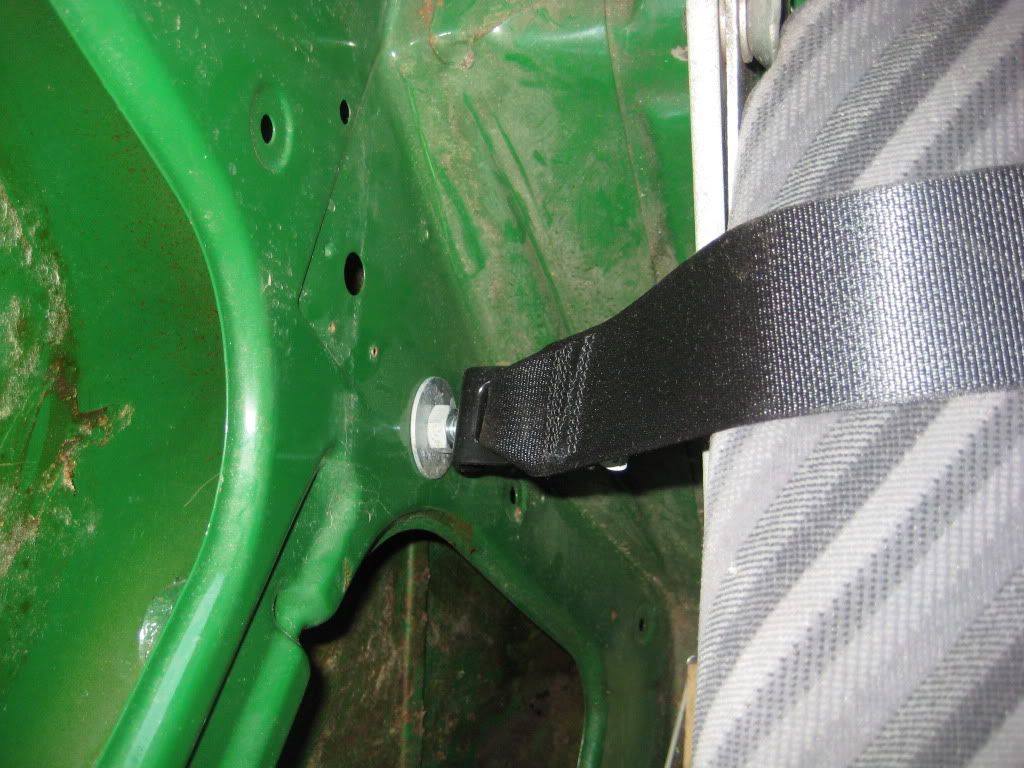
Mock up.
Re: Green Luna Camper Project!
Posted: 29 May 2011, 18:33
by pmoc_2001
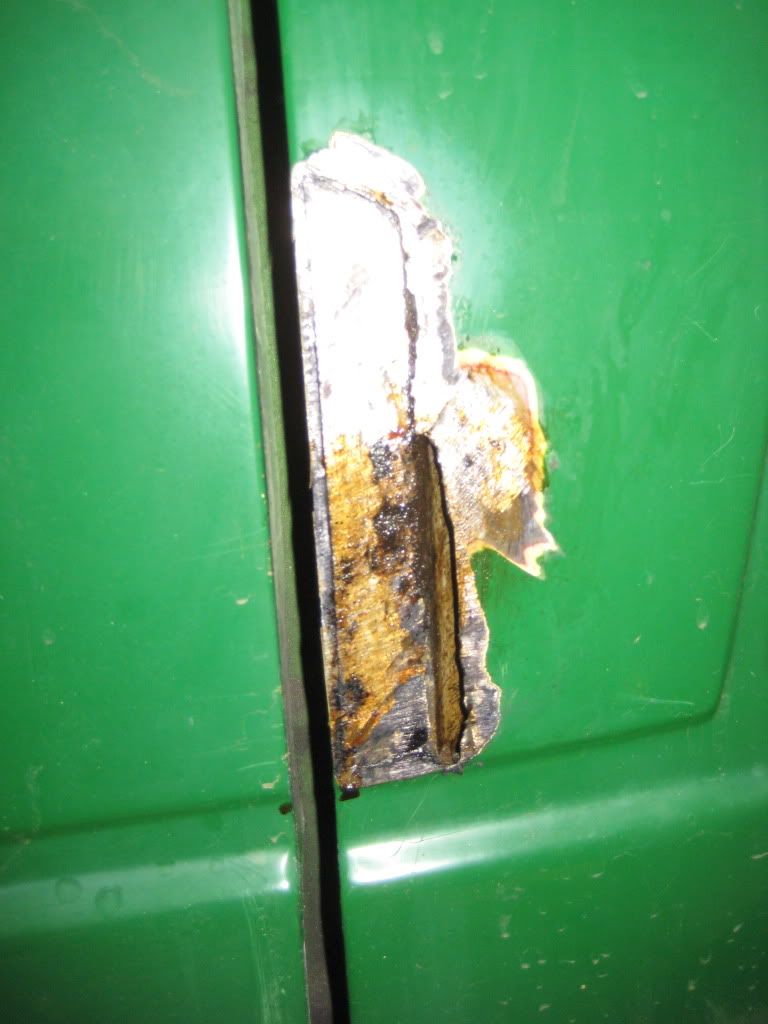
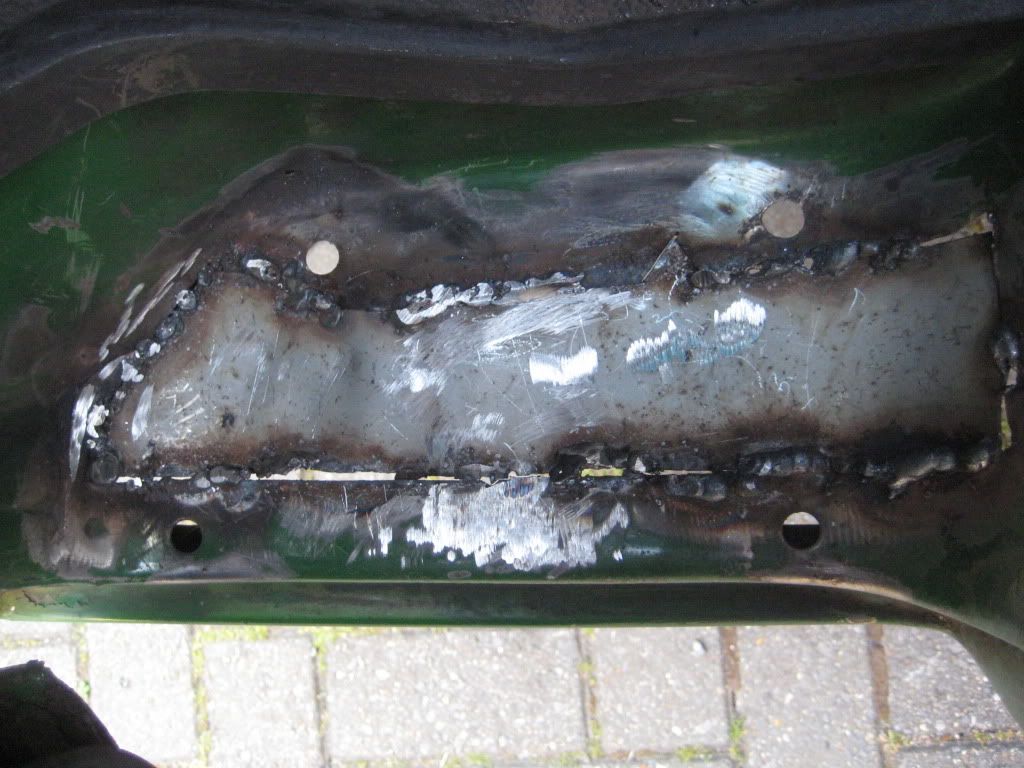
I have been working hard on my van. I cut out the rust on the fridge side step. I bought some metal and cut out a template. It took me ages to get the actual metal to fit. When it did fit I tacked it in with my mig welder I'm a beginner). Then it went down hill as I tried to weld in 1-2 inch strips to keep heat down and it ended in a mess. Most of the welds did not penetrate the gap and the gaps actually got bigger. I'm grinding it off now and will try again. I have also realised that I should have been using flux cored welding wire as I am not using gas at the moment.
Down but not out.
This is bad!
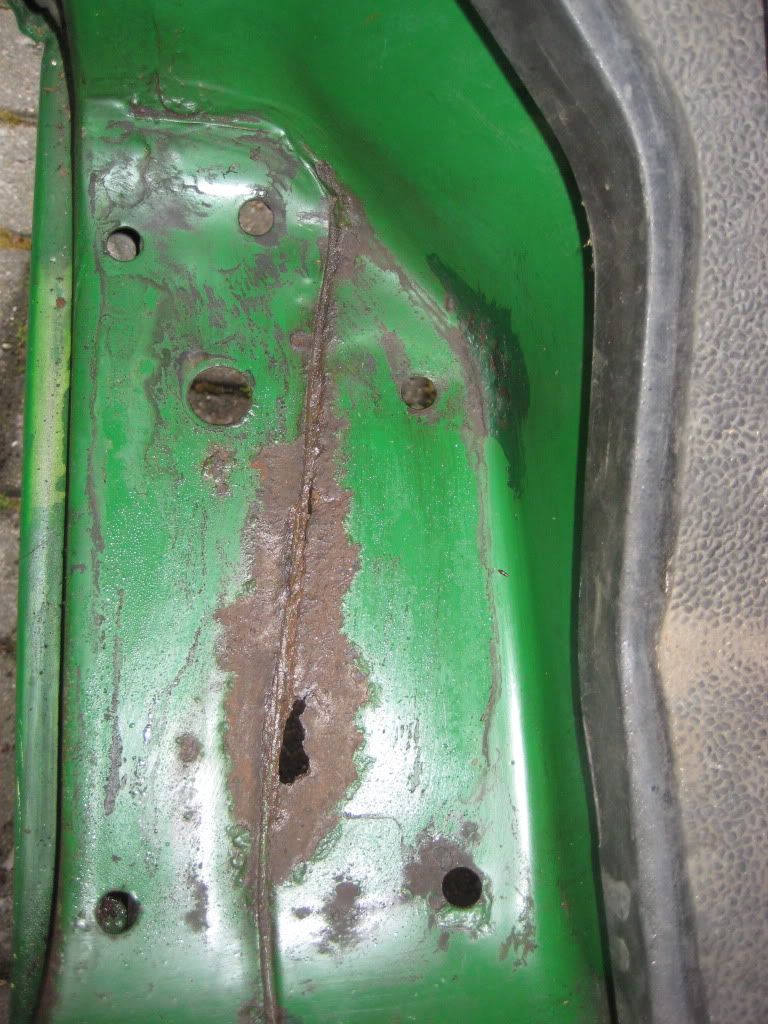
This is not much better!
Re: Green Luna Camper Project!
Posted: 29 May 2011, 18:52
by jimpainter
Everybody has to start somewhere. Flux wire is ok but a bit messy. Definatly better to get a gas bottle and use that. Your better off using some metal to practise on before welding your van. You need to make sure the metal is spotless as well. Any sign of rust and it will affect your weld.
Re: Green Luna Camper Project!
Posted: 29 May 2011, 19:17
by pmoc_2001
jimpainter wrote:Everybody has to start somewhere. Flux wire is ok but a bit messy. Definatly better to get a gas bottle and use that. Your better off using some metal to practise on before welding your van. You need to make sure the metal is spotless as well. Any sign of rust and it will affect your weld.
This was after practising for 3hrs the day before untill the welds started looking OK.

Re: Green Luna Camper Project!
Posted: 29 May 2011, 19:46
by Plasticman
well dont give up, use gas, get some scrap panals and practice some more , do 40 hrs if thats what it takes and make a few bits up that replicate the bit your doing on the van, you've only one van to f***up but lots of scrap stuff. and yes when your learning you need to make yourself as little work as you can so get at it with a grinder properly.
otherwise your doing fine and learning
mike
Re: Green Luna Camper Project!
Posted: 30 May 2011, 08:45
by jamesc76
Seem to be getting on ok with it, welding comes better with a lot of practice! I all ways suggest to novices to go to the local scrappy and buy an old wing or door thats got rust and practice on that, rather than summit you care about! As for the seat belts, you need to spend alot of time strengthening the areas its gonna be bolted to you cant just drill a hole and bolt it it, plus you have to use special high tensile bolts especially for seat belts!