Page 2 of 3
Re: DIY powder coating
Posted: 19 Sep 2015, 22:07
by CJH
I'm sure you're right. In fact I think the guy selling the kits said you could patch up the odd scratch by doing a localised repair. But my worry with curing larger pieces in sections is that the powder is very delicate prior to curing. A bumper would take at least an hour to cure in sections with my little halogen heater, so I'm sure the delicate powder would get the odd blemish in it before I'd cured the whole length.
Re: DIY powder coating
Posted: 27 Sep 2015, 18:45
by CJH
I've been coating a few more pieces this afternoon. Made a few mistakes, learned a few lessons.
Some bits that worked out ok:
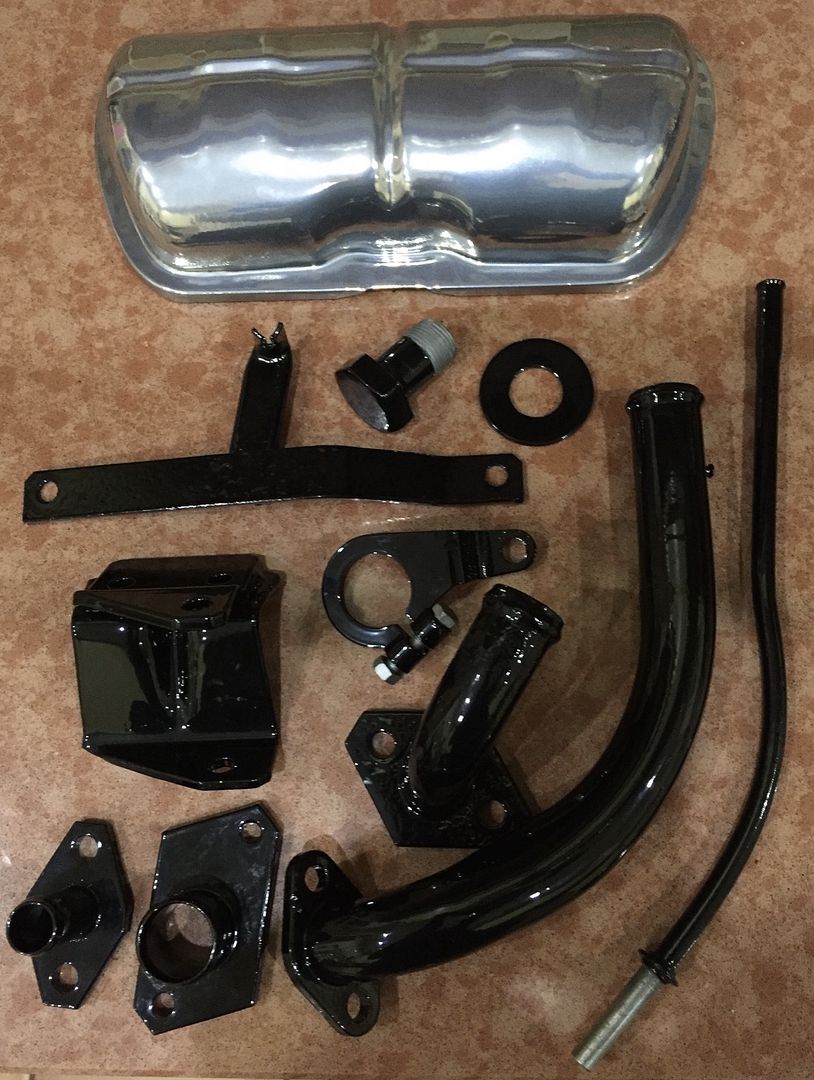
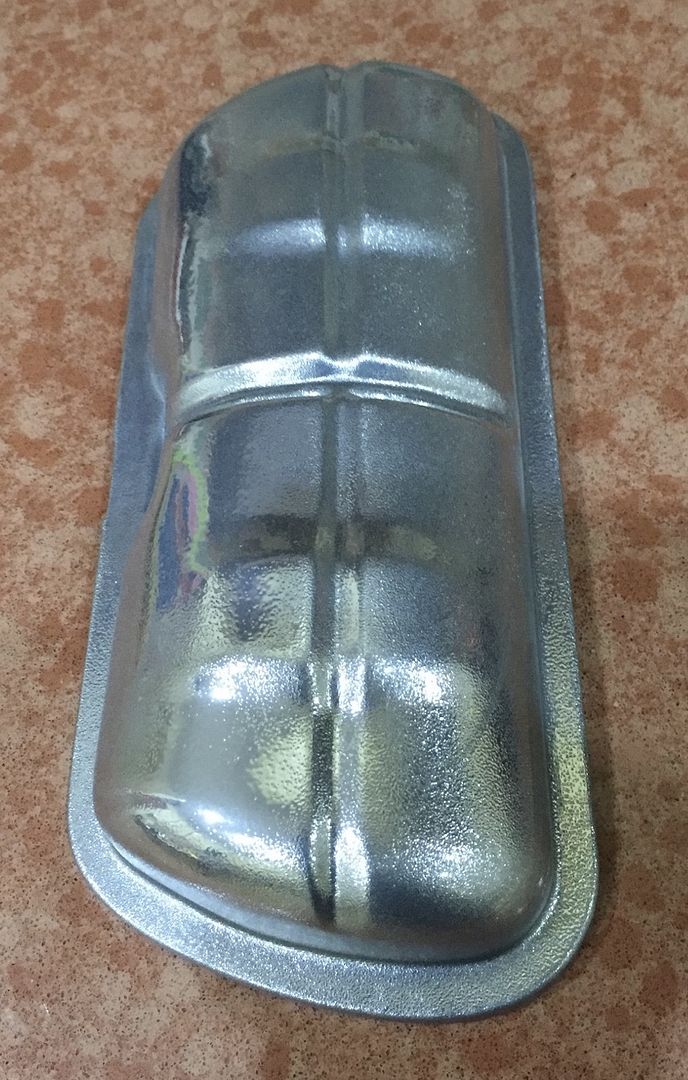
The rocker cover is in the first layer of chrome powder - it still needs a coat of clear to protect it, as the chrome finish is only the top few microns apparently.
This is what happens if you try to re-coat while the piece is still too warm.
And this is what happens if you coat over a paint finish that can't stand the curing temperature.
Off to the grit blaster with those two bits.
The limiting factor is definitely the heater to cure the powder. The rocker cover is the biggest piece I can do in front of my halogen heater. Even then I had to override the microswitch that detects when the heater has fallen over, and use it flat on its back.
Re: DIY powder coating
Posted: 27 Sep 2015, 20:22
by itchyfeet
you could consider a metal cabinet/ locker/ cupboard with a lpg gas burner in the base and some vents, I have seen similar in small powder coat suppliers.
Re: DIY powder coating
Posted: 27 Sep 2015, 22:35
by CovKid
I quite like the rocker cover finish

Re: DIY powder coating
Posted: 28 Sep 2015, 05:11
by itchyfeet
I wonder if your electronic dizzy needs an earth through that bracket you painted?
Re: DIY powder coating
Posted: 28 Sep 2015, 06:05
by CJH
The chap selling the kits at Busfest showed some pictures of ovens that people had made. One popular way was to use the heating element/lid part of a halogen oven on top of a galvanised bin.
itchyfeet wrote:I wonder if your electronic dizzy needs an earth through that bracket you painted?
Ooh, good point. That would be embarrassing. I've just checked with a meter on my spare dizzy - there's electrical continuity between the body and the lower spindle that engages with the dizzy drive gear, so I think it'll get an earth through there, but it makes sense to expose the inner edge of the bracket I think (and maybe where the bolt holds it to the engine case). If nothing else, it'll make it easier to get it back on the dizzy.
Re: DIY powder coating
Posted: 28 Sep 2015, 20:20
by itchyfeet
I also wonder what powdercoat does for torque? I see you have coated the crankshaft pulley bolt and washer.
Re: DIY powder coating
Posted: 28 Sep 2015, 22:30
by CJH
Ooh you're sharp. I don't think it'll do much to the torque though. I did it partly as an experiment to see whether the powder coating was any better at surviving a socket over the bolt, and it's not - it still flakes off just like paint. I was careful to mask off the bolt threads before I did it though.
What are you thinking - that the shiny coating will lubricate the mating surfaces so the tension in the bolt will be greater for the same torque? Or perhaps the opposite - that the coating will increase the torque required to get the same tension? I must admit I didn't give it a thought, but I'd be surprised if it makes much difference, since the coating will scrape off as soon as the bolt starts to tighten.
While we're on the subject - the washer I have is dished. Are they like that from new, and if so which way round should it go? Should the dish sit inside the pulley so that the tips of the bolt's hexagonal head touch first, or should it go the other way, so that the bolt is trying to flatten the dish - like a kind of shake-proof washer?
Re: DIY powder coating
Posted: 29 Sep 2015, 05:14
by itchyfeet
Never noticed the dish, I'd guess it's done by the bolt bending it as the hole is big, perhaps overtightened before
Dunno what the powder coat would do to the bolt, my worst fear is it allows it to rattle loose, I'd bet you would not risk it on your wheel bolts so why risk it on the crank pulley
you will have essentially put thin plastic washers in the line of torque, this plastic has a low melting point and is on a hot spinning part, if the plastic moves out of the way you will no longer have the 60Nm torque. Plastic flow can happen in soft metals they don't have to be molten to move, just like a glacier.
Re: DIY powder coating
Posted: 29 Sep 2015, 08:41
by silverbullet
On a single groove pulley the washer should be dished, its a bellville washer and is used to maintain torque.
It should "point" outwards, so the bolt pulls it flat when tight.
Re: DIY powder coating
Posted: 29 Sep 2015, 09:40
by itchyfeet
silverbullet wrote:On a single groove pulley the washer should be dished, its a bellville washer and is used to maintain torque.
It should "point" outwards, so the bolt pulls it flat when tight.
mmm better check mine then

Re: DIY powder coating
Posted: 29 Sep 2015, 10:10
by silverbullet
FWIW I have seen one that had relaxed and gone flat.
Re: DIY powder coating
Posted: 29 Sep 2015, 10:15
by CJH
silverbullet wrote:On a single groove pulley the washer should be dished, its a bellville washer and is used to maintain torque.
It should "point" outwards, so the bolt pulls it flat when tight.
Thank you - every day's a school day. The image on the
wikipedia page for the Belleville washer might almost have been based on the WBX crank bolt.

So does it go completely flat under 60Nm of torque? I'm going to strip the powder coating off anyway, but if the torque is driven by the washer deformation, rather than the friction in the mating faces, then the coating would make even less difference.
Re: DIY powder coating
Posted: 30 Sep 2015, 06:00
by Dazco
Been looking at all the parts you have done and im very impressed with the finish.

Re: DIY powder coating
Posted: 04 Oct 2015, 10:18
by CJH
I tried doing up the pulley bolt to 60Nm just to see how the powder coating would cope. I think it's fair to say 'not well'. The deformation of the belleville washer was way too much for the coating.

The belleville washer did go completely flat under that torque - and in fact it seems to have permanently deformed, as it's definitely less dished than it was. I was able to put back some of the dish shape between a couple of sockets in my vice, but it made me wonder - surely they're not single use, and if they are, how effective are they as springs if they permanently deform?
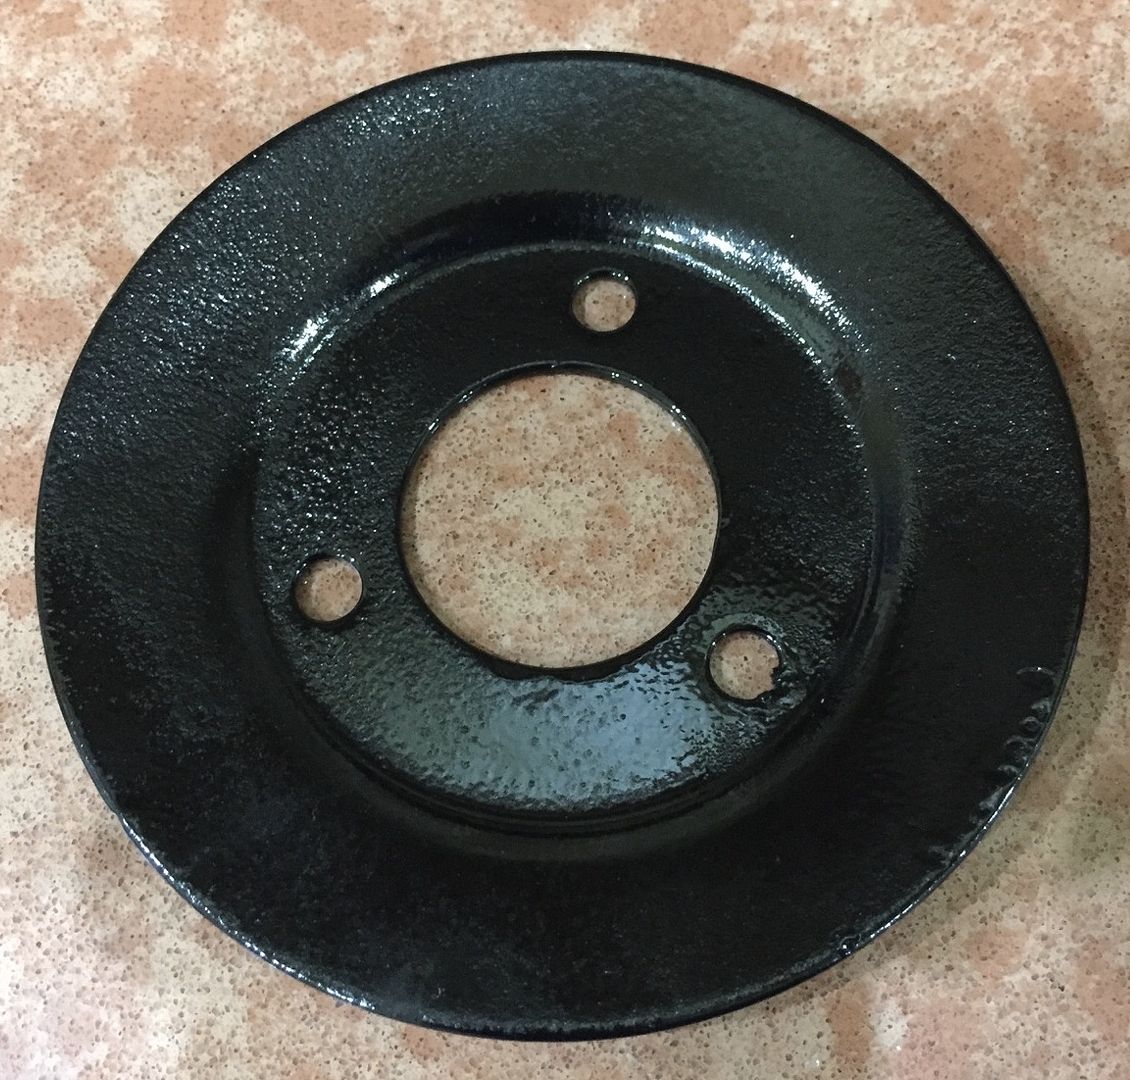
Anyway, I stripped the washer and bolt back to bare metal, along with the pulley itself. Then I recoated the pulley. Not sure whether the shiny surface in the pulley groove will make the belt slip - I doubt it as the water pump pulley halves have a shiny paint finish on them from new. I used an air gun to remove the powder from the inside of the pulley hole, where it mounts to the crank, before curing. I did the outer face of the water pump pulley too. I do like the finish - adds a bit of subtle bling.

