Page 2 of 3
Re: Repairing Cheeky V! W/photos
Posted: 25 Feb 2014, 23:09
by evilnoodle
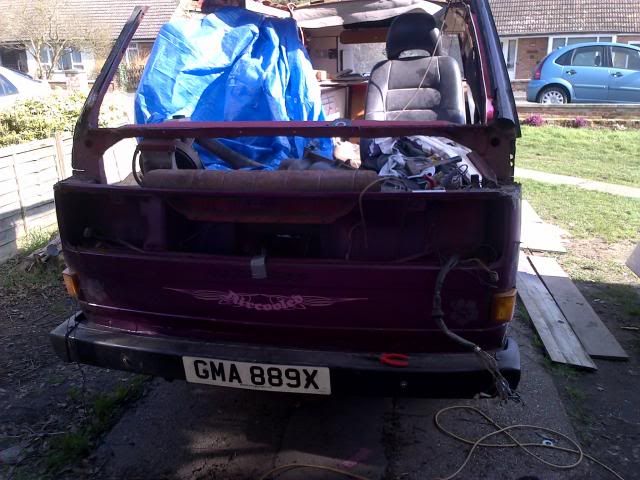
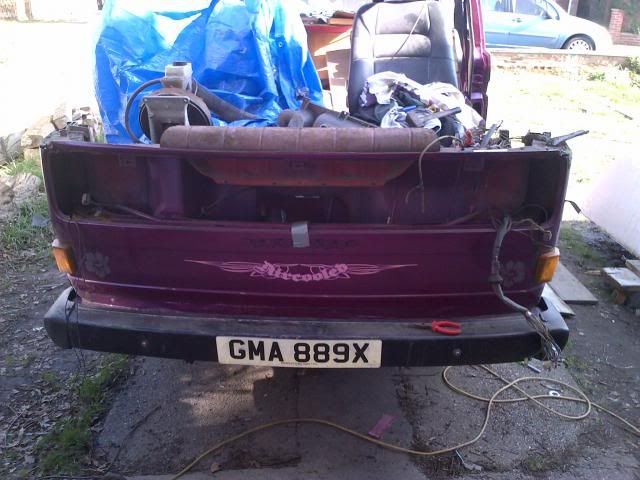
I could give them seats a good home


Re: Repairing Cheeky V! W/photos
Posted: 25 Feb 2014, 23:17
by Dazco
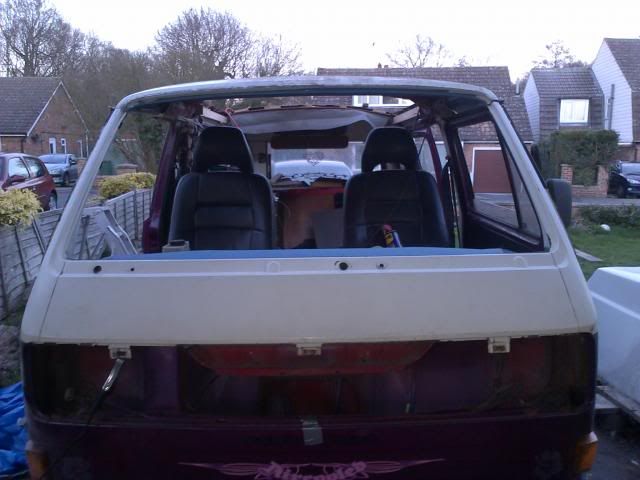
You've got alot of work ahead of you there, good luck

and hope you find a suitable roof to drop on ( sounds easy )

Re: Repairing Cheeky V! W/photos
Posted: 26 Feb 2014, 09:11
by Cheeky V
yea I've seen the front end on
http://www.partsemporium.co.uk/Type%202" onclick="window.open(this.href);return false; ... 0Parts.htm
I'm gunna keep searching because it'll be so much easier if i can get the roof cut attached but hey, beggars cant be choosers!
I'm not sure it'll be easy but im not running for the hills yet

Re: Repairing Cheeky V! W/photos
Posted: 26 Feb 2014, 09:39
by b-f-c
Going to watch how you do. I've got the same corrosion (thanks to a badly installed Sheldon roof and 30 years of condensation) so before I start mine it would be good to see how you fair with yours
Good luck!


Re: Repairing Cheeky V! W/photos
Posted: 26 Feb 2014, 10:22
by Cheeky V
well I don't feel quite so alone now haha! I think the killer will be taking out your screen to see how far down the rot has got, what year is yours? I'll keep my eyes peeled for a cut for you if i come across one

Re: Repairing Cheeky V! W/photos
Posted: 26 Feb 2014, 10:56
by b-f-c
Cheeky V wrote:well I don't feel quite so alone now haha! I think the killer will be taking out your screen to see how far down the rot has got, what year is yours? I'll keep my eyes peeled for a cut for you if i come across one

Cut the rubber and keep the screen. A second person helps but managed to do mine alone, although more luck than judgement there.
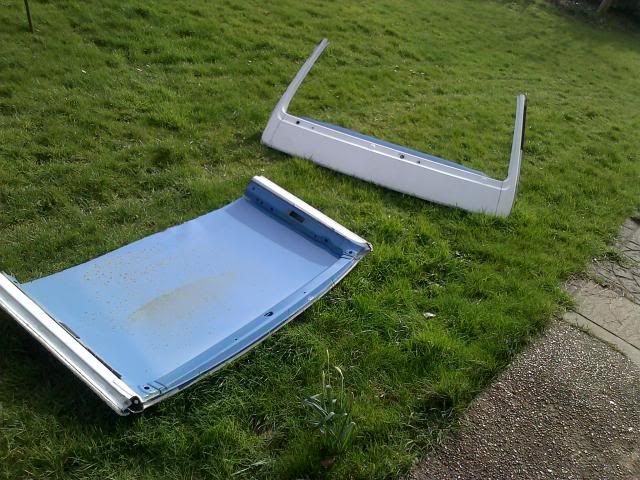
The second photo is the roof cut I got from Aidan. Picked out the rivets and de-skinned it ready to go onto mine. Just need to finish my degree and I'll be back on it again this summer
Re: Repairing Cheeky V! W/photos
Posted: 26 Feb 2014, 10:58
by Cheeky V
yup same here no one was about and i couldn't leave it alone! haha
oh brilliant

Re: Repairing Cheeky V! W/photos
Posted: 27 Feb 2014, 20:13
by mbcamper
So are roof panels or part panels easy to obtain and if so who would supply this?
Re: Repairing Cheeky V! W/photos
Posted: 27 Feb 2014, 20:16
by b-f-c
mbcamper wrote:So are roof panels or part panels easy to obtain and if so who would supply this?
I think donor roof is the best option, although I think metalmickey has made gutter sections which might be more suitable for repairs.
I chose to do the whole skin as the original hightop was poorly done
Re: Repairing Cheeky V! W/photos
Posted: 27 Feb 2014, 20:18
by 300CE
Bit of a long shot, but how about buying something like this for the parts you need and then selling the other bits (interior etc) to recoup some of your money back?
http://bit.ly/1gKHWkd" onclick="window.open(this.href);return false;
E D I T: just seen it'a sold!
Re: Repairing Cheeky V! W/photos
Posted: 28 Feb 2014, 10:03
by Cheeky V
Looks like i'll be traveling up to Crewe next week to pick up a lovely looking donor cut!

Re: Repairing Cheeky V! W/photos
Posted: 12 Mar 2014, 10:27
by Cheeky V
Re: Repairing Cheeky V! W/photos
Posted: 12 Mar 2014, 11:33
by evilnoodle
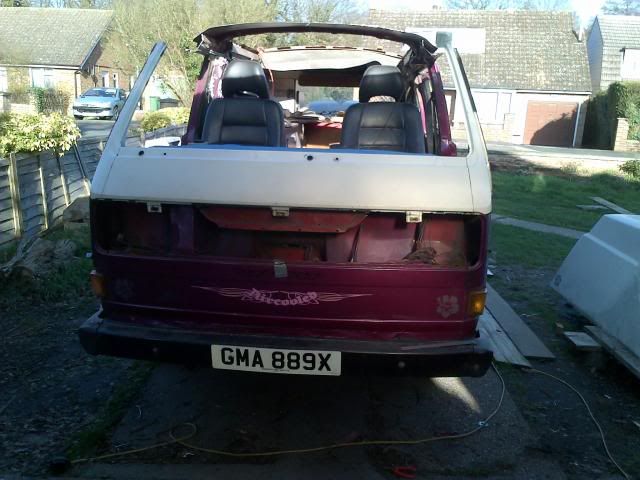
My word.......!
Re: Repairing Cheeky V! W/photos
Posted: 12 Mar 2014, 19:32
by b-f-c
Some cracking progress there fella!
Re: Repairing Cheeky V! W/photos
Posted: 14 Mar 2014, 14:59
by sciroccotune
Very good work there but I would be a little worried you have lost some rigidity repairing like that?


