Page 2 of 3
Re: Interior designs
Posted: 22 Dec 2012, 12:51
by jed the spread
B.J wrote:I made my own 'Terracamper' style interior last summer but it's based on traditional Westy type cabinets rather than bolt on boxes.
I ripped off the terock colour scheme too!
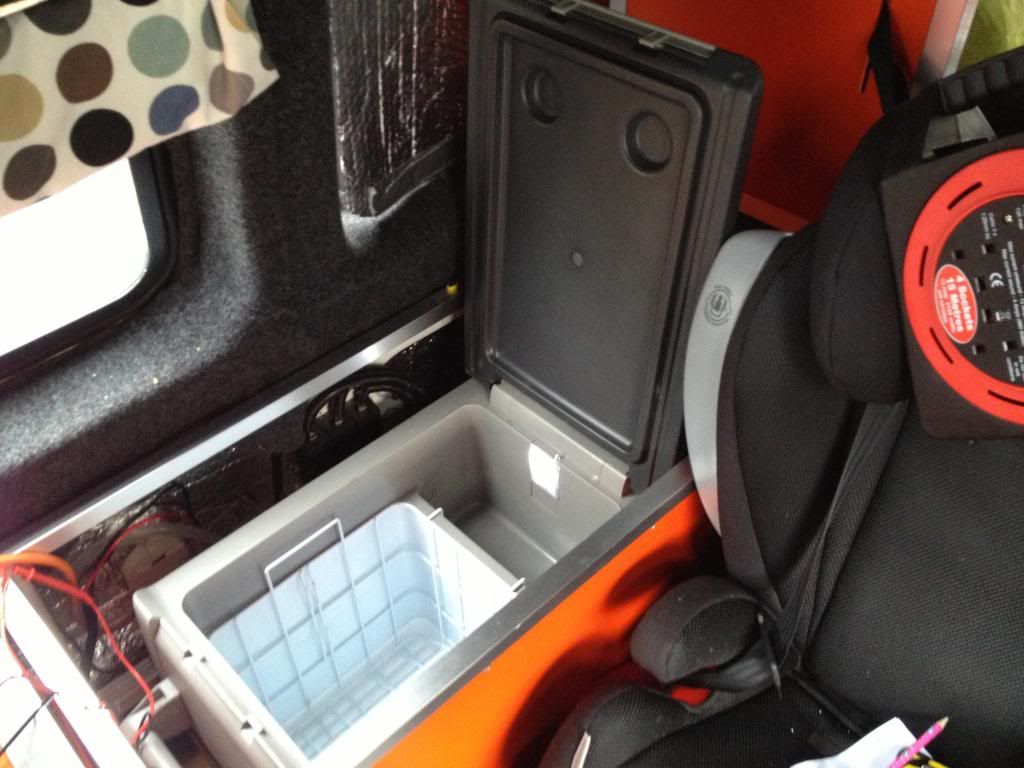
Here's the unit that houses the top loading fridge and electrics/batteries.
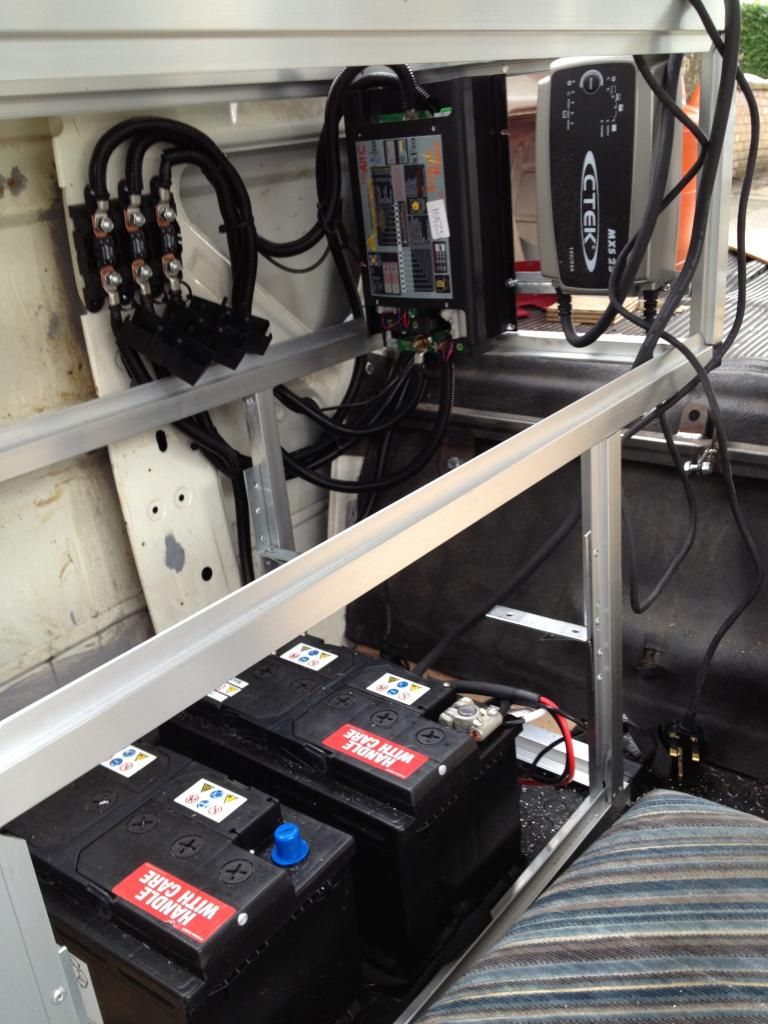

The kitchen block and fridge unit were an overall success and only need minor changes from hinged tops to tambour tops.
The rear cupboard was a total disaster and needs a complete rethink It was thrown together in a couple days and only lasted about that too

It's a tricky shape at the back of a T3 and if you look at the Terracampers, they stay quite low.
Next year I'm going to thin out the drawers(too heavy) and sort out some sort of quick release system so it's easy to remove. At the moment it takes about an hour to remove it.
Cool interior

Jed
Re: Interior designs
Posted: 25 Dec 2012, 20:57
by RobH
Check out The Camper Shak
http://www.thecampershak.co.uk/news.php they do loads of different coloured board scroll down/ search for Kaleidoscope range, we have blue in our van:

Re: Interior designs
Posted: 28 Dec 2012, 21:59
by DavidPallister
jed the spread wrote:B.J wrote:I made my own 'Terracamper' style interior last summer but it's based on traditional Westy type cabinets rather than bolt on boxes.
I ripped off the terock colour scheme too!
Here's the unit that houses the top loading fridge and electrics/batteries.
The kitchen block and fridge unit were an overall success and only need minor changes from hinged tops to tambour tops.
The rear cupboard was a total disaster and needs a complete rethink It was thrown together in a couple days and only lasted about that too
It's a tricky shape at the back of a T3 and if you look at the Terracampers, they stay quite low.
Next year I'm going to thin out the drawers(too heavy) and sort out some sort of quick release system so it's easy to remove. At the moment it takes about an hour to remove it.
Cool interior
Jed
Hi BJ, i'm liking your fridge. What make is it, where did you get it from, how much was it, what power sources does it use, and what are the dimensions please?
Sorry for all the questions
Cheers
Dave
Re: Interior designs
Posted: 28 Dec 2012, 22:17
by uniB
http://www.dometicminicoolers.co.uk/Wae ... CoolFreeze" onclick="window.open(this.href);return false; I believe - get saving!
DavidPallister wrote:
Hi BJ, i'm liking your fridge. What make is it, where did you get it from, how much was it, what power sources does it use, and what are the dimensions please?
Sorry for all the questions
Cheers
Dave
Re: Interior designs
Posted: 28 Dec 2012, 22:38
by lloydy
Reassuringly expensive

Re: Interior designs
Posted: 28 Dec 2012, 22:58
by uniB
Well, I think our beers deserve it

Re: Interior designs
Posted: 29 Dec 2012, 00:16
by B.J
uniB wrote:http://www.dometicminicoolers.co.uk/Wae ... CoolFreeze I believe - get saving!
DavidPallister wrote:
Hi BJ, i'm liking your fridge. What make is it, where did you get it from, how much was it, what power sources does it use, and what are the dimensions please?
Sorry for all the questions
Cheers
Dave
You've just reminded me of how much I nearly paid for it
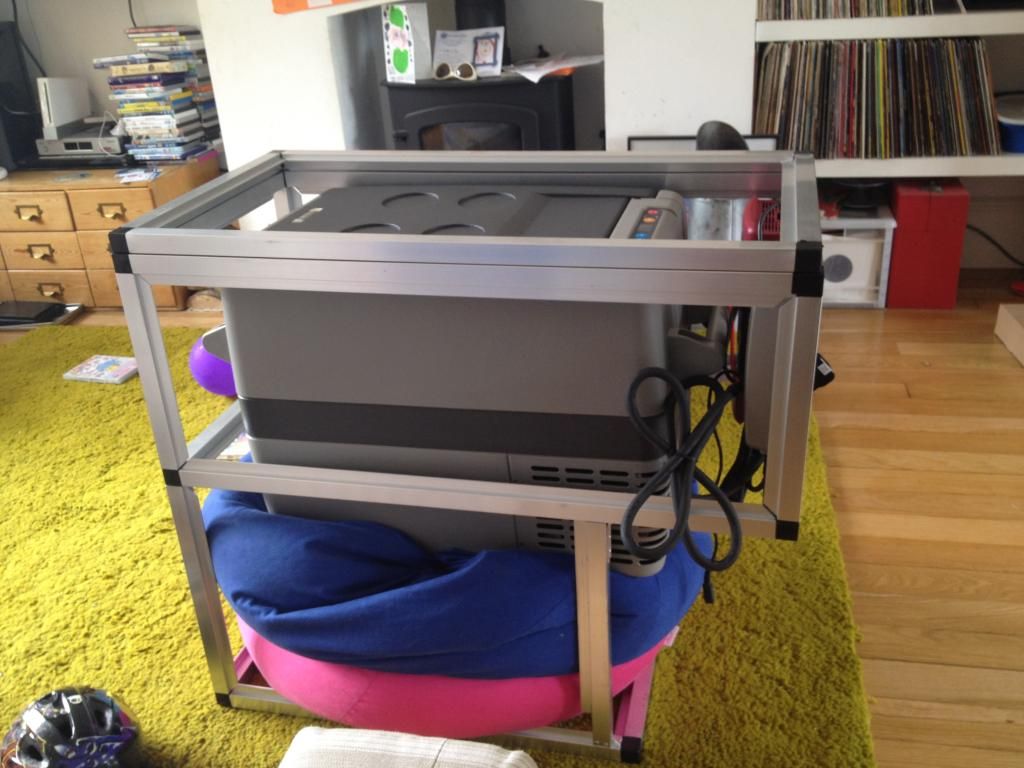
I got mine off ebay from someone similar to this
http://www.ebay.co.uk/itm/Waeco-CF-40-C ... 416f7da73f" onclick="window.open(this.href);return false;
Works very well at that price
Re: Interior designs
Posted: 29 Dec 2012, 20:49
by DavidPallister
Wow, that's a bit steep, the ebay price is a bit more palatable though!
With the lid opening vertically, how much space is needed between the cooler and the (sloped) side of the van?
Dave
Re: Interior designs
Posted: 29 Dec 2012, 23:22
by B.J
DavidPallister wrote:Wow, that's a bit steep, the ebay price is a bit more palatable though!
With the lid opening vertically, how much space is needed between the cooler and the (sloped) side of the van?
Dave
Good question, and one that I completely neglected to address before buying the fridge and making the frame
Luckily, the fridge door loosely pivots on plastic points and is removable so it clears the side for about 75% of the way and I just pull it towards me about 10mm to clear the rest. It's easy to do and It never comes
off the points but it's very tight.
I didn't have the option of moving the frame further out as I already had to grind part of the RnR bed down to fit it in.
Terra camper get round this by having the fridge on a pull out drawer but it's a lot of different movements to get to the beer
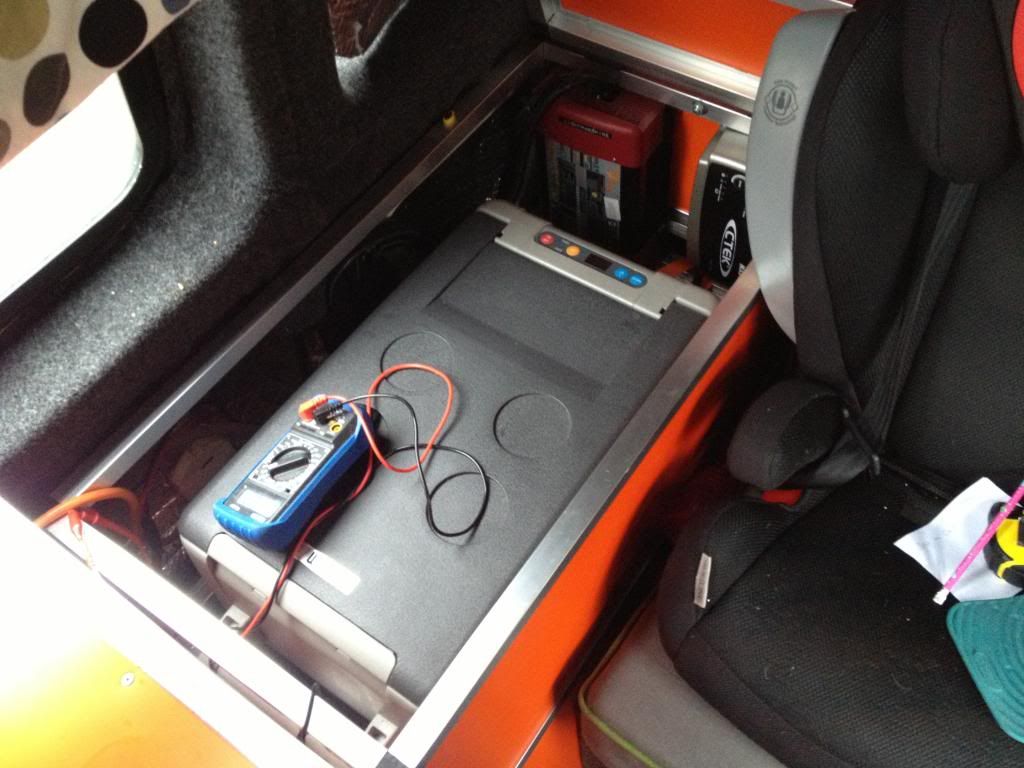
I'm pulling the fridge out in a couple of days to get to the (flat) batteries so I'll try to take some measurements for you.
Re: Interior designs
Posted: 30 Dec 2012, 11:39
by DavidPallister
Nice one, thanks.
I was thinking of having the sink, hob and fridge hidden beneath lift up covers, and had the idea of mounting the fridge in a frame that was able to tilt in to the van slightly, and the action of lifting the top cover would tilt the fridge frame.
It works in my head, but would need to mock it up to see if it would actually work!
E D I T:
Also just checking, looking at the links, the fridge will run on both 12v and 240v? And is any internal or external venting needed? Obviously not a gas flue, but anything to help dissipate any heat?
Dave
Re: Interior designs
Posted: 06 Jan 2013, 21:10
by B.J
Vent wise, mine has quite a bit of space inside the cabinet so I didn't vent it. Seemed to be ok in the searing heat. Keeping the sun off it certainly made it work more efficiently.
The fridge is about 85mm from the side panel but should be about 95-100mm to properly clear the side. On saying that, I have one of those fiberglass window inserts that transporters have in place
of a proper metal interior window. It sits proud of the rear interior panel plus it has carpet on it so I reckon it adds 5mm.
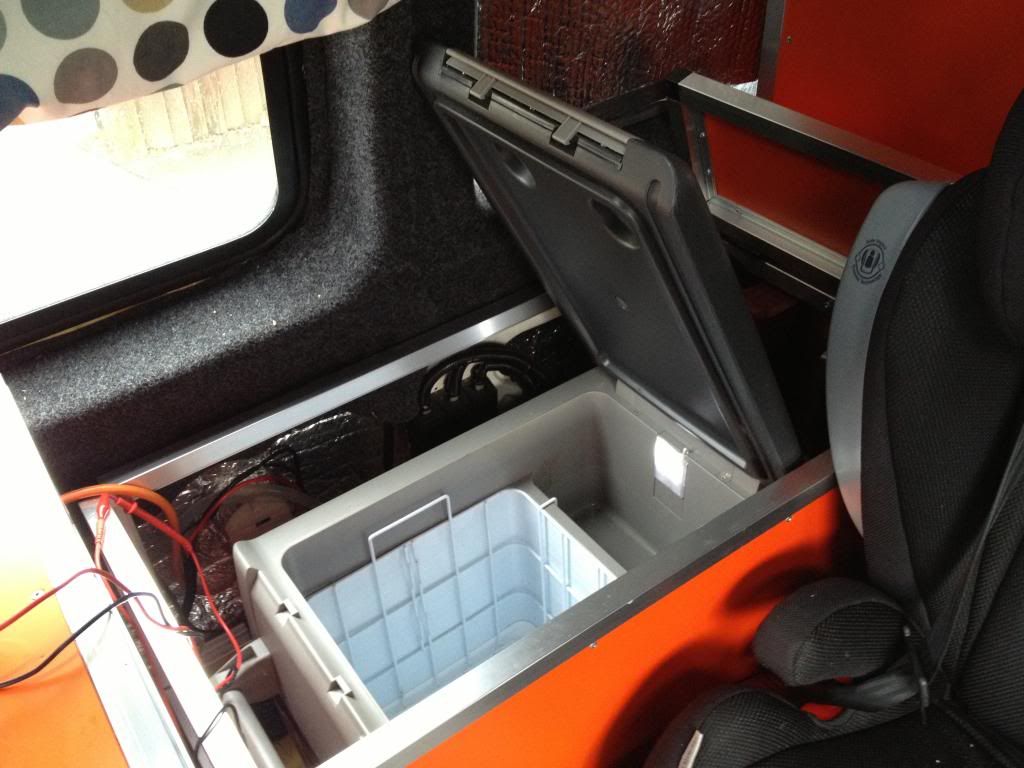
This is where it snags. Keeps the lid open though!
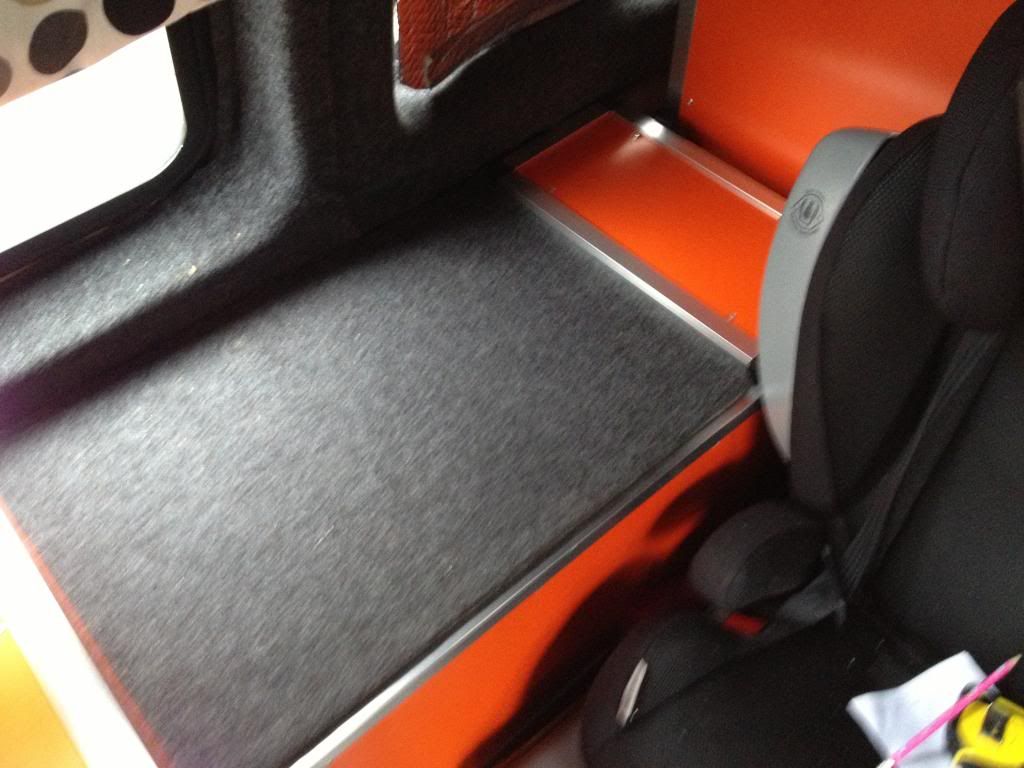
Temporary cover.
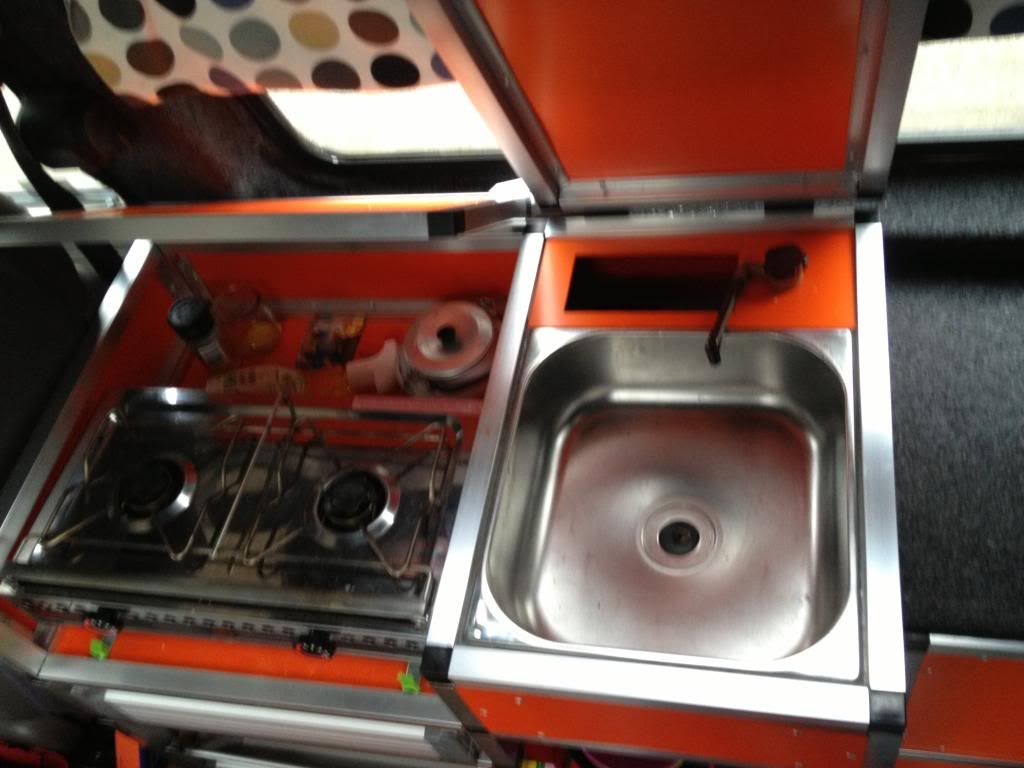
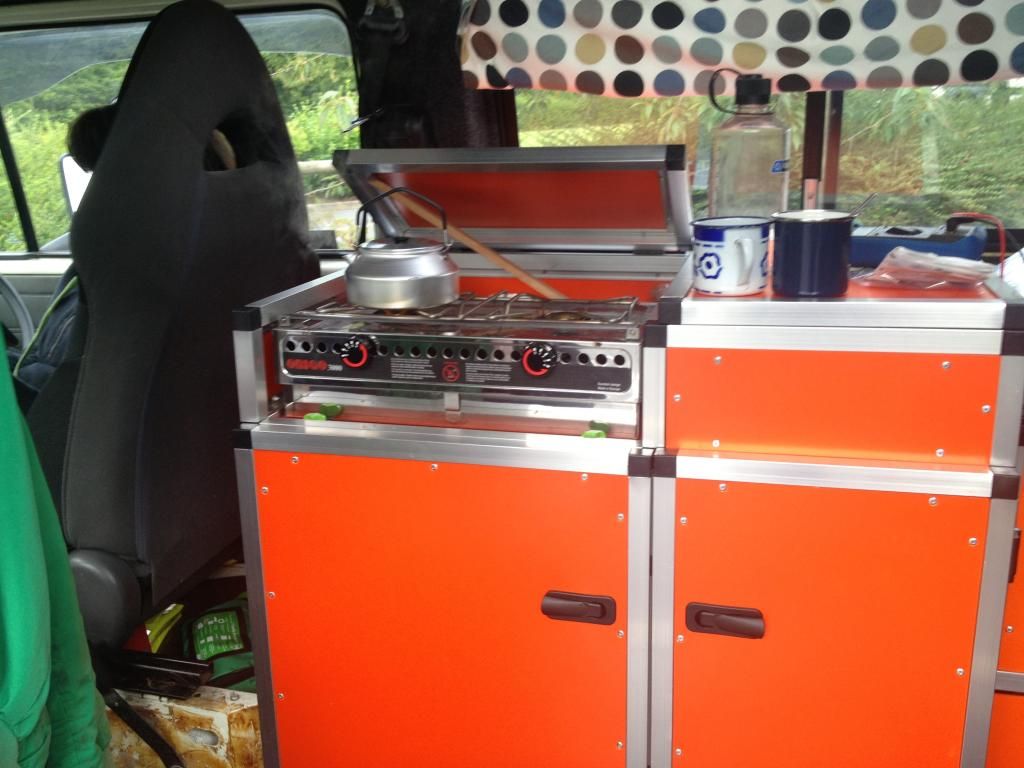
Sinks unit is work in progress
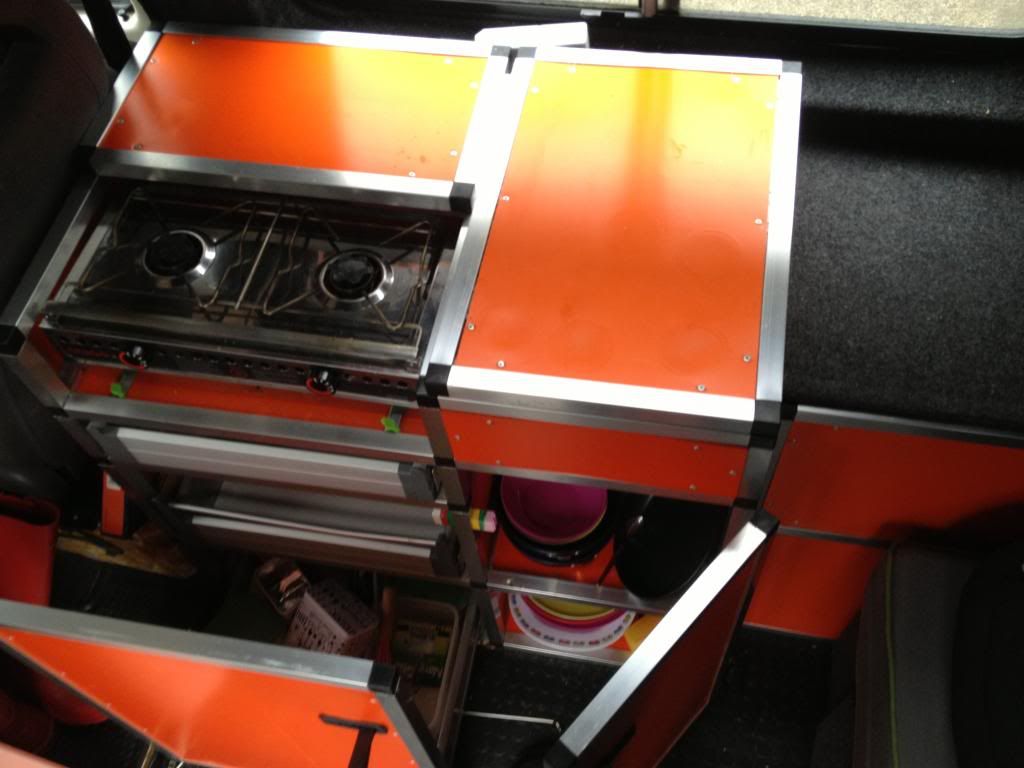
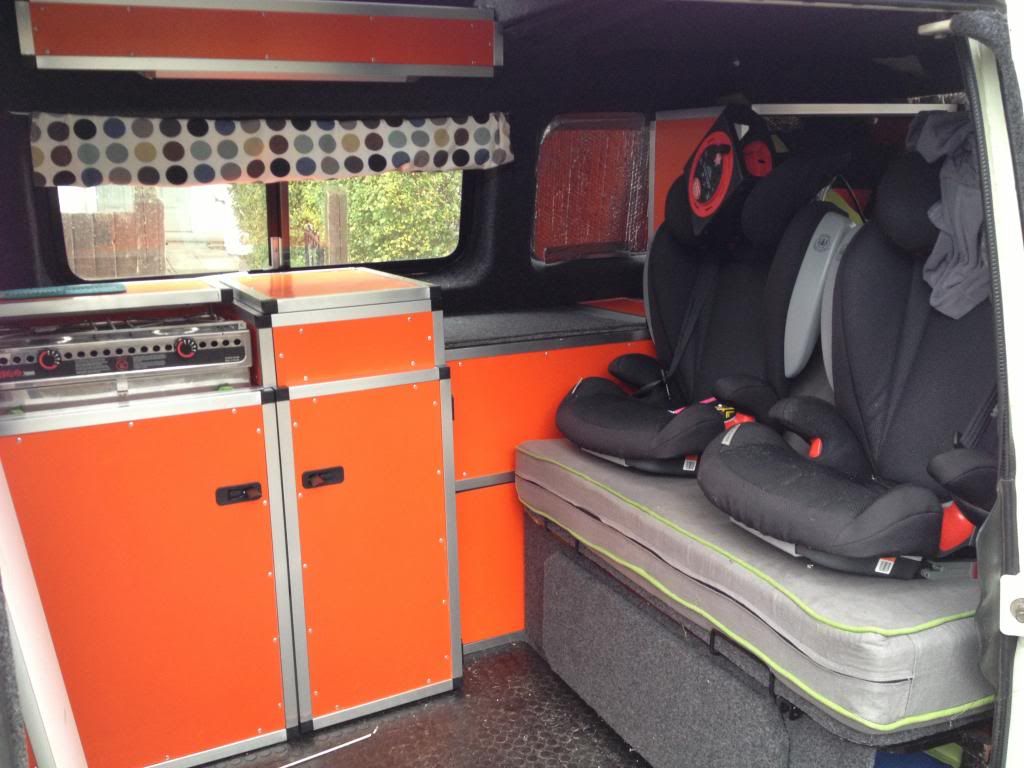
Must get around to doing the curtains.
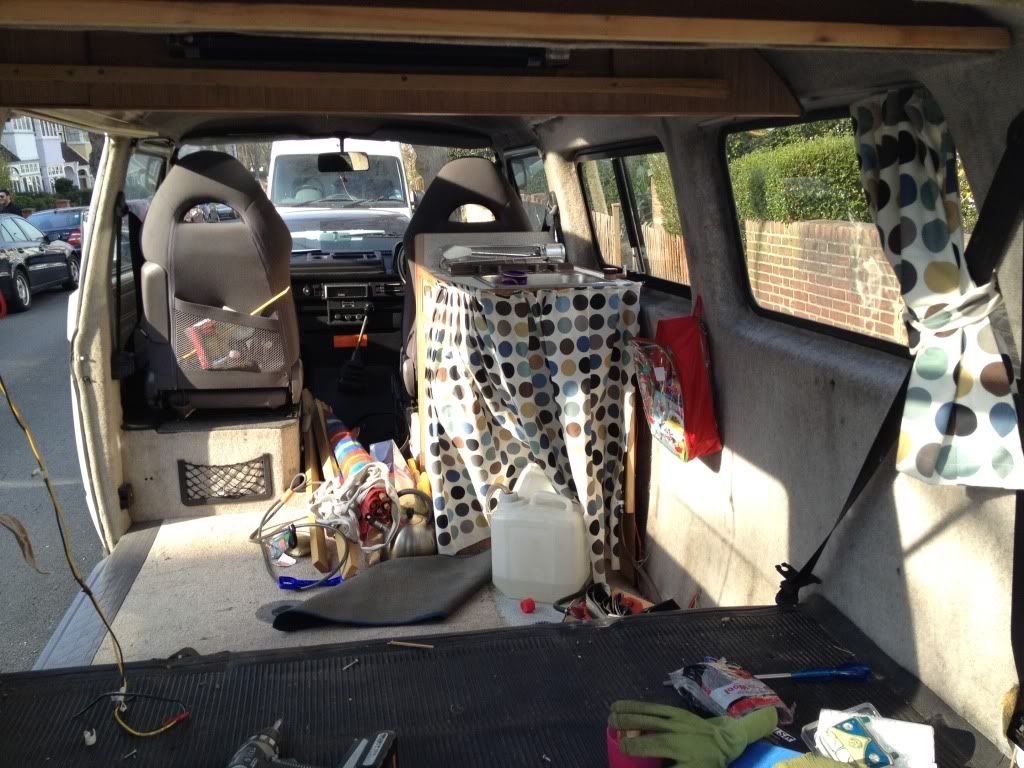
Before.
Re: Interior designs
Posted: 07 Jan 2013, 21:45
by DavidPallister
Cheers, those units look amazing, really got me thinking about ideas for mine now
Re: Interior designs
Posted: 02 Feb 2013, 19:45
by stephen t25
This stuff looks really good and im sure could be adapted for a T3 (very very expensive)
http://www.swissroombox.com/" onclick="window.open(this.href);return false;
Worldwide Innovation The world's smallest motorhome setup, that can be installed in most cars! Thanks to an ingenious modular system installed in the boot of ...
Products - RoomBox easyTech - Store - Adventures
Re: Interior designs
Posted: 04 Mar 2013, 16:59
by ian72
B.J wrote:
Temporary cover.
Sinks unit is work in progress
Must get around to doing the curtains.
I've just come B.J's units and think they're awesome.
I'm inspired to make some for myself, but on wheels so I can get the buggers out easily - IKEA sell castors with locks on them cheaply and I'd hope to lock them into the unwins tracking plate to secure to the floor probably with additional securing to the side of the van for sideways impact.
I'd love to see some pics of the inside of the shelves to see how you went about that.
Does the cooker top cover it up or are the has burners exposed?
What sink unit are you using - never thought to put it that way round.
Curious to find out what you were riveting the boards to on the inside.
Apart from what you mentioned already, do you have any tips/advice constructing something similar using the aluminium tubing?
Thanks
Ian
Re: Interior designs
Posted: 06 Mar 2013, 00:35
by B.J
Hi,
Thanks for all the positive comments on the interior, I'm chuffed some of you like it.
I've had afew questions in my inbox on the dos and don't s of putting these boxes together so I'll try to answer them here.
If I was starting again from scratch I would buy all of my tube from
http://www.dartfrog.co.uk/equipment/al- ... #aluminium" onclick="window.open(this.href);return false; as thay are the only suppliers in the uk (that i can find) that sell the adjacent finned tube which you'll need for riveting your boards at right angles. It's more expensive but it'll will save you ages in making your own additional fins which got quite messy.
I planned my design around the sink (old leisure drive) and the cooker size which I bought first. I was originally going to have 2 cupboards so the drawers were an afterthought and were too small by about 20mm.
I had to insert some ply to attach the drawers. You can't see it but it's not an elegant solution.
The ikea drawers are ok but they're heavy and lower one with the pull out door attached wont last long so a rethink is in order. Perhaps Euro boxes or custom draws. Something light.
Weight. Just because it aluminum doesn't mean it's light. I would use less dividing tubes and think of a clever way of attaching draws and shelves. Structurally, it'll still be sound but you'll save heaps of cash. The combined weight of the plastic coated steel connectors and the tubes weighs about twice that of wooden cabinet.
If I'd had the time again, I'd do the the whole thing in mdf first and refine the design over a season but I'm an impatient b'stard.
Someone commented that it's a shame that t3 interiors aren't box shaped. Very true.