Page 10 of 10
Re: Prrdys Thread, Restoration of a slightly rusty '81 A/C
Posted: 28 Oct 2013, 19:33
by benlawlor85
Re: Prrdys Thread, Restoration of a slightly rusty '81 A/C
Posted: 28 Oct 2013, 19:39
by Plasticman
that panal behind the slider runner ..........................i supply the whole thing for both sides in 1.5mm

would have saved yopu loads of work, need to put it in my sig or someplace
mm
Re: Prrdys Thread, Restoration of a slightly rusty '81 A/C
Posted: 28 Oct 2013, 19:44
by benlawlor85
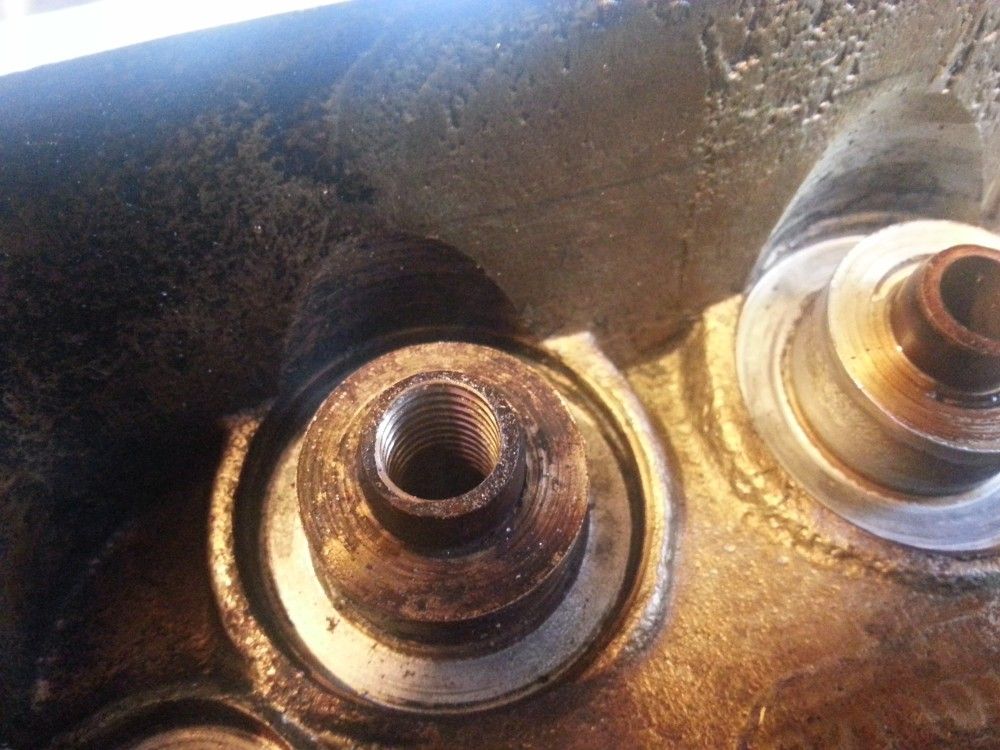
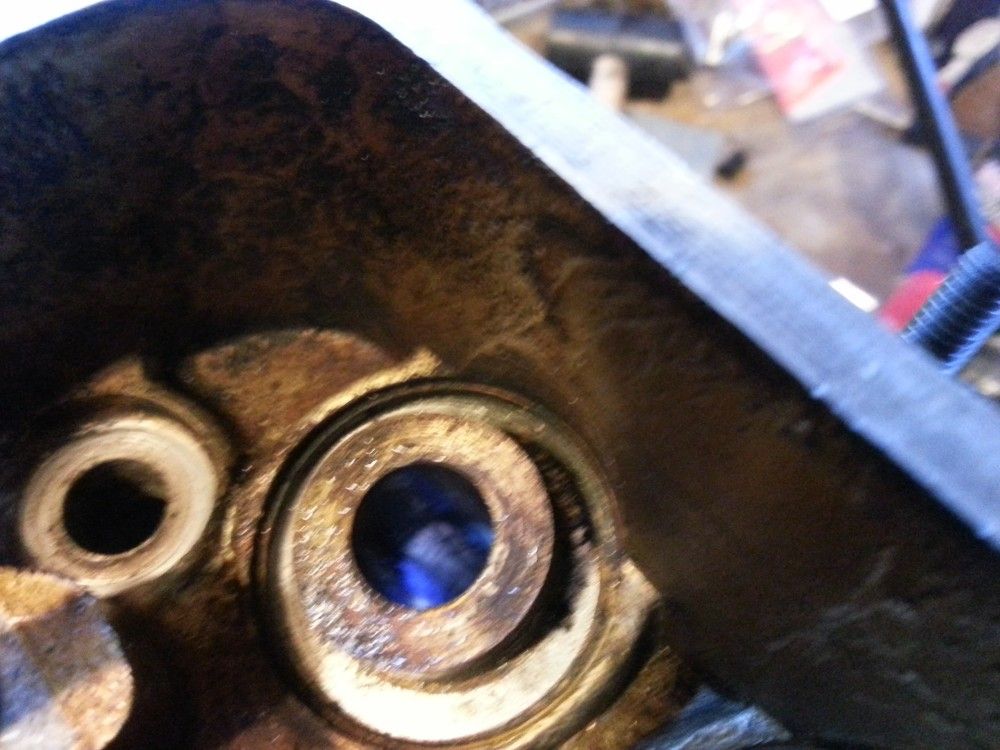
The final exhaust valve from VW heritage finally arrive last week after about 4 weeks waiting so i fitted the valves to one head and then took the other head apart.Upon fitting the new valves i noticed there was loads of play in them.

With some help of an expert!

i decided to tackle replaceing the guides myself, i had been told this is impossible etc etc you need 100degree heat -1000degree nitrogen etc etc
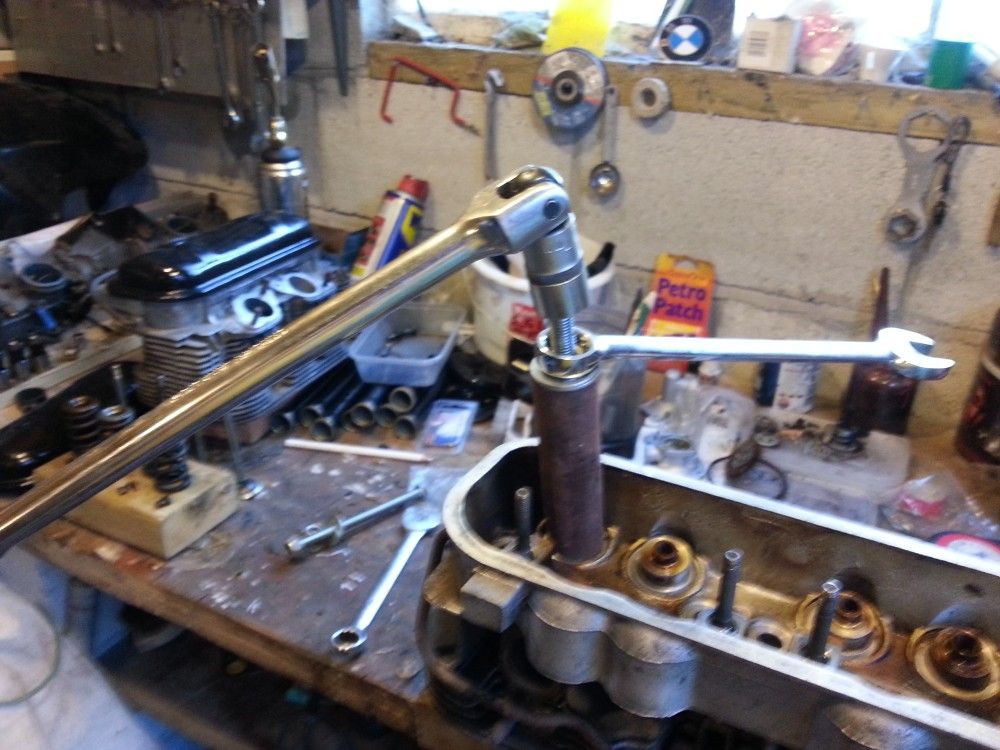
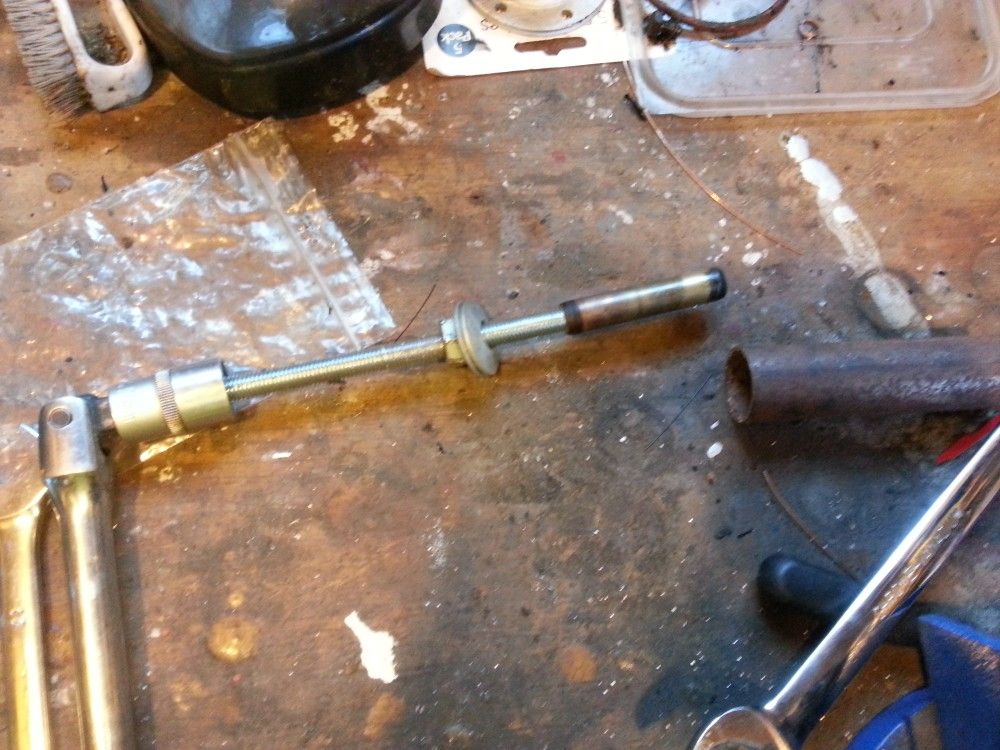
First i tapped the guides with an M10 thread
DIY extractor
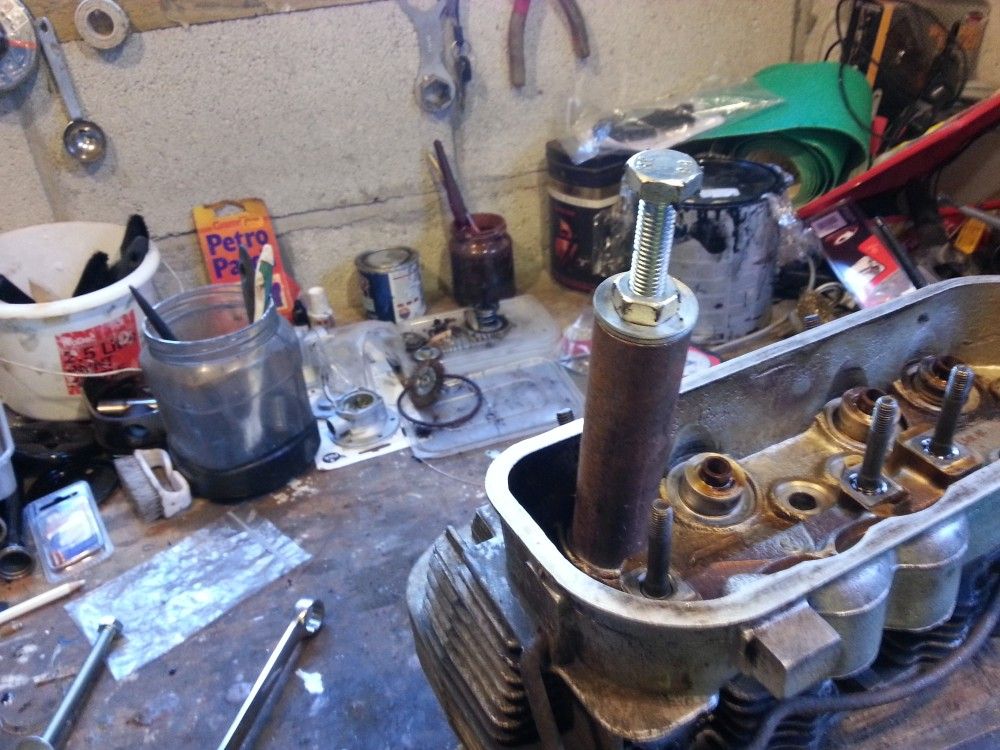
Extractor in use!
MAGIC its out
The removed extractor
Next i have to fit the guides. Couldn't find valve guides from the usual suppliers but Coolair VW had them in stock next day delivery free over £50 arrived quickly great service will be using them again for sure.
I am in the process of having the drifts to fit the guides back in made, I have also bought a compressor and some air tools!
My only question is the exhaust valve guides have a area that is a few mm bigger on one side i think this goes on the valve side a posed to the rocker side, is this correct? can take a pic if needed.
Anyway thats my marathon posts for now.
I will hope to keep this abit more up to date.
Re: Prrdys Thread, Restoration of a slightly rusty '81 A/C
Posted: 28 Oct 2013, 19:49
by benlawlor85
haha no you tell me Mike! Cheers! hahaha
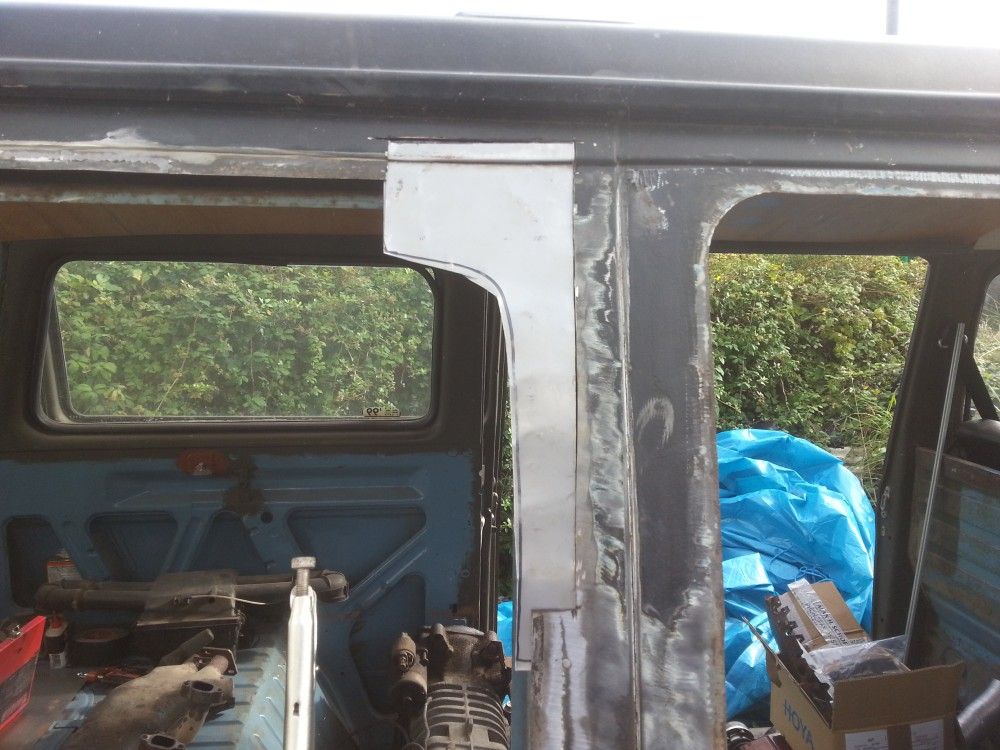
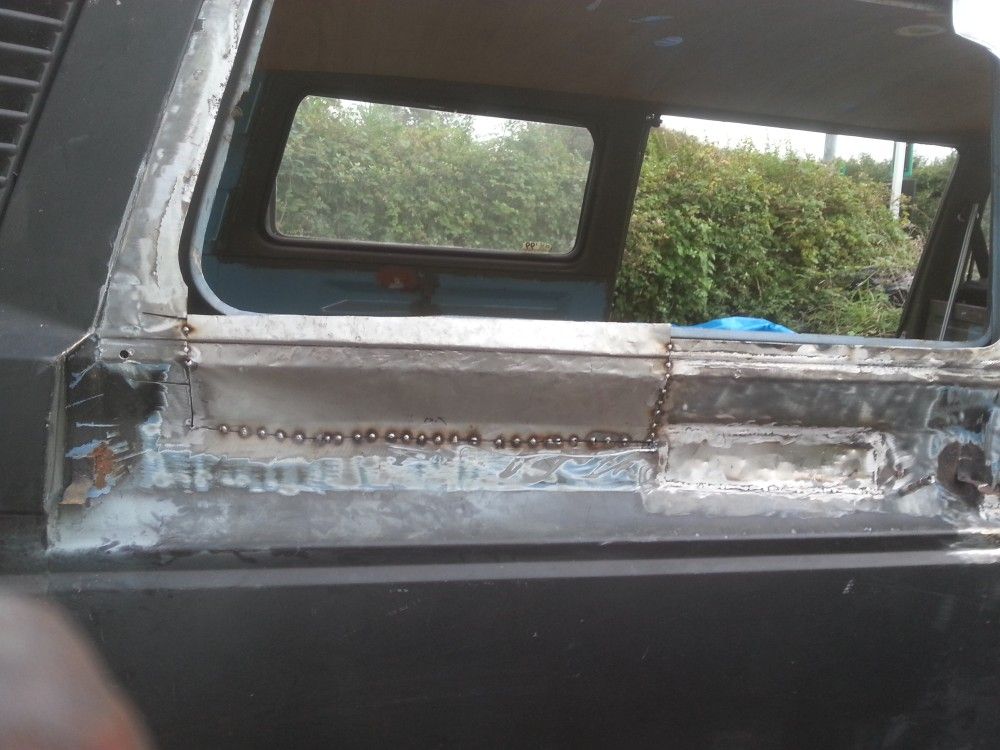
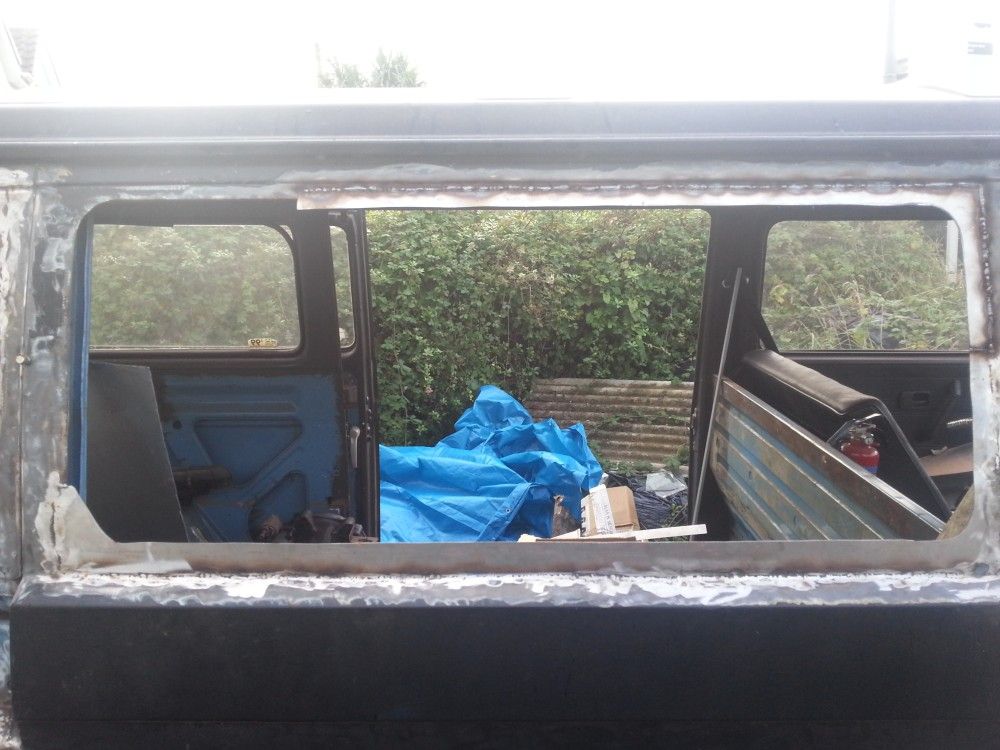
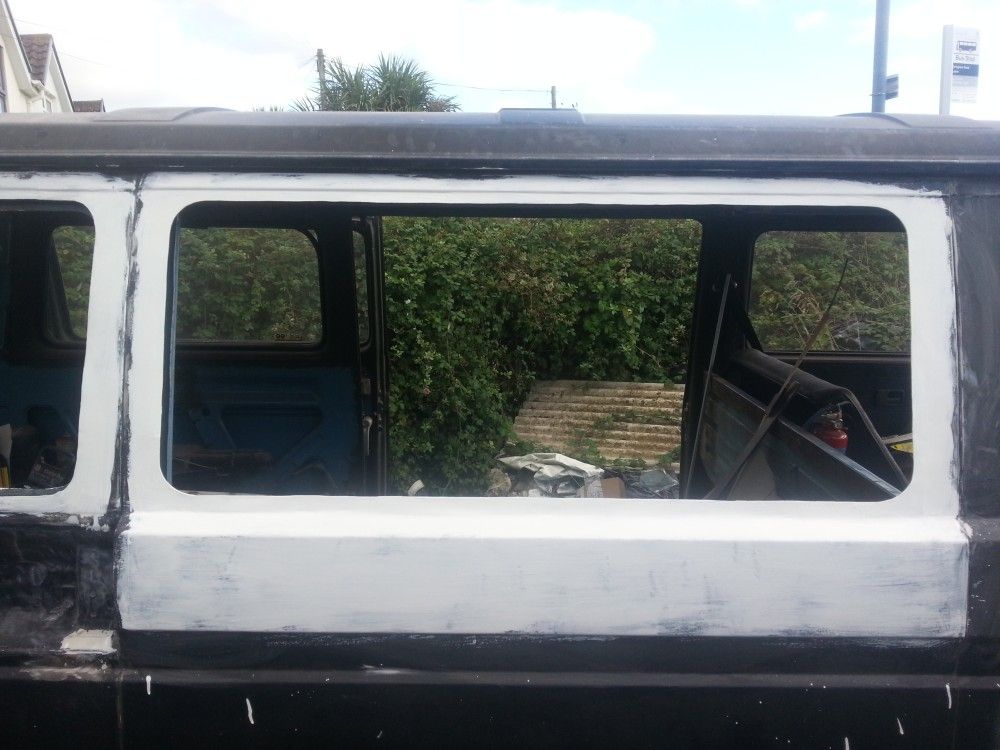
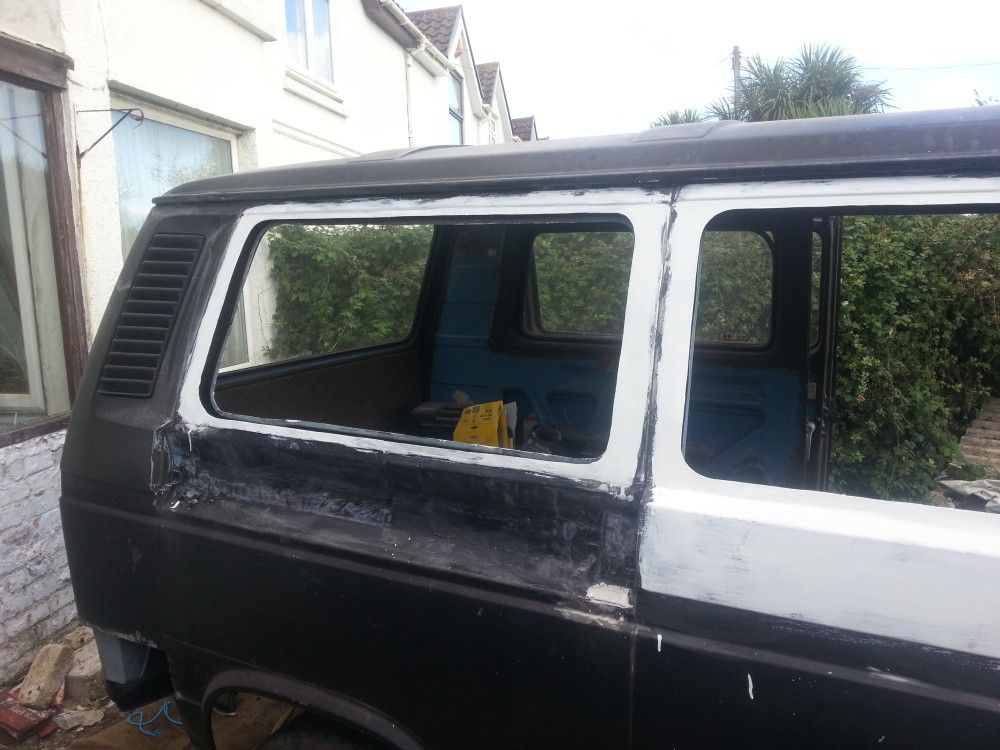
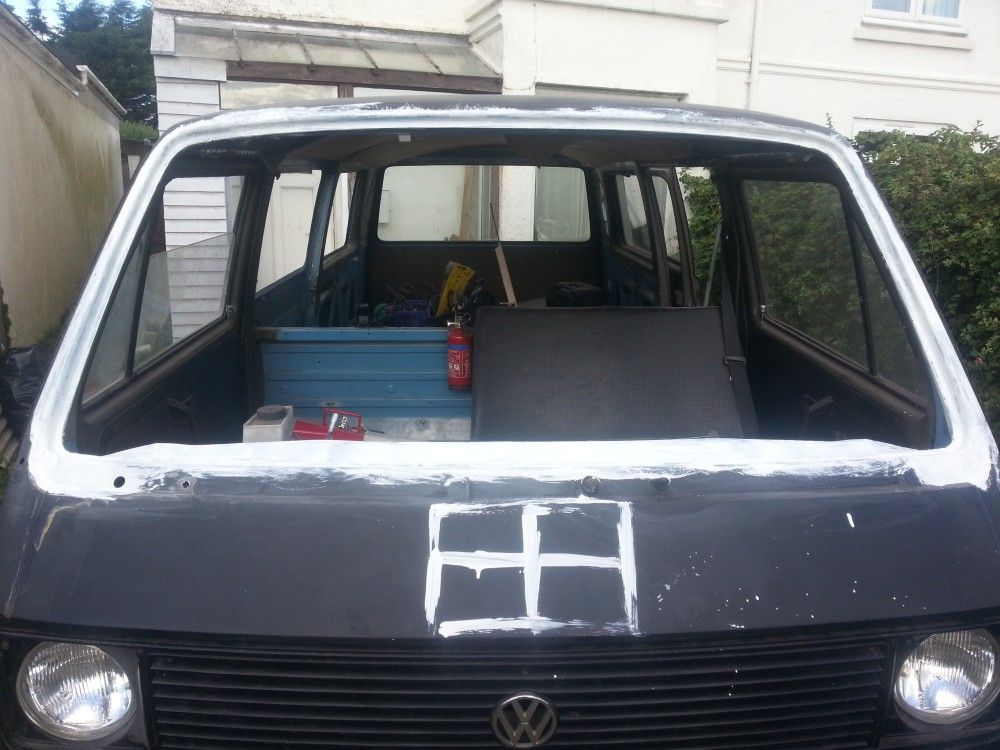
It was a right f*&ker for me to do but i got there, cursed lots but i think i made an ok job of it, was really pleased with the windscreen surround as i had been told YOU CANT DO THAT you need a professional to do that. It will cost £300 plus etc etc, well i did it by myself with about 50p worth of steel!
Thanks for all your threads on your restos Mike they are so helpful. makes working out what to do so much easier!
Re: Prrdys Thread, Restoration of a slightly rusty '81 A/C
Posted: 28 Oct 2013, 21:22
by Plasticman
just to rub it in

mm

Re: Prrdys Thread, Restoration of a slightly rusty '81 A/C
Posted: 30 Oct 2013, 17:45
by Bikerboy53
metalmick8y wrote:just to rub it in
mm
What exactly are these panels for ?
Re: Prrdys Thread, Restoration of a slightly rusty '81 A/C
Posted: 30 Oct 2013, 18:46
by benlawlor85
They go below the rear windows below the side cover, not easy to make unless you mikes skill....
Re: Prrdys Thread, Restoration of a slightly rusty '81 A/C
Posted: 30 Oct 2013, 18:48
by Plasticman
go to the topm of this page and you will recognise them , they fit both sides and panal van or with windows

mm
Re: Prrdys Thread, Restoration of a slightly rusty '81 A/C
Posted: 30 Oct 2013, 21:41
by Bikerboy53
So mike do sell these panels as I think I'll be needing these . I will be up loading pics of my project for the want of a better word .... but at least I have seen her at her worst .. and with your help we will hsve her looking good again.
Re: Prrdys Thread, Restoration of a slightly rusty '81 A/C
Posted: 15 Feb 2014, 09:58
by benlawlor85
Well its been alongtime since i have posted anything on here. The Weather down in Cornwall has been amazing, sunshine day after day too hot to do any work really...

So since my last post i have finally finished rebuilding the engine heads. and repaired the O/S rear corner. I have the other side to do too but don't have the time at the moment. Last week i finally managed to get the engine in and im slowly connecting everything up. Dashboard is also in as is steering wheel etc.
I have a couple of jobs for sunday which are to attach the exhaust system and heating tubes etc check valve adjustment.
Then ill do the static timing on the SVDA 034 Dizzy i have installed, The engine bay is now much cleaner without all those electrically boxes etc, Fingers crossed she will fire up!
had a bit of confusing last night as i wasnt sure what side of the coil the wires went to. but now i know +(15) is input from loom & cable to carbs, - (10) is to the Dizzy.
I also have the task of trying to sort out the throttle cable my rear Tin is a mess, pluss i dont have the outer sheath for the cable, only the tube it goes through for most of the way.
Anyway ill try and get some photos on at somepoint.
Cheers