Page 1 of 13
Big Blue Van - Full Restoration
Posted: 22 Dec 2020, 08:20
by BigBlueVan
Hi All,
Another new member here!!!
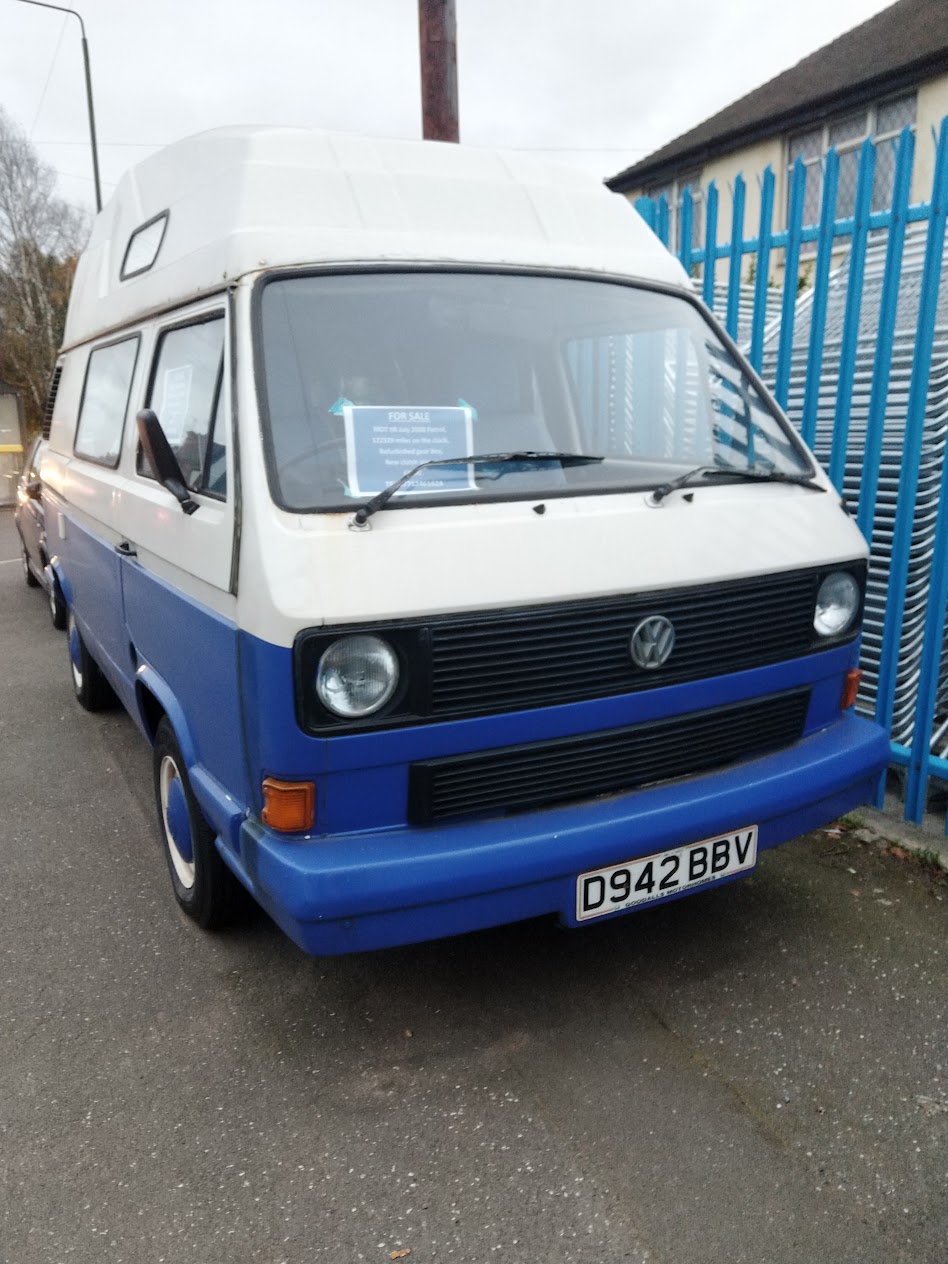
Another new project, Big Blue Van (from the reg ending BBV)
Have had the van around a year and thought it best to document this better than just bunging all photos in a folder.
1987 - 1.9DG Petrol, Van converted to camper by previous owner with hightop. Lots and lots and rust.
I have no time limit so plan to do the whole lot learning new skills along the way.
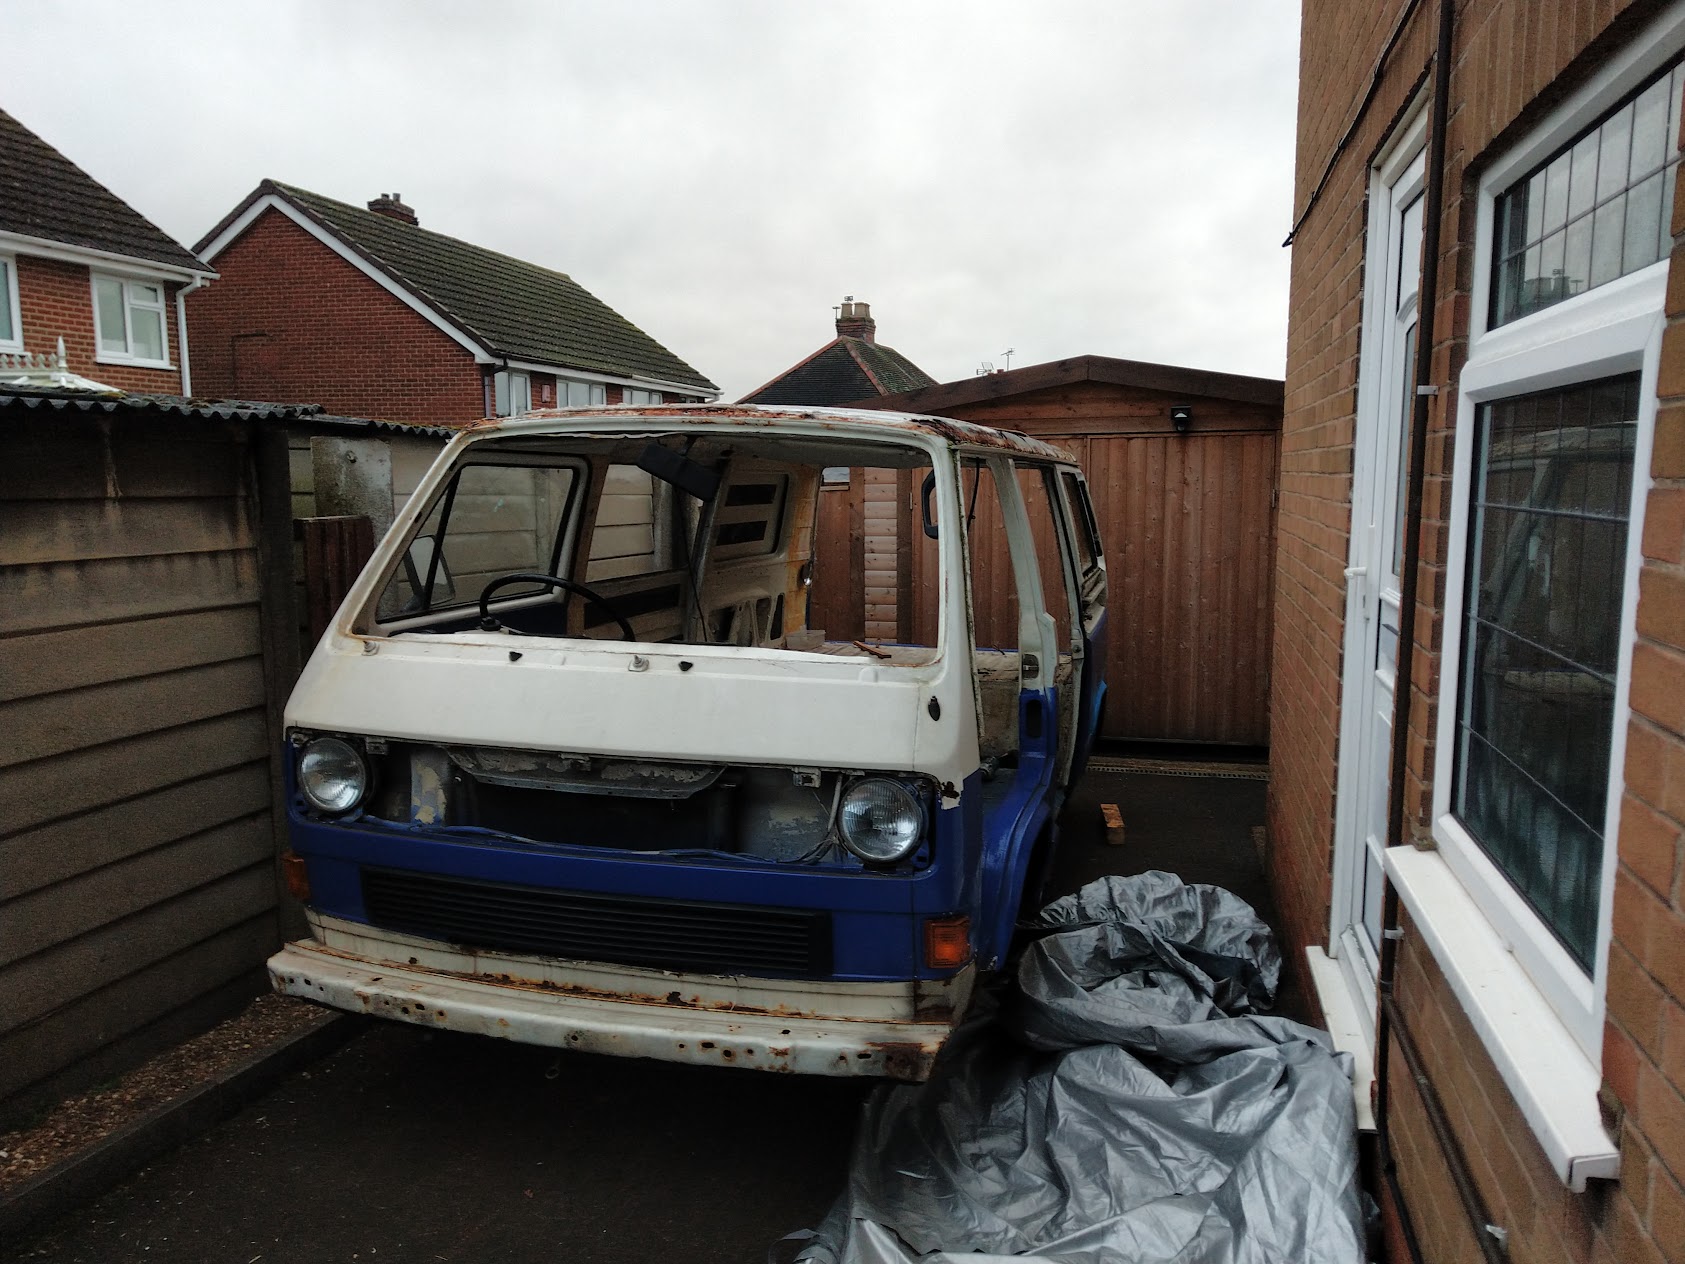
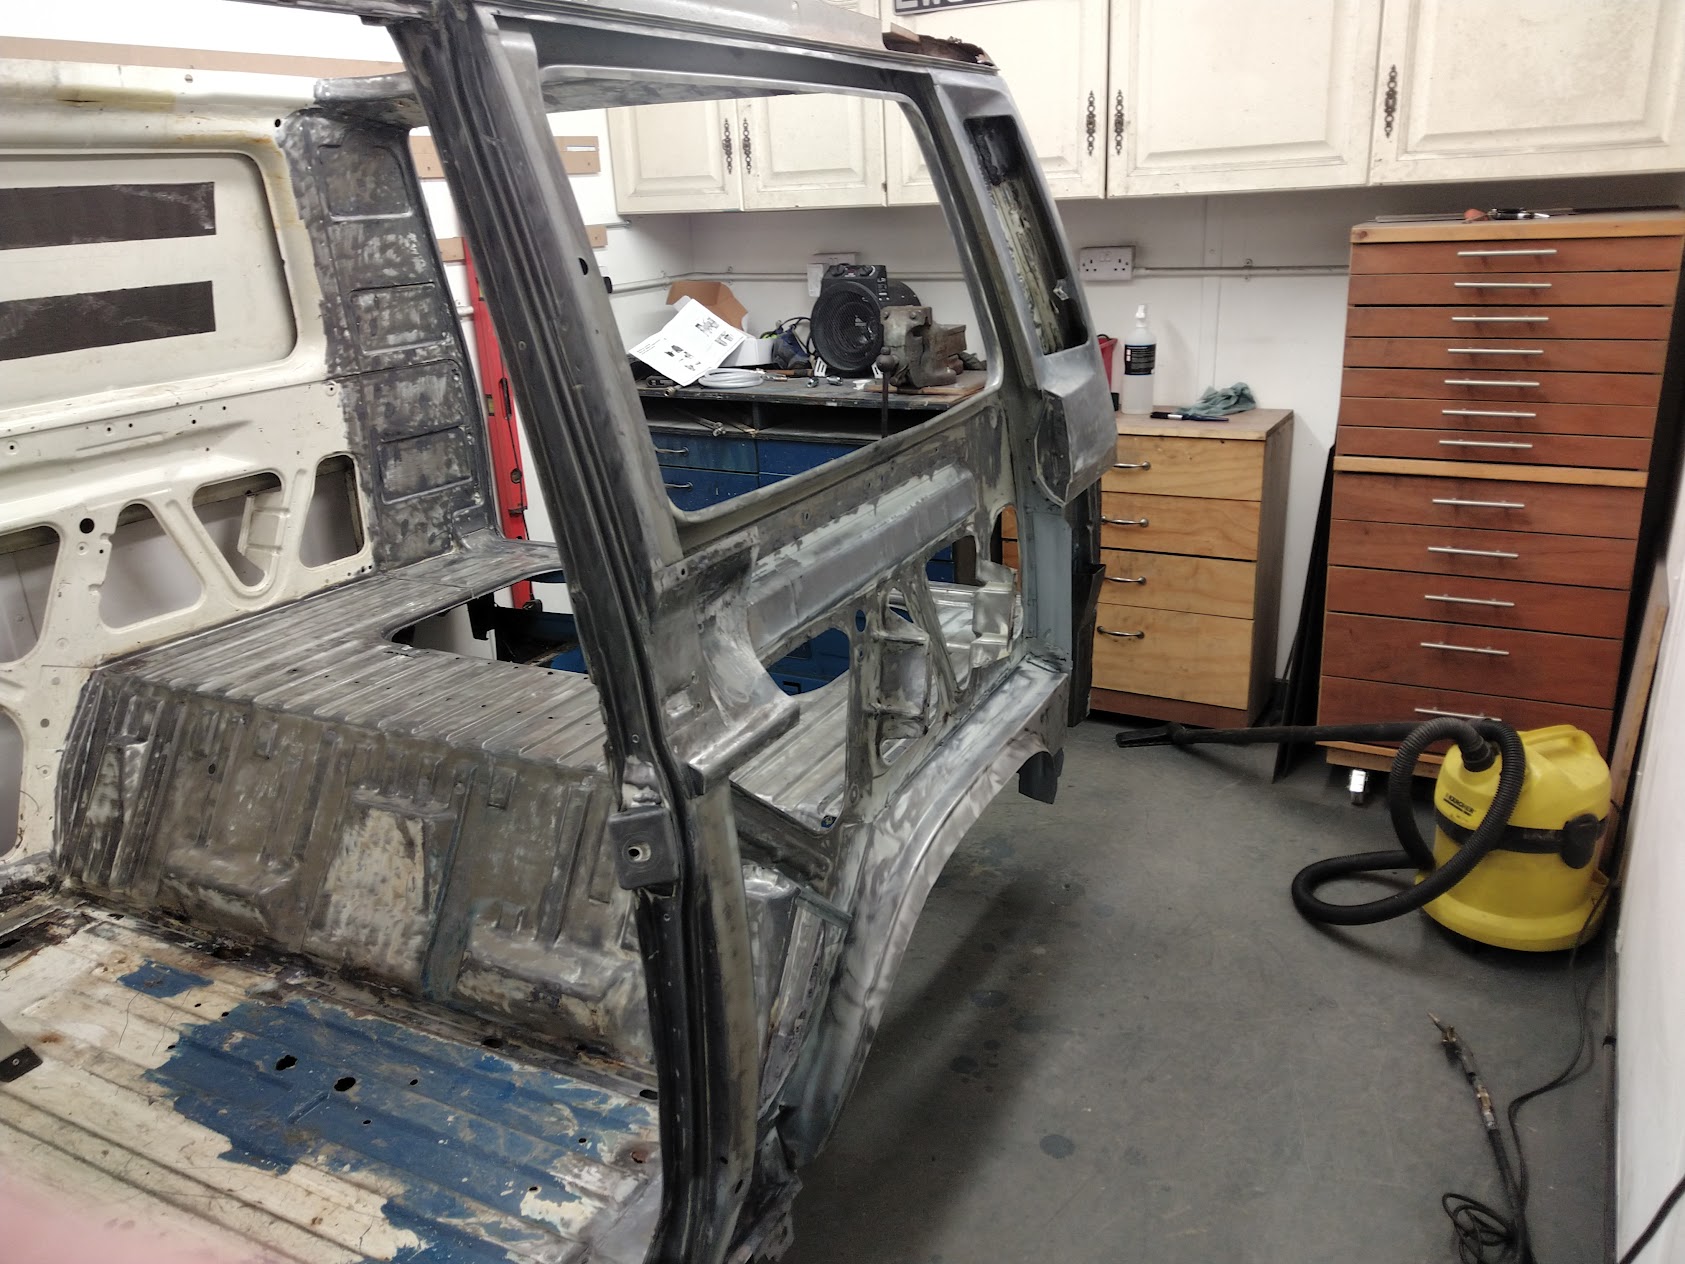
I have already done a fair bit so far, the van is now totally stripped to a bare shell and a lot of the rot has already been cut out and some rebuilding/fabrication has been undertaken. will add photos and provide a potted history of the project to date in due course.
Partially Stripped Shell
The guide suggest photobucket for photos.. i just dropped these 2 in from my google drive album using copy image. assume this is ok to do and the photos wont disappear?
Happy Tinkering, Chris.
Re: Big Blue Van - Full Restoration
Posted: 22 Dec 2020, 09:04
by keynsham1
Any photos of work and repairs to your rusty roof and gutters would be greatly appreciated! I have that job to tackle soon

Re: Big Blue Van - Full Restoration
Posted: 22 Dec 2020, 13:44
by BigBlueVan
So here we go with history of the project...
Original Engine Bay prior to removal..

Engine Stripped and removed from bay...

Gearbox and other bits removed...

Rear end all stripped out...

Roof off - mmmm lovely...

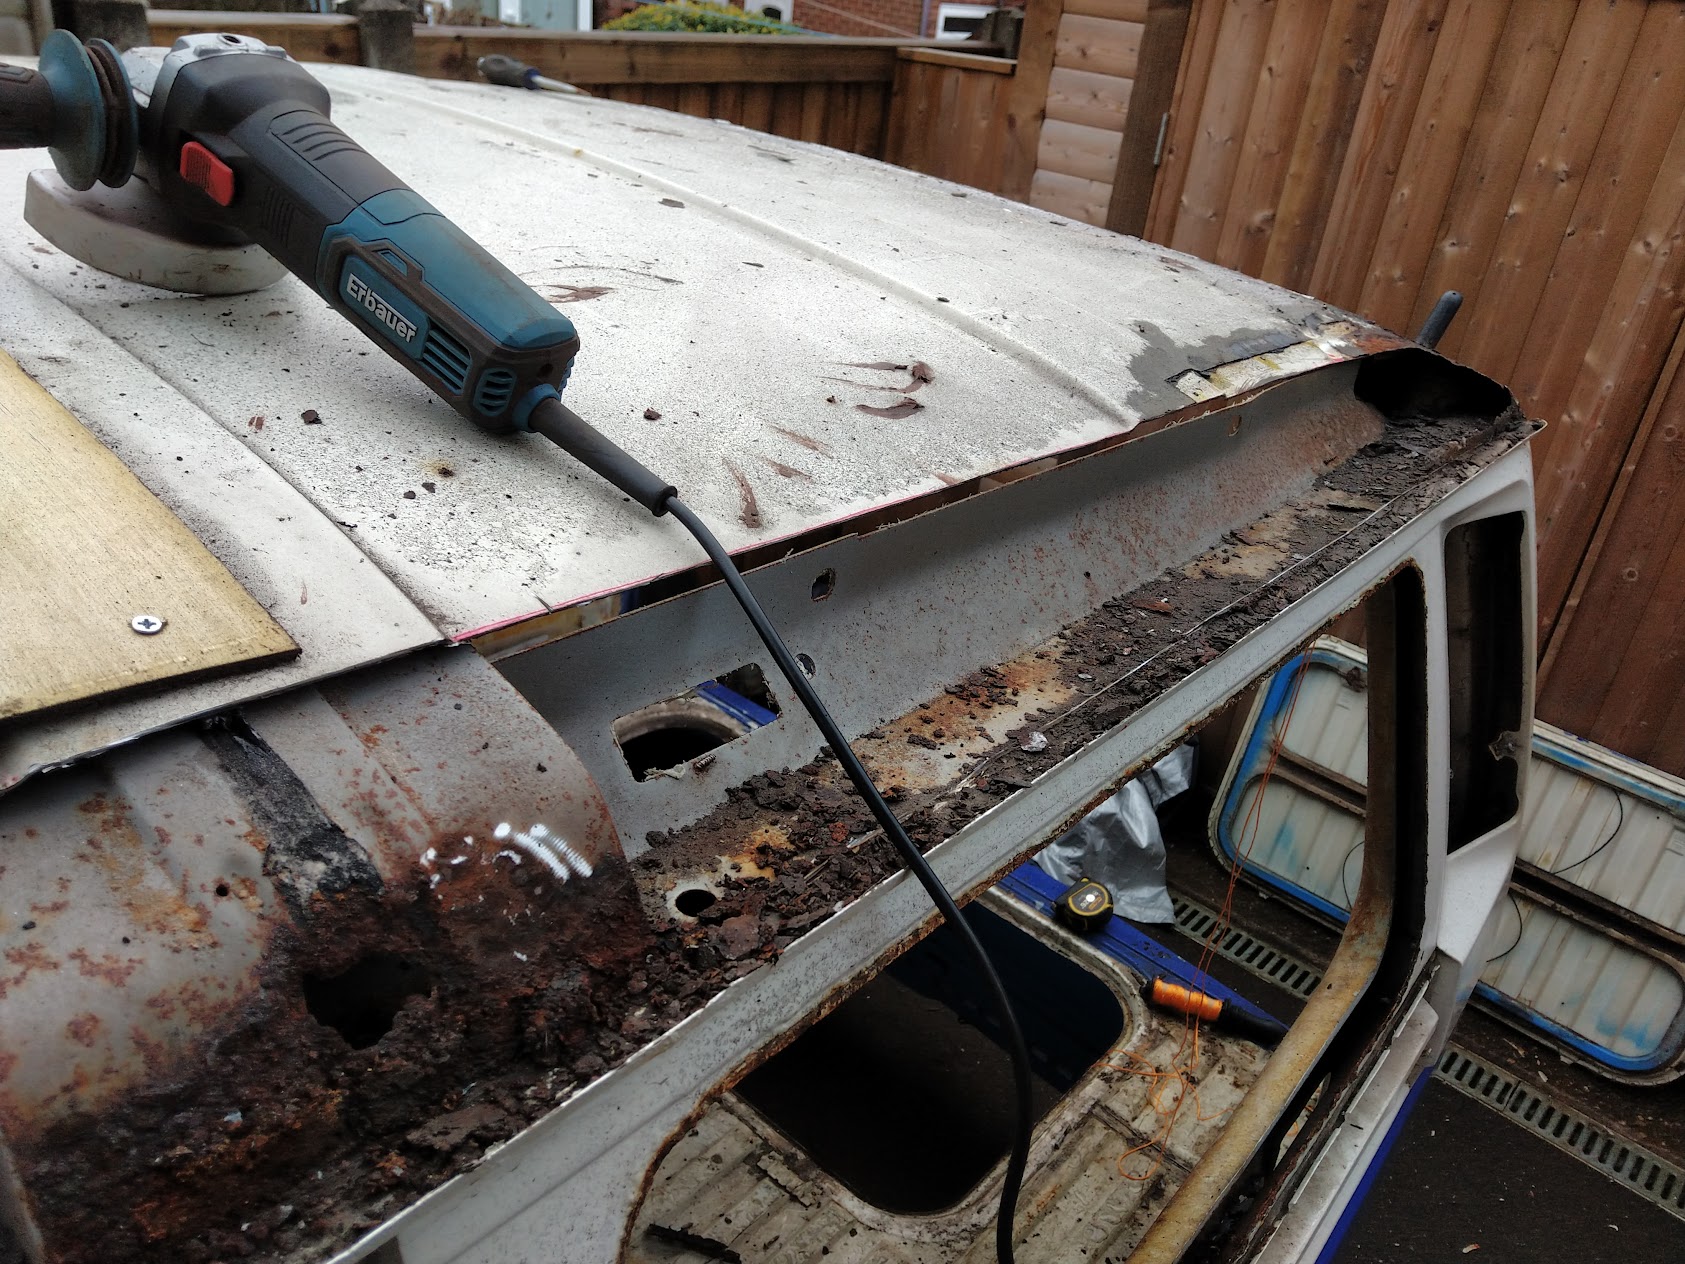
Cut out some of the crud from the roof gutters...
Made a dolly to move the bare shell about...

And moved into the garage (it fits without the upturned boat, sorry i mean hightop on)...

I first started hacking the nearside rear quarter, sill and lower B
pillar...


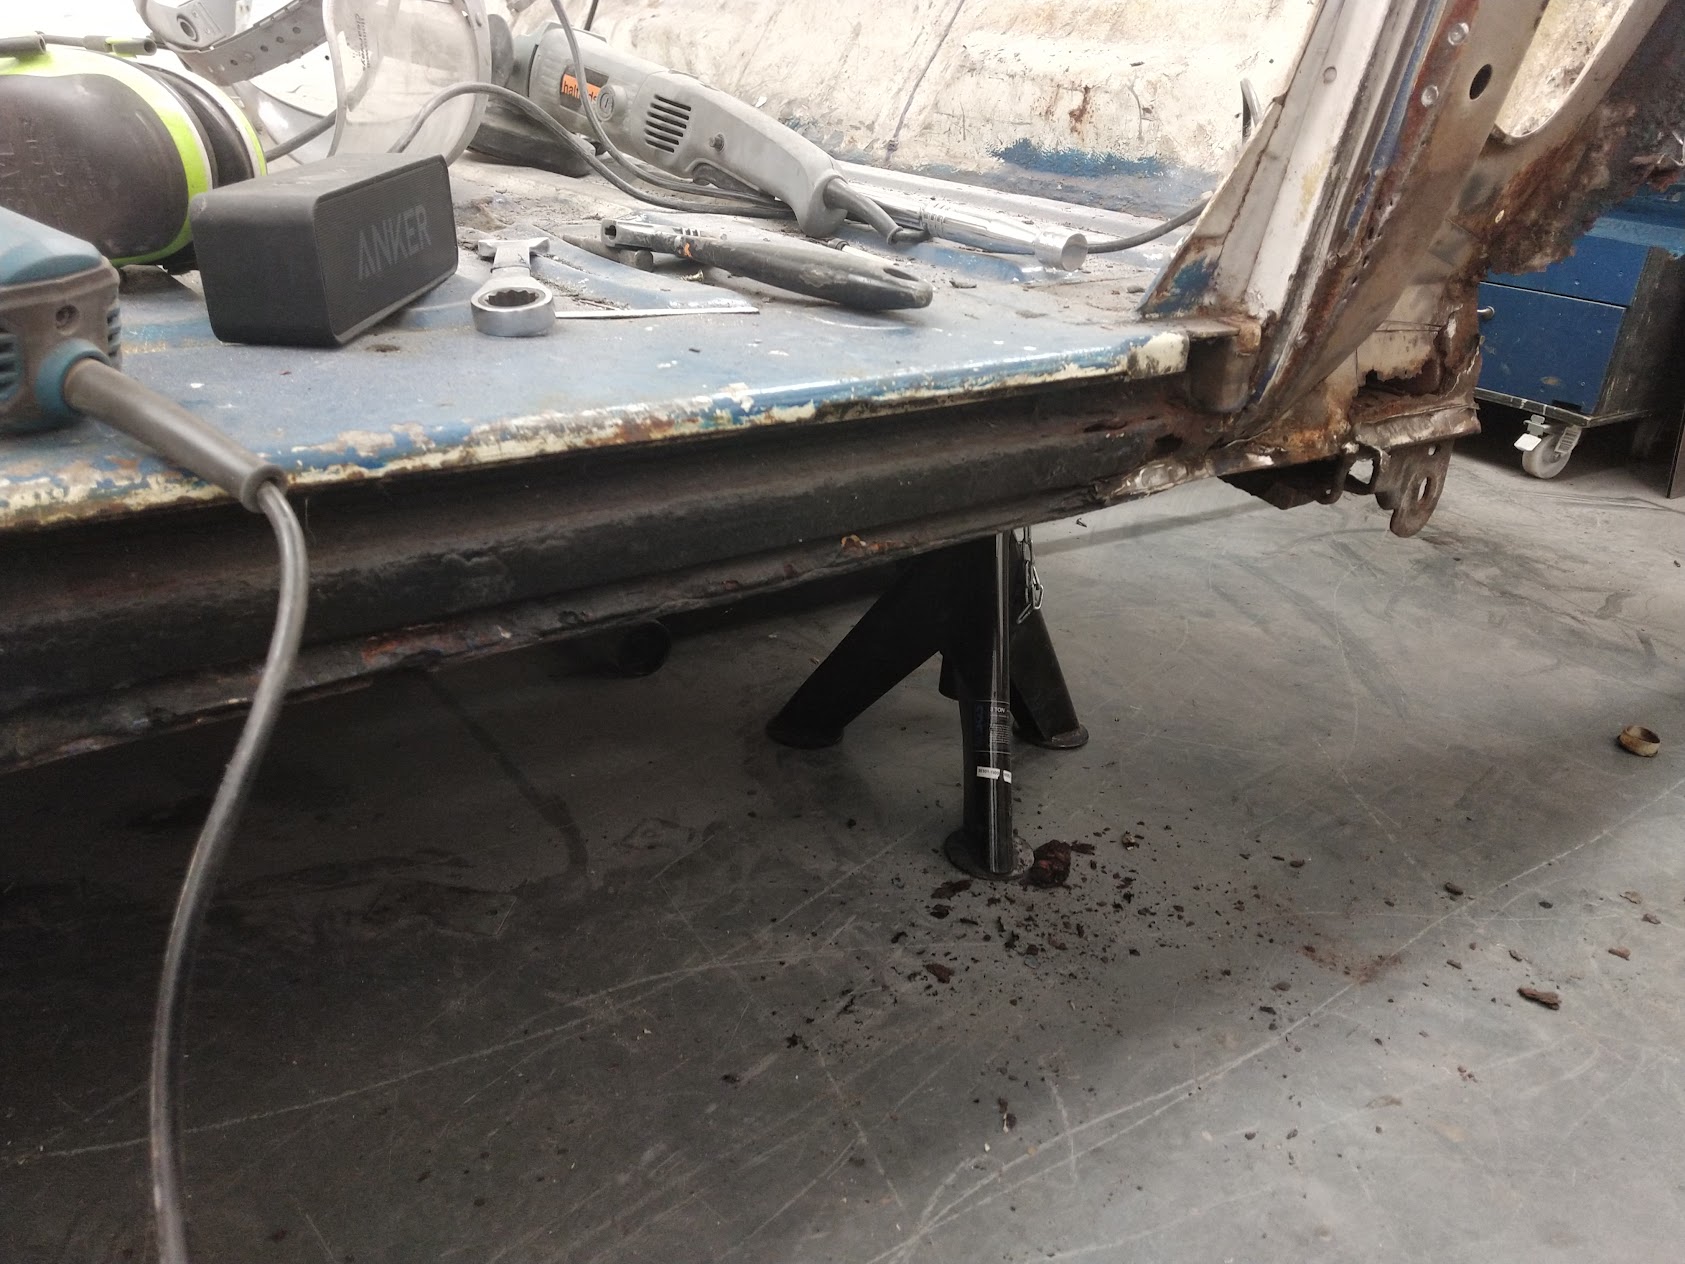

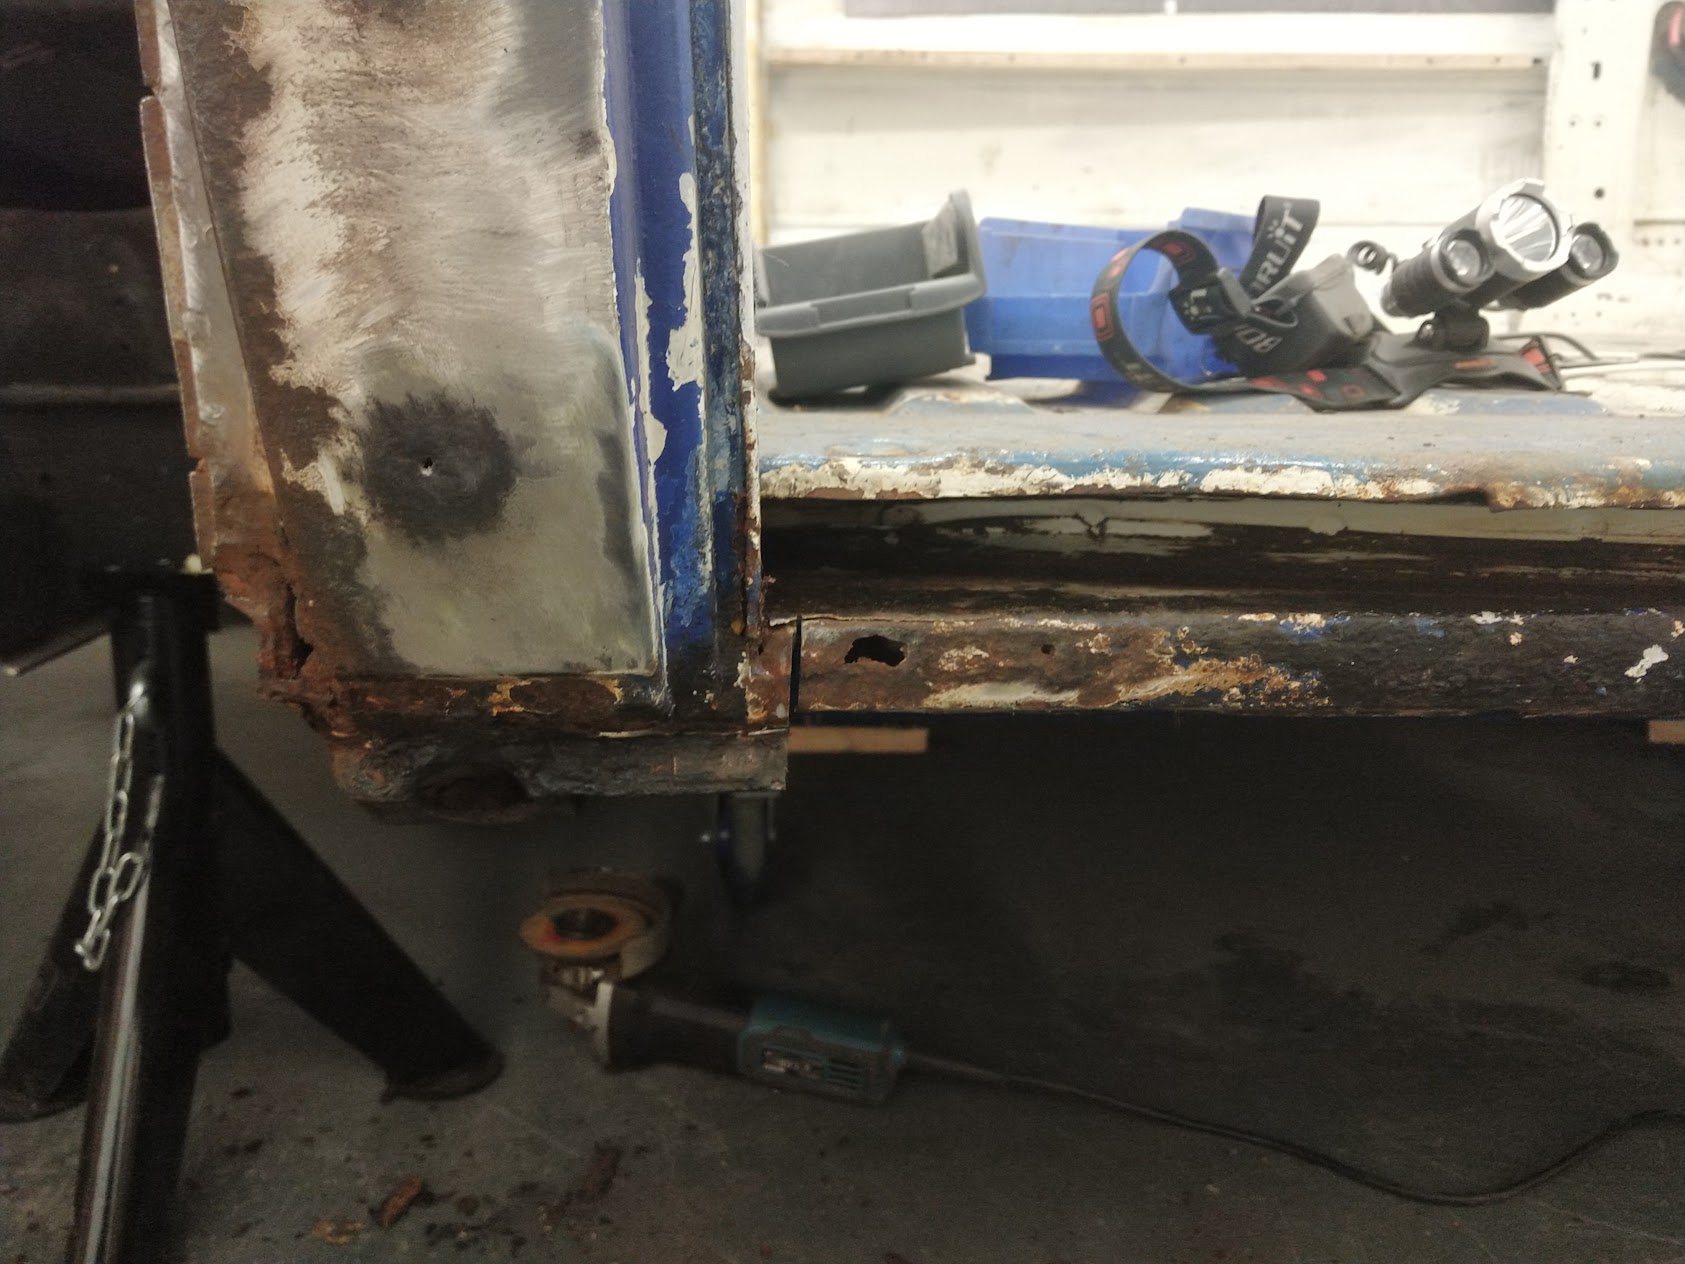
Nearside Lower B
Pillar - All Hacked out, still more rust to go later on...

Nearside Lower B
Pillar and outrigger, chopping finished

Nearside Lower C
Pillar, all chopped out and sill removed ready for rebuilding...


Nearside Lower C
Pillar, rebuilding...


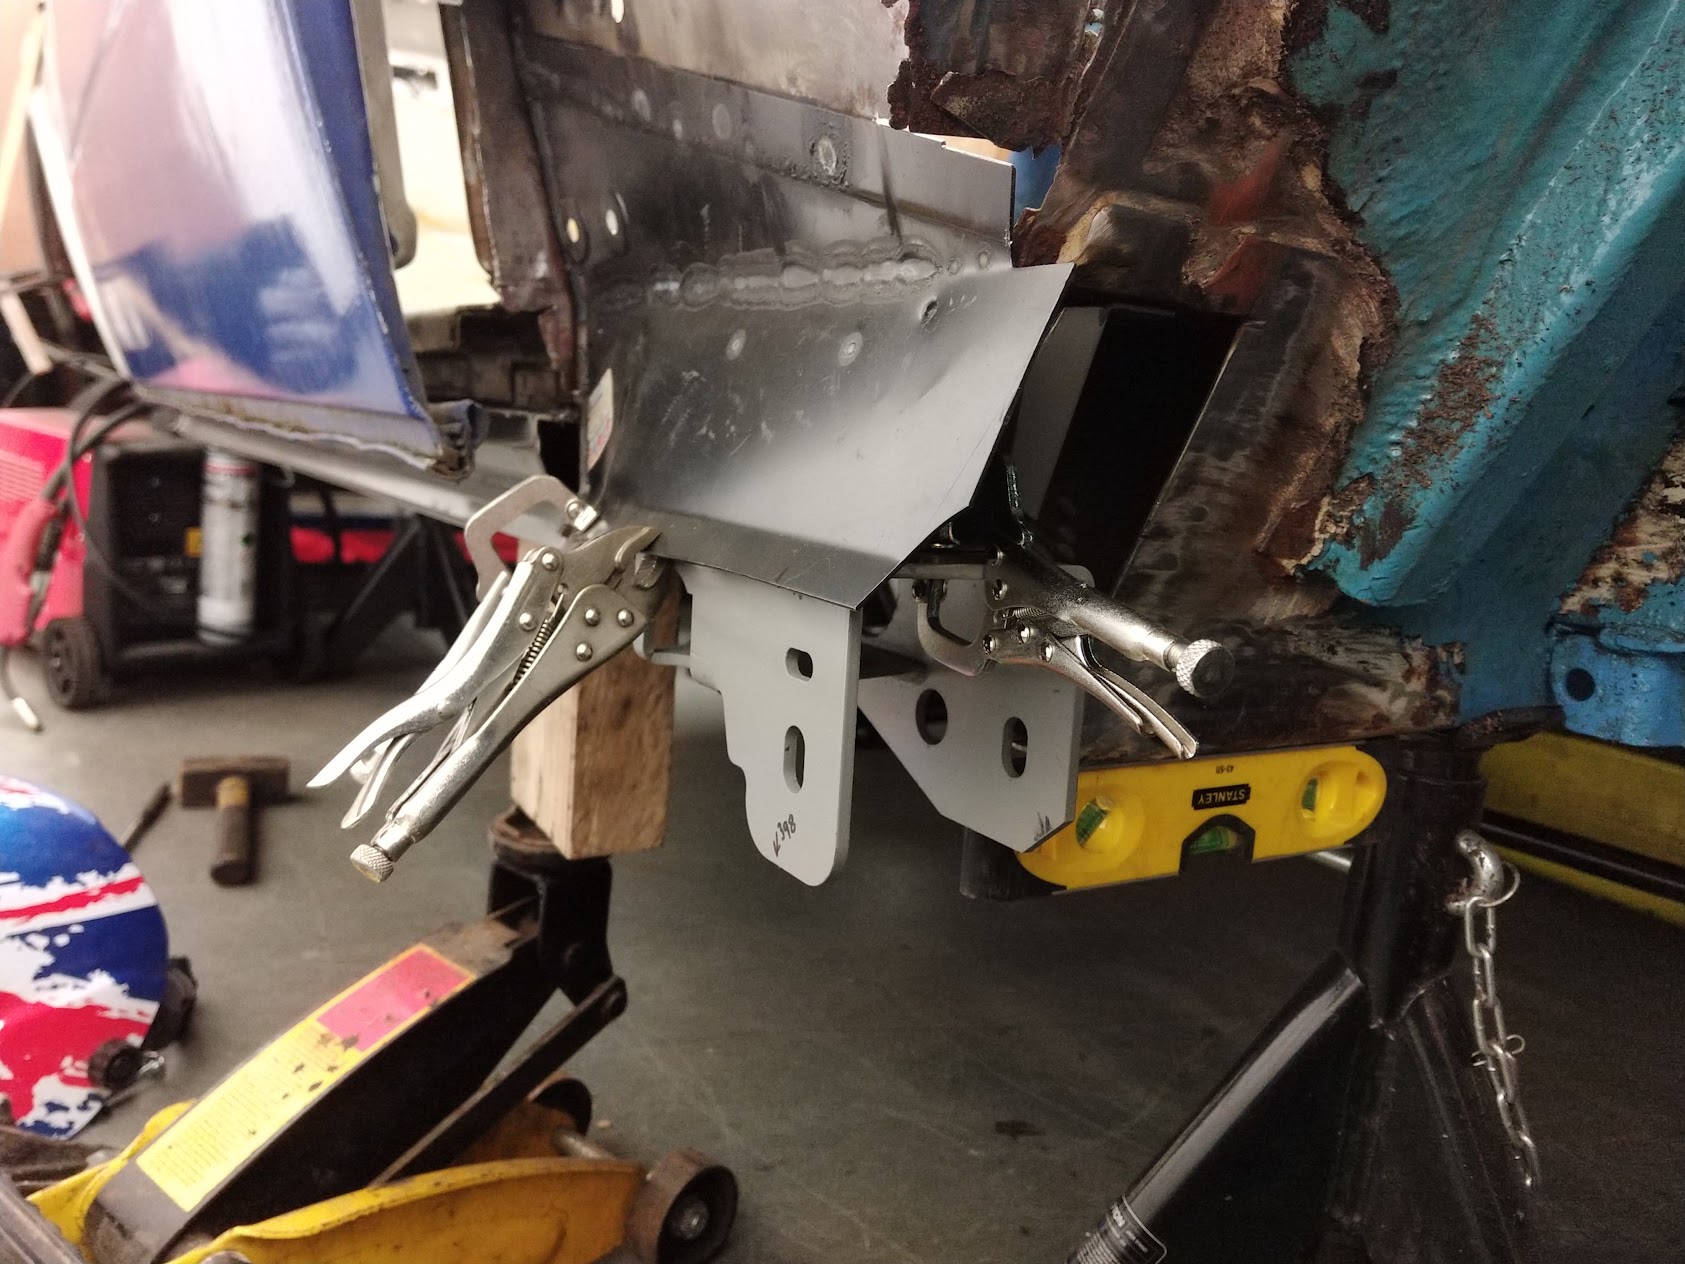
Nearside Trailing Arm, sill installed and outrigger built up...

Nearside sill installed...
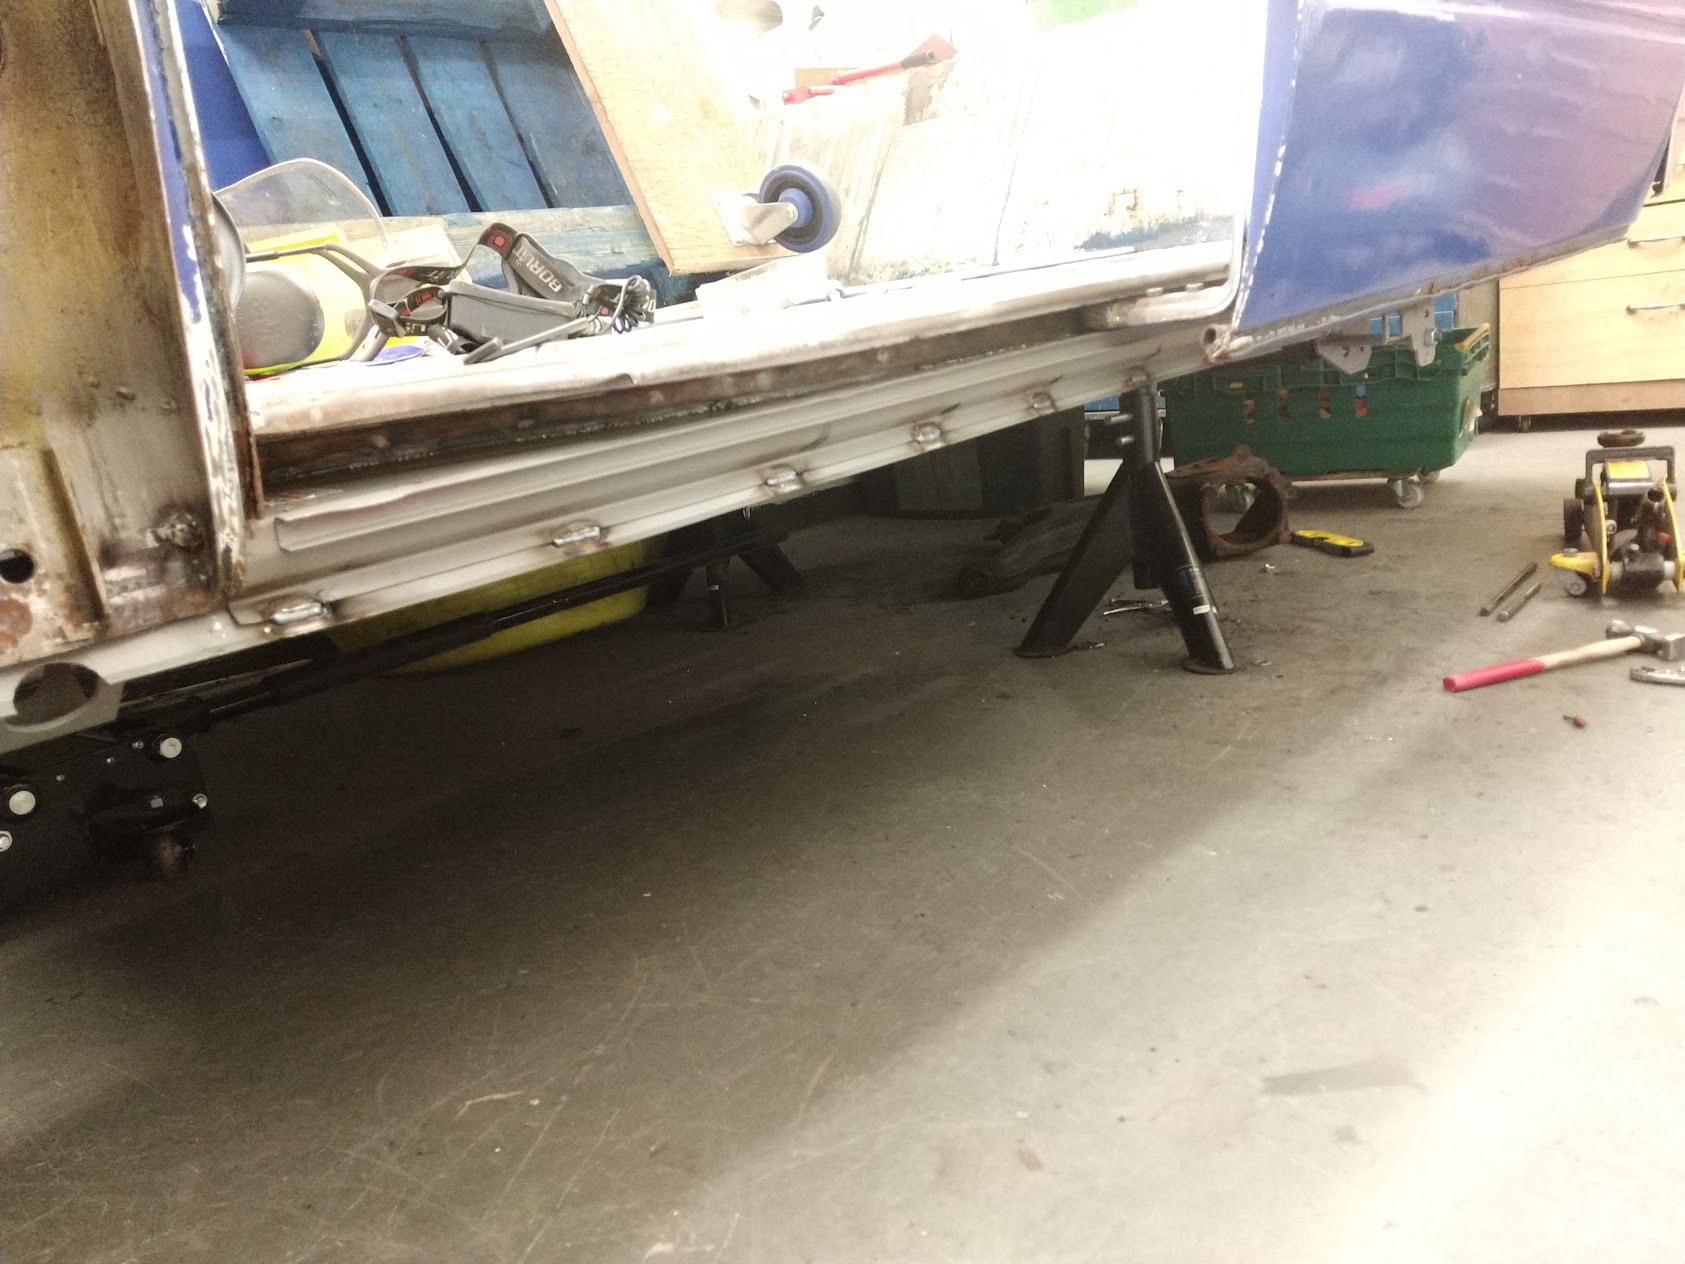

Nearside Inner Arch Replaced...

That will do for an update for today..
Re: Big Blue Van - Full Restoration
Posted: 23 Dec 2020, 12:48
by BigBlueVan
Jumped ahead of myself a bit yesterday... Prior to the new inner arch being installed the following work was undertaken...
Nearside Battery Tray, inner panels and inner arch repairs.
Nearside battery tray as it was...
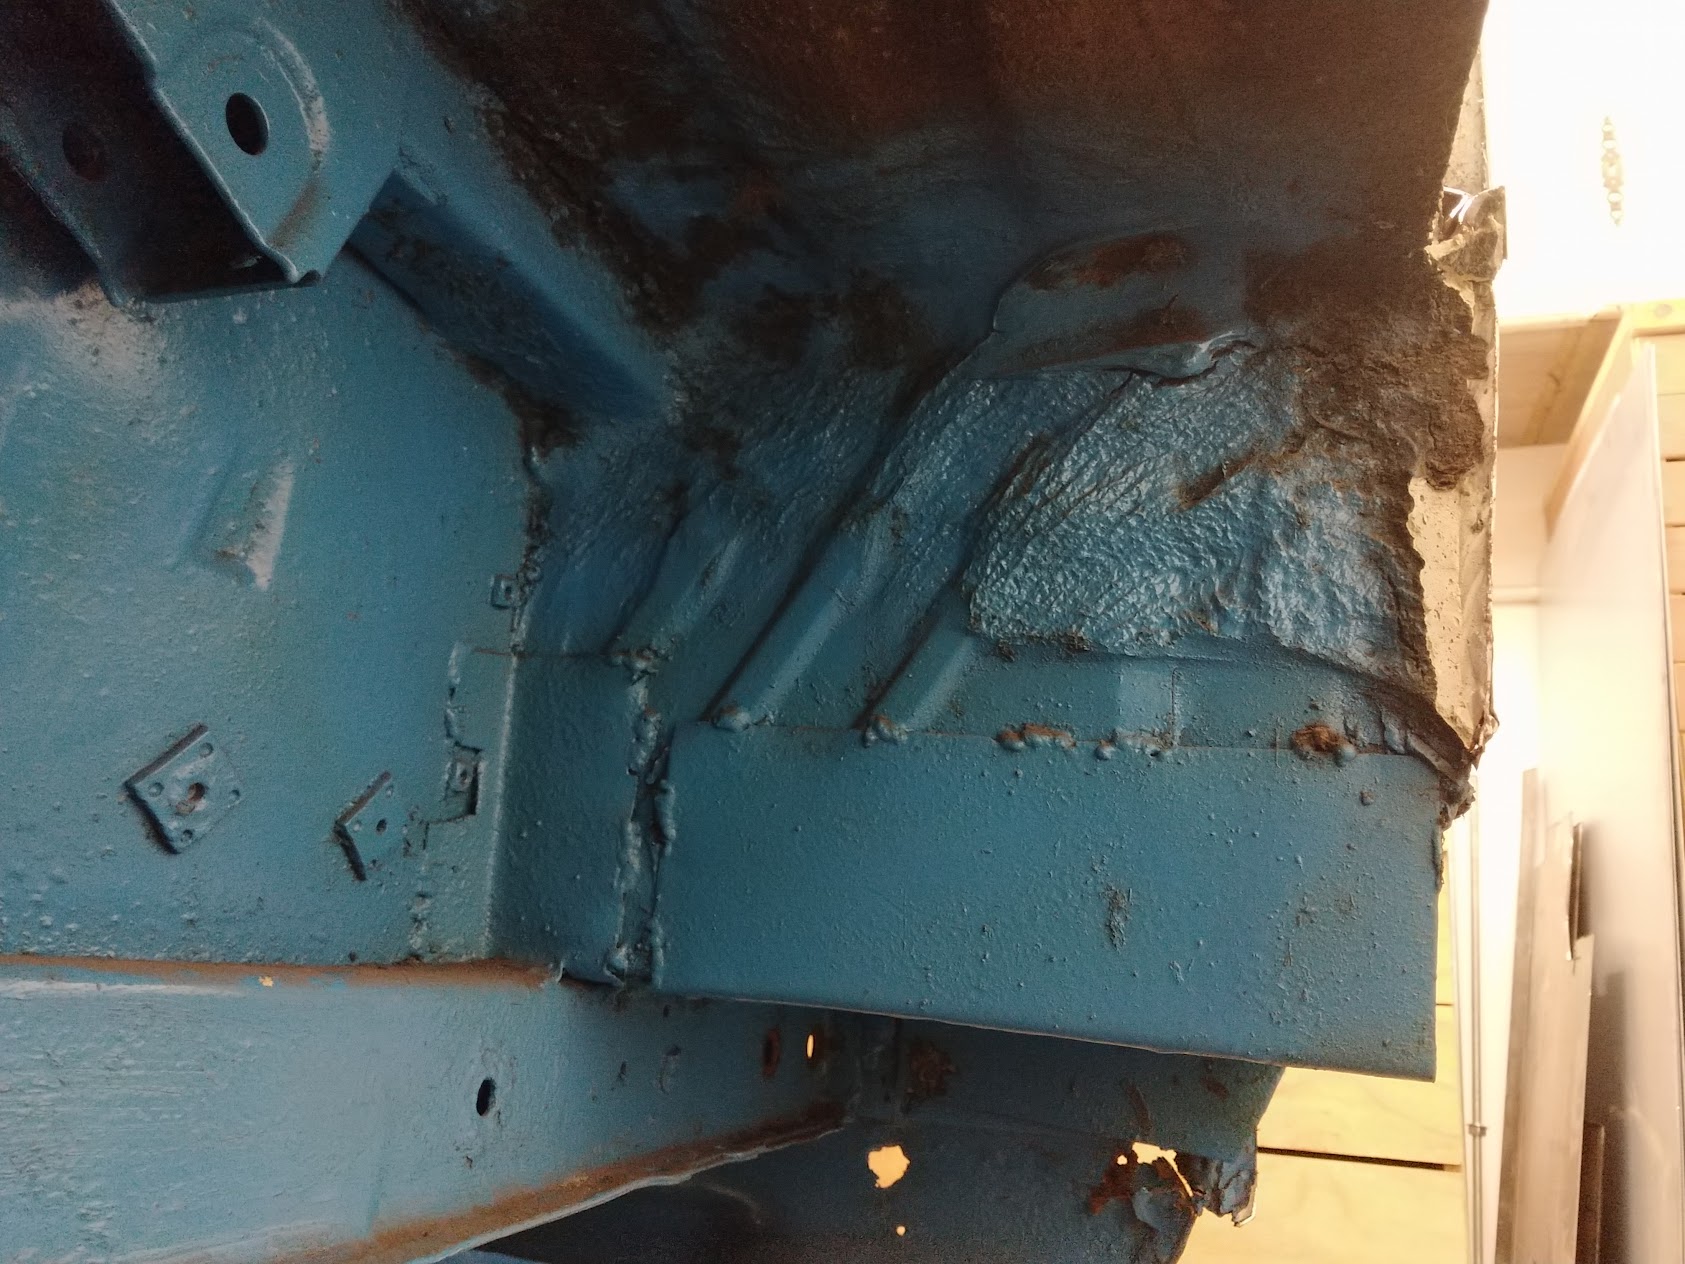
Chopping the area out including the outerskin to rear corner...

Lots of rusty rubbish cut out and ready for new metal.

Nearside inner arch totally removed...

Nearside inner D
pillar ready for repairs

Nearside inner D
pillar repaired, phosphoric acid cleaned and then etch primed

Rebuilding nearside inner arch/floor/inner panel...

Making new panels for between the battery tray and the outer skin (vertical section)...

Rebuilt inner panel thingy for outer skins...

Rear corner panel offered up to check fitment...

Nearside inner arch/floor repairs welded in...

Re: Big Blue Van - Full Restoration
Posted: 23 Dec 2020, 13:03
by BigBlueVan
Sliding Rail, Inner Panel and Window Delete Panel + Bead Roller Mods.
Next on the agenda was to remove all the sliding rail and inner panel areas which where in a bad shape, water has been coming in the window for years and rotted it all out. the window is being removed anyway as i dont want it so i need to manufacture a window delete panel as part of the process.
Sliding Rail removed...
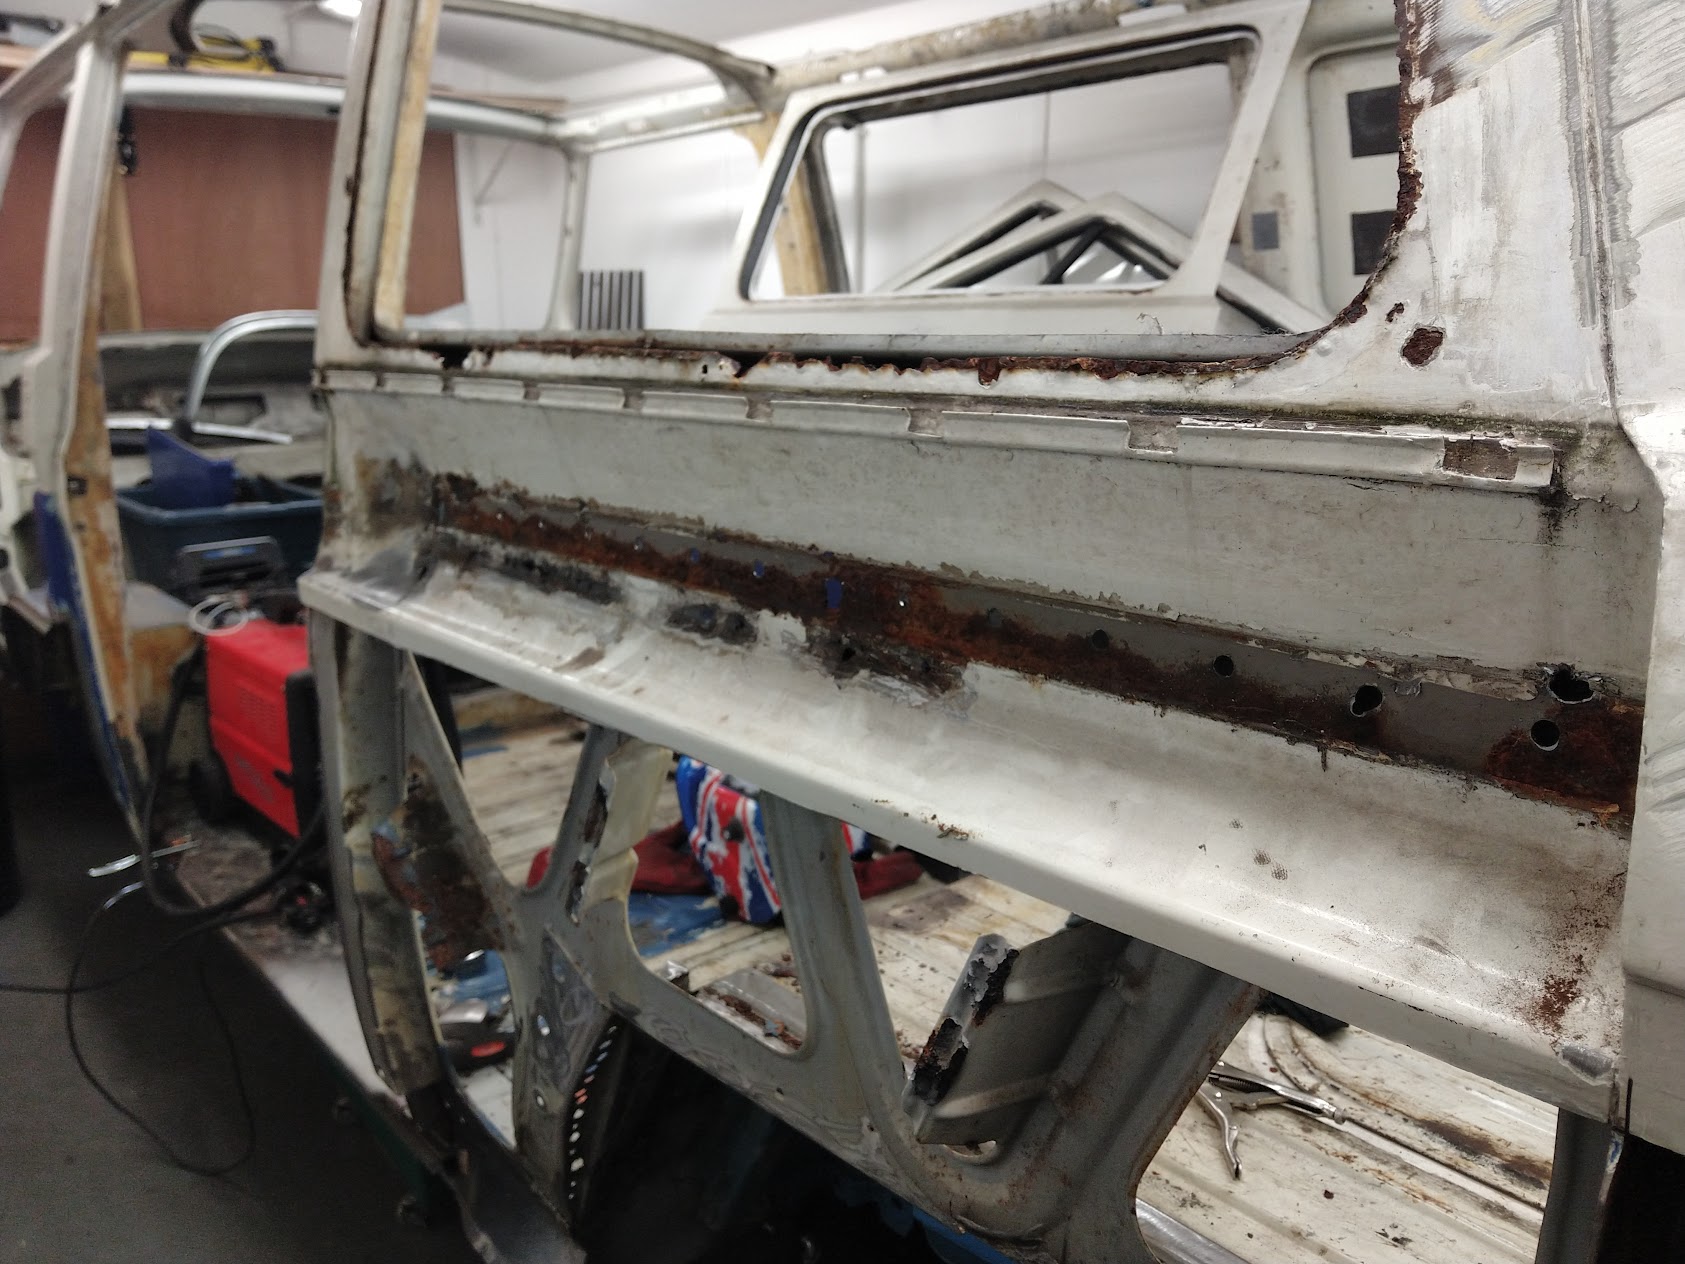
Inner Panel behind the sliding rail all crusty...

Rot cut out internal panel...

External rot removed...

Starting to make a new sliding rail panel...
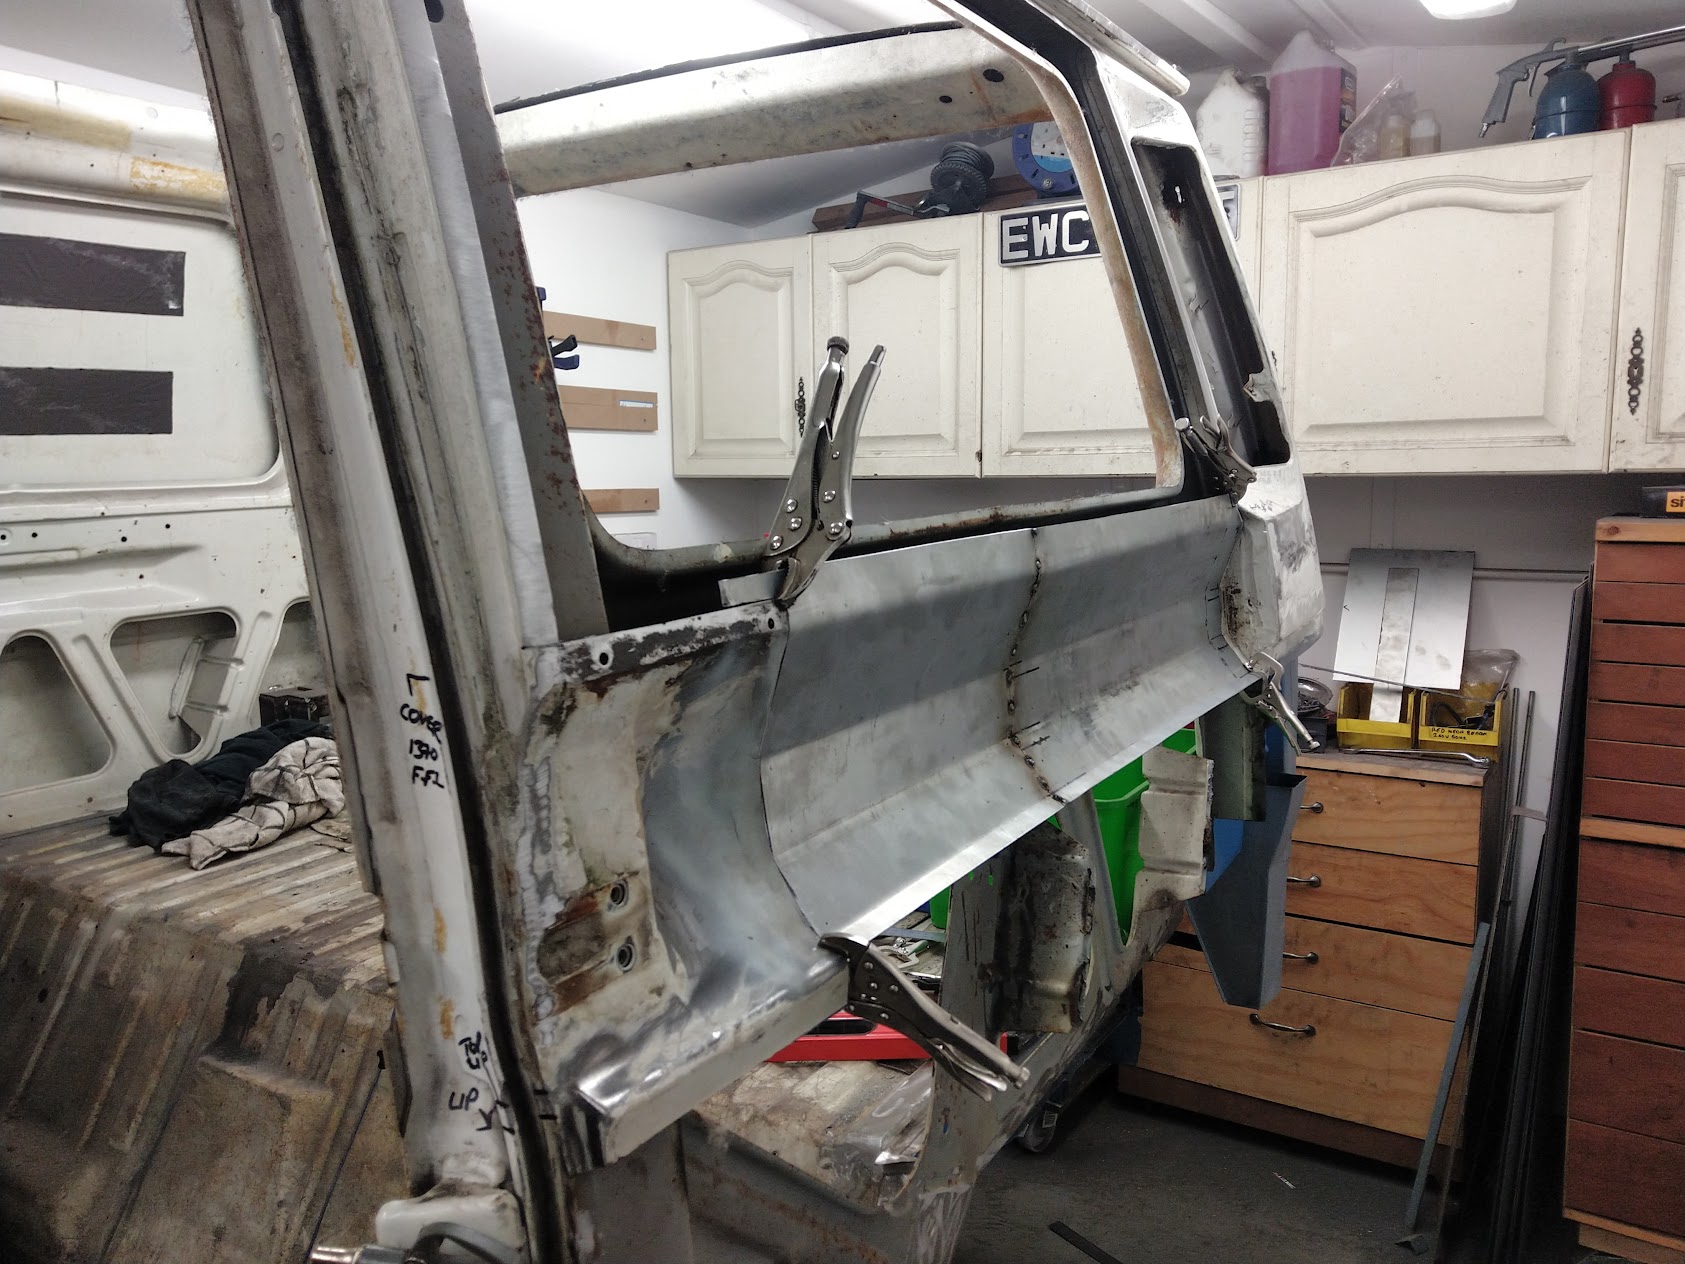
Checking profile for window delete panel on bead roller prior to committing to the full panel...

Bead roller modified to be speed controlled via a small VFD drive, forward and reverse control, ideally needs a 2 way footswitch but works well for now. much easier than the crappy winding handle the come with. modified the original shaft to allow the gearbox keyway to engage onto the shaft...

Window Delete Panel offered up,, I love Cleco pins, they are my best friend!!!

Inner Repair panel patch made to back onto the new sliding rail panel, does not need to be pretty so overlapped the edges...


Inner wing bracket replacement...


Re: Big Blue Van - Full Restoration
Posted: 23 Dec 2020, 13:06
by BigBlueVan
Re: Big Blue Van - Full Restoration
Posted: 23 Dec 2020, 13:11
by R0B
Wow, good on you for taking on such a mammoth task.

Re: Big Blue Van - Full Restoration
Posted: 23 Dec 2020, 13:13
by BigBlueVan
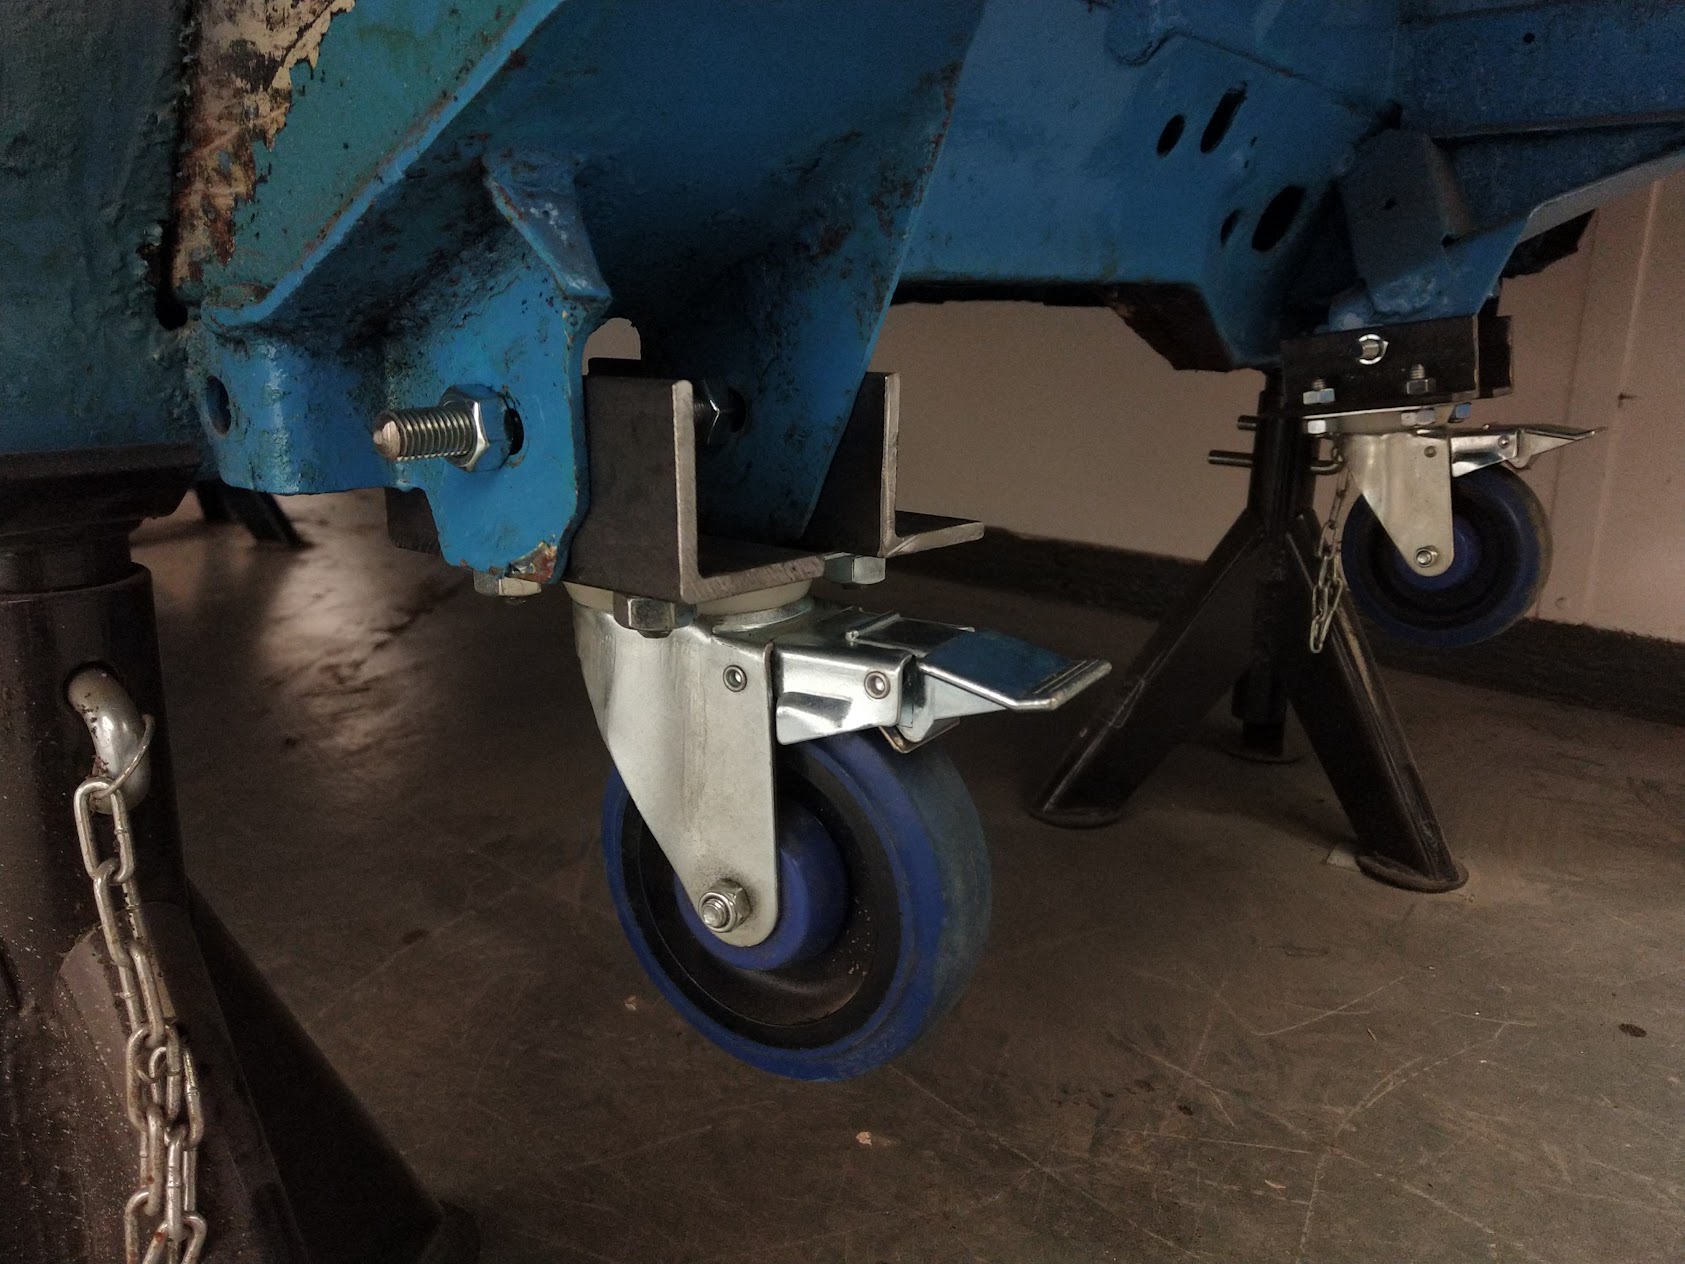
Dolly Upgrade for Van...
Original dolly was a pallet with castors attached,, decided to make some new brackets and mount directly to chassis, makes it easier to move and more stable.
Original Dolly...
New Brackets with castors installed...

Re: Big Blue Van - Full Restoration
Posted: 23 Dec 2020, 13:17
by BigBlueVan
Re: Big Blue Van - Full Restoration
Posted: 23 Dec 2020, 13:23
by BigBlueVan
Rear Valance, Rear Floor and Inner Panel stripping...
Rear Valance as was before attacking it...
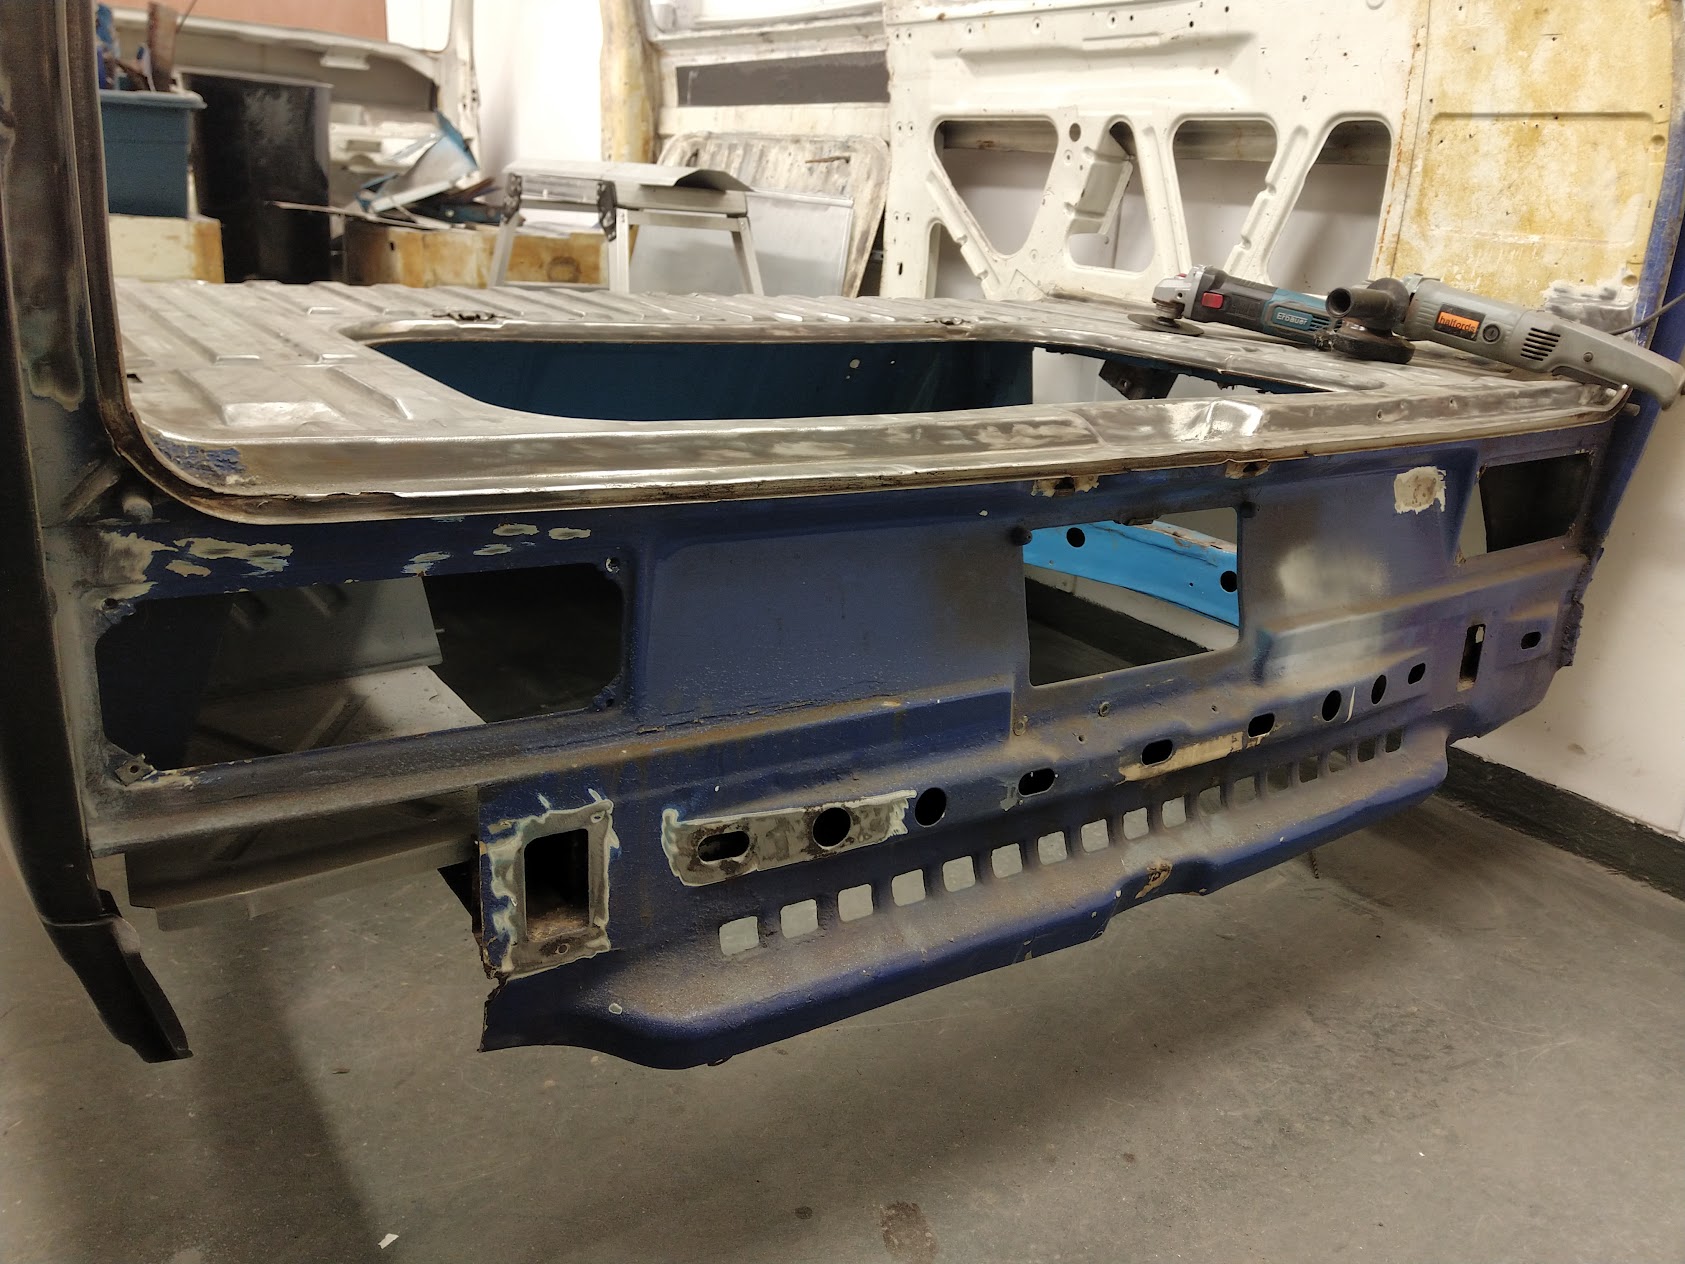
Rear Valance Stripped...

Rear floor area stripped (note missing engine bay!)...

All areas stripped and phosphoric acid etched and degreased ready for epoxy primer...
next step epoxy priming the bare metal.
Re: Big Blue Van - Full Restoration
Posted: 23 Dec 2020, 13:27
by BigBlueVan
Re: Big Blue Van - Full Restoration
Posted: 23 Dec 2020, 13:34
by BigBlueVan
Starting the floor and then changing my mind (2nd Week of December 2020)...
After completing the epoxy primer I thought I would get the main floor area done.
So cutout the visible crud and then paint stripped and wirewheeled the lot to see what i have to work with.


Paint stripper applied, plastic ontop to prevent evaporation and drying...

All Cleaned up...

At this point i decided i will probably just rip the whole floor out and replace with my own, i have means of creating large corrugated panels so makes sense for a few days work,, the floor is very badly dented, many many holes in it and the cross members underneath look solid so it would mean i can give them a good paint and protect while i am at it.
however before any of that it will be best i get the nearside sill replaced along with the lower C
Pillar Repairs and jacking point. then finally tie the outer skin to the floor so everything is nice and stiff before removing the old floor skin.
the nearside front jacking point resembles a cadburys flake at the moment.
Re: Big Blue Van - Full Restoration
Posted: 23 Dec 2020, 13:47
by 300CE
Absolutely cracking work there chap!

Re: Big Blue Van - Full Restoration
Posted: 03 Jan 2021, 08:14
by BigBlueVan
Re: Big Blue Van - Full Restoration
Posted: 03 Jan 2021, 17:21
by BigBlueVan
Offside rear outrigger welding
Today's job was to close in the rear outrigger to the sill and trailing arm, I quite enjoy welding this thicker steel as you can dump a good hot weld into without the constant fear of the pool blowing through the material.
Usual method was adopted CAD template (Cardboard Aided Design) then replicate in steel, nice and easy.
Next job will be the front outrigger interface to the sill and B
Pillar.


