All engine faults/repairs/maintenance Replace starter motor
FOR THE WIKI – STARTER MOTOR & BUSH 2LT AIR COOLED
NB We are complete van novices, spurred into doing this job ourselves coz I was too tight to pay for the mechanic (!) and I thought we should learn something about the van.
TOOLS REQUIRED
- Tap set, or Tap and Die set, with a SIZE 12M. (I bought a set for about £3.00 from e-bay)
- Screwdriver with a piece of fairly thick cloth – an old t-shirt would do
- Spanner set
- Pair of plastic goggles (for the health and safety conscious!)
- Axle stands
BEFOREHAND
- Make sure the new bush is soaking in engine oil overnight. Have a spare soaking, just in case…
HOW WE DID IT
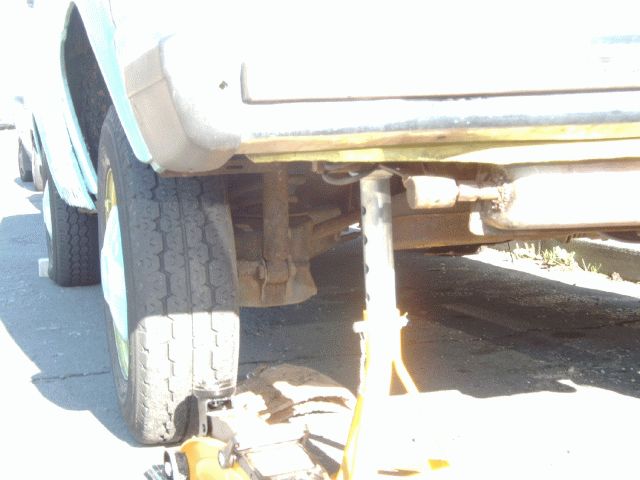
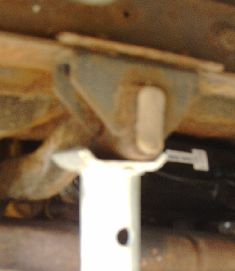
Jack van up and place on axle stands – one ach side. If you are really skinny, or can gain some height by parking on the kerb, you may be able to access the starter motor.
Now disconnect the battery, then crawl underneath and see if you can locate. the starter motor. Haynes says to remove the rear wheel on the drivers side, as this makes access easier. I’m sure it does, but as out wheel refused to budge, we did it with the wheel in place! Crawl under the van, behind the drivers seat and look around you will see the starter. Along with bits of rust, grot, mud etc, so plastic goggles if you are comfortable with them are useful.
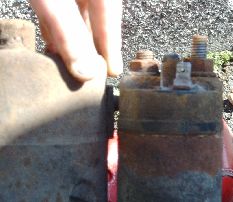
The starter looks something like this: It is two cylinders fixed together with wire connections on the end of the smaller cylinder (solenoid, to give it its proper title).
Look carefully at the connections, and note where each wire goes. When you remove the wires, take the opportunity to sand-paper the connections to ensure good contacts in the future.
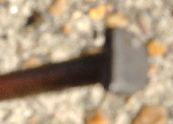
There are a couple of bolts for the starter. The first one was obvious, but the second one had us foxed as the nut undid, but we could not see where the bolt came out…until we pushed it a bit, and I noticed a bolt moving in the engine bay! It’s a bolt with a funny shape head: It will only sit in the hole one way! Once the bolts are out, you can remove the starter motor.
Once the motor is out, you will see a hole in which the long metal spike at the end of the starter motor sits. Inside this hole is your starter motor bush, a small piece of copper piping! If you have been having problems with starting the van, your bush is probably very worn, and may even be in pieces. You now need to use the 12M tap to remove whatever is left of the bush. Hubby said that this was fiddly, but he managed it eventually. Our bush came out in one main piece, but with holes in it where it had worn. Next hubby wrapped the cloth around the screwdriver in order to remove any tiny pieces of bush which remained. Some small pieces came out.
Now you have to put the new bush in. Useful here to have a longish bolt with a wide washer, so that you can get a slippery piece of metal in straight. The washer stops the bush falling off the bolt. Once it is in place, replace the starter, do up the bolts refix the wiring, and give the van a whirl!
Hubby has now had the starter off a few times, and can do it fairly rapidly with the assistance of teenage son!
Hope this has helped someone, somewhere.


