Well, we've done ours this weekend and its been some job although we also took the opportunity to clean the mould off the flock type stuff in the roof and fit three press studs to the front to hold up the thermal screen. We bought the canvas before Xmas but wanted a clear dry weekend before we went for it. Big thanks to Red Westie for the tips above which were very helpful. Our canvas is a JK one also. The JK instructions weren't much help - mostly for a 70's Bay and although we measured, measured, measured and then measured again, I'm left thinking that it is too small by 3/8" or so. Its like a drum skin when the roof is up - maybe it will stretch when its had a wetting. Anyway here's a few pix which might be helpful to anyone doing theirs:
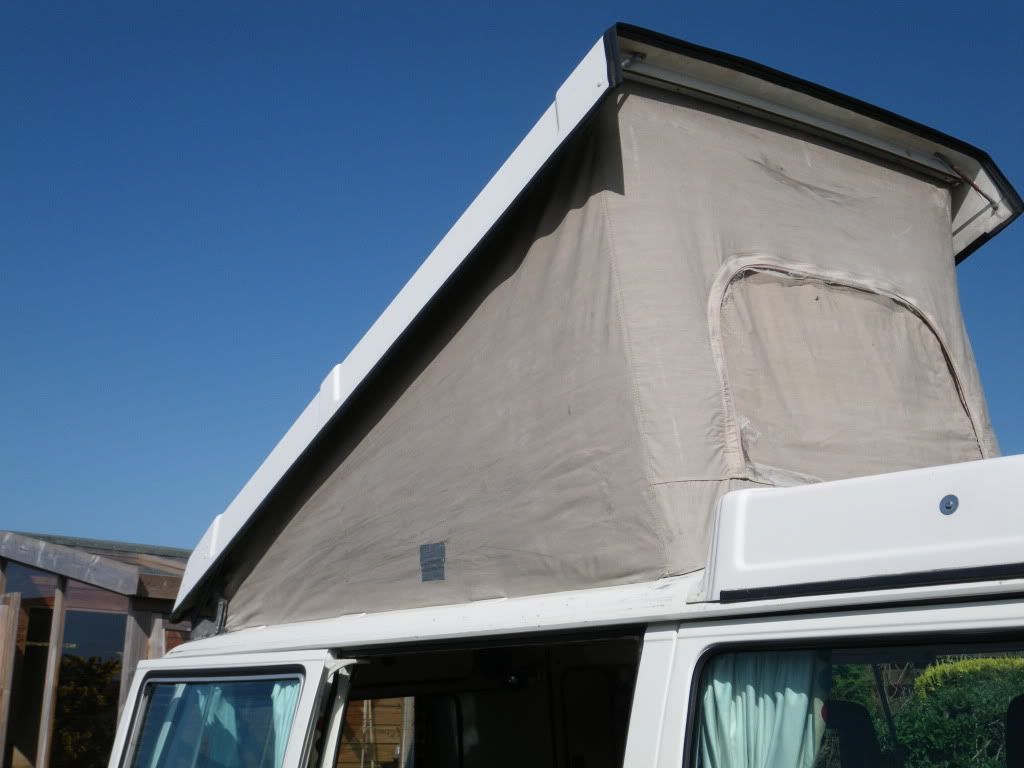
This is the old canvas - rotten and held together with duct tape.
We took lots of pics to remember how it all fits together:
Took the cushions out of the top for better access - this was a good move:
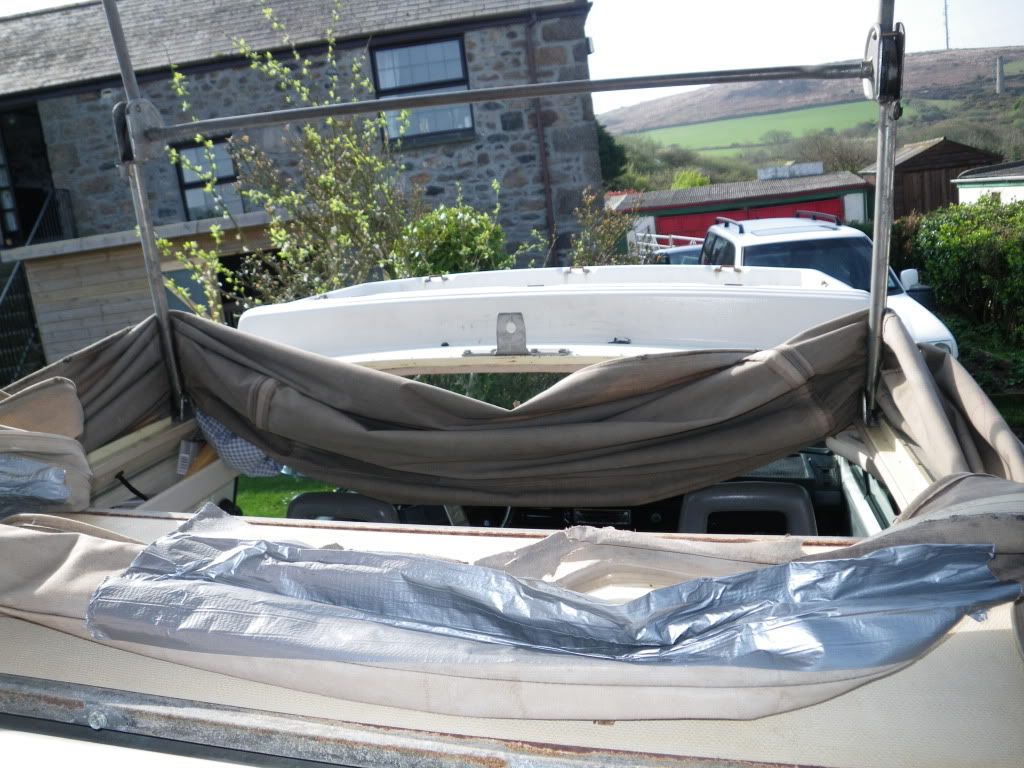
The old canvas came off fairly easily although the corners were tricky:
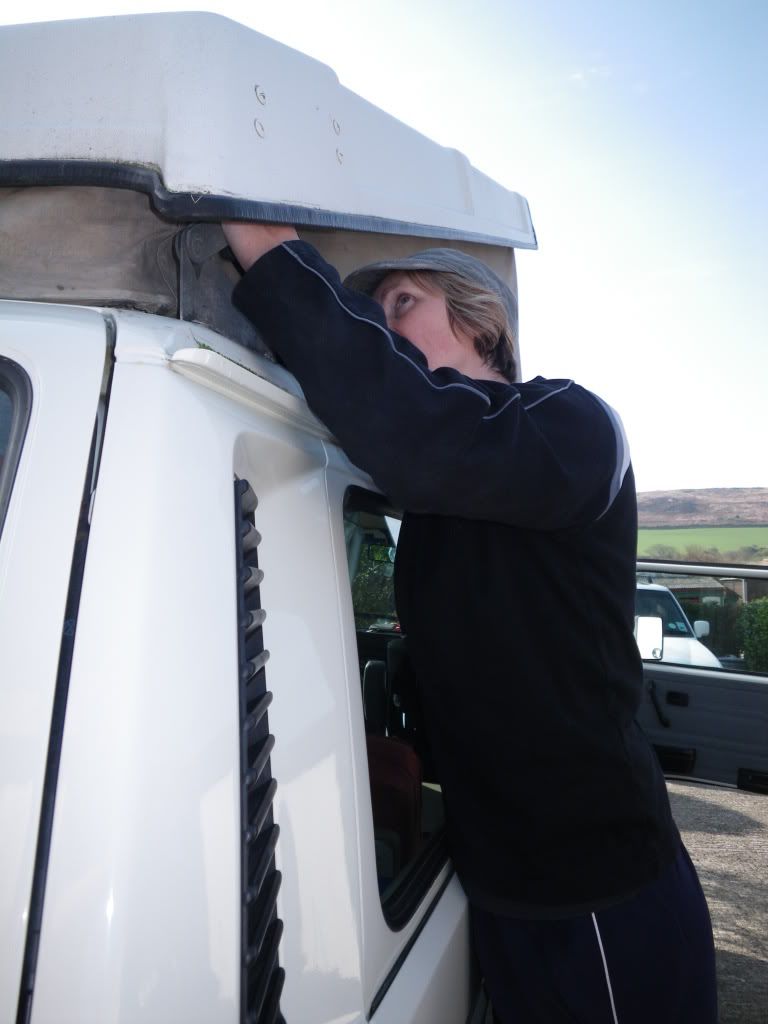
Because the canvas sits outside the H frame and inside the rear hinges you need to prop the roof and undo the top mounting brackets:

Thats the easy bit!
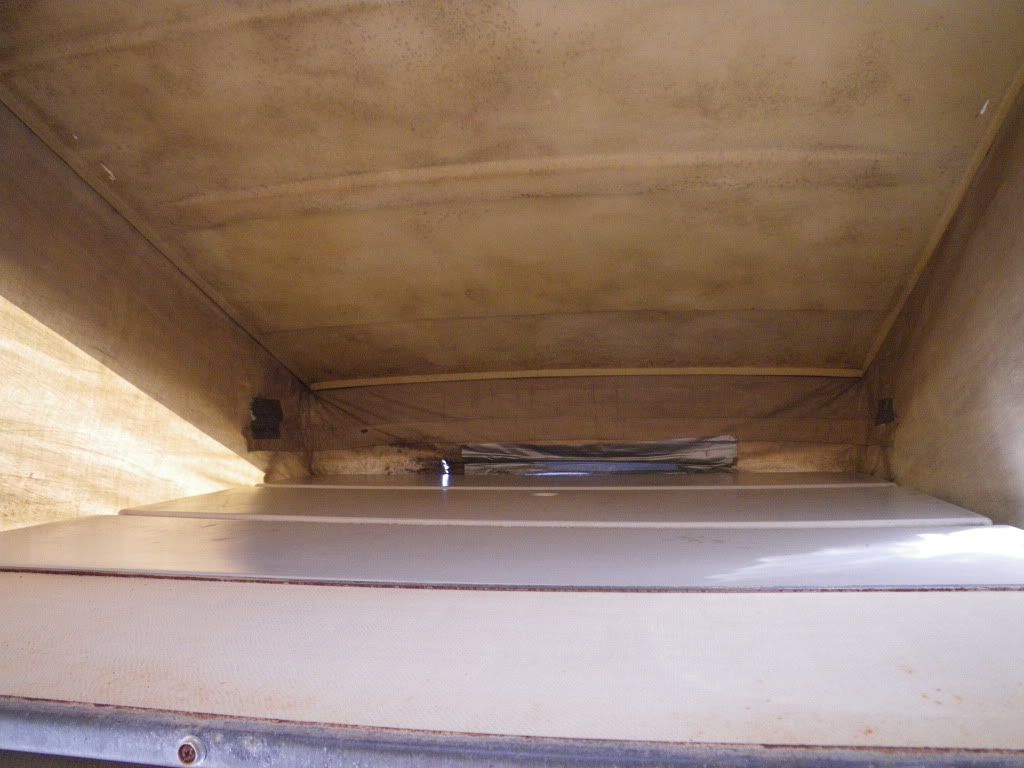
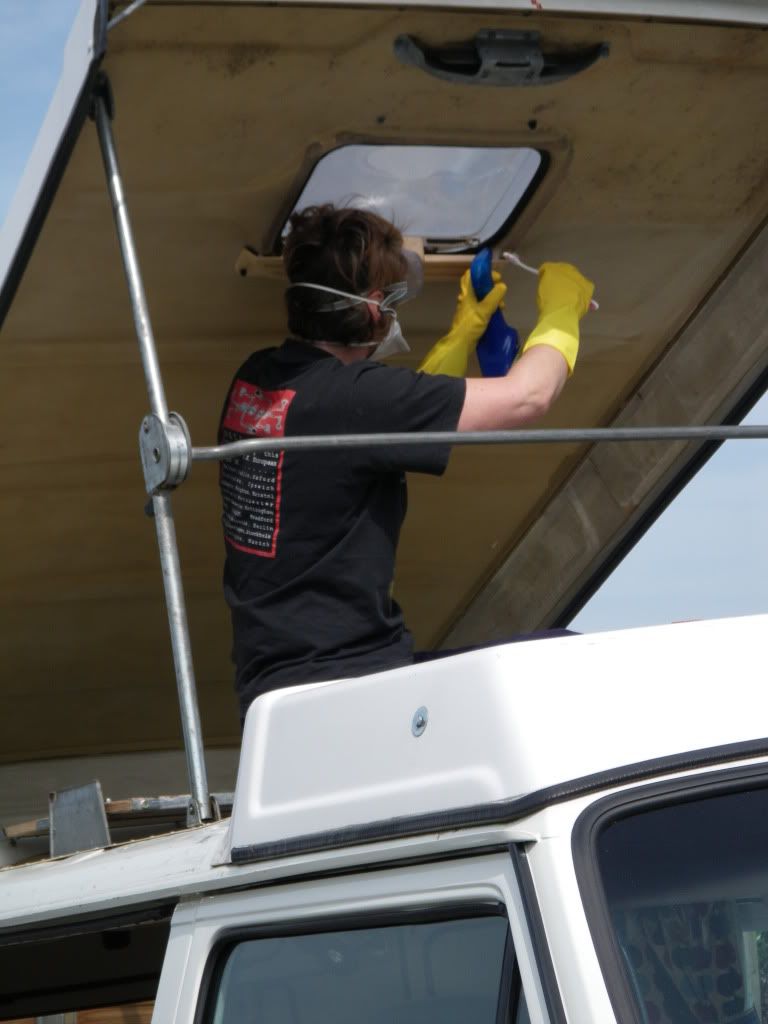
The top was well mouldy:
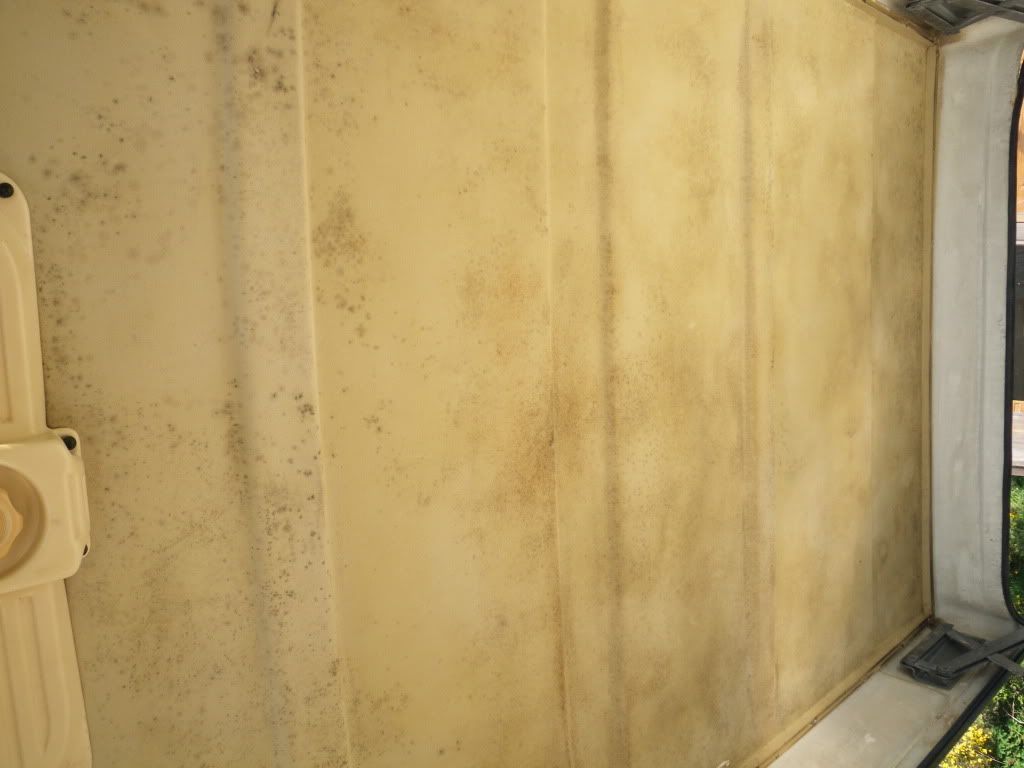
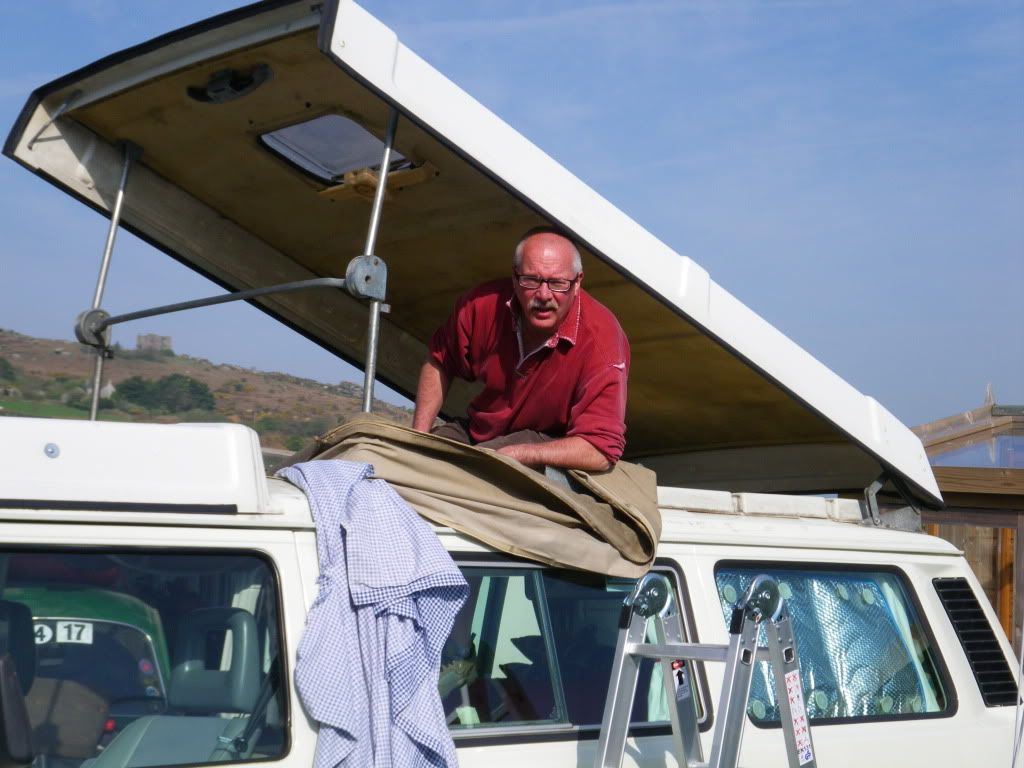
So the boss got to work on it and made an awesome job:
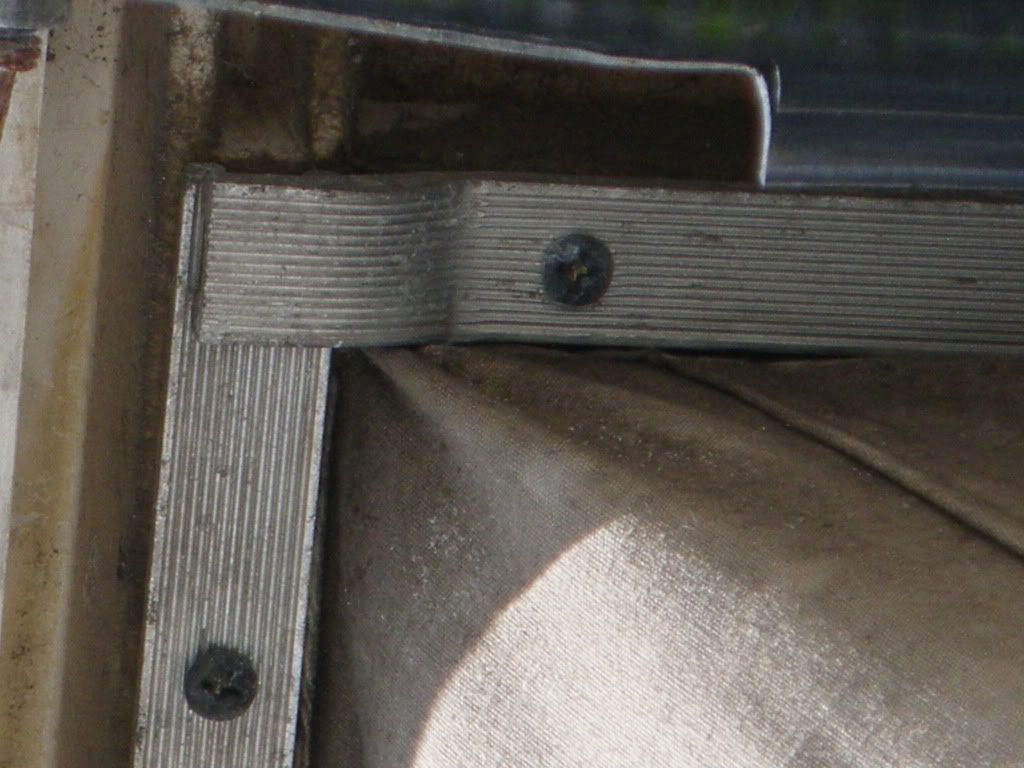
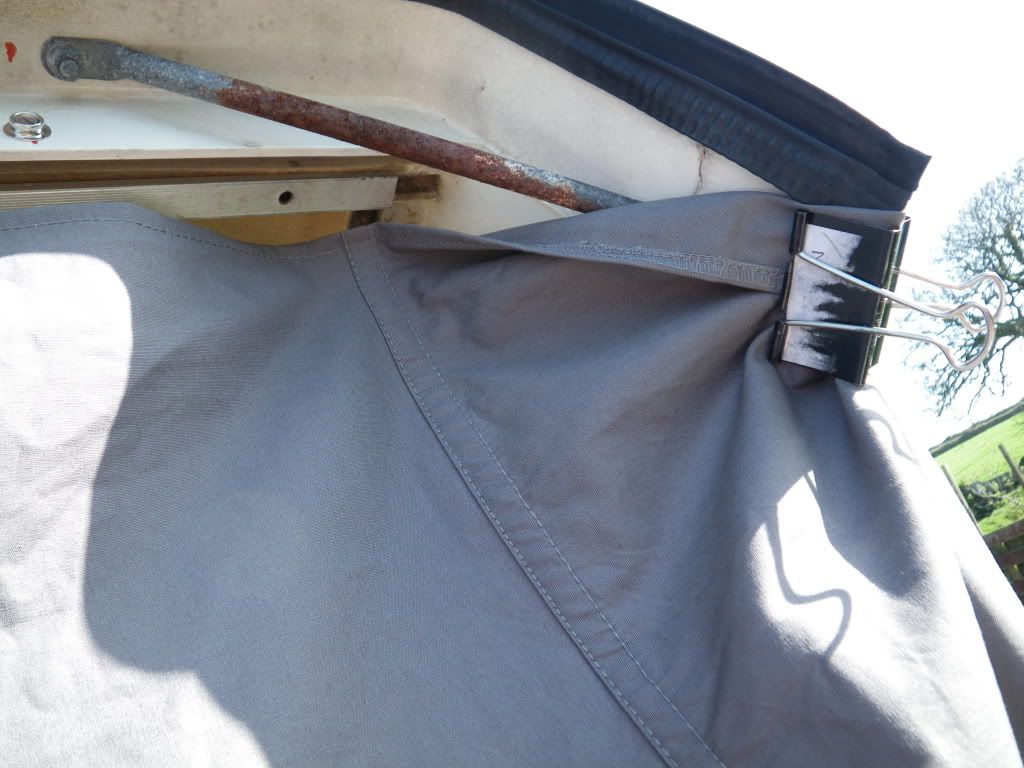
Fitting the new canvas was pretty much as Red Westie says above plus remember that the top brackets have to be undone again so that the circular canvas can fit outside the H frame and inside the rear hinges. The top is held in place with alloy strips. We fitted the front first taking care to get the centres exactly right and letting the smallest amount show outside the alloy strips. Bulldog clips helped to overcome the effects of gravity.
Then we fitted the back from the centre out and then the sides. This was because it was very tight and we wouldn't have been able to do the back last - we had to stretch it tighter then we really wanted to but it seems to have gone alright in the end.
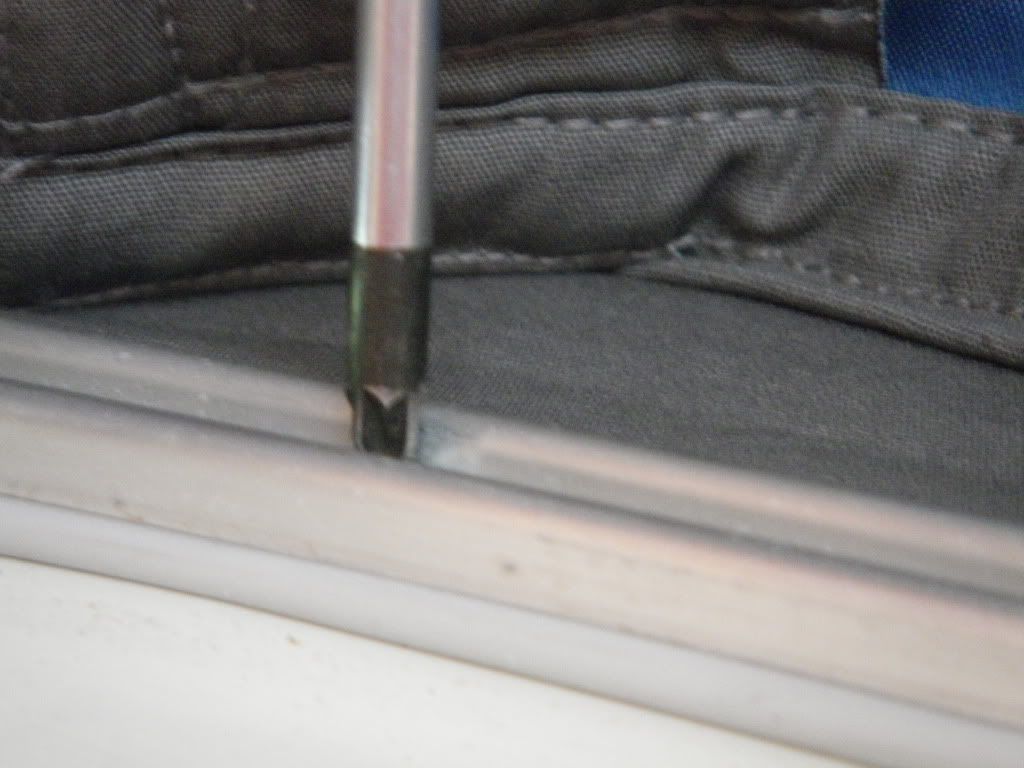
We centred up the bottom as well - front first, then rears, then sides. On the bottom there is a plastic bead that fits just inside the alloy strip:
To be honest fitting the replacement took most of today and Ali says she's never going to do another one! It was very fiddly and we did most of the bottom section with the roof propped 3/4 open otherwise we would never have got the bottom bead to fit under the alloy strips.
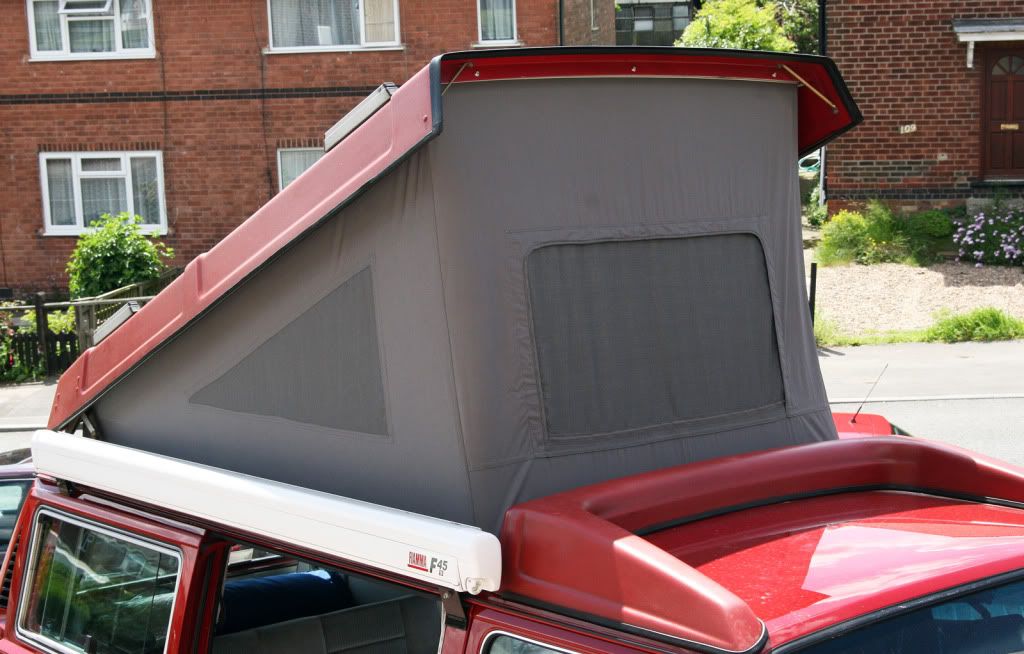
This is the finished job. It looks a whole heap better although it is
very tight.
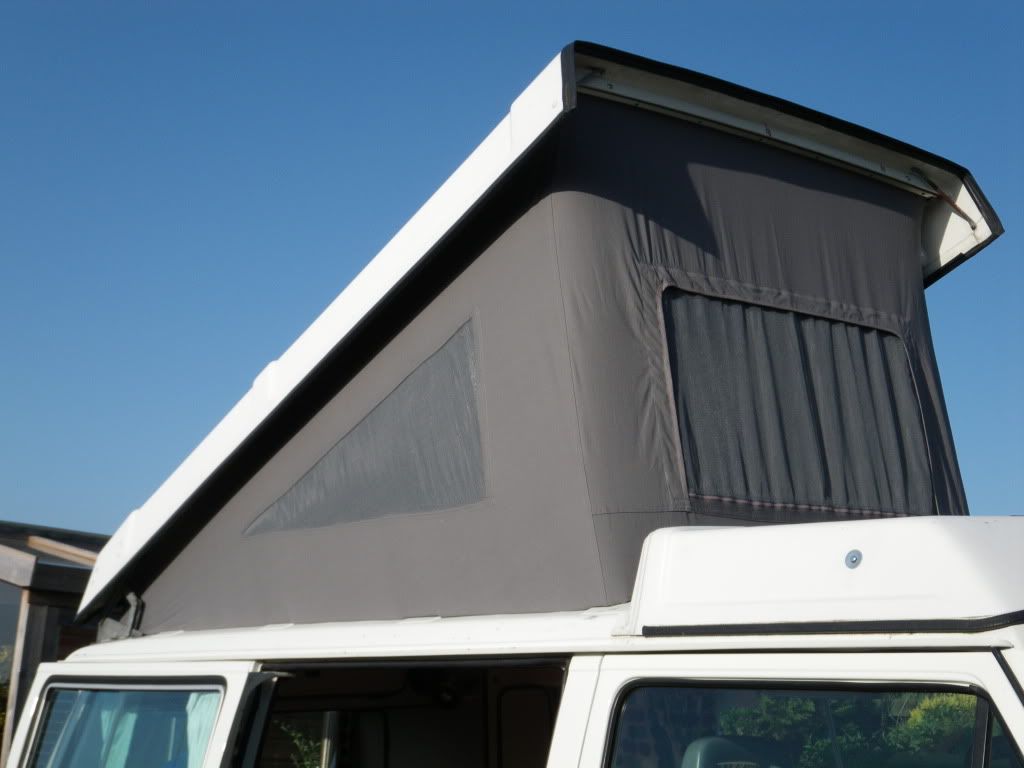
I am now waiting for it rain (making myself popular in Cornwall in the holidays!) and hoping that it will stretch the canvas slightly.
These are the tools we used for the roof canvas although there were others for fitting the press studs and cleaning the inside of the roof.

Couldn't have managed without the magnetic tray
Like I said earlier - big thanks to Red Westie for giving us the impetus to think we could this ourselves. It is quite a tough job and I wouldn't want to do it every weekend but we took it carefully and hopefully we've got it right.