Another new member here!!!
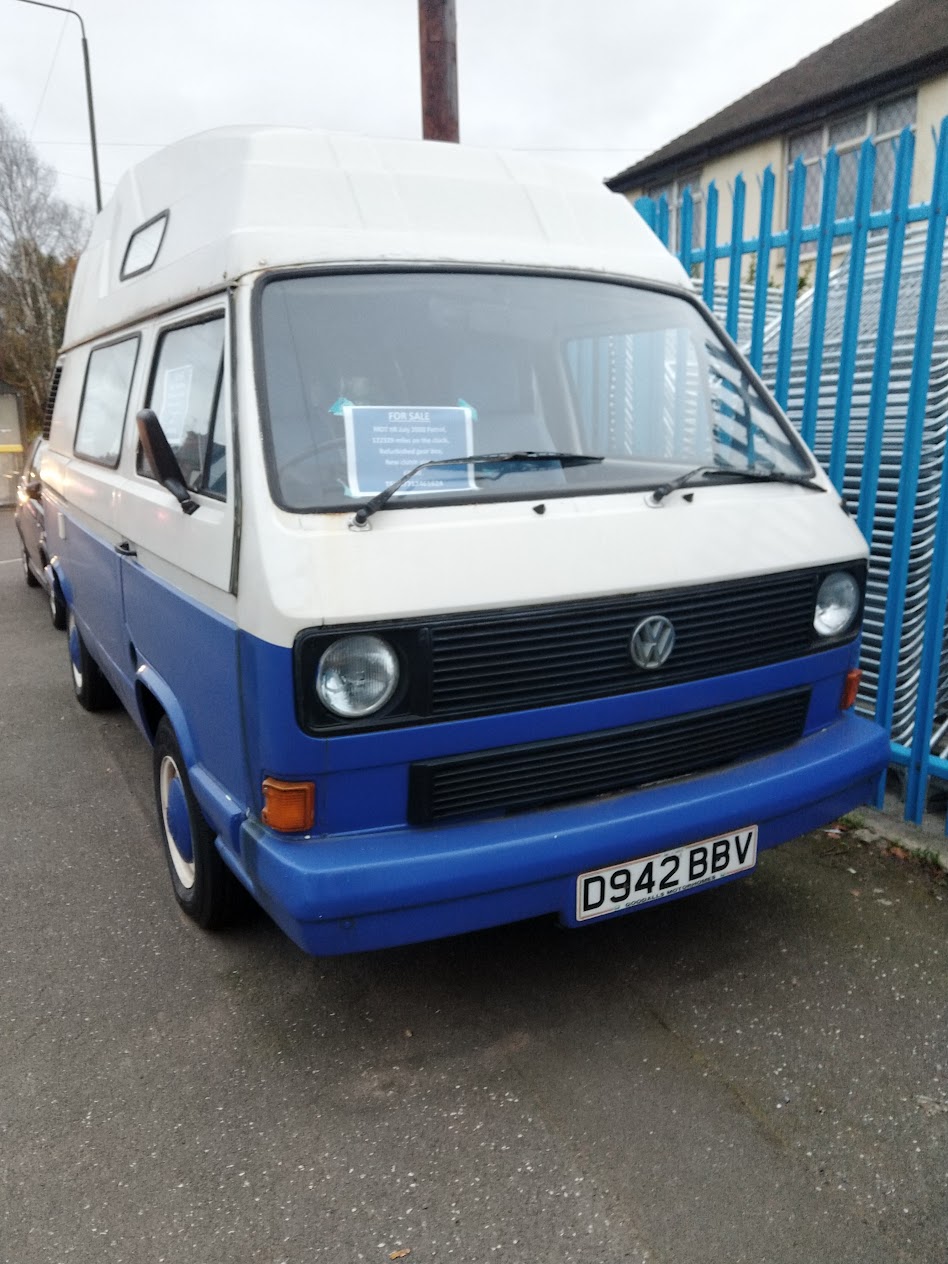
Another new project, Big Blue Van (from the reg ending BBV)
Have had the van around a year and thought it best to document this better than just bunging all photos in a folder.
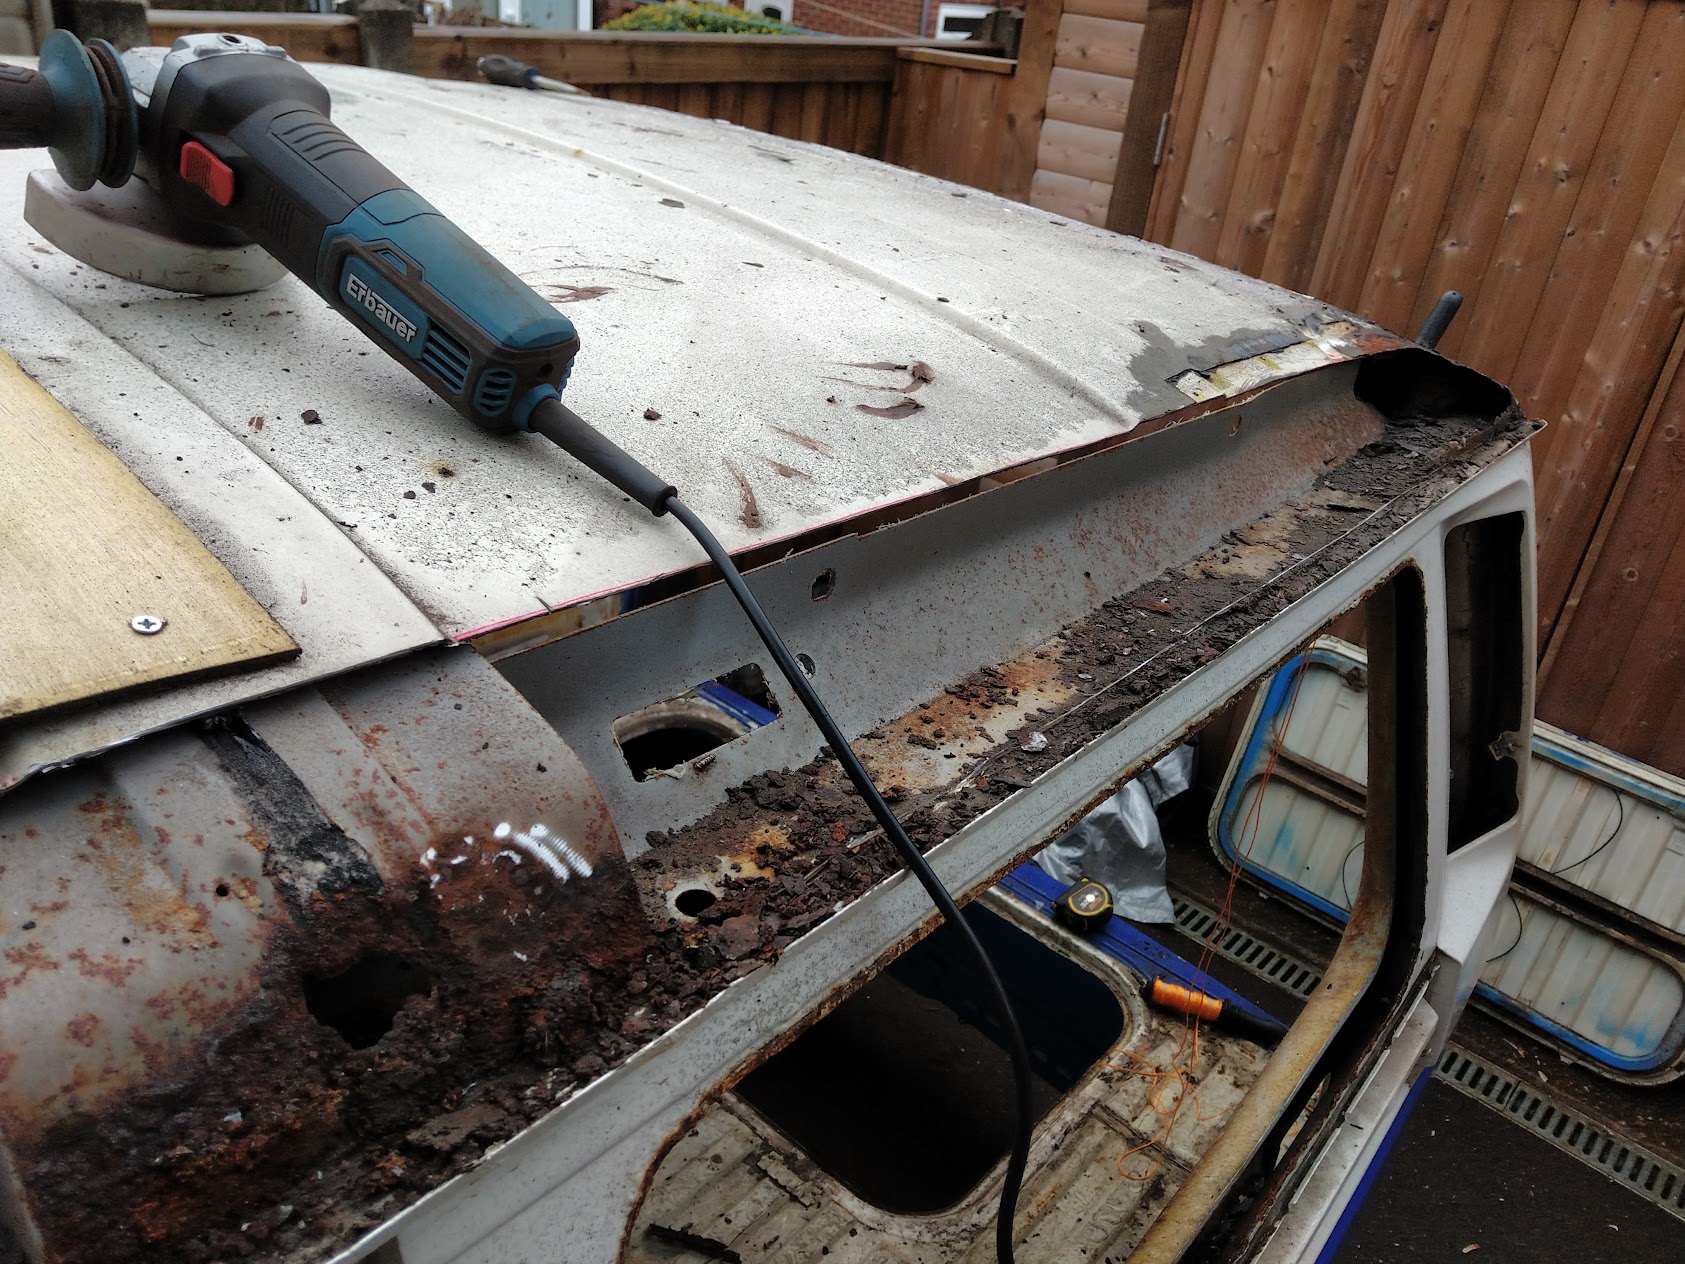
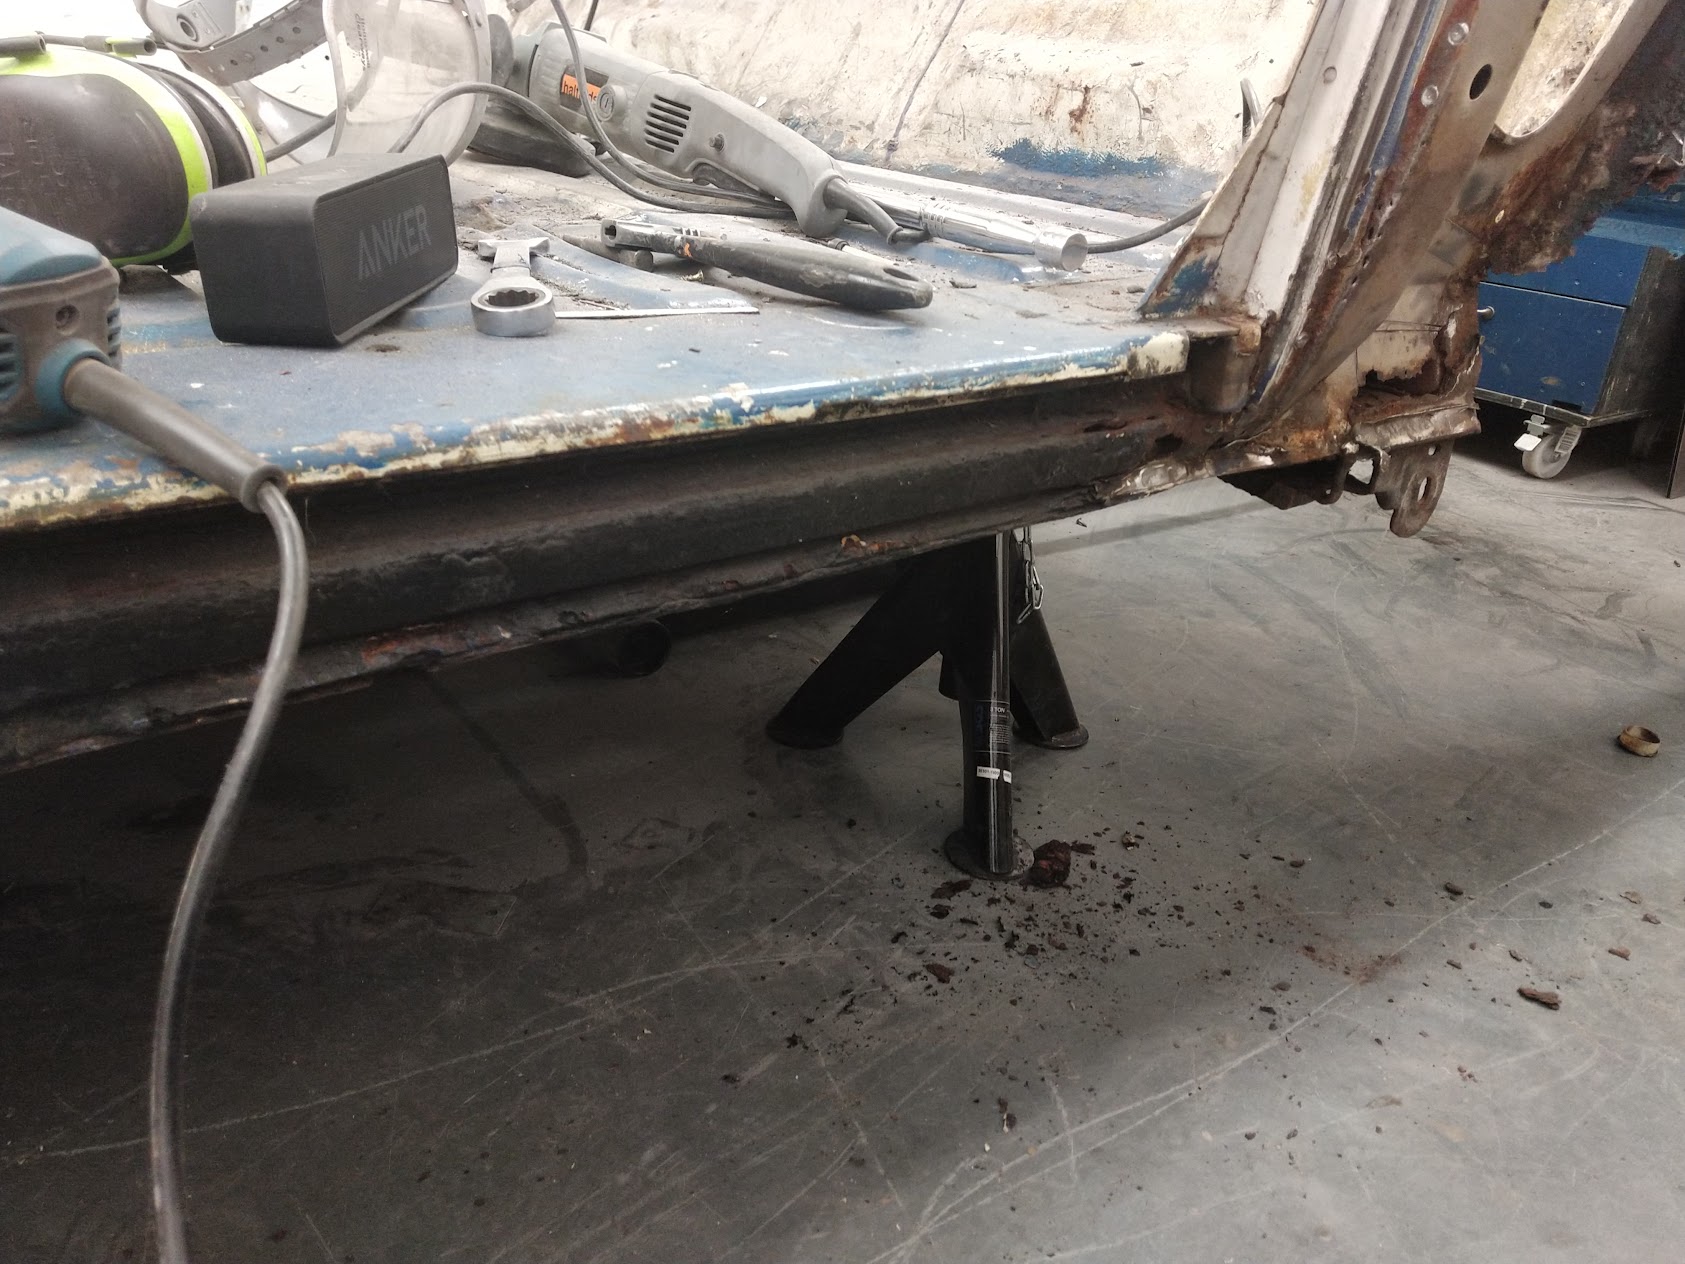
1987 - 1.9DG Petrol, Van converted to camper by previous owner with hightop. Lots and lots and rust.
I have no time limit so plan to do the whole lot learning new skills along the way.
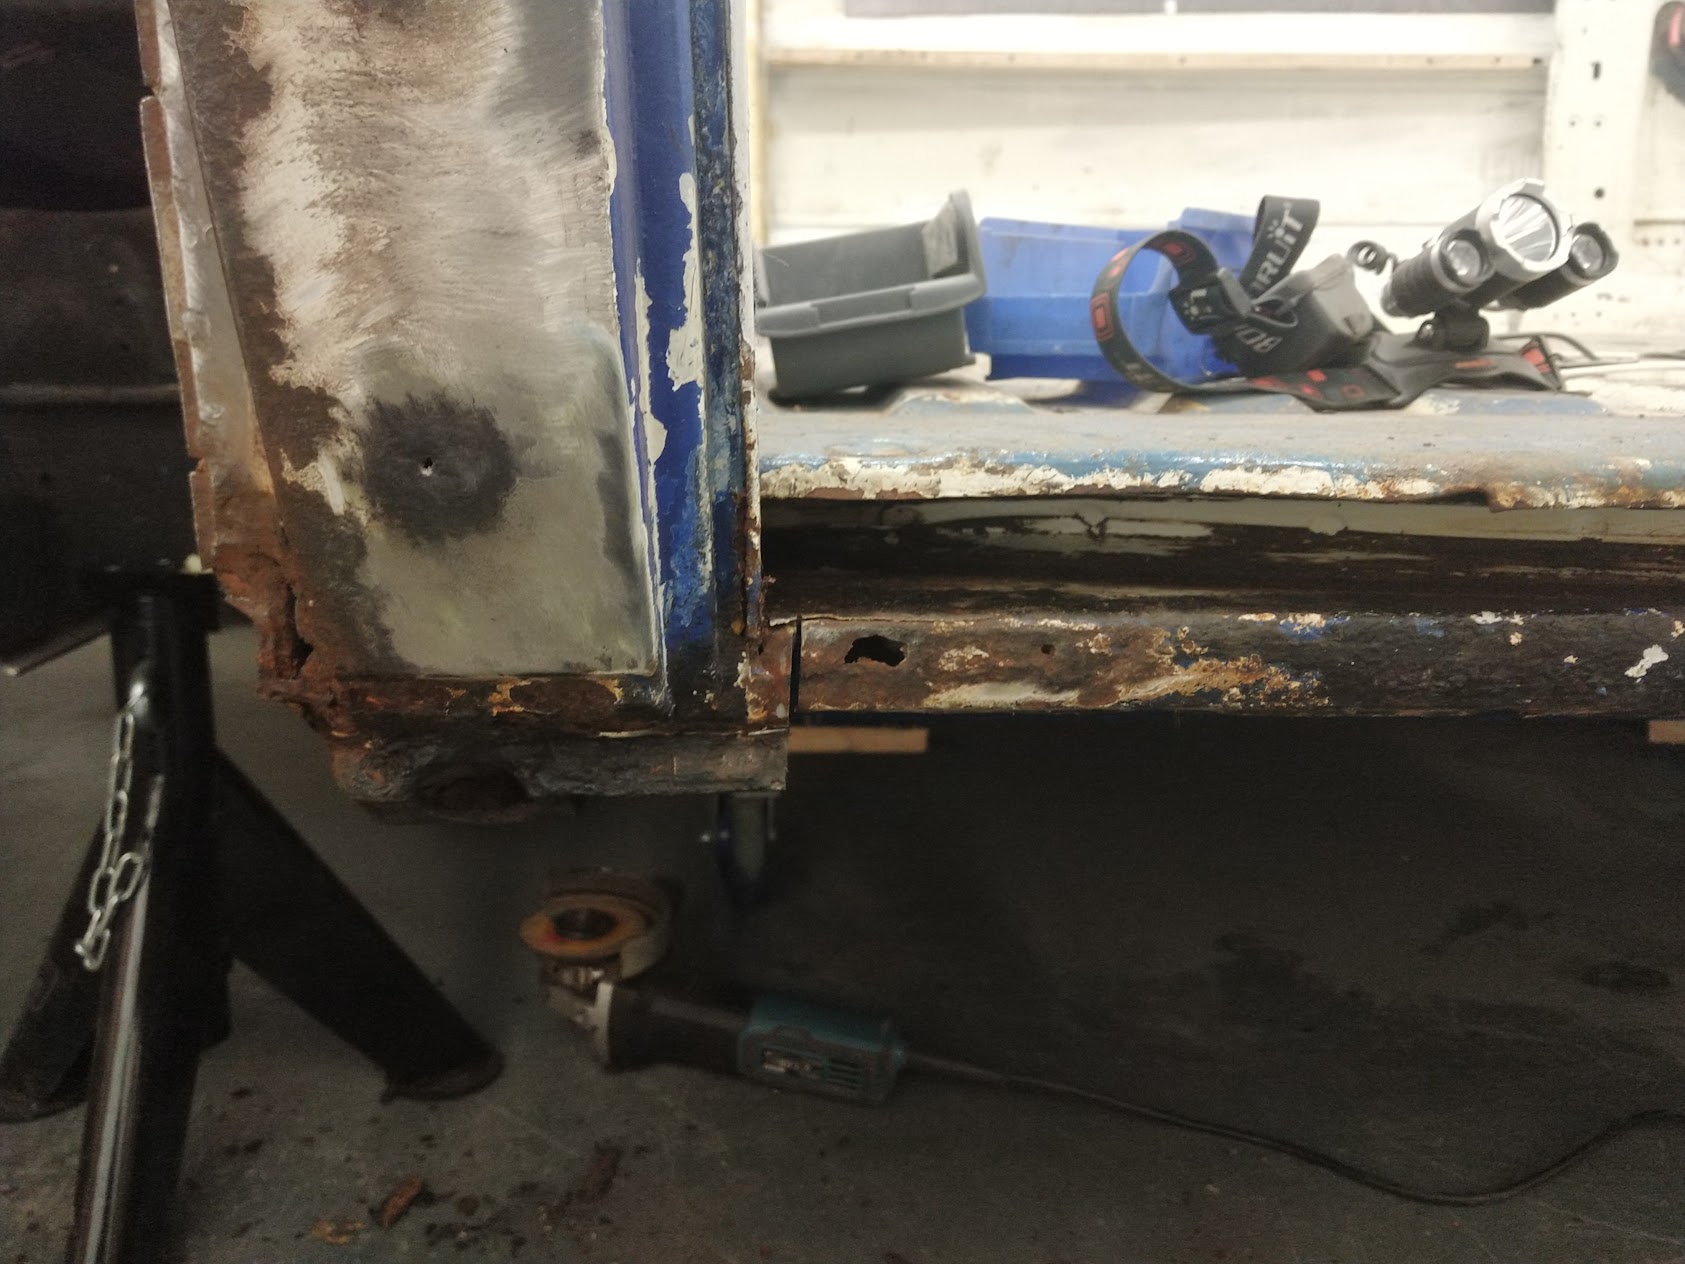
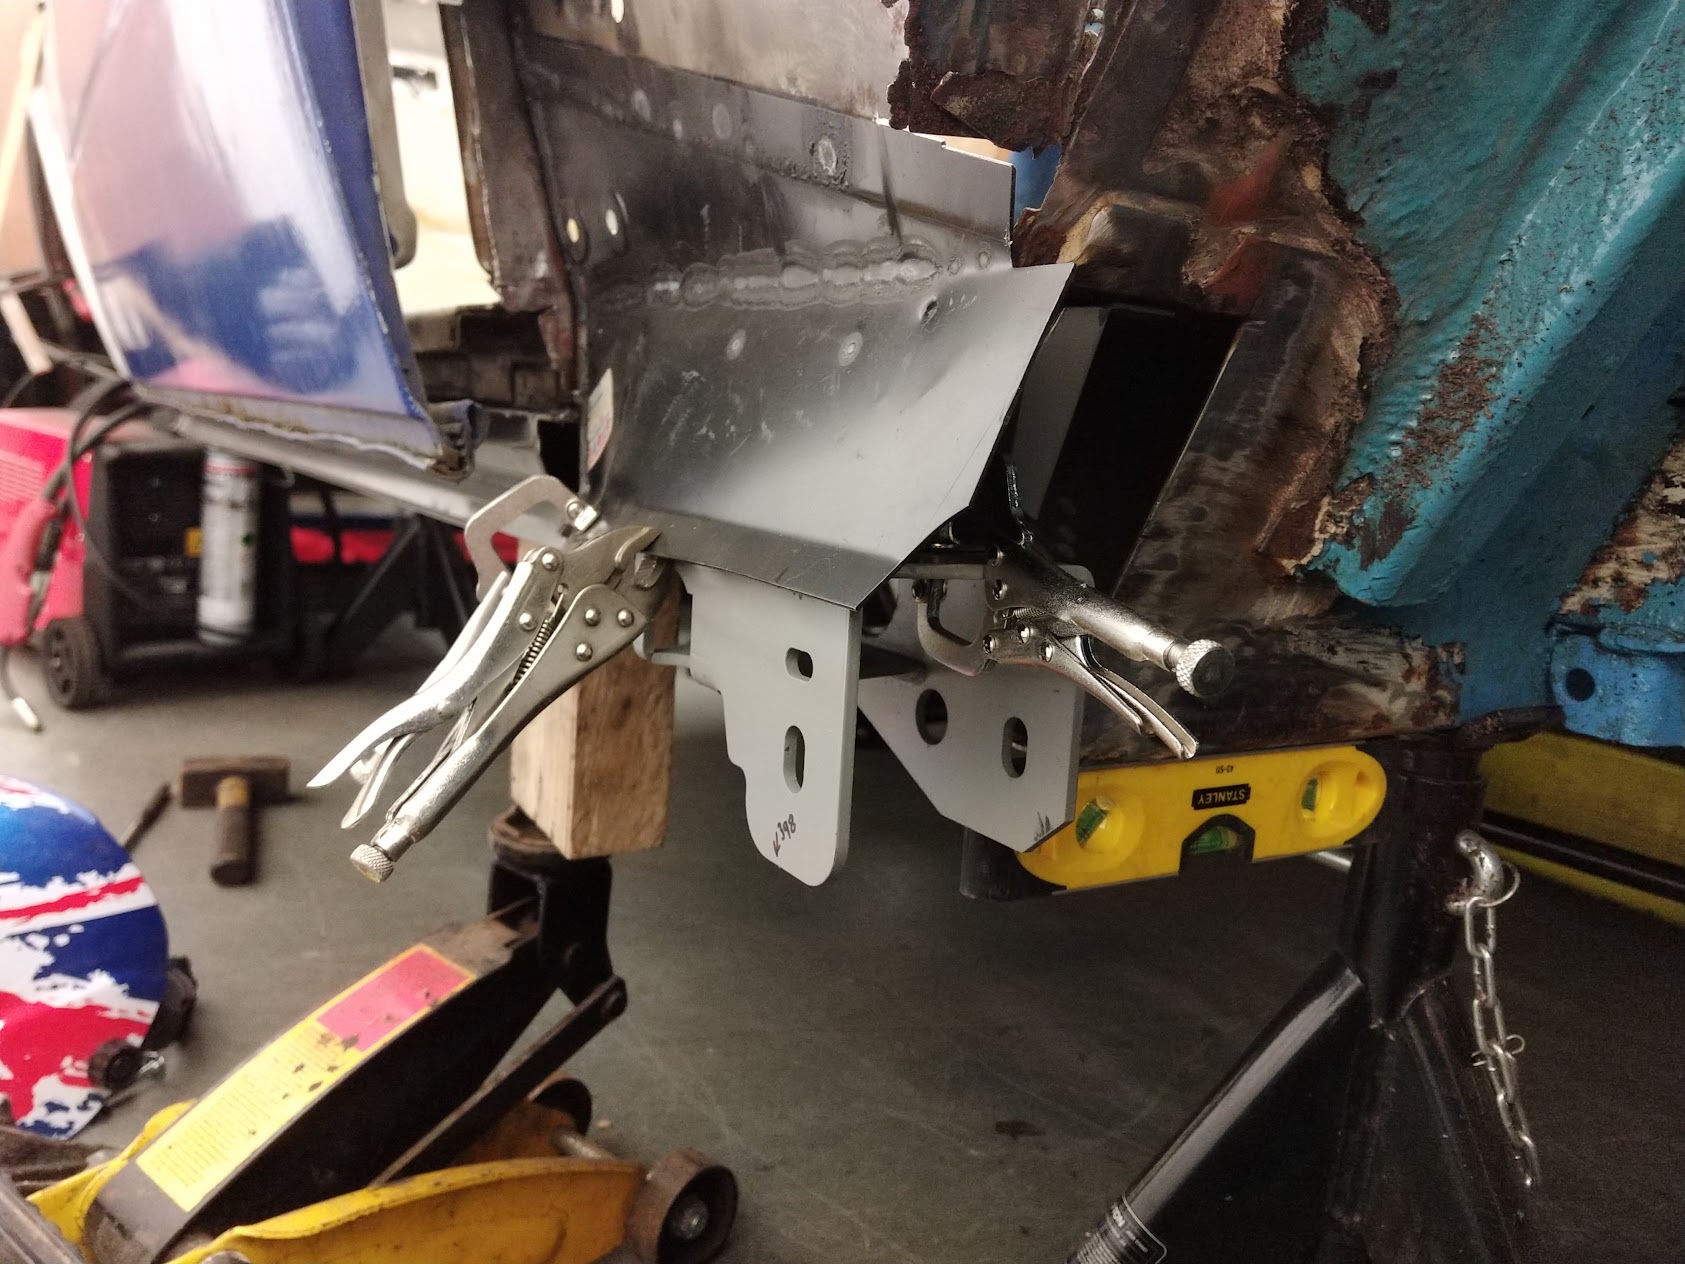
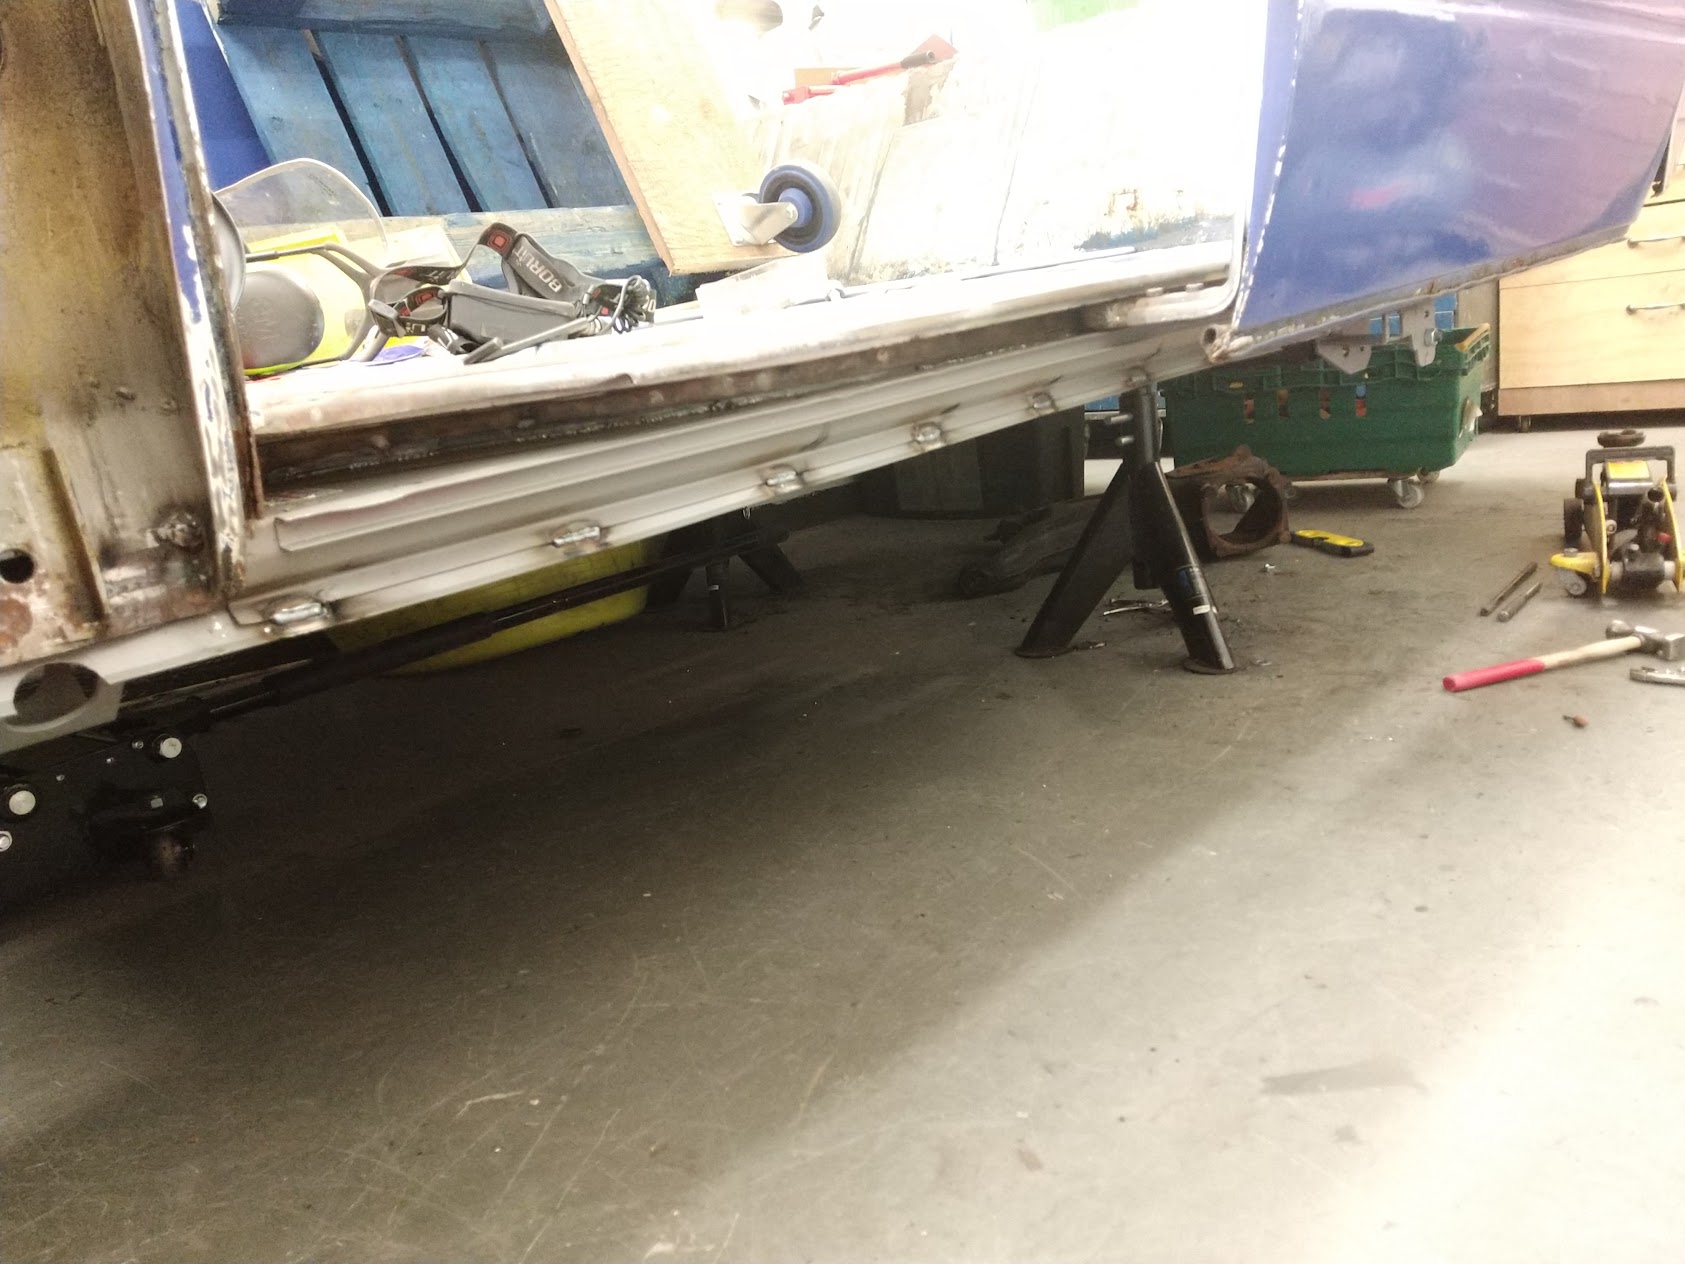
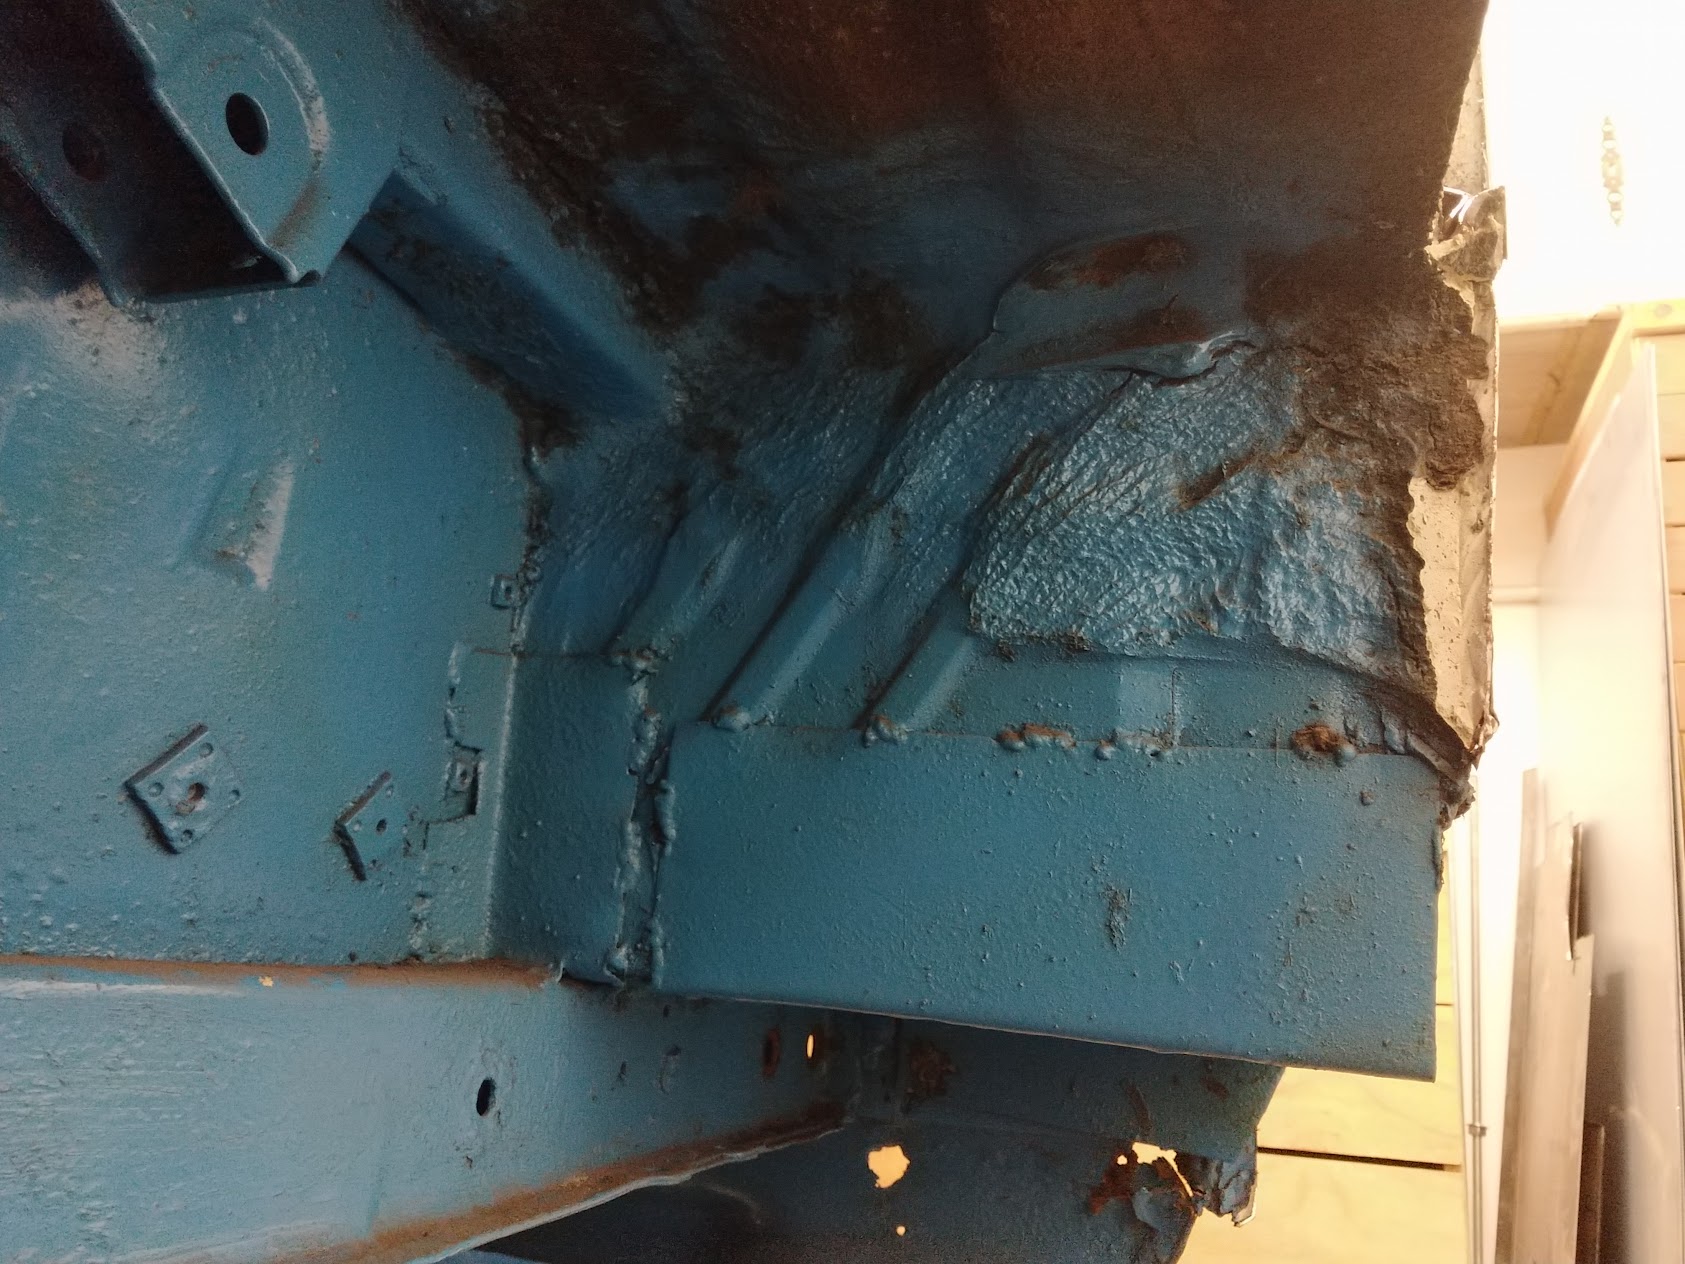
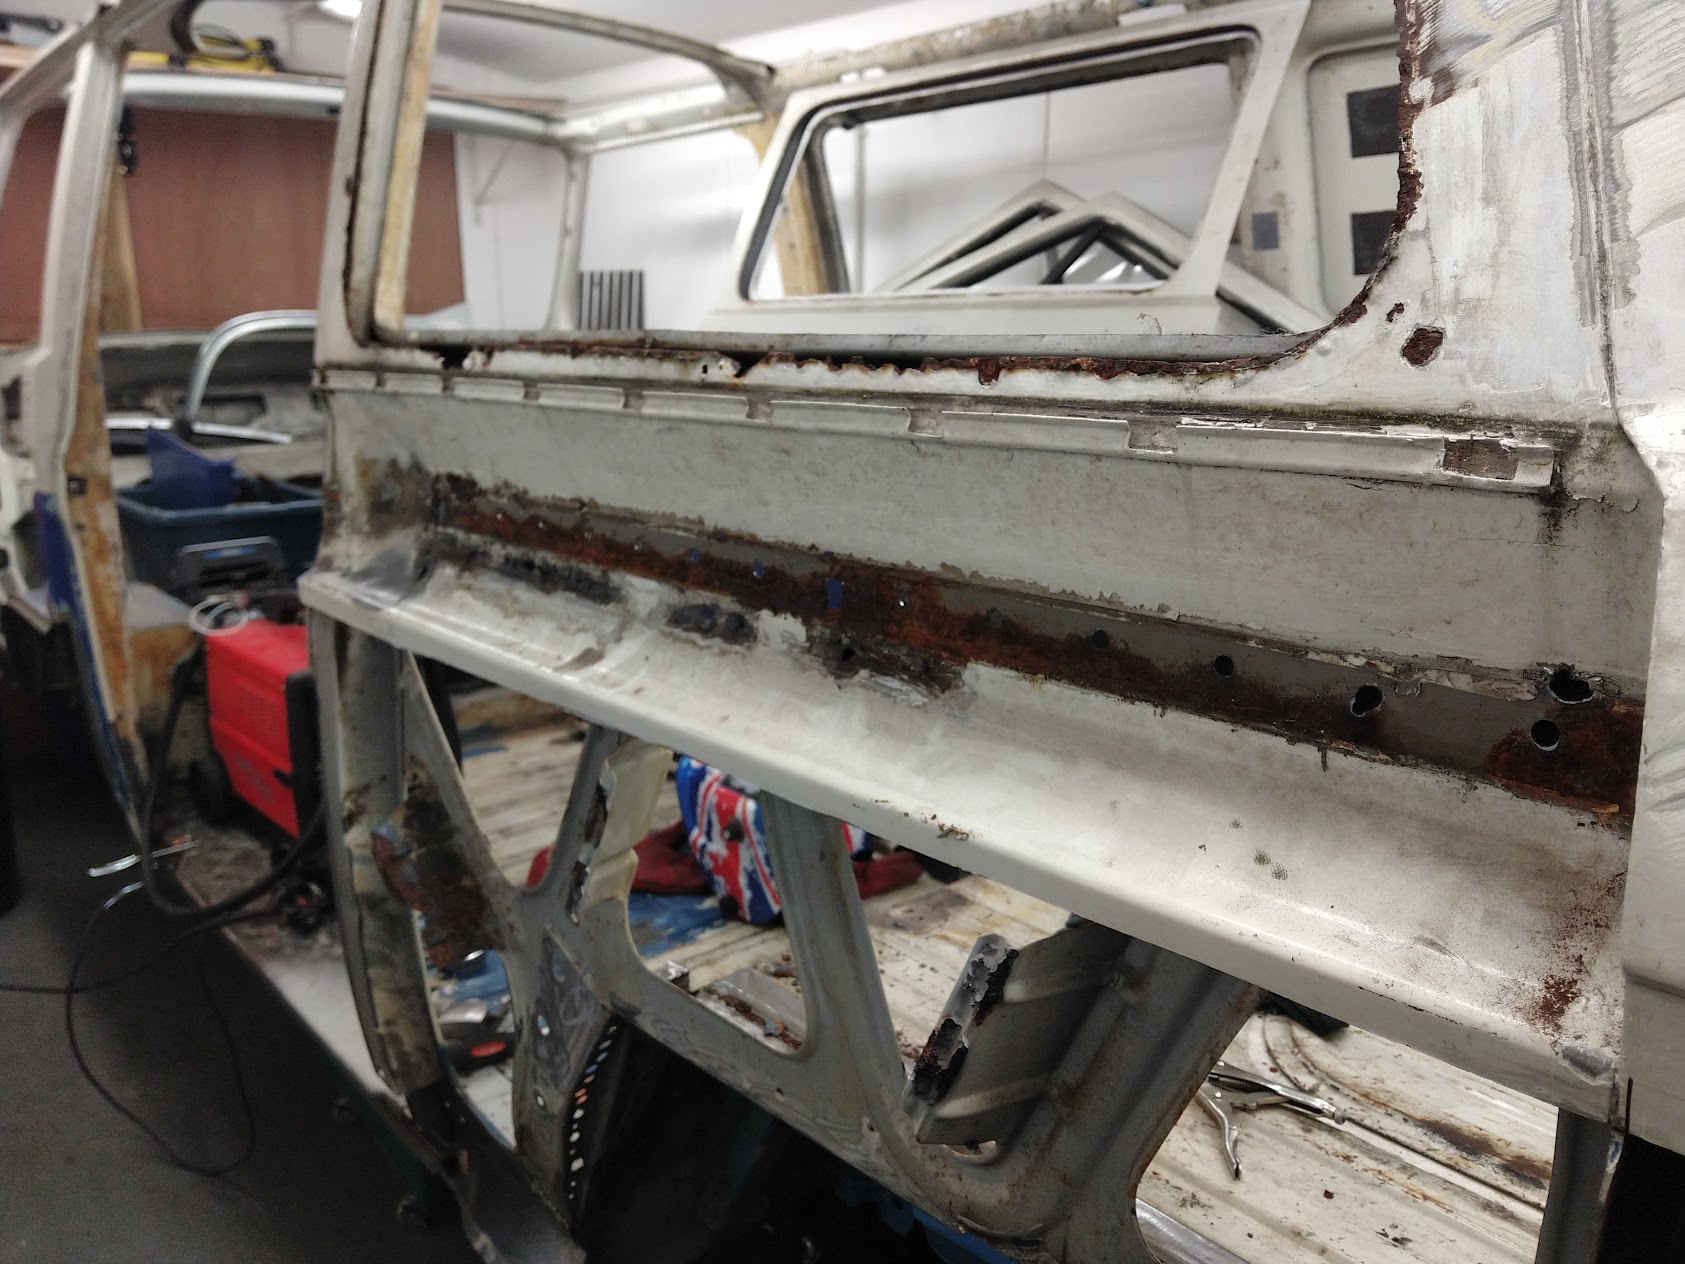
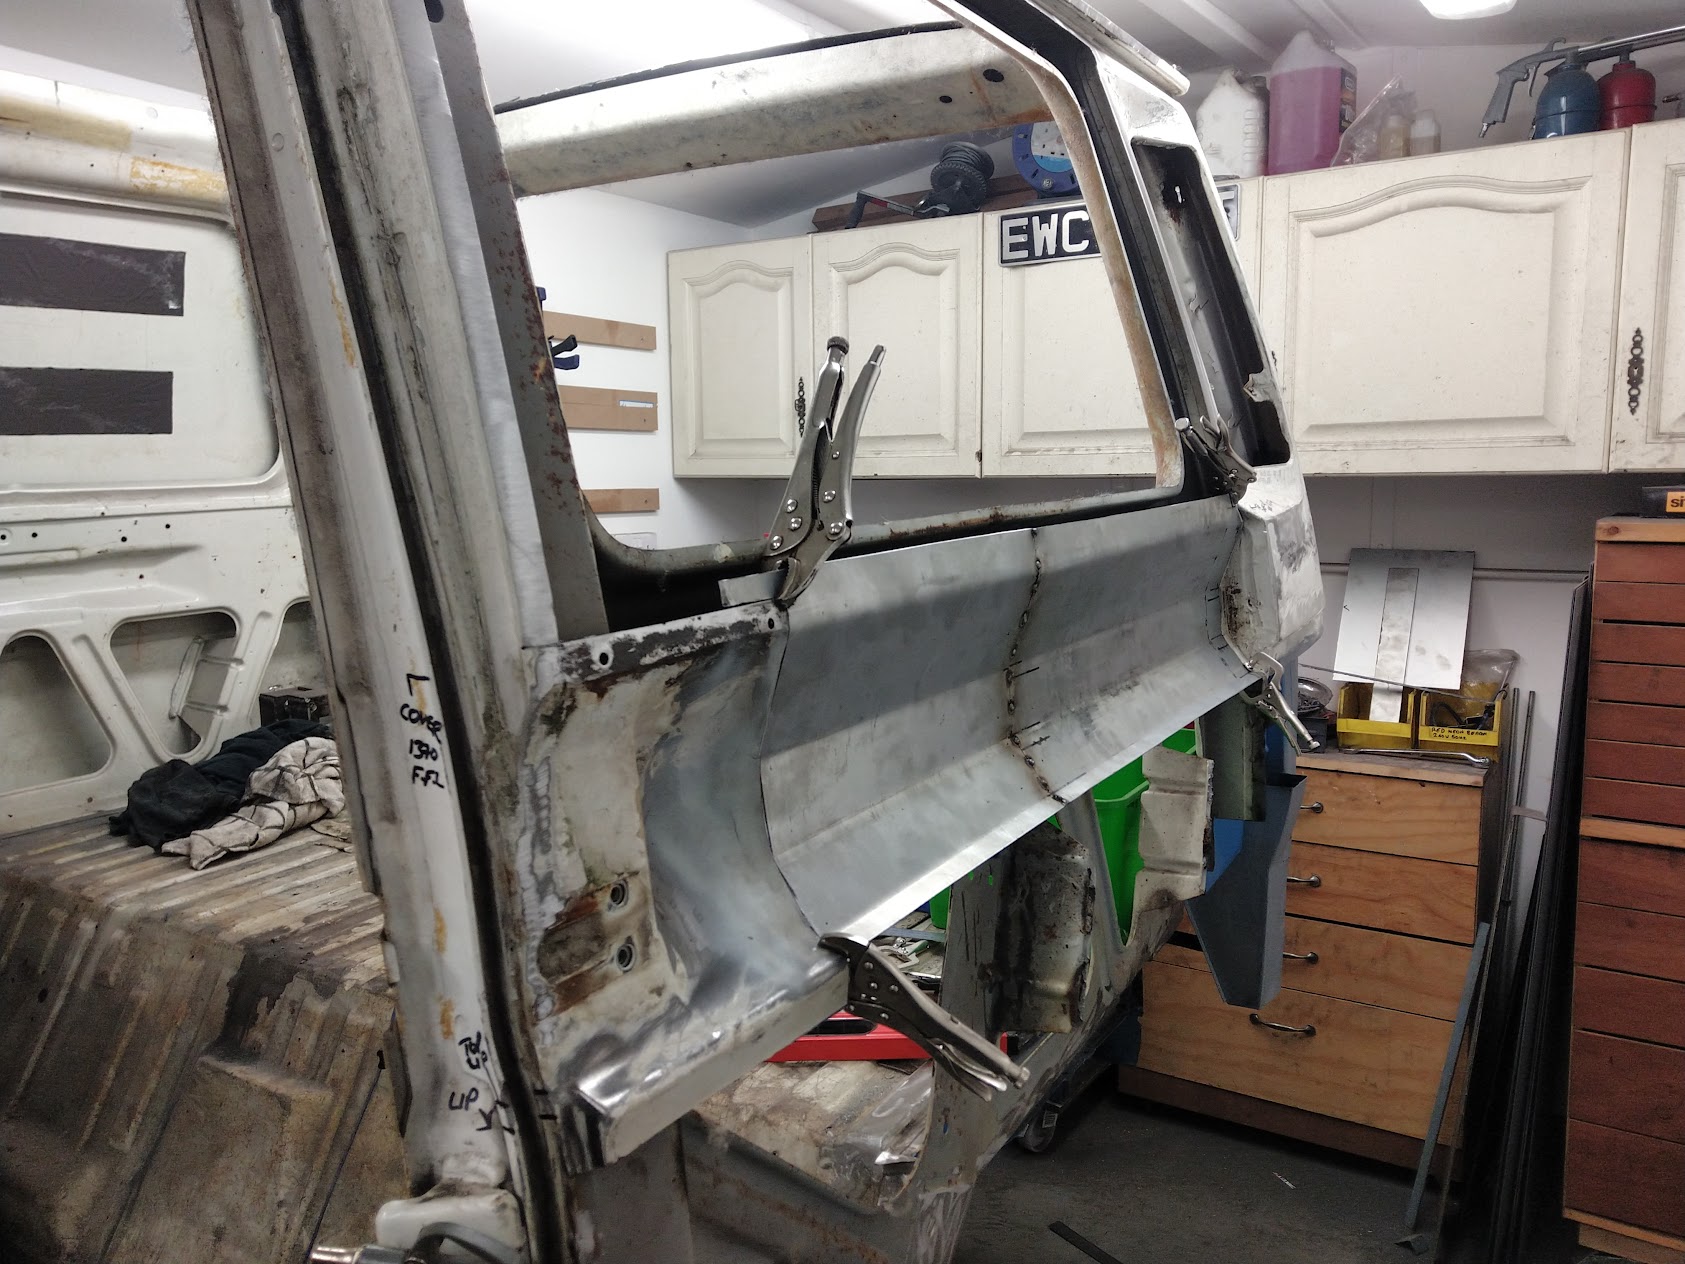
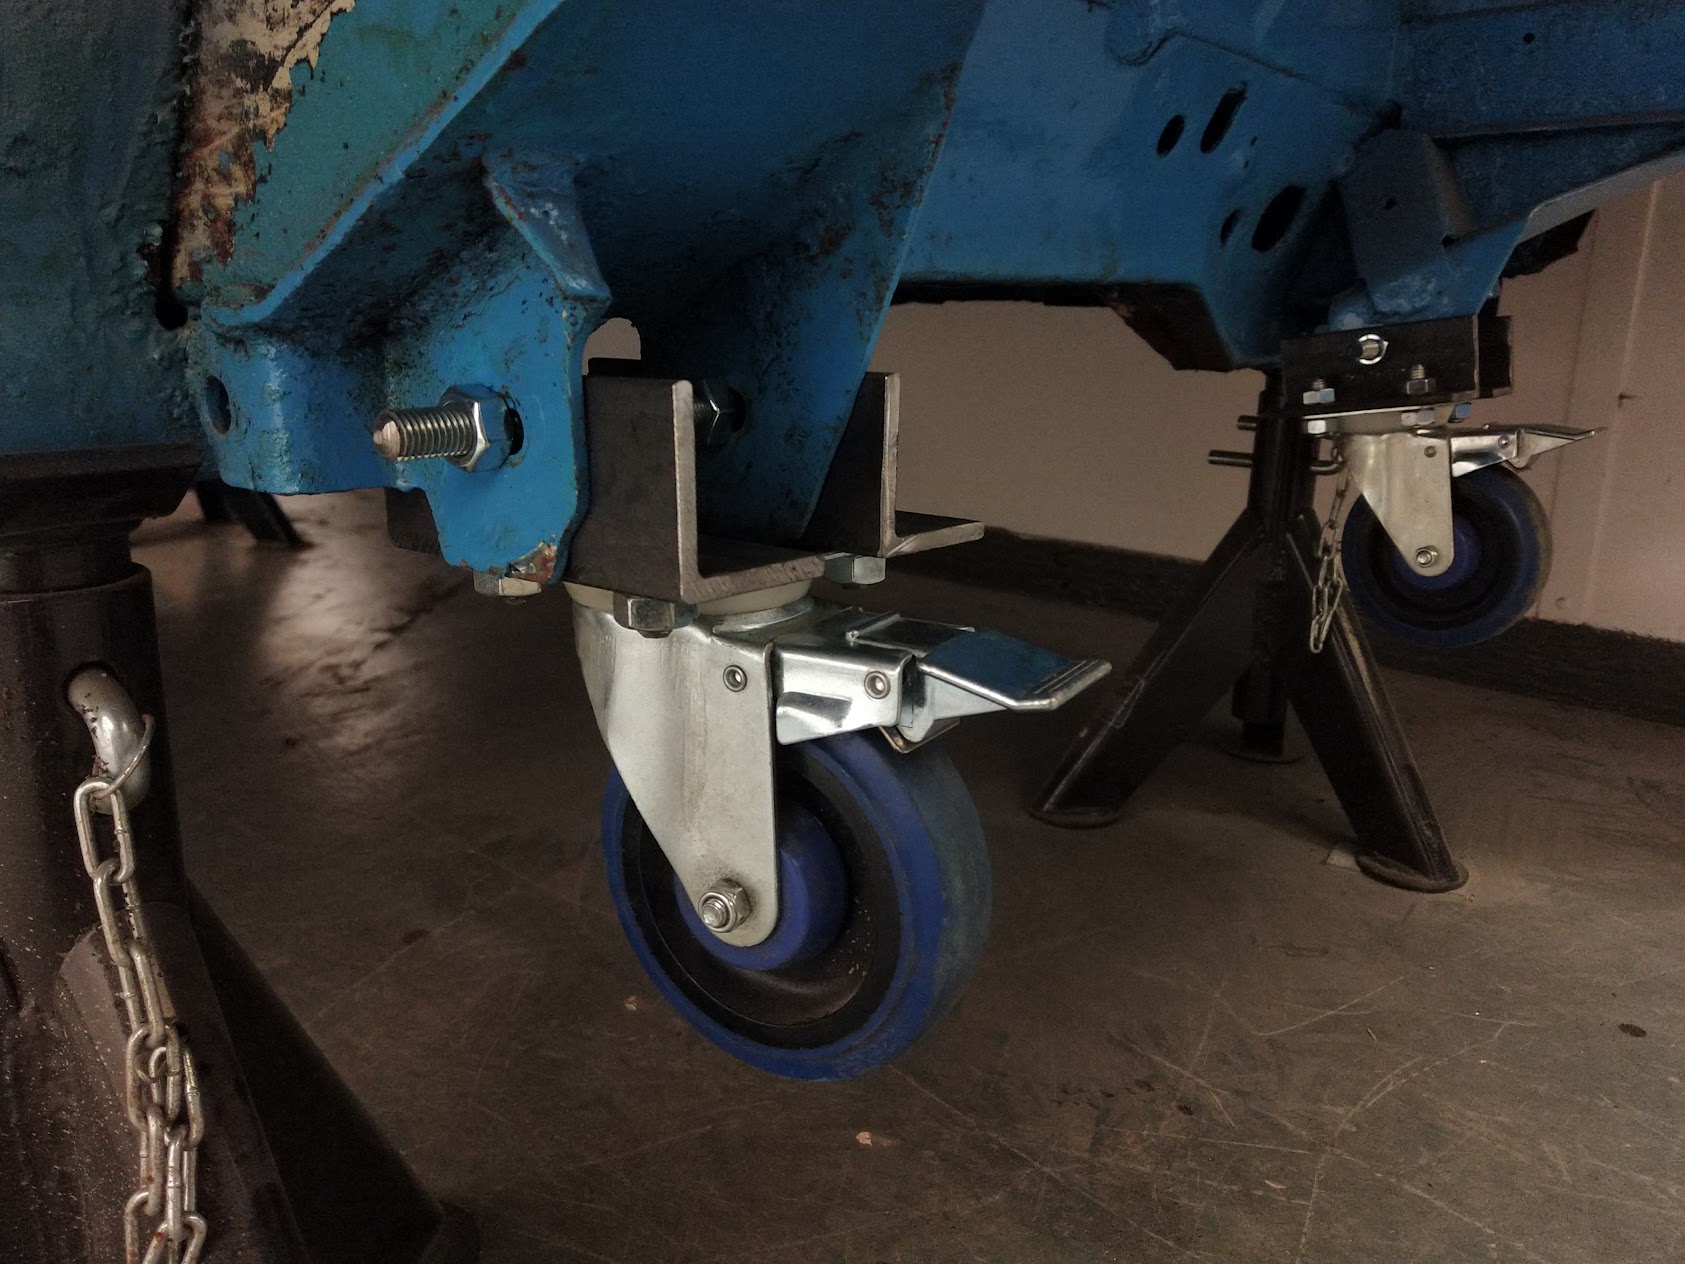
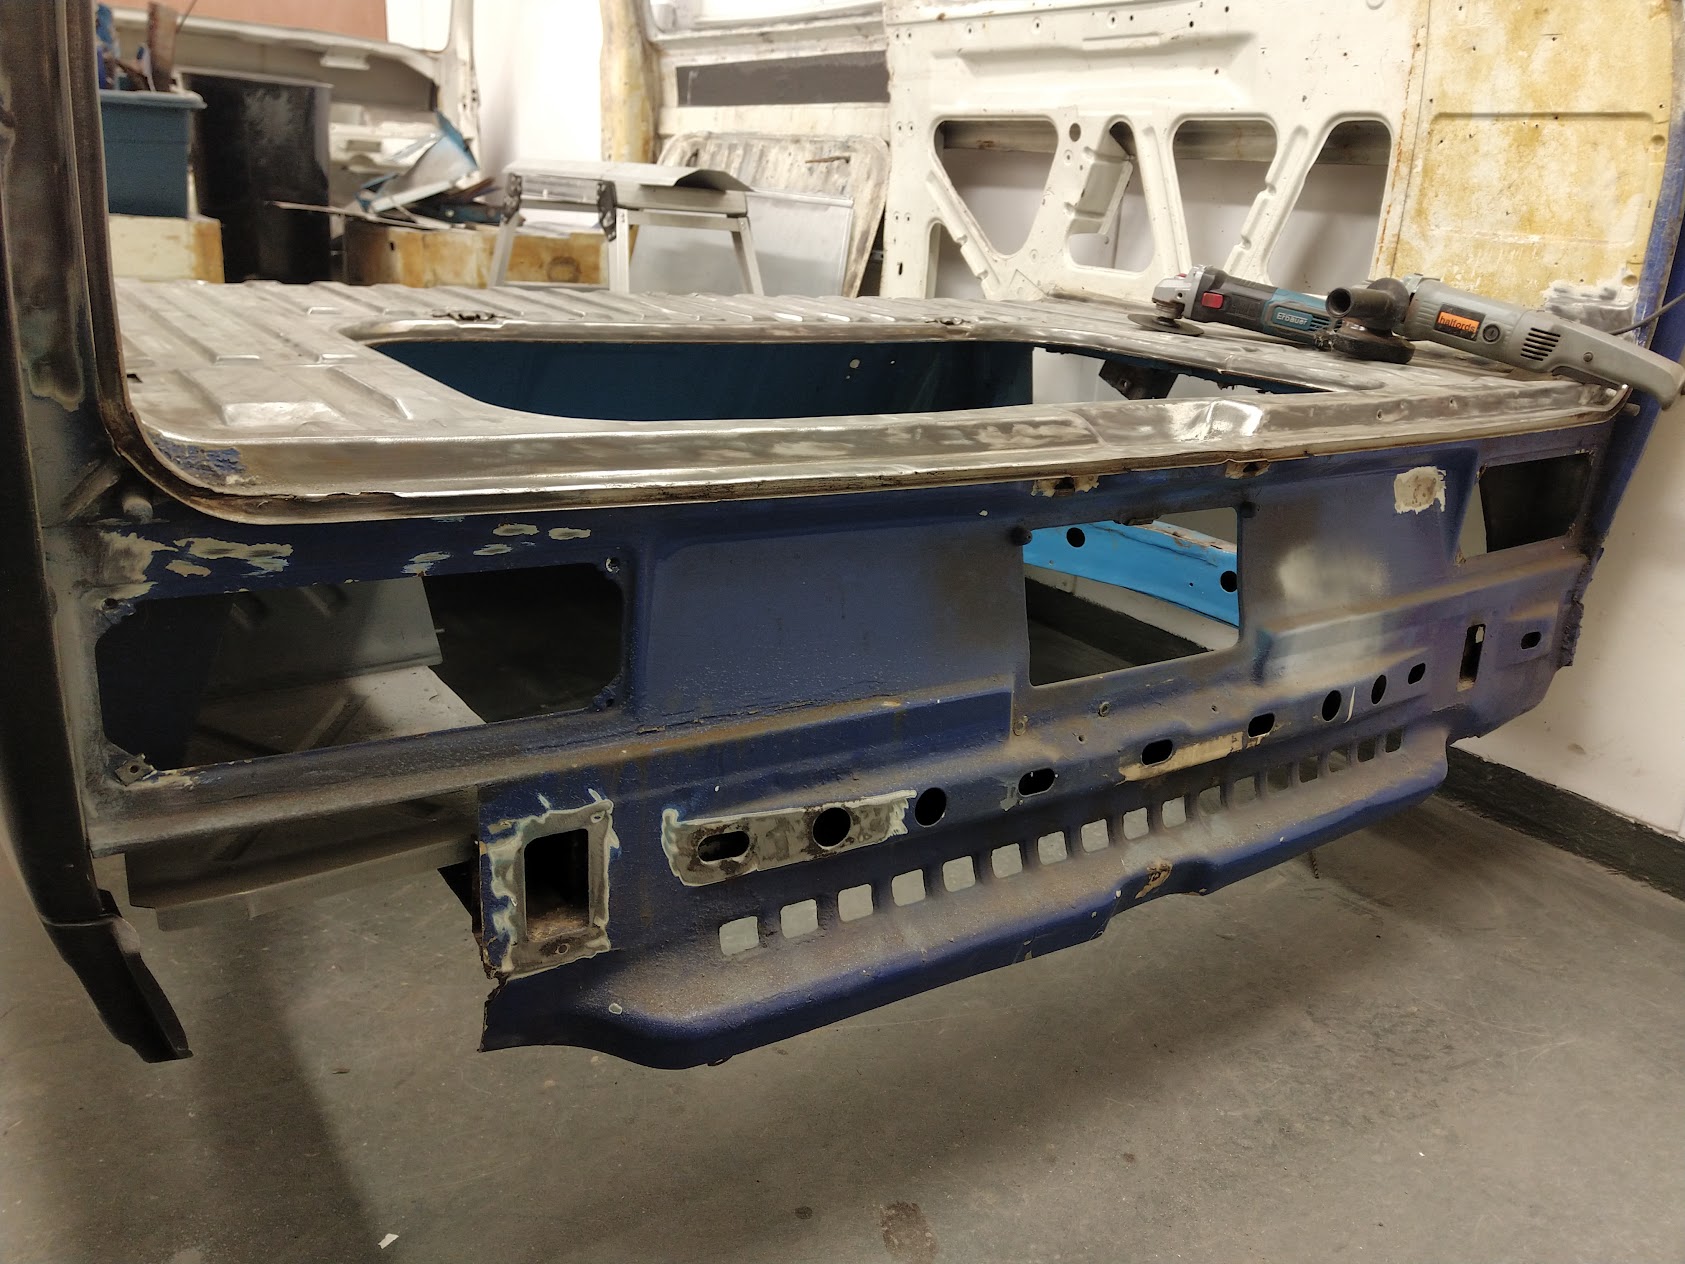
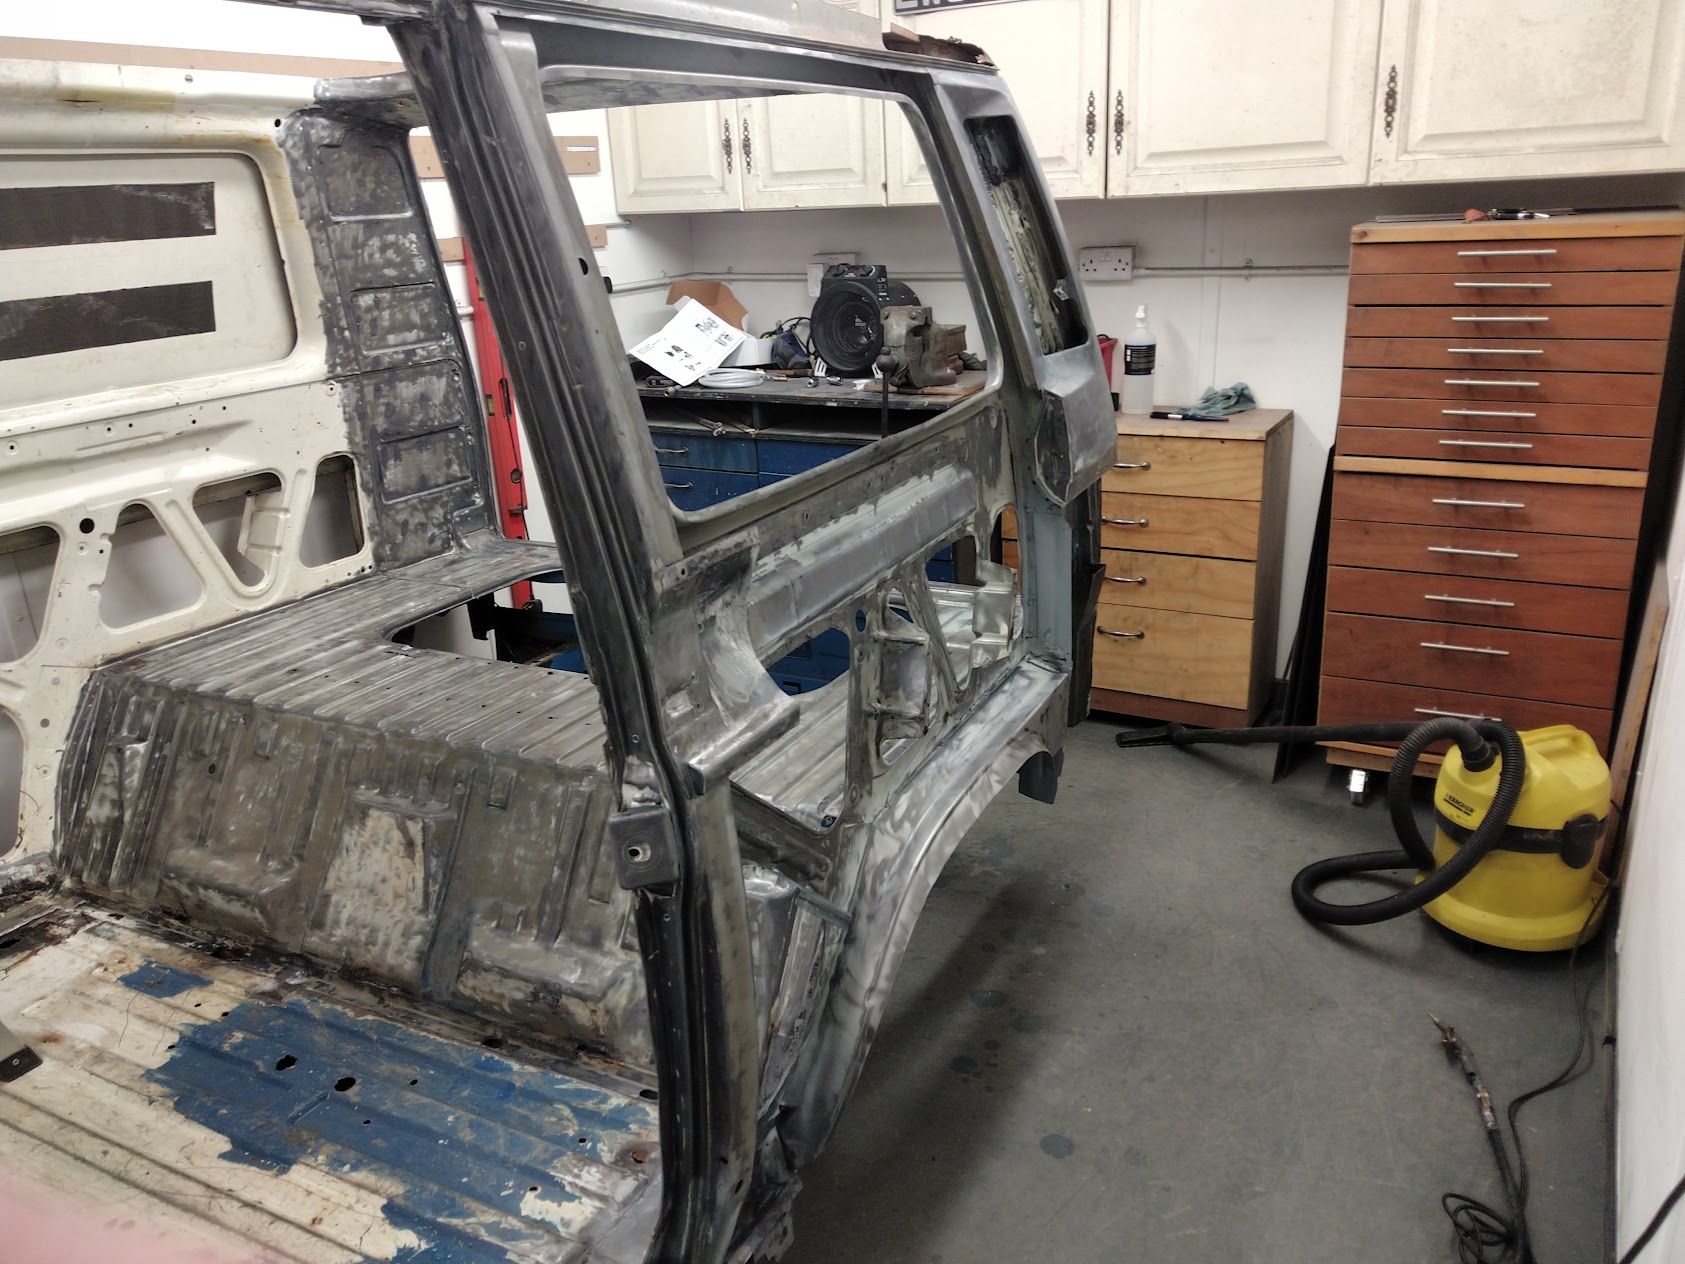
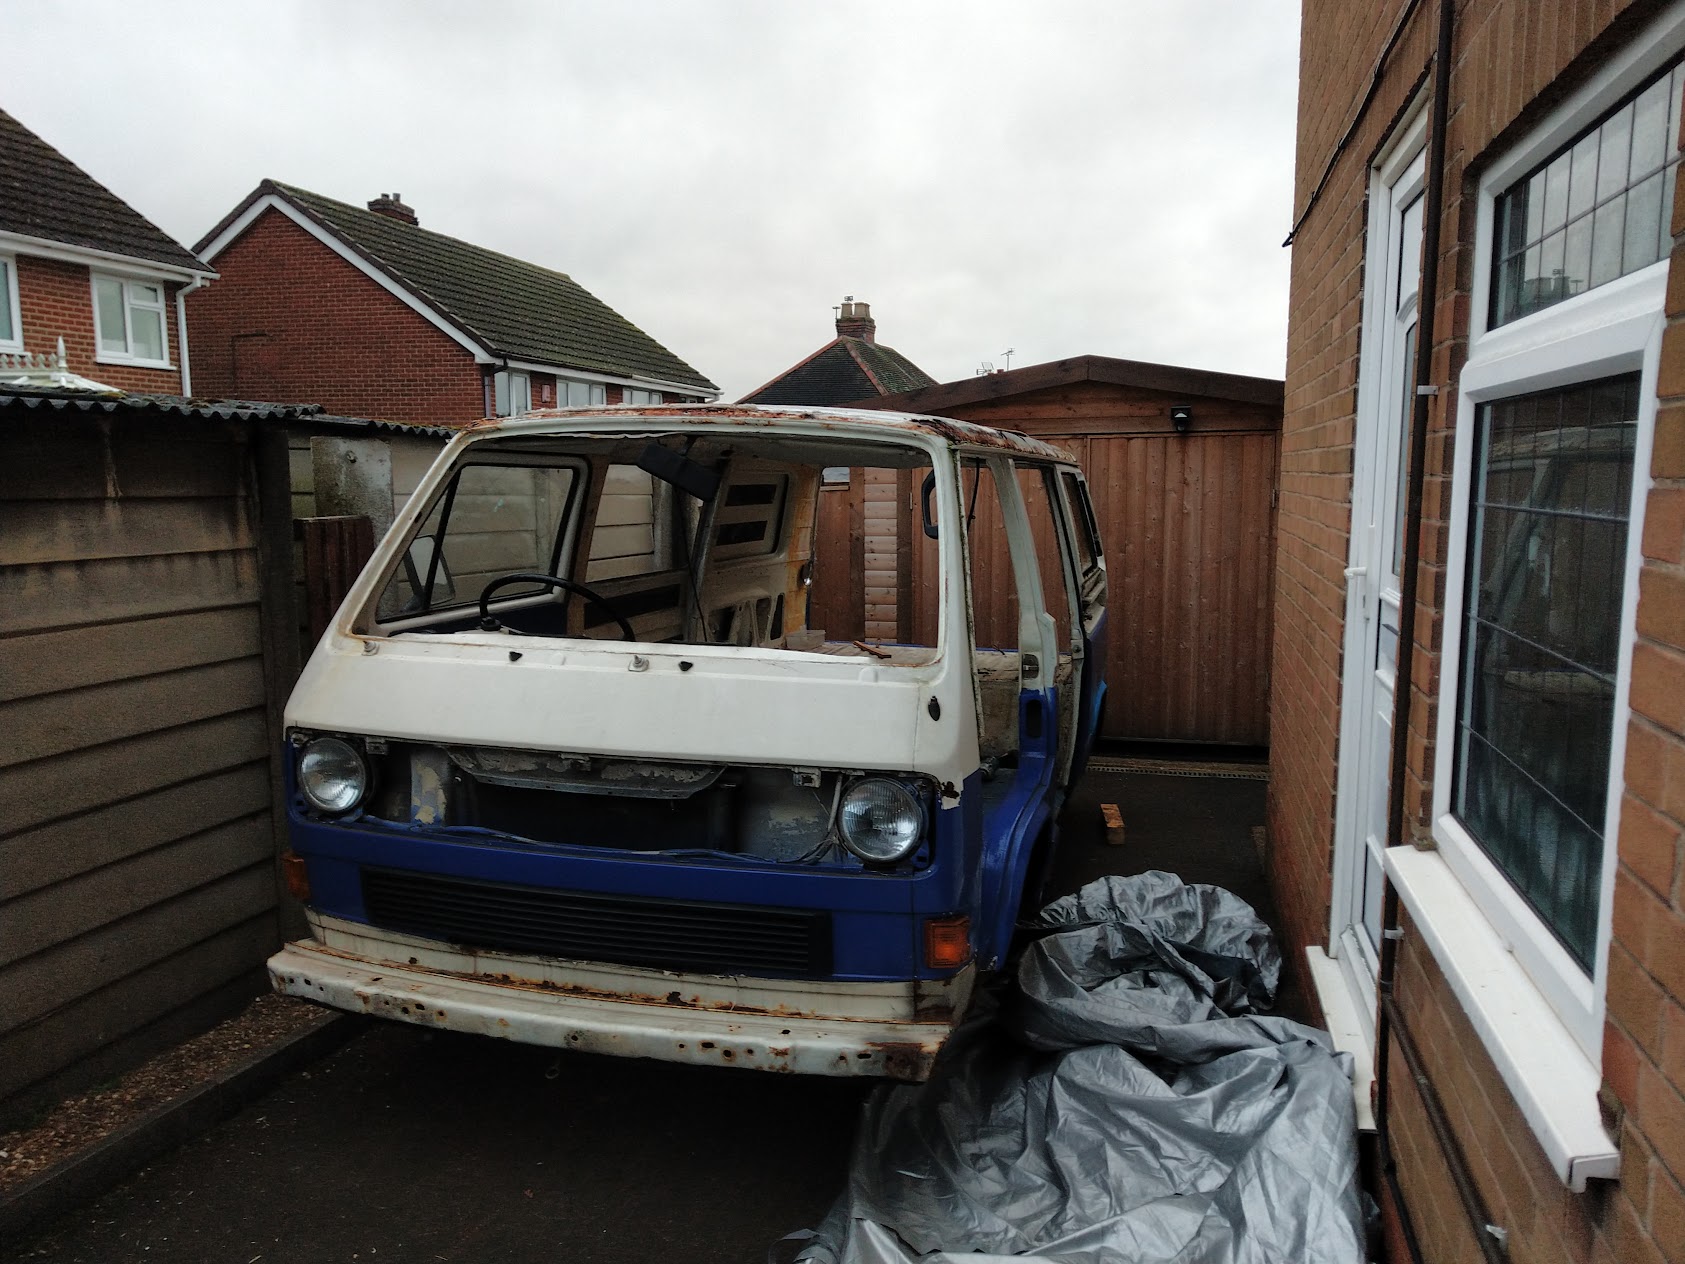
I have already done a fair bit so far, the van is now totally stripped to a bare shell and a lot of the rot has already been cut out and some rebuilding/fabrication has been undertaken. will add photos and provide a potted history of the project to date in due course.
Partially Stripped Shell
The guide suggest photobucket for photos.. i just dropped these 2 in from my google drive album using copy image. assume this is ok to do and the photos wont disappear?
Happy Tinkering, Chris.