So, firstly the hard way. Everything had been wire brushed and plusgas’d for days beforehand. Vinnie was jacked up and on an axle stand. The 27mm nut came off the radius arm easily. The nut came off the bottom of the ARB link easily, but then I’d replaced those rubbers in January. The 3 nuts that secure the radius arm to the wishbone took some persuading. They were well rusted so it took a slightly undersize socket hammered on, and a 3ft breaker bar to get them off. Now to remove the bolts. Mmmmmmm., completely seized. Lots of help from the blowtorch didn’t do much. Trying to turn the heads and 2 sheared off but one grudgingly came out. Only resort now to drill them out. Undid the 2 allen bolts on the upper ball joint so I could move the knuckle out and get access with the drill. Many many hours, numerous drill bits, much hammering and even more swearing later and they were out. I’d say it took over 5 hrs to get them out. Now the radius arm was off it got derusted and painted.
So, putting it back together should be much easier. Ha! Nice new rubbery rubber bushes are much bigger than old squashed and perished ones. Dished washer, new spacer & inner bush, feed the arm through the chassis, outer bush on, dished washer on, and no threads visible to get the nut on. Bugger. Then many hours with a ratchet strap pulling, big bars levering, trying to get the nut on the end. I gave up for the day. At work the next day I had a cunning idea, which worked a treat.
So all told it probably took 15-20 hrs to change the bushes on one radius arm .
Today I did the other side, all in 8 hrs. A different strategy this time – leave the bolts in place.
Vinnie jacked and supported, radius nut off, ARB link disconnected. The 3 nuts were much worse this side, nothing for any socket to grip, so I took the angle grinder and carefully ground up the side of each nut until almost through to the bolt threads, then a small sharp chisel to knock them round until they unscrewed. The nuts looked like this…

Now to lever the radius arm down off the bolts. A crowbar and thin chisels are the trick. There is a gap at the front where I drove a wedge in. Make sure the bus is well supported and stable, it took some serious abuse with a club hammer to drive the wedges in. After an hour of abuse the wedges pushed the radius arm off the bolts, which left this…

So radius arm cleaned up. Bolt holes cleaned out with a 10mm drill, bolts cleaned with a wire brush. Raise the suspension with another jack under the wishbone. New spacer & inner bush on the radius arm, feed it through the chassis (make sure the ARB top washer & rubber are on), and locate onto the 3 bolts and secure with new nuts & washers. Now for my cunning idea - don’t try and fit the new outer bush, put the old one back on, dished washer & nut. The perished old bush will be much thinner than the new one and you’ll have some threads to get the nut on.
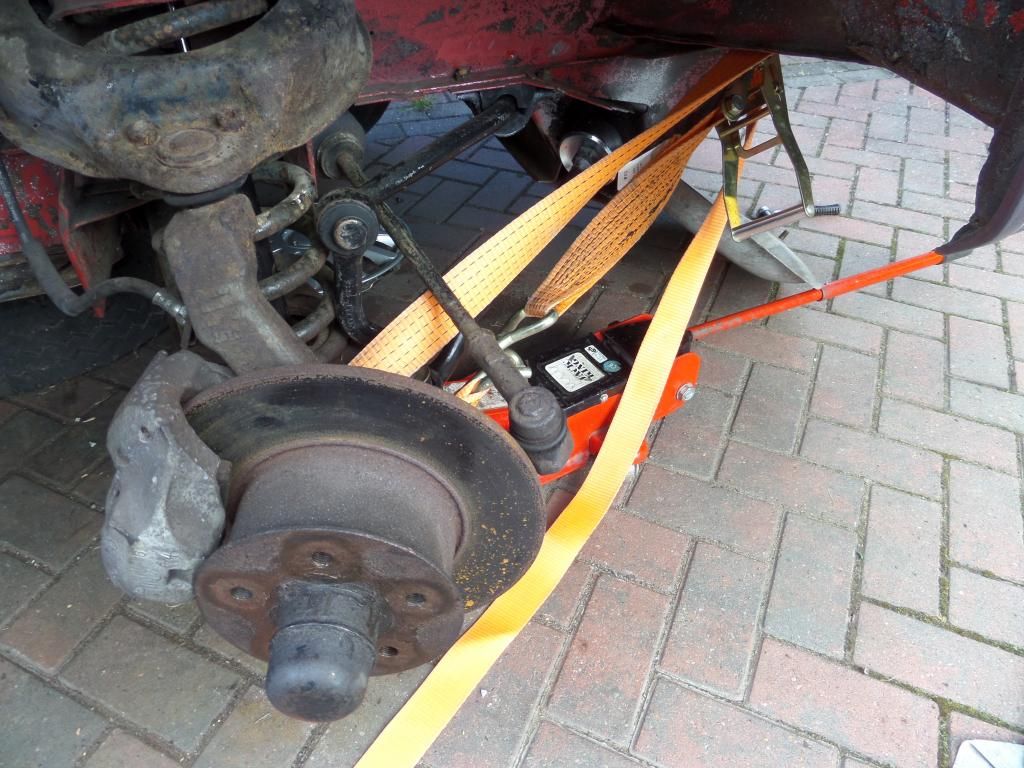
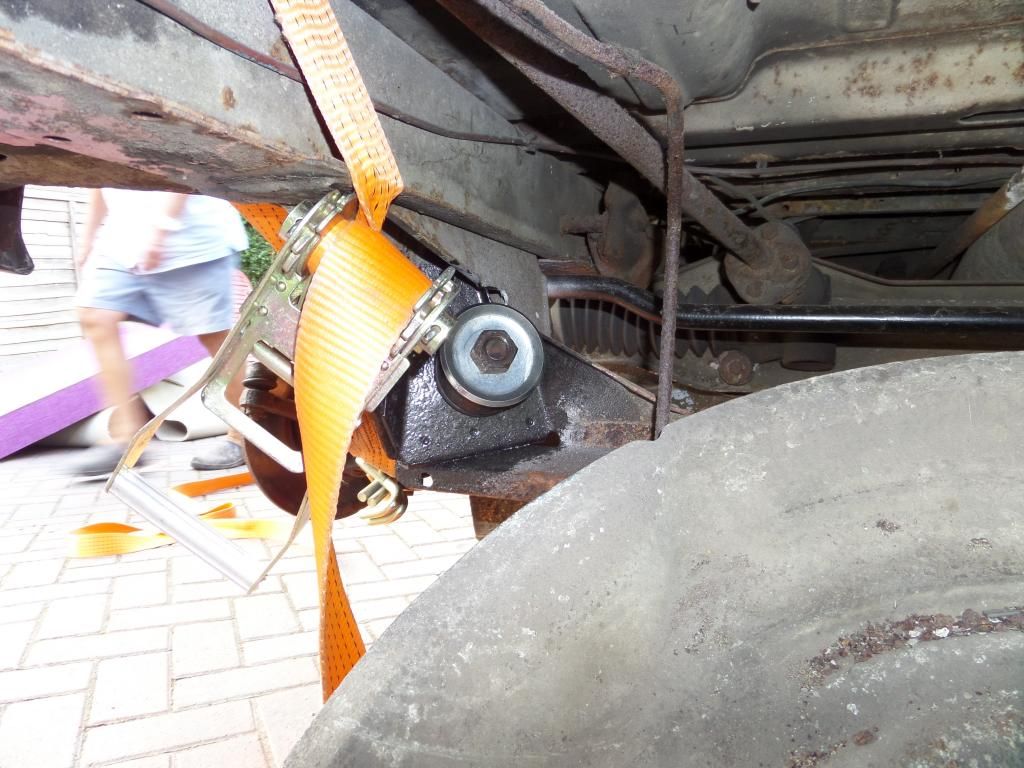
Lower the suspension in case the next bit makes the jack unstable. Fully tighten the nut which will pull the suspension forward and compress the inner bush. Now get your ratchet strap round the lower arm and around the chassis to keep the arm pulled fwd…..

Get the strap as tight as possible, then raise the suspension again to get the radius arm as near horizontal as possible. Now undo the nut and remove the old bush. Pop the new one on making sure it seats into the hole properly, dished washer on, and there should now be enough thread to get the nut started. Tighten it up, release the strap and job’s a good un. Refit bottom rubber & washer on the ARB link, torque everything up, wheel on, pack up.
Hope that’s of some use. You may be lucky and have bolts that will come out, but if not, good luck!
Rob & Sandy


 swapping lower control arm bushes too. Got one done. Lining them up again to get the bolt back in is hard. Might be easier without the radius rod there.


